You can sew a patio furniture cushion cover from scratch in an afternoon using outdoor fabric, UV-resistant thread, and a basic sewing machine. The core process is: measure your cushion, add seam allowance, cut your fabric panels, sew them together with reinforced seams, and finish with a zipper or envelope closure so the cover slides on and off easily. It is genuinely beginner-friendly once you understand a few outdoor-specific details that are different from regular sewing, mostly around fabric choice and seam durability.
How to Sew Patio Furniture Cushion Covers Step by Step

Maren Grady
24 May 2026
Choosing fabric and supplies for outdoor cushion covers
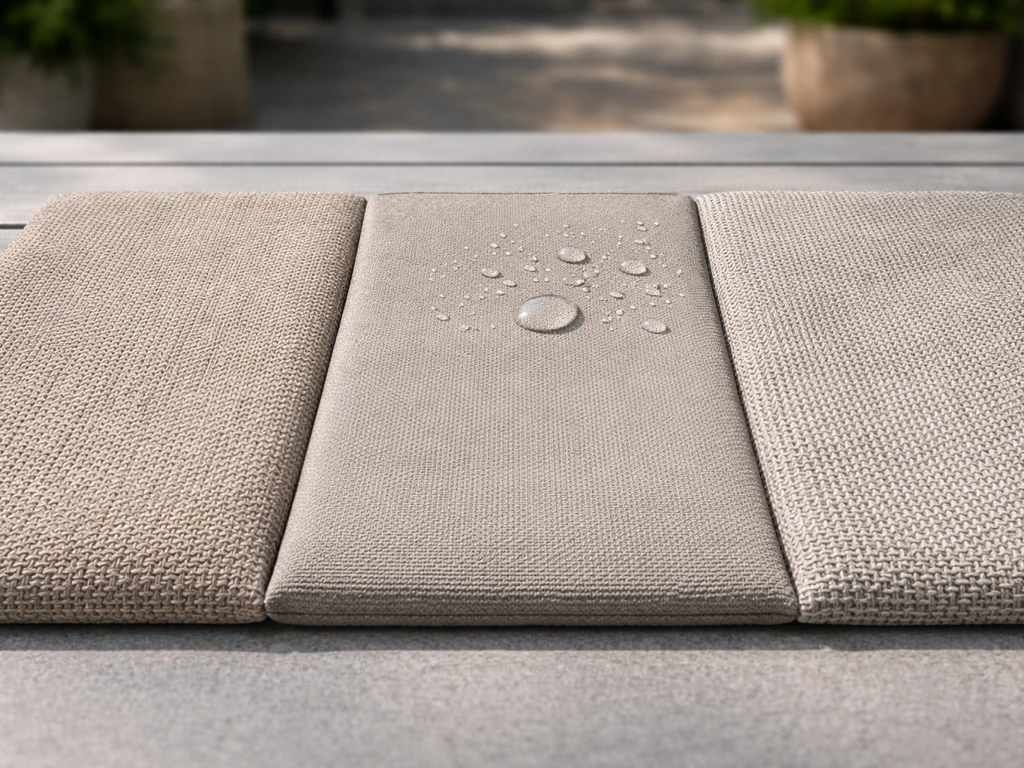
The biggest mistake people make is using regular quilting cotton or upholstery fabric from the craft store. It looks fine in June and looks terrible by August. Outdoor cushion covers need fabric that handles UV exposure, moisture, and mildew, because they live outside. Here is what actually works.
Fabric options compared
| Fabric Type | Best Feature | Trade-off | Good For |
|---|---|---|---|
| Solution-dyed acrylic (e.g., Sunbrella) | Inherently fade-resistant, UV-protective, color-stable from fiber level | Higher cost, $20–$35/yard | Long-term investment pieces, high-sun areas |
| Coated woven polyester (e.g., Bondcote Avenue) | Excellent tear/tensile strength, flame-retardant, water/mildew/UV resistant, 600D construction | Less breathable than acrylic | High-traffic or commercial-style patio sets |
| Vinyl-coated polyester | Antimicrobial (Microban), fade and UV resistant, easy to wipe clean | Can feel stiff, less comfortable to sit on | Dining chairs, high-humidity climates |
| Polyester waterproof canvas (e.g., Zonra 8 Oz) | Budget-friendly, waterproof (>500mm water column), UV and mildew resistant | Heavier to sew, less refined look | Budget projects, utility furniture |
One important caveat on waterproof fabrics: if water gets inside through seams (which it will without seam sealing), it gets trapped and creates a perfect environment for mold and mildew inside the cushion. Phifer's research on outdoor fabrics specifically flags this. Breathable fabrics like solution-dyed acrylic let moisture escape, which is actually better for your foam insert in the long run. If you go the waterproof route, seal your seams (more on that in the finishing section).
The supplies you actually need
- Outdoor fabric of your choice (see table above), enough yardage for all panels plus about 20% extra for error
- UV-resistant, bonded polyester thread — Superior Threads and Sailrite both recommend bonded polyester for outdoor seams; Sailrite's PremoBond Tex 70 is a reliable option specifically built for outdoor applications
- Heavy-duty sewing machine needles: size 100–110 for most outdoor fabrics, or a topstitch needle (SCHMETZ topstitch needles have an elongated eye that handles heavy fabric and thicker thread better)
- Zipper: a heavy nylon or marine-grade zipper cut about 2.5 inches shorter than the cushion opening length
- OR: no zipper hardware needed if you are doing an envelope closure
- Fabric scissors or rotary cutter and cutting mat
- Measuring tape and fabric chalk or disappearing ink marker
- Pins or fabric clips (clips work better on coated fabrics that pin holes leave marks in)
- Iron and pressing cloth (for seam pressing — do not iron vinyl-coated fabrics directly)
- Optional: seam sealing tape for waterproofing seams on waterproof fabrics
Measuring and figuring out the cut pattern for your cushions
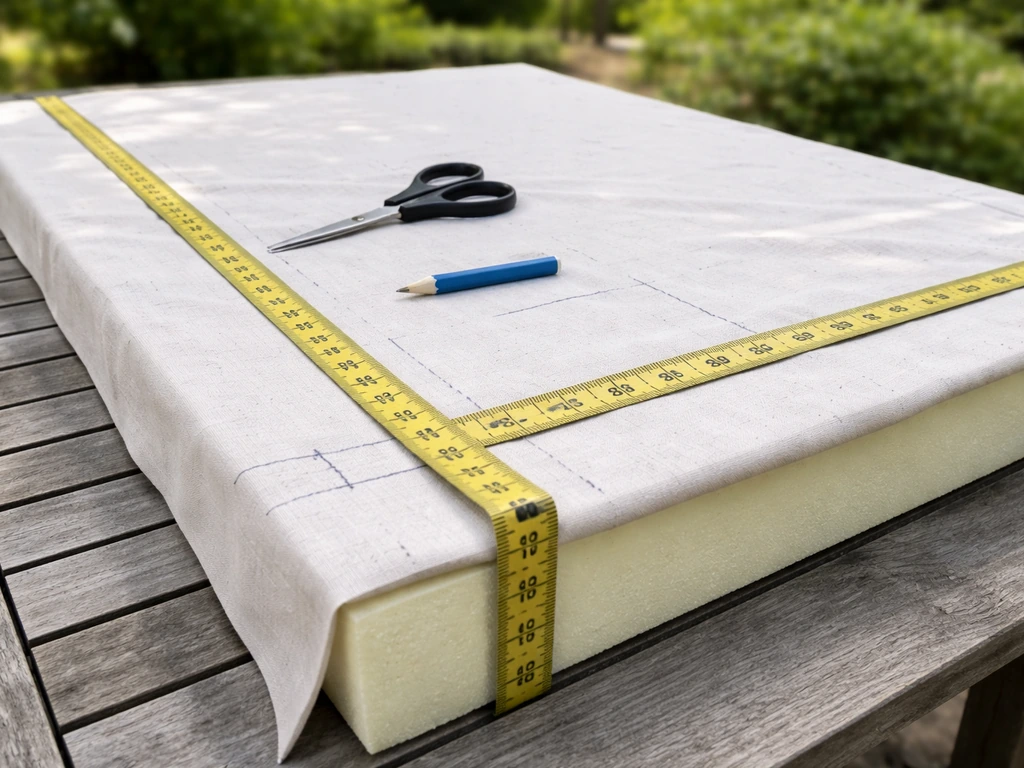
This is where most DIYers go wrong the first time, myself included. You need three measurements for every cushion: width, length, and depth (how thick the foam is). Measure the actual foam insert or existing cushion, not the old cover, because covers stretch and distort over time.
Standard seam allowance math
Use a 1/2 inch (1.25 cm) seam allowance on most outdoor fabrics. For a basic knife-edge cushion cover (flat on top and bottom, no side boxing), add 1 inch (2.5 cm) to both width and length for your top and bottom panels. For example, a 20x20 inch cushion pad becomes two 21x21 inch panels. If you want a boxed cushion with a side strip (called a welt or boxing), cut the boxing strip to the depth of the cushion plus 1 inch, and the length to the perimeter of the cushion plus 1 inch.
Envelope back panels: cutting math
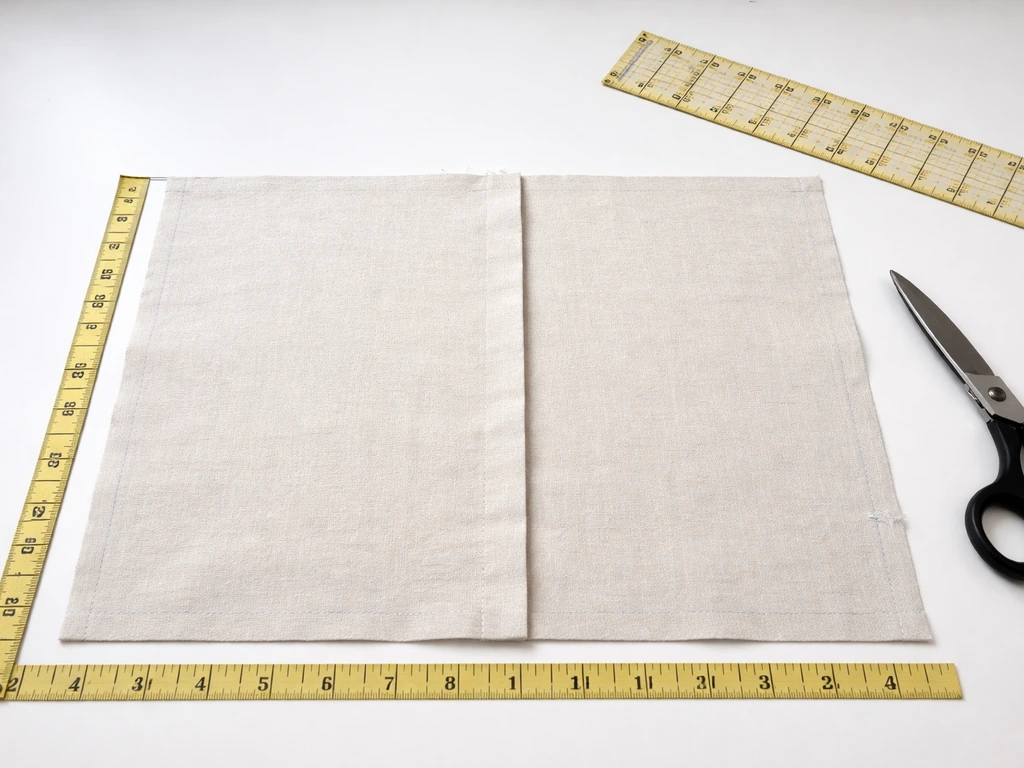
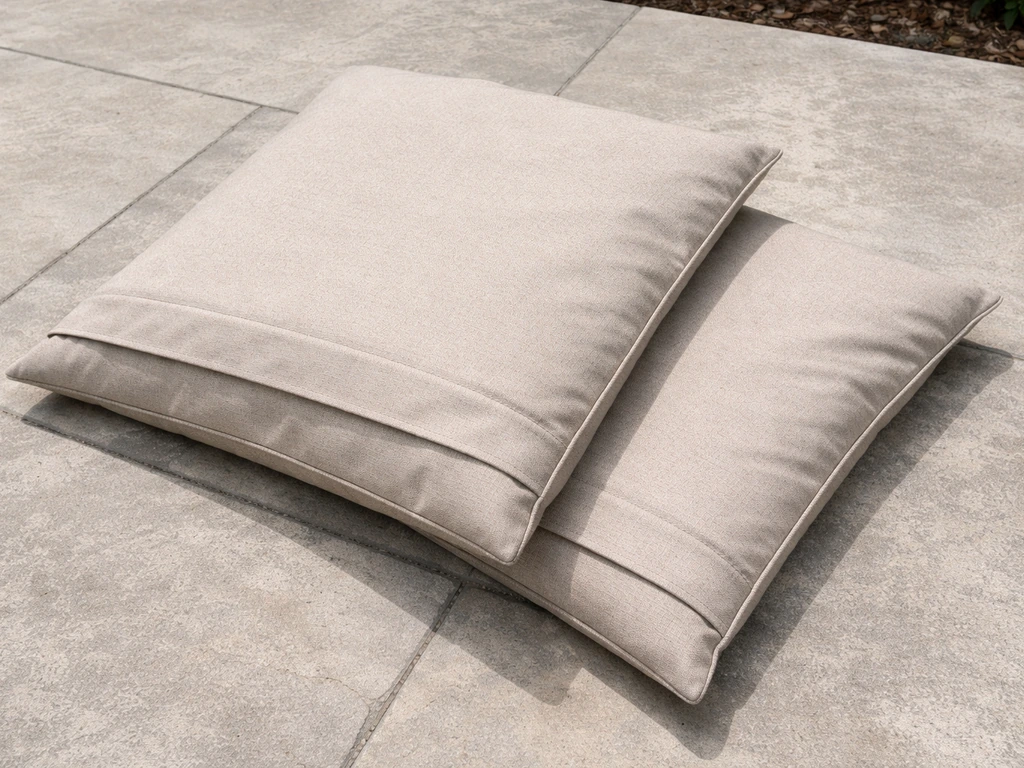
If you are doing an envelope (overlap) closure, cut the back in two pieces that overlap in the middle. For overlap/envelope back closures, cushionsandmore instructs cutting the back into two overlapping pieces (rather than one continuous back piece) and sizing each panel so the overlap covers enough of the cushion for a secure fit envelope (overlap) closure. Each back panel should be about two-thirds the length of the cushion, so they overlap by several inches when assembled. For a 20-inch-long cushion, each back panel would be roughly 14 inches long (plus seam allowance), giving you about 8 inches of overlap. That overlap is what keeps the cover on without a zipper.
Quick reference cut sizes
| Cushion Dimension | Top Panel Cut Size | Bottom/Envelope Panel 1 | Envelope Panel 2 | Boxing Strip (if used) |
|---|---|---|---|---|
| 16 x 16 in, 3 in deep | 17 x 17 in | 17 x 12 in | 17 x 12 in | 4 x 67 in (perimeter + seam allowance) |
| 20 x 20 in, 4 in deep | 21 x 21 in | 21 x 14 in | 21 x 14 in | 5 x 83 in |
| 24 x 24 in, 4 in deep | 25 x 25 in | 25 x 17 in | 25 x 17 in | 5 x 99 in |
| 18 x 48 in (bench), 3 in deep | 19 x 49 in | 19 x 34 in | 19 x 34 in | 4 x 135 in |
Mark everything with fabric chalk before cutting. Double-check each panel against the cushion before you start sewing. Cutting mistakes are irreversible on pricier outdoor fabrics.
Sewing a basic patio cushion cover step-by-step
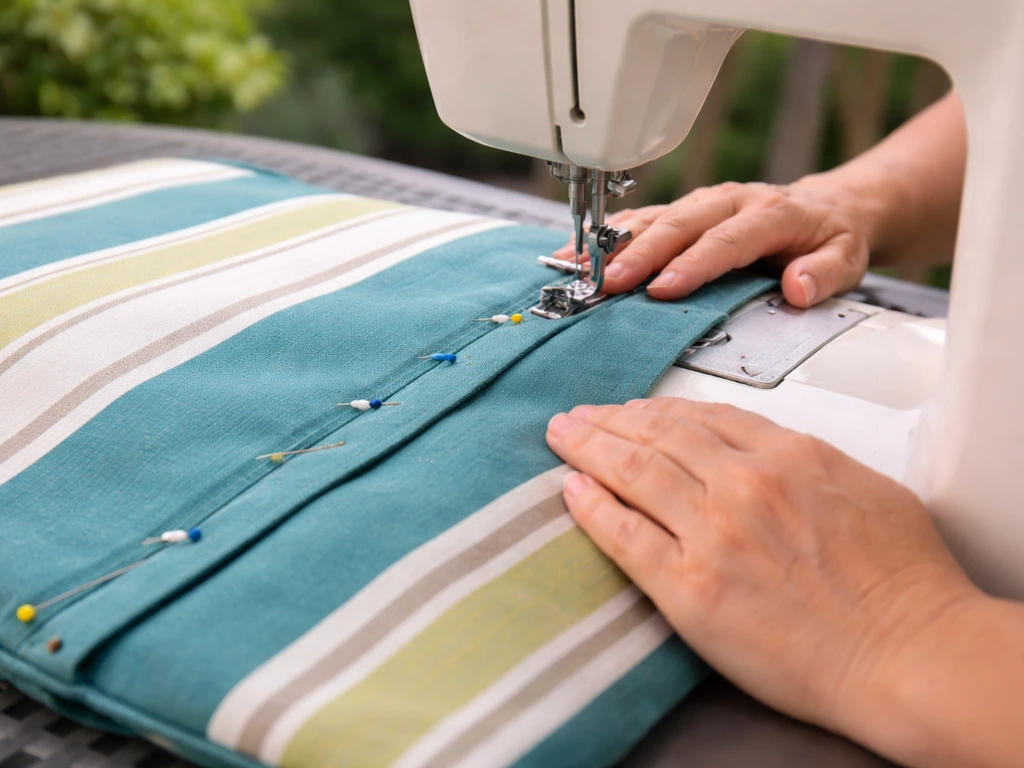
This covers the core envelope-style knife-edge cover, which is the most forgiving for beginners. Once you have this down, zippers and boxing strips are just added steps.
- Hem the envelope overlap edges first. Fold each back panel's long center edge under 1/2 inch, then another 1/2 inch, and stitch down. These will be the overlapping edges of the back opening.
- Lay the top panel face-up on your work surface. Position the two back panels face-down on top of it, hemmed edges toward the middle and raw edges aligned with the outer edges of the top panel. They should overlap in the center by several inches.
- Pin or clip all four outer edges together, sandwiching the back panels between the top panel and your work surface.
- Sew around the entire perimeter with a 1/2 inch seam, backstitching at every corner and at the start and end of the seam. Use your bonded polyester thread and a needle size 100 or larger.
- At corners, stop with your needle down, lift the presser foot, pivot the fabric 90 degrees, lower the presser foot, and continue. This gives you a sharp, clean corner instead of a rounded blob.
- Trim the corner seam allowances diagonally (at a 45-degree angle, about 1/8 inch from the stitch line) to reduce bulk when you turn it right-side-out.
- Turn the cover right-side-out through the back envelope opening, using a chopstick or blunt point to push corners out fully.
- Press seams with an iron on low heat (use a pressing cloth on coated fabrics). Insert your cushion through the envelope opening.
That is genuinely the whole process for a basic cover. The main places beginners get tripped up are skipping the corner trim (corners look puffy and round) and not backstitching at seam starts and ends (seams open up after a few weeks outside). Neither mistake is catastrophic, but both are easy to avoid.
Sewing options for chair and seat cushions: ties, zippers, and elastic
Chair cushion covers have a different problem than bench or sofa cushions: they slide. Your patio chair cushion will be on the floor within an hour unless you add a way to anchor it. Here are the three most practical options.
Ties
Ties are the easiest to add and look intentional on most patio chairs. Cut four strips of fabric about 2 inches wide and 18–20 inches long from matching or coordinating outdoor fabric. Fold each strip in half lengthwise, sew the long edge and one short end closed, turn right-side-out, and press. Attach two ties at the back corners and two at the front corners of your cushion cover (or wherever your chair's back post falls) by sandwiching the raw end of each tie into the seam when you assemble the cover. When you sew the perimeter seam, you sew the tie end into it. Tie them around the chair frame or post to keep the cushion from sliding.
Zipper closure
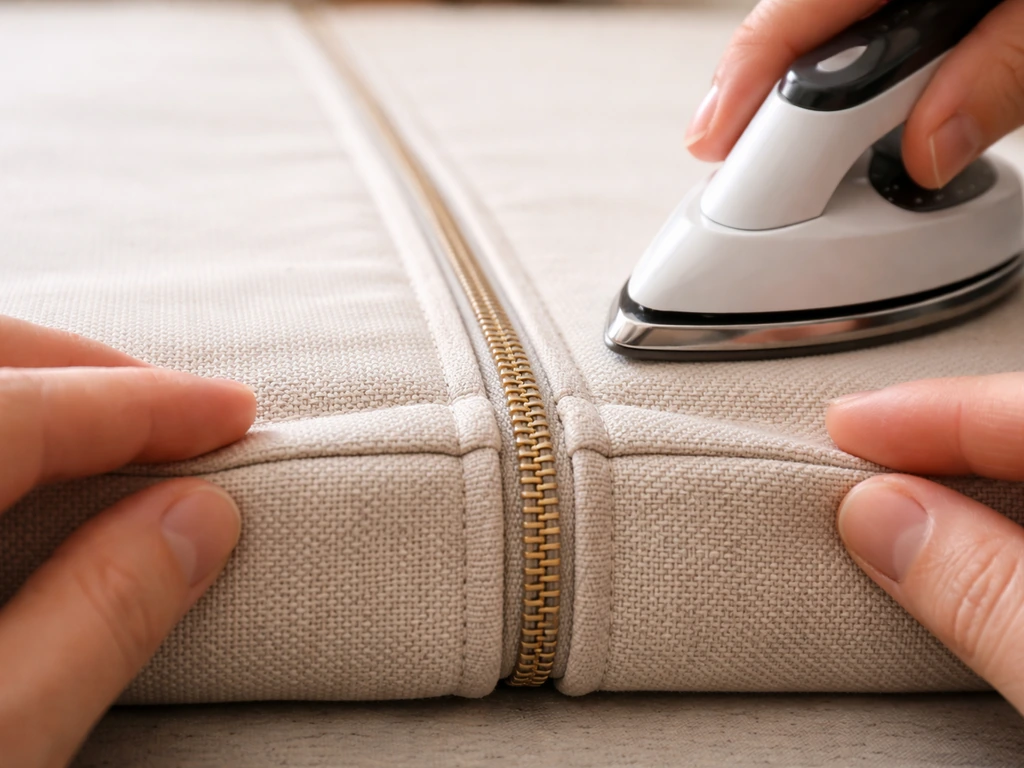
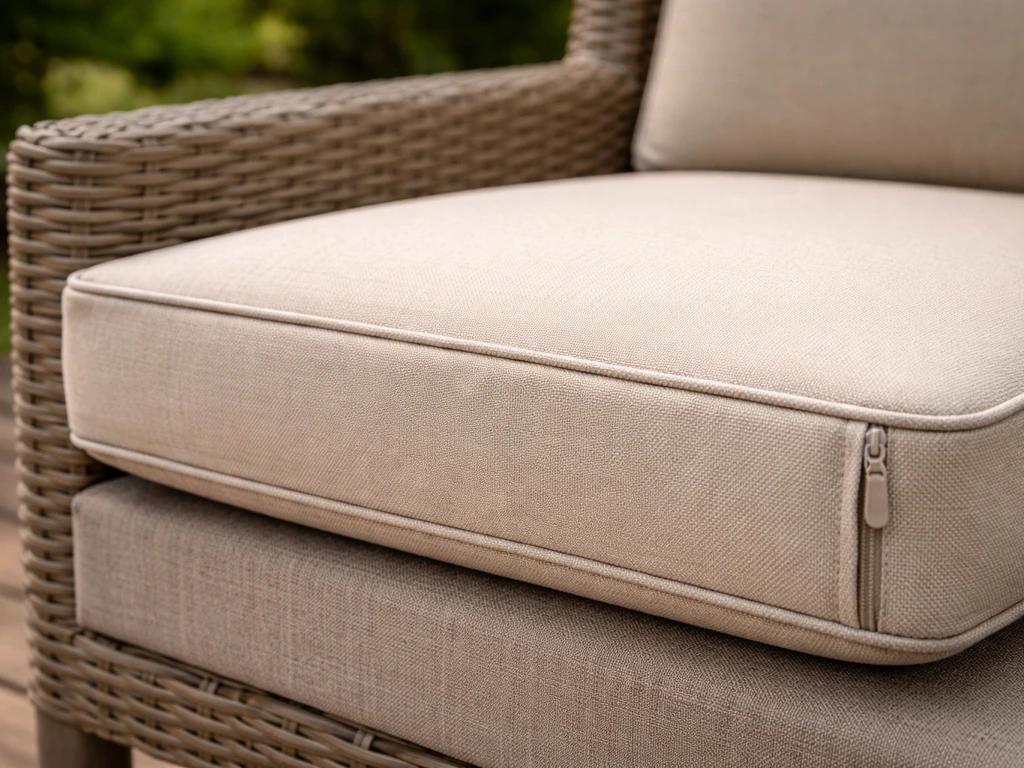
A zipper gives you the cleanest look and makes inserting and removing the foam insert very easy, especially useful if you want to bring covers inside for the winter or toss the insert in for a scrub. Use a zipper that is about 2. 5 inches shorter than the back edge of the cushion.
For a boxed patio cushion, Sailrite describes this as a zipper plaque sewn into the box-seamed edge, which lets you pull the foam completely out for cleaning or replacement. For a knife-edge cover, center the zipper along the back panel seam instead of using an envelope overlap. Sew the zipper in before assembling the rest of the cover: stitch one zipper tape to each back panel along the center edge, right sides together, using a zipper foot.
Then assemble the cover as usual.
Elastic corners or band
For seat cushions that sit on a flat chair seat (rather than a sling or cushion with back support), a fitted cover with elastic corners works like a fitted bedsheet. Instead of a flat back panel, you cut a single back panel, sew the cover together at all four corners with a small angled tuck, and thread 1/4 inch elastic through a casing at each corner. When pulled through and tied off, the elastic grips the underside corners of the chair seat and keeps everything in place. This is the best solution for chairs with no frame posts to tie to.
Which closure to choose
| Closure Type | Difficulty | Best For | Stays On? |
|---|---|---|---|
| Envelope overlap | Easiest | Sofa/bench cushions, occasional removal | Good if snug fit |
| Ties | Easy | Chair cushions with posts or rails | Excellent when tied |
| Zipper | Intermediate | Boxed cushions, frequent washing, clean look | Excellent |
| Elastic corners | Intermediate | Flat seat pads on chairs with no posts | Excellent |
Finishing details that make covers last longer
This section is what separates a cover that survives one summer from one that is still going after three. Outdoor sewing has specific finishing demands that indoor sewing does not.
Seam reinforcement
Always sew a second row of stitching about 1/4 inch inside the first on all load-bearing seams (the long sides of bench cushions, the edges where ties attach). This double stitching means if the outer seam begins to fail, the inner seam holds. Backstitch at every corner and at the start and end of every seam. For extra durability, use a flat-felled seam: after sewing the first seam, press both seam allowances to one side, trim the bottom one to 1/4 inch, fold the wider one over it, and topstitch down. This is the seam used on jeans and it is genuinely much stronger than a plain seam.
Corner finishing
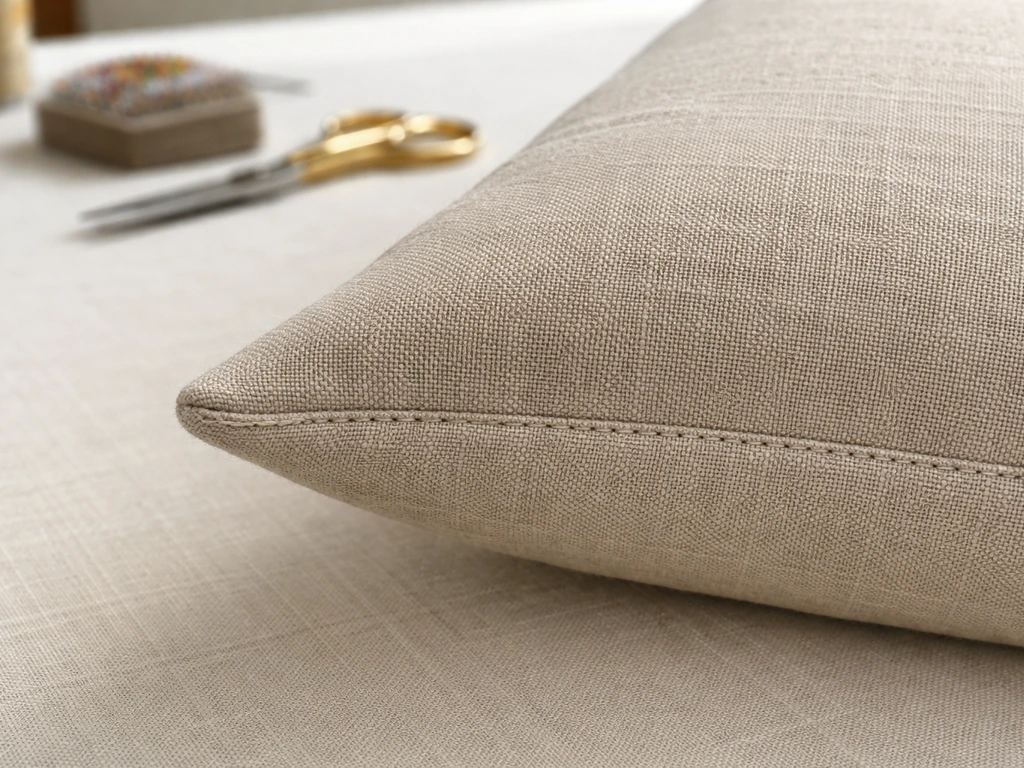
Corners are where cushion covers fail first. For knife-edge corners, always clip diagonally across the corner seam allowance before turning. For covers with piping or welting at the corners, snip into the seam allowance of the piping fabric right at the corner point so it curves around the turn without puckering or pulling. Skipping this step creates that 'bunched mushroom' look at corners that tells you someone rushed. Take the 30 seconds to snip.
Thread and needle choices for durability
Use bonded polyester thread throughout, not standard all-purpose thread. Standard thread degrades in UV exposure within a season. Bonded polyester (like Sailrite's PremoBond Tex 70) is built for exactly this application. Pair it with a size 100 or 110 needle, or a topstitch needle if your machine struggles to pull the heavier thread through, the elongated eye on topstitch needles handles thicker thread much better and reduces skipped stitches.
Seam sealing for waterproof fabrics
If you used a waterproof canvas or coated fabric, seal your seams after sewing or water will enter through needle holes and sit inside against your foam insert. Apply iron-on seam tape over the seam allowances on the inside of the cover, pressing firmly according to the tape manufacturer's instructions. The tape must cover the entire seam allowance and all needle holes, partial coverage defeats the purpose. For breathable fabrics like Sunbrella acrylic, seam sealing is optional since the fabric design already allows moisture to escape.
Fitting, troubleshooting, and adjusting your covers
Even with careful measuring, first covers sometimes need adjustment. Here is a practical checklist and a quick guide to the most common problems.
Fitting checklist before you call it done
- Insert the cushion: the cover should feel snug but not stretched — you should be able to work the corners in without forcing them
- Check all four corners: they should look square and flat, not rounded or puffy
- Check the closure: zipper should open/close without bunching; envelope overlap should stay closed with normal movement; ties should reach comfortably around the frame
- Sit on a chair cushion if applicable and check that the cover does not shift or slide after three minutes of normal use
- Check that no raw seam edges are visible from any angle
Common problems and fixes
| Problem | Why It Happens | Fix |
|---|---|---|
| Cover is too tight to insert cushion | Seam allowance too large or cushion measured when compressed | Rip one seam, re-sew with slightly smaller seam allowance (try 3/8 inch) |
| Cover is too loose, fabric bunches | Added too much ease or measured stretched fabric | Take in the side seams evenly, a little at a time |
| Corners look round/puffy | Forgot to clip corner seam allowances before turning | Turn cover inside out, clip diagonally across corners, re-turn |
| Zipper bunches or twists at ends | Zipper too long for the opening | Zipper should be ~2.5 inches shorter than the opening edge |
| Cover slides off chair seat | No anchor system on a smooth surface | Add corner ties or elastic corner casings |
| Seams pulling or puckering along edges | Thread tension too tight or needle too small for fabric weight | Loosen tension slightly, upgrade to size 100–110 needle |
The single most common beginner mistake I see is measuring the old cover instead of the actual foam insert. Old covers are stretched, distorted, and sometimes deliberately cut oversized from the factory. Always measure the foam or the seat frame, not the fabric.
Care and maintenance to get years out of your covers
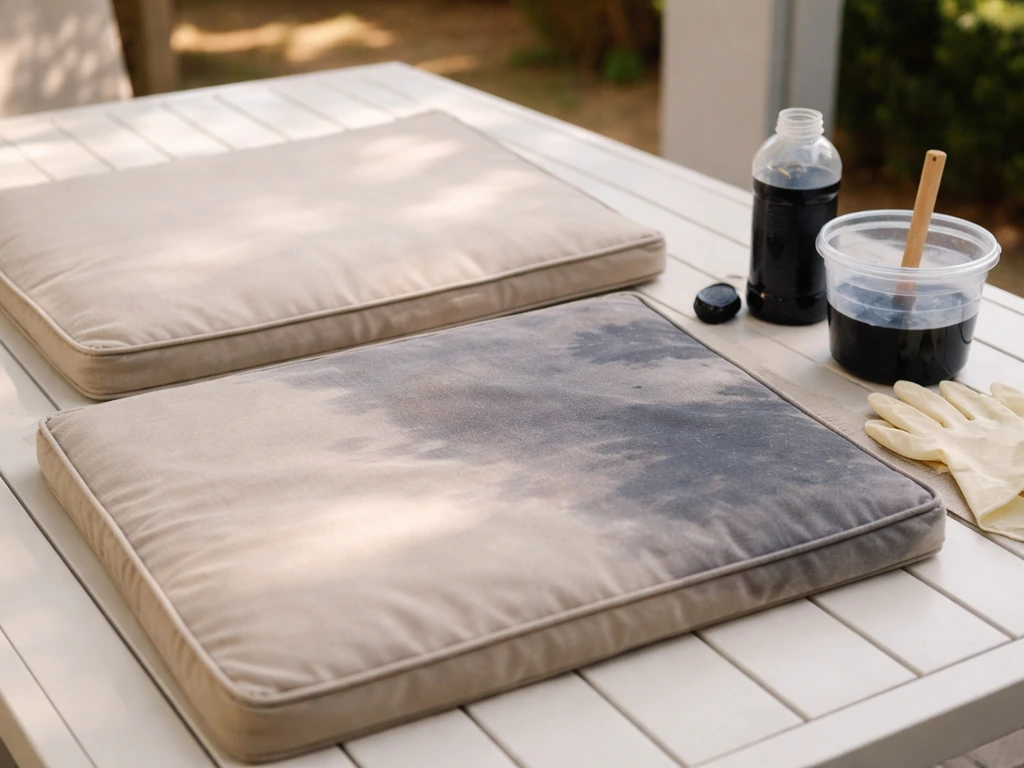
Sewing the covers is the hard part. If you want to change the color later, you can dye patio cushion covers once you have the right outdoor fabric and care approach can you dye patio cushion covers. Keeping them in good shape is straightforward if you build a small routine around it.
Regular cleaning
For solution-dyed acrylic fabrics like Sunbrella, mild soap and lukewarm water handles most dirt and grime. Apply with a soft brush, scrub gently, and rinse thoroughly. For mold or mildew spots, a diluted bleach solution (Sunbrella's care guidelines specifically allow for this) can be used on acrylic fabrics, something you cannot do safely on most indoor upholstery. Always air dry completely before storing or leaving covers on cushions. Do not tumble dry Sunbrella or most performance outdoor fabrics, and do not iron directly on any coated or vinyl-coated surface.
Seasonal storage
At the end of the outdoor season, wash covers thoroughly, let them air dry completely (this is critical, storing even slightly damp fabric is how mildew starts), and store them in a breathable bag or pillowcase inside. Airtight plastic bags trap residual moisture. If your covers are staying outside through winter, consider bringing just the foam inserts indoors, foam degrades faster than well-made outdoor fabric, so protecting the inserts extends the whole system's life.
Extending cover life between seasons
- Brush off debris regularly — dirt particles grind into fabric fibers over time and weaken them faster than sun or rain
- Shake out and air covers on dry days to prevent moisture from sitting trapped against the foam
- Check seams at the start of each season and re-stitch any that are beginning to pull before they fail completely
- If you notice fading on a polyester canvas cover (not solution-dyed acrylic), you can explore outdoor fabric dye as a way to refresh the color — though solution-dyed acrylic is resistant enough that this is rarely needed for quality fabric
- Spot-treat any mildew immediately rather than letting it spread — small spots are a five-minute fix; a fully mildewed cover often cannot be fully rescued
If you are thinking about related projects once you have the sewing basics down, the same skills apply to making covers for patio chairs without removable cushions, or to recovering full patio furniture pieces. Once you get comfortable with cushion-cover patterns, you can use the same approach to make covers for outdoor furniture frames, too recovering full patio furniture pieces. The measuring and seaming logic carries over directly, and your confidence from this first project makes the next one go much faster.
FAQ
What sewing machine settings should I use to sew patio cushion cover fabric successfully?
For outdoor fabrics, a walking foot (or even-feed foot) helps prevent shifting layers, especially with thicker bonded polyester thread. If your machine tends to leave stitch gaps, try a fresh size 100 or 110 needle and reduce presser-foot pressure slightly, then test on a scrap before committing to the full panel.
Can I make the cover smaller to look tighter, even if my fabric is a little stretchy?
Yes, but only if your insert fits the finished dimensions, not the old cover. For a tighter cover, reduce your finished panel sizes by small increments (for example, 1/4 inch at a time) while keeping seam allowances consistent. If you shrink after sewing, also expect the zipper or envelope overlap to tighten, so verify closure fit before final assembly.
How can I test the pattern fit before cutting into expensive outdoor fabric?
Do a “fit test” before you commit to the final fabric: baste or temporarily stitch the main panels together, then slide the cover over the foam insert. Pay attention to the back closure area (zipper or overlap) and corners, because those are where small measurement errors become obvious once you’re fully assembled.
When should I choose ties versus a zipper or elastic corners for patio cushions?
Use ties when you can wrap around something stable (chair post or frame). Avoid relying only on ties for cushions that sit on smooth metal legs, sling chairs, or anything that moves with wind, because the tie ends can slip. For those setups, a zipper or elastic corner fitted approach is usually more reliable, or you can add a fabric strap system.
What closure type is easiest if I plan to take the cushion inserts out often?
If you want to remove covers for cleaning, prioritize a zipper (knife-edge) or a zipper plaque into the boxed seam. Envelope covers slide on easily, but they are less ideal if your foam is bulky or you frequently need to pull the insert fully out for deep cleaning.
How do I prevent wavy or puckered corners on outdoor cushion covers?
Baste or pin at corners, then clip and turn, but do not stretch the fabric while sewing corners. If the fabric pulls, you will get uneven corner fullness and puckering. After turning corners, press with a light touch so the finish stays crisp without distorting the grain.
What should I do if my zipper looks twisted or bunches when installed?
If the zipper won’t sit flat, check that you stitched it along a true centerline and that you did not accidentally twist one zipper tape. Also confirm your zipper length matches the back edge after you add seam allowance, if your zipper is too long you will get bunching, too short and it will stress the zipper teeth.
Can I upgrade a basic cover by adding piping or welt trim at the corners?
Yes, but plan your cut so you still have room for closures and seam reinforcement. Swapping to piping or welt means corners need extra allowance for the trim to curve without pulling. If you add piping, always dry-fit the piping around the corner seam line and confirm the length before sewing it into place.
My chair cushion keeps sliding, what quick fixes help most?
If your cover is slipping, first confirm the closure type is correct for the cushion style. Then troubleshoot fit: too much slack at the sides or back causes movement. For tie designs, reposition tie attachment points to match where your chair’s post contacts the cushion, and lengthen or shorten ties so they stay snug without over-tensioning seams.
Do I always need to seam-seal outdoor fabric, and what happens if I miss spots?
To reduce seam leaks, seam sealing should cover every needle hole and the entire seam allowance, not just the top line. If you used breathable solution-dyed acrylic, sealing is usually unnecessary, but if you used coated or waterproof fabric, seal consistently or you can trap moisture inside and accelerate mildew.
What fabric substitutions are risky for patio cushion covers?
Avoid quilting-weight cotton because it lacks UV and mildew resistance, but if you are tempted to substitute fabric, do a practical yardage test: wash and dry a scrap (following the fabric care), then leave it in sun for a few weeks. If it fades or becomes brittle quickly, it will likely fail on an outdoor cushion.
What is the safest way to clean mildew or grime if I’m not sure what fabric I used?
Wash and air-dry fully before storage, and do not store while the foam insert is still slightly damp. For stubborn spots, use soap and lukewarm water for regular grime, then treat mold or mildew only with a product appropriate for your specific outdoor fabric type. If you are unsure, spot-test on an inside seam area first to confirm colorfastness.
What if I replace the foam insert and it’s a different thickness than the original?
When replacing inserts, measure the foam thickness and match the cover’s depth. If your new foam is thicker than the original, the cover may strain at the closure or corners, which shortens seam life. If you already sewed the cover, consider using a slightly larger overlap amount for an envelope style or moving to a zipper closure that can accommodate small thickness changes.
Can I dye my existing patio cushion covers, and will the dye affect durability?
Yes, but treat it like a different fabric project because dyeing affects colorfastness and can change how a fabric wicks moisture. After dyeing, test on a scrap and follow the fabric’s care rules, then inspect seams and closures for any stiffness changes that might affect zipper movement or elastic performance at corners.