Yes, you can dye patio cushion covers, but whether it actually works depends almost entirely on what fabric you're dealing with. If you want step-by-step instructions for sewing and installing new cushion covers too, that’s a separate process worth planning before you start dyeing dye patio cushion covers. Natural fibers like cotton and linen take dye beautifully with standard fabric dye and hot water. Synthetic fabrics like polyester, acrylic, and olefin, which cover most outdoor cushions sold today, need a specialized synthetic dye and near-boiling heat to absorb any color at all. For polyester and other synthetics, dyeing usually requires a dedicated synthetic dye and sustained high heat. Solution-dyed acrylics (like Sunbrella) and vinyl-coated polyester are essentially impossible to re-dye at home. If you've got the right fabric and the right dye, this is a very doable weekend project that can completely transform sun-faded or ugly cushions without spending money on replacements. If your goal is to refresh patio furniture without replacing it, learning how to make covers for patio furniture can help you get the look you want weekend project.
How to Dye Patio Cushion Covers: Beginner DIY Guide

Step 1: Figure Out What Your Cushion Covers Are Actually Made Of
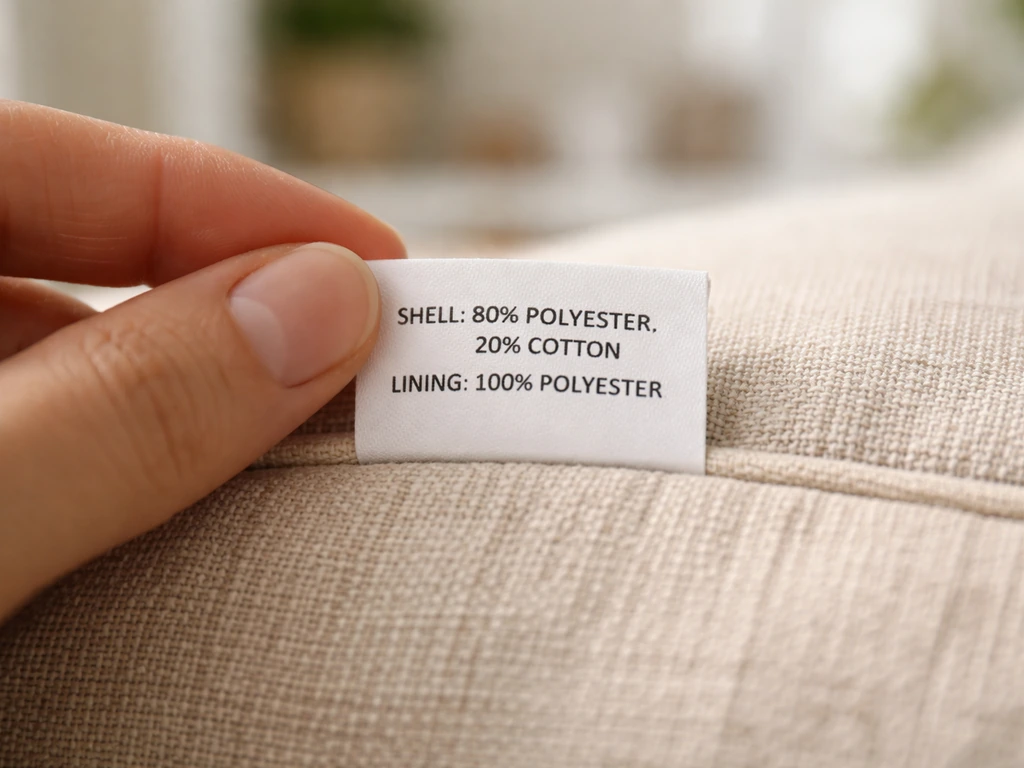
This is the most important step and the one most people skip. Grab the care tag on your cushion covers. It will usually list the fiber content, and that tells you almost everything you need to know about whether dyeing will work and which dye to buy.
Here's how the main fabric types break down for dyeing:
| Fabric Type | Common in Outdoor Cushions? | Can You Dye It? | Dye to Use |
|---|---|---|---|
| 100% Cotton | Yes (budget cushions) | Yes, easily | Standard fabric dye (Rit All-Purpose, Tulip, Dylon) |
| Cotton/Poly Blend | Yes (common) | Partially — cotton takes color, poly resists | Rit DyeMore or synthetic dye at high heat |
| 100% Polyester | Very common | Yes, but requires high heat and synthetic dye | Rit DyeMore or Jacquard iDye Poly |
| Solution-Dyed Acrylic (e.g., Sunbrella) | Very common (premium) | No — dye is baked into the fiber at manufacture | Not recommended |
| Olefin / Polypropylene | Common (budget-mid) | Extremely difficult, results poor | Not recommended |
| Vinyl / PVC-Coated Polyester | Common (stain-resistant lines) | No — coating blocks dye absorption | Not recommended |
If there's no care tag or it's worn off, you can do a quick burn test on a small hidden thread or seam. Pull a few threads and hold them briefly over a flame with tweezers. Cotton and linen smell like burning paper and leave a soft grey ash. Polyester and other synthetics melt, drip, and may self-extinguish when you pull the flame away, leaving a hard plastic bead. Blends do a bit of both, which can make identification tricky. If you're not sure, assume it's synthetic and treat it accordingly.
One thing worth being upfront about: most quality outdoor cushion fabrics today are solution-dyed acrylics or treated polyesters engineered specifically to resist staining, UV damage, and moisture. That resistance is exactly why they're hard to dye. If your cushions are from a mid-to-high-end brand and have held up well outdoors for years, there's a real chance they won't take dye well. If your covers are a faded basic cotton or a budget polyester blend, you're in much better shape.
Step 2: Prep the Covers Properly (Don't Skip This)
Dirty or greasy fabric dyes unevenly. This is where a lot of first-timers go wrong. You put the covers straight into a dye bath without cleaning them first, and you end up with splotchy color and dark patches where old stains were. Proper prep takes an hour or two but it's what separates a clean, even result from something you'd be embarrassed to put back outside.
Deep Clean First
Remove the covers from the cushion inserts if they're zippered or have removable covers. If the covers are sewn shut, this project gets more complicated, but you can still dye them using the soaking or spray method described below. Machine wash the covers on the hottest setting the care tag allows, using a standard detergent. No fabric softener, because softener leaves a residue that blocks dye absorption. If the covers have mildew, add a cup of white vinegar to the wash cycle or scrub visible mold spots with a diluted bleach solution (1 tablespoon bleach per quart of water for white or undyed fabric, spot test first on colored fabric). Rinse thoroughly.
Handle Stains Before You Dye
Grease stains are a nightmare under dye. Use a degreasing dish soap like Dawn and work it into any oil spots before washing. For rust stains, a commercial rust remover or a paste of cream of tartar and lemon juice can help. Here's the hard truth: dye will darken but not erase stains. If there's a big rust spot or set-in grease mark, the dye will make it more visible, not less, because the stained area absorbs differently than clean fabric. Treat stains thoroughly and re-wash if needed before you move on.
Dry Completely Before Dyeing
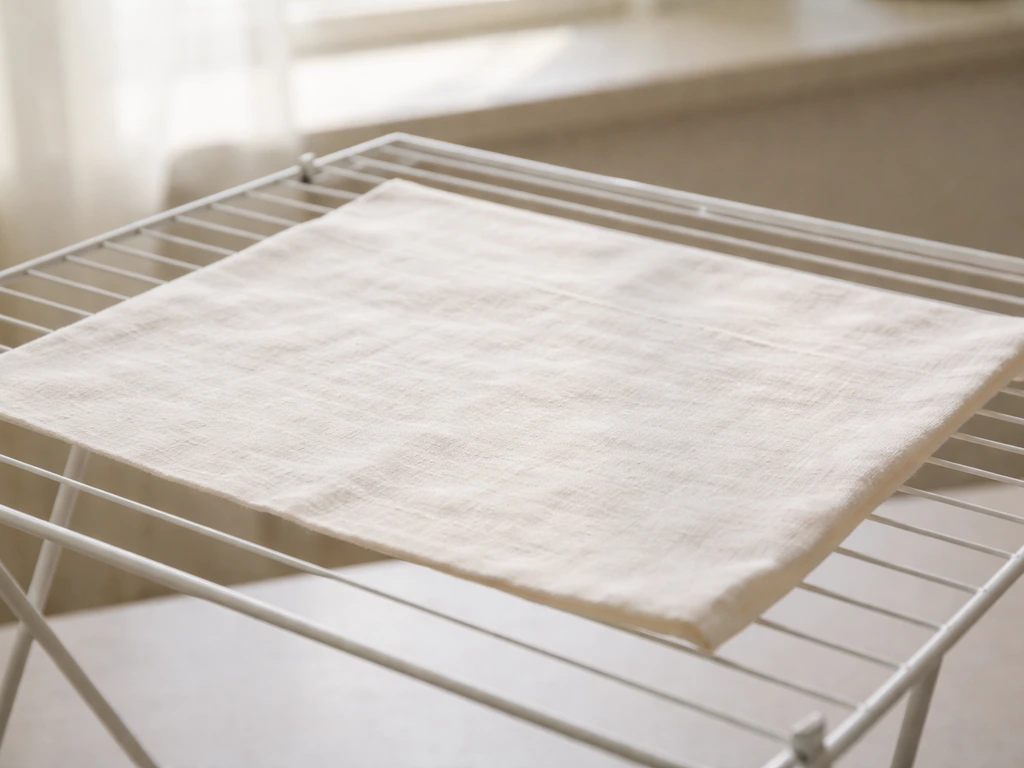
If you're using a spray or brush-on dye method, the fabric should be fully dry before application. If you're doing a hot-water soak method, the covers should be damp but not soaking wet when they go into the dye bath. Wring them out well after the final rinse and they're ready.
Step 3: Pick the Right Dye Method for Your Fabric
There are two main approaches, and which one you use depends on your fabric type and what you're trying to achieve.
Hot-Water Soaking Method (Best for Cotton, Linen, and Cotton Blends)
This is the classic fabric dye process. You dissolve dye in hot water, submerge the fabric, and stir constantly to get even coverage. For natural fibers, standard dyes like Rit All-Purpose, Tulip Permanent Fabric Dye, or Dylon work well. Tulip recommends using about one 50g packet per gallon of hot water for roughly one large garment worth of fabric, so scale up for big cushion covers. Too much fabric in too little dye means washed-out color. For cotton/polyester blends, you can use this method but the polyester portion of the fabric will resist the dye and come out lighter than the cotton, giving a heathered or faded look. That might be fine for your purposes, or it might not.
Stovetop Simmering Method (Required for Polyester and Synthetic Fabrics)
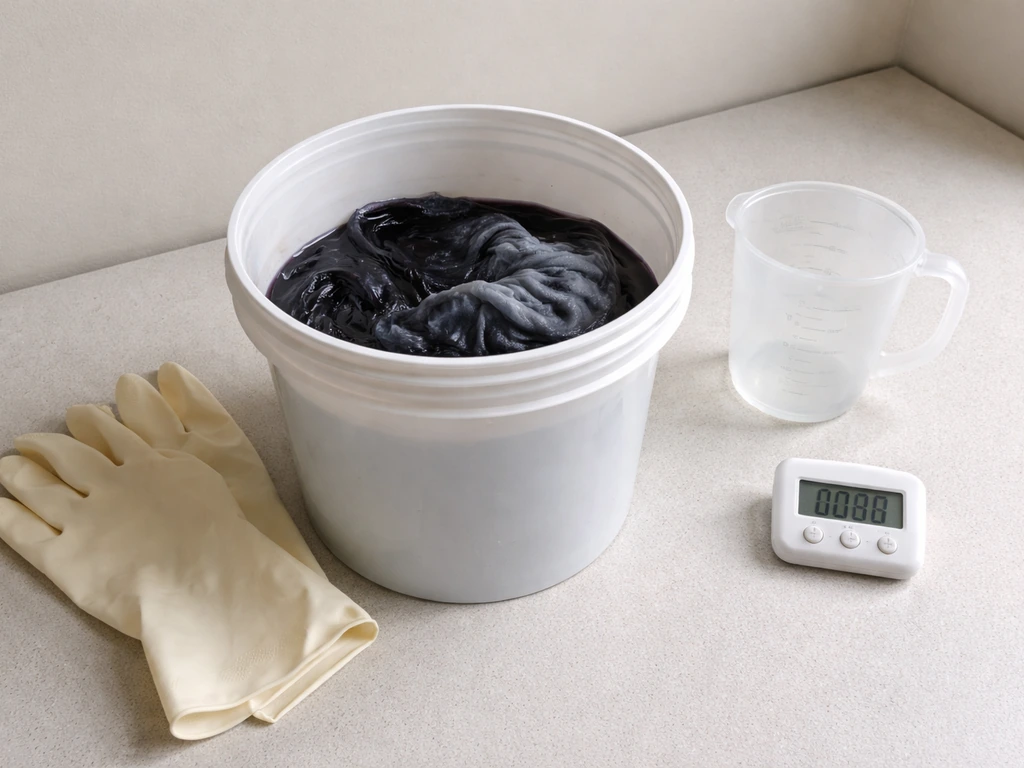
Polyester and other synthetics need sustained high heat to open the fiber enough to accept dye. Rit DyeMore and Jacquard iDye Poly are the two most practical options for this. Rit specifies maintaining the dye bath at 200°F (93°C) or higher, which means simmering on a stovetop, not just mixing in hot tap water. Plan for at least 30 minutes of sustained heat for polyester to absorb color fully. This method uses a dedicated pot that you should not cook food in afterward. If your cushion covers are large, you'll need a big stockpot or a clean utility bucket on a single-burner outdoor cooker. Jacquard iDye Poly comes in a dissolvable packet that you drop straight into the hot water, which makes it a bit more convenient. Jacquard Products also describes iDye Poly as coming in a dissolvable packet format intended for polyester dyeing Jacquard iDye Poly comes in a dissolvable packet.
Spray Dye and Brush-On Methods (For Awkward Pieces or Non-Removable Covers)
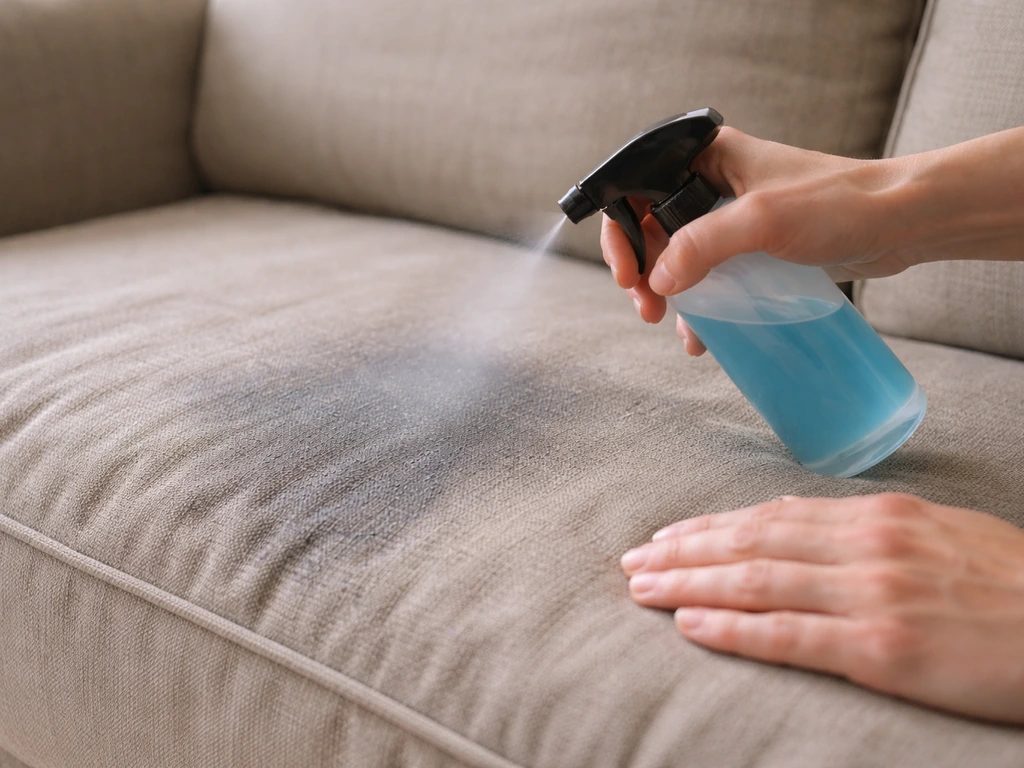
If the cushion covers can't be removed, or if you're trying to do a color change on a large piece without using a pot, spray fabric paint or brush-on fabric dye is an option. Products like Rit's spray bottle formulas or general fabric spray paints give you more control over placement but require very even application to avoid streaks. You'll need multiple light coats and should work in sections. This method works on synthetic fabrics without needing heat, but the color tends to sit on the surface rather than penetrating the fiber, which can mean more cracking or rubbing off over time compared to a proper dye bath. It's a good solution for covers that won't come off, but manage your expectations on longevity.
Step 4: Dye the Covers for Even, Non-Splotchy Color
Follow these steps whether you're dyeing cotton covers in a bucket or polyester covers in a pot on the stove.
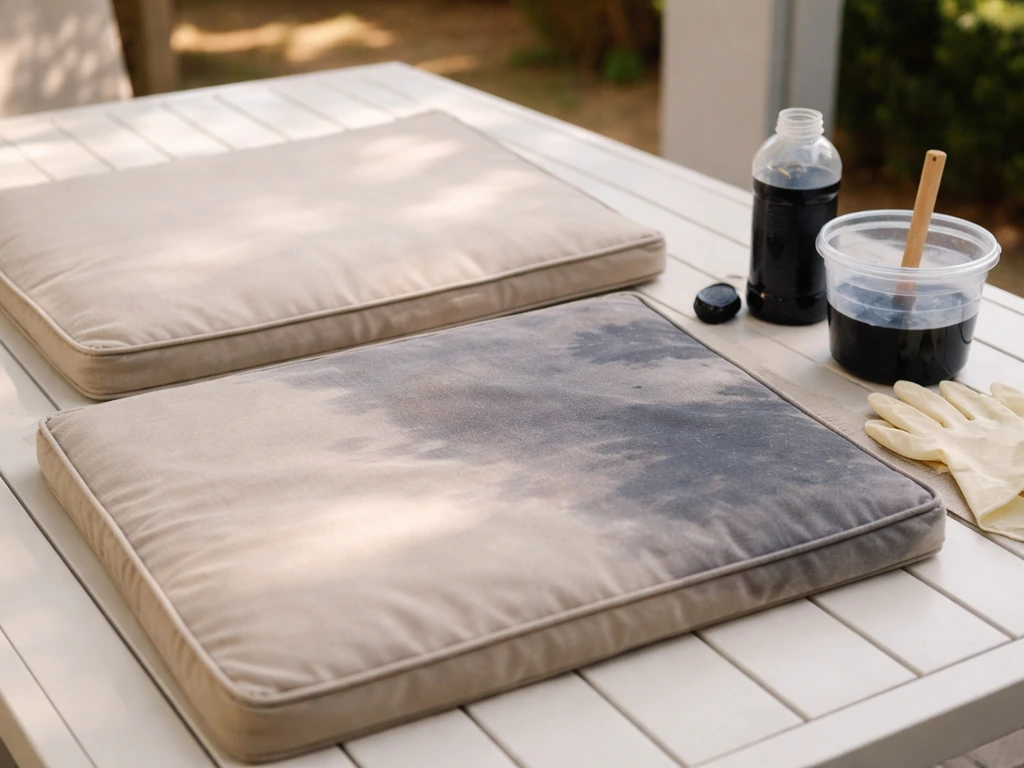
- Protect your workspace. Cover your work surface with plastic sheeting or old newspapers. Wear rubber gloves the entire time. Dye stains skin, clothes, and grout permanently.
- Protect trim, zippers, and seams you don't want dyed. Use masking tape or petroleum jelly to coat metal zippers, plastic D-rings, or trim pieces. Rubber-backed seams and contrast piping will absorb dye differently and may turn a slightly different shade. Taping those areas off gives cleaner results.
- Dissolve the dye completely before adding fabric. Mix dye powder or liquid thoroughly in hot water and stir until fully dissolved. Lumps of undissolved dye cause dark spots. Add salt if the dye instructions call for it (common with cotton dyes, as salt helps the fiber absorb color).
- Add the damp fabric and stir immediately. Constant movement in the first few minutes is critical. If fabric sits still while the dye is hottest, you get splotchy color. Stir continuously for at least the first 10 minutes, then keep stirring every minute or two for the rest of the dyeing time.
- Maintain temperature throughout. For cotton/linen, keep the water hot (around 140°F is fine for most standard dyes). For polyester with Rit DyeMore or iDye Poly, keep it simmering on the stove at 200°F or above for 30 to 45 minutes. Use a kitchen thermometer if you want to be precise.
- Go darker than you think you need. Colors always appear more vibrant when wet. When the cover comes out of the dye bath, it will look much darker than the finished dried result. If you're going from light to a medium shade, add extra dye to compensate.
- Rinse in gradually cooler water. Start with warm water and rinse in progressively cooler water until the water runs mostly clear. Don't start with cold water on hot fabric, as the sudden temperature change can affect color distribution.
One thing I learned the hard way: if you're dyeing a cover that has white or contrast-color piping or trim, the trim will pick up some dye no matter what you do. Either plan a color that works with the trim taking on some color, or tape it off extremely carefully with painter's tape before the cover goes into the bath.
Step 5: Set the Dye So the Color Actually Sticks
Dyeing is only half the job. Setting the dye properly is what determines whether the color lasts months or washes out after one rain. The approach differs based on fabric type.
For Cotton and Natural Fiber Covers
After rinsing, apply Rit ColorStay Dye Fixative immediately, before the final wash. Rit is explicit that you use it right after dyeing and before laundering for natural fibers like cotton, linen, silk, wool, and rayon. You can spray it on with a trigger sprayer or apply it in a separate bath. The fixative reduces bleeding and helps the dye bond more permanently to the fiber. After the fixative has been applied per the product instructions, do a final wash with a small amount of detergent in warm water and rinse in cold.
For Polyester and Synthetic Covers
For synthetics, Rit recommends skipping the ColorStay fixative and instead doing a thorough rinse in warm water, gradually cooling to cold, until the water runs clear. The dye bonds to synthetic fibers differently than to natural ones, and the sustained high heat during dyeing is doing most of the setting work. After rinsing, machine wash on a warm, gentle cycle with a small amount of detergent to remove any remaining surface dye that hasn't bonded to the fiber.
Drying After Dyeing
Dry the covers completely before putting them back on the cushions. Air drying in a shaded spot is ideal, especially right after dyeing, because direct sun during the initial dry can affect how the color sets. Machine drying on low heat is fine for most cotton covers once they've been rinsed and treated with fixative. Avoid high heat for synthetic covers as it can distort the fabric.
Caring for Dyed Patio Covers So the Color Lasts
Outdoor conditions are hard on dyed fabric. UV exposure, moisture, and regular washing all work against color retention. Here's how to extend the life of your work.
Washing After Dyeing
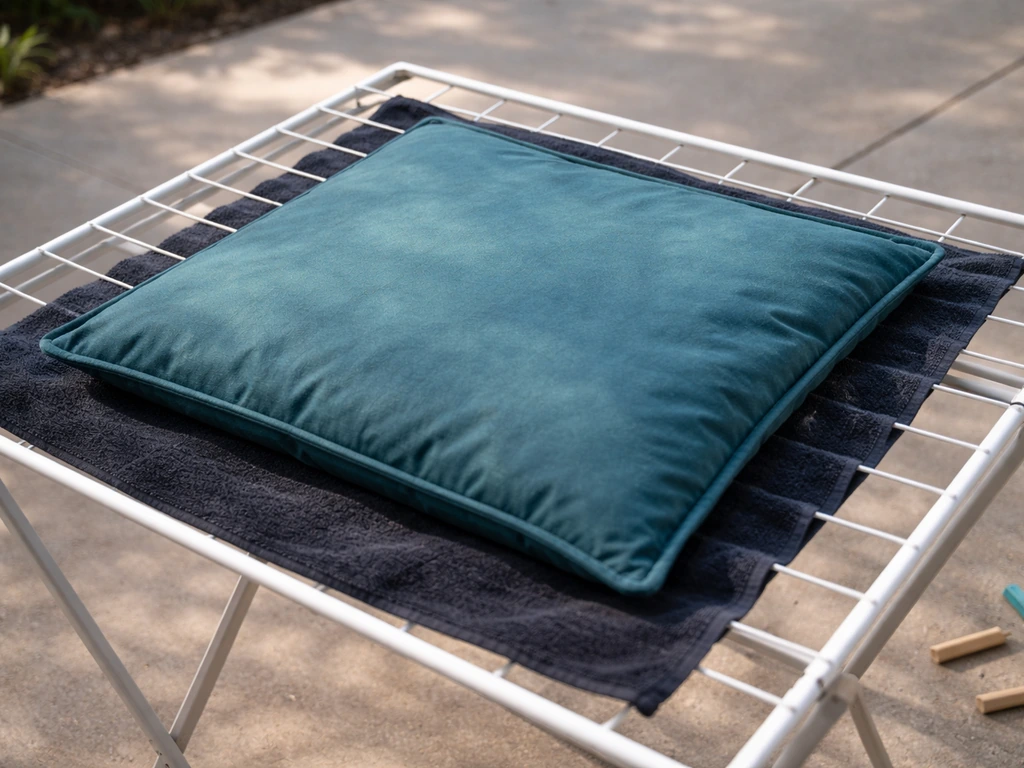
For the first several washes after dyeing, wash the covers separately or with dark towels. Some residual dye will continue to rinse out for the first two or three washes, and you don't want it staining anything else. Use cold water and a gentle cycle, and avoid laundry detergents that contain bleach or optical brighteners, which will strip color faster. A dye-safe detergent or a small amount of Woolite works well.
Preventing Rub-Off
If dye is rubbing off onto clothing or skin when you sit on the cushions, there's likely some unbonded dye still on the surface of the fabric. Run the covers through another warm wash cycle and rinse well. If rubbing off persists after two or three washes, reapply ColorStay Dye Fixative and wash again. Persistent rub-off on synthetic fabric usually means the dye bath temperature wasn't sustained long enough for full fiber penetration.
Slowing Down Fade Outdoors
- Store cushions indoors or in a storage box when they're not in use, especially during peak sun hours or when rain is expected. UV is the number one enemy of dyed fabric.
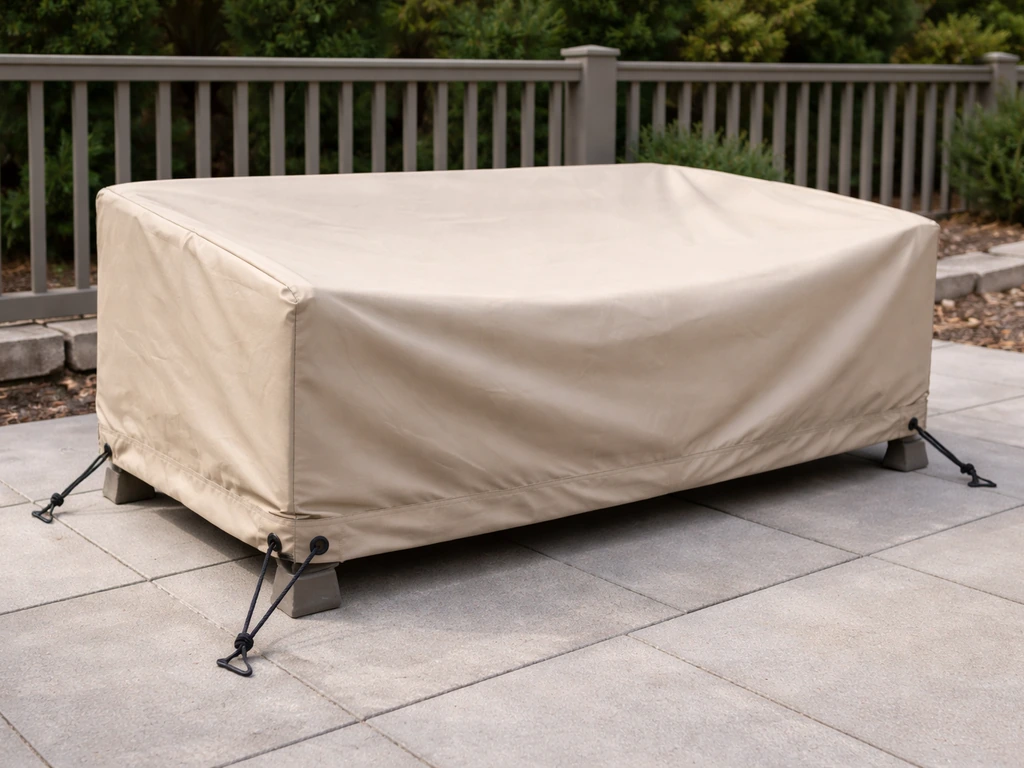
- Bring covers inside during winter or cover the cushions with a UV-blocking patio furniture cover for seasonal protection.
- Consider applying a UV-protective fabric spray after dyeing and washing. These products add a light barrier against UV degradation and can extend color life noticeably.
- Avoid bleach-based cleaners for spot cleaning. Use mild soap and cold water for any spot treatment after dyeing.
- Re-dye is always an option. Once you've done it once, touching up faded color is faster and easier because you know the process and already have the supplies.
One Honest Reality Check
Even with perfect technique, home-dyed patio cushion covers won't have the fade resistance of solution-dyed acrylic fabric, which has color built into the fiber during manufacture. That's a factory process you genuinely can't replicate at home. What you can get is a good, even color that looks great for a season or two with proper care, which is often all you need to get another few years out of cushions that would otherwise be headed to the trash. If you're also interested in making entirely new covers or recovering your cushions with fresh fabric, that's another route worth exploring once you've assessed whether dyeing is the right call for your specific cushions. If you want to cover patio chair cushions instead of dyeing them, you can also make new covers or reupholster with fresh outdoor fabric how to cover patio chair cushions. If dyeing is not the best option, you can also make new covers for patio cushions from outdoor fabric so you control the color and fit from the start make covers for patio cushions.
FAQ
Can I dye over an existing color, or will it come out patchy?
Plan for color drift if your cushions are already dyed or stained. Dye adds pigment but does not “reset” fabric to a true base color, so starting from sun-faded tan, grey, or off-white can push the final shade warmer or darker than the dye bottle example. If you want predictable results, aim for the lightest, cleanest starting color you can achieve after stain removal, and test on an inside seam or hidden corner first.
What if my cushions are a dark color and I want them lighter?
Yes, but only if the fabric and dye system match. Going from dark to lighter is difficult because dye generally can’t lift pigment, it only deposits more color. Even on cotton, expect a “tonal” change rather than a true lightening, and you may need multiple dye sessions or a specialized color-remover, which can damage outdoor fabrics.
Why do my dyed covers come out uneven, and what products should I avoid before dyeing?
For outdoor cushions, skip fabric softener and any product described as conditioner or water repellent. These leave residues or coatings that block dye uptake, which leads to uneven or weak color. Stick to standard detergent for the dye prep wash, then rinse thoroughly before dyeing.
How do I prevent streaks when using spray or brush-on dye on patio cushion covers?
To reduce streaks with spray or brush-on dye, keep coats thin and consistent, work in one direction, and overlap each pass slightly. Wait for each coat to fully dry before adding the next, and use painter’s tape to mask piping or trim. If you see heavier color areas, lightly feather them before they dry completely rather than trying to correct after curing.
What equipment should I use for dye baths, and can I use a cooking pot?
Do not use the same pot you plan to cook food in, even if you rinse well. Dye can cling to surfaces and leave staining or residues. Use a dedicated stockpot, or an outdoor utility setup, and wear heat-safe gloves since the dye bath is near boiling for synthetics.
My covers have no care tag. How can I tell what dye type I need?
If the care tag is missing, don’t rely on look or brand claims. Use the burn test described in the article on a hidden thread or seam, then choose your dye method accordingly. When the result is mixed (blends), the safest approach is to treat it like synthetic for penetration expectations, or you may end up with a heathered or faded final color.
What should I do if the dye keeps rubbing off on clothes after drying?
Color may keep bleeding for a few washes, especially if you used natural-fiber dye without proper fixative timing, or if you didn’t rinse until clear. To troubleshoot, run extra warm rinse cycles first, then do the appropriate fixative step for natural fibers (right after dyeing and before the final wash) or the warm-to-cold rinse process for synthetics. Persistent rub-off after two or three washes is usually a bonding issue, not a dye color issue.
Will dye discolor the piping or zipper area, and how can I avoid it?
For white or contrast trim, tape-off is the only way to truly protect it, but it won’t be perfect if the trim is tightly stitched and dyes can wick through seams. If you want the cleanest result, remove the trim where possible, or choose a dye color that intentionally harmonizes with the trim shifting slightly. Do small seam tests first to see how much wicking happens.
My covers are “solution-dyed” or brand-labeled outdoor fabric. Is dye still worth trying?
If the fabric is solution-dyed acrylic or vinyl-coated polyester, home re-dyeing often won’t create durable penetration. Instead of spending time on a likely ineffective dye bath, consider spray-on methods for a temporary surface tint, or replace/recover with outdoor fabric so the color is built and stable from the start.
How do I dye large, thick cushion covers without getting dark creases or light spots?
Yes, but size matters for even coverage. If you overfill a pot or bucket so fabric folds tightly, you’ll get darker creases and lighter high points. For best results, keep the covers moving or stir constantly for natural fibers, and for synthetic hot-pot dyeing, ensure the entire cover is fully submerged and stays at target temperature without cooling.
What’s the best way to wash dyed patio cushion covers so the color lasts longer?
After dyeing, expect UV and washing to reduce brightness over time. To extend color life, wash in cold or cool water on gentle, use dark towels for the first few washes, and avoid detergents with bleach or optical brighteners. Store cushions dry when not in use, and keep them shaded if possible to slow fading.