You can make a custom patio furniture cover by measuring your piece at its widest, deepest, and tallest points, cutting weather-resistant outdoor fabric to those dimensions with a few inches of ease, sewing the panels together with a flat-felled or French seam, sealing the seams, and finishing the hem with an elastic drawcord or buckle strap so the cover stays put in wind. It takes a few hours, costs roughly $20–$60 in materials depending on fabric choice, and the result fits far better than any off-the-shelf bag.
How to Make Covers for Patio Furniture: DIY Guide

Maren Grady
27 May 2026
Pick the right cover style before you cut anything
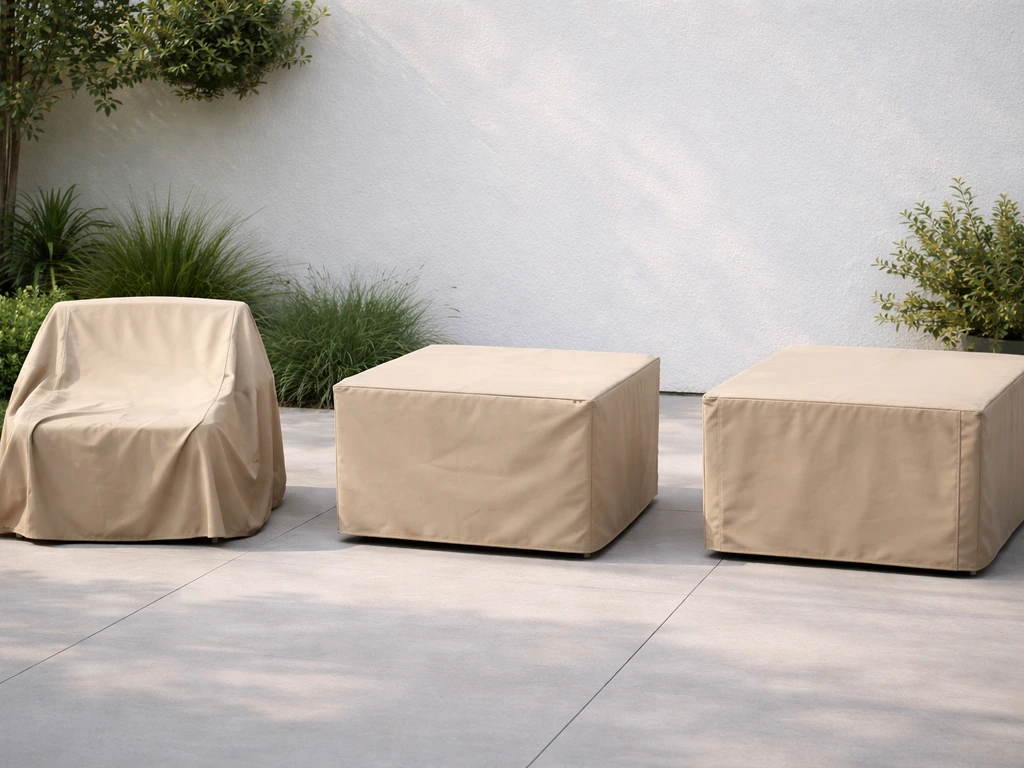
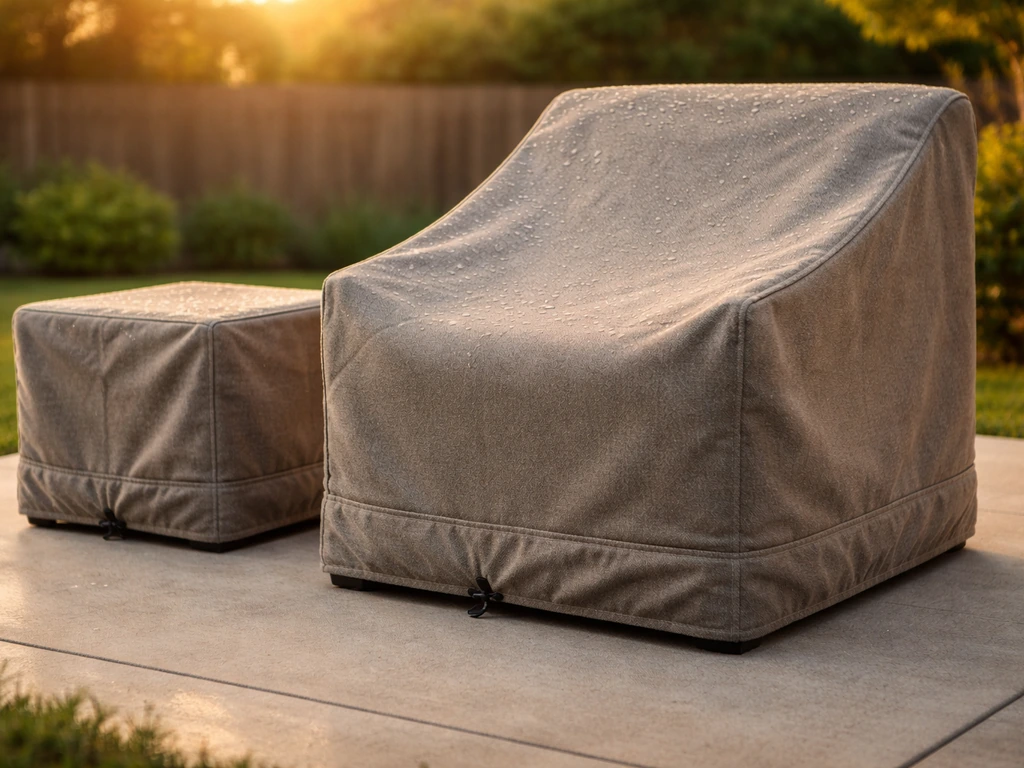
Most patio furniture covers fall into three styles: a simple slip-over bag (works great for chairs and side tables), a fitted box cover with a separate top panel and drop sides (ideal for dining sets, deep sofas, and sectionals), and a flat tarp-style cover with perimeter tie-downs (fastest to make, but the least tidy). For seating, a slip-over bag is almost always the right call.
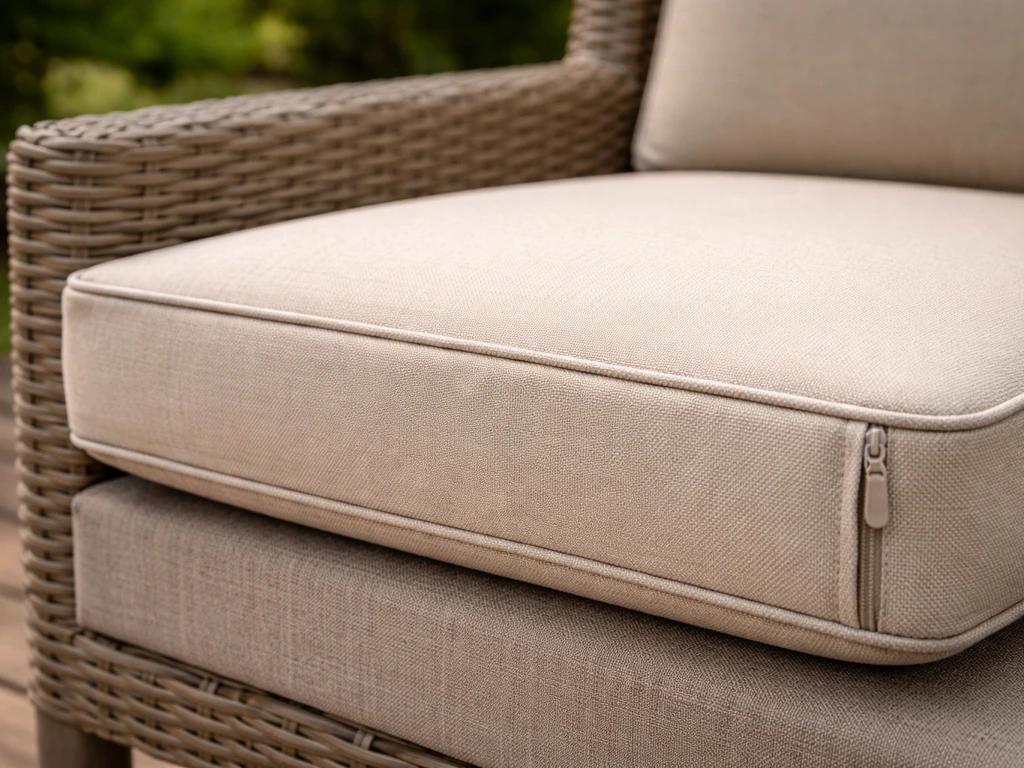
For a dining table with chairs tucked underneath, a box cover that drops to about 4 inches off the ground gives you the best protection without collecting puddles. If you're covering cushions rather than the whole frame, that's a slightly different project that goes deeper into fabric selection and zipper closures.
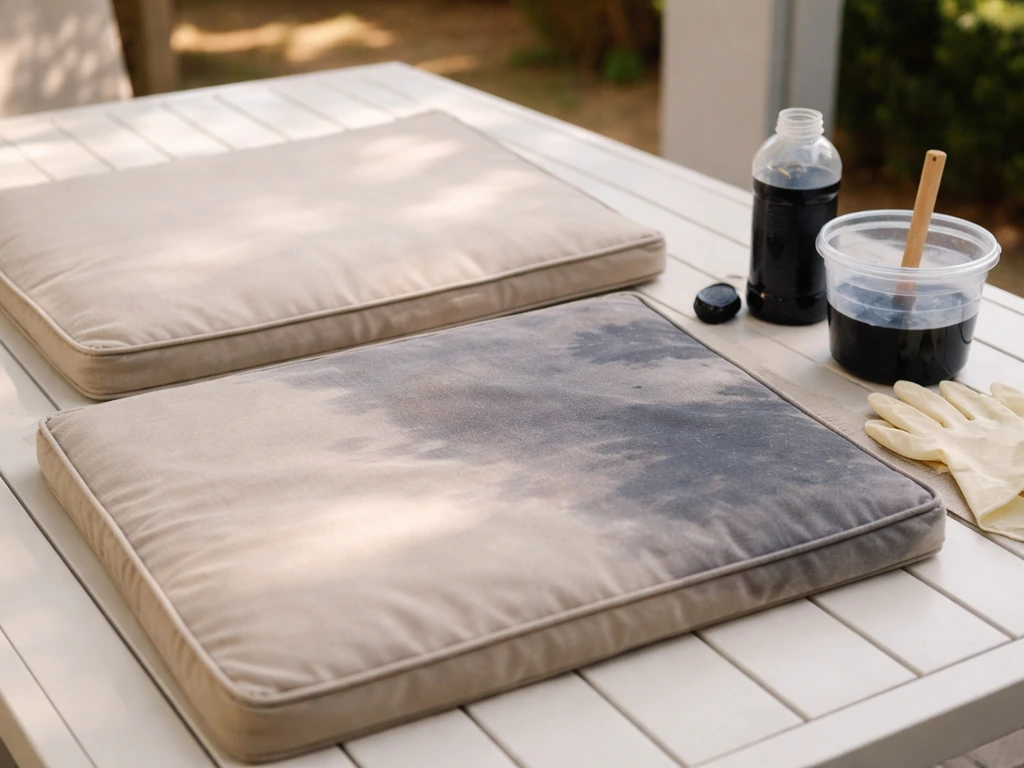
If you want to dye patio cushion covers for a refreshed look, the fabric type and pre-treatment step matter as much as the actual dye color covering cushions.
The fit goal is a cover that sits close to the furniture silhouette on the sides, about half an inch of breathing room from the frame, while the hem hangs roughly 4 inches above the ground. Loose, billowy covers collect wind, and wind-lifted covers let rain funnel straight in. Loose, billowy covers collect wind, and wind-lifted covers can let rain funnel in and pool water instead of staying shed wind-lifted covers let rain funnel straight in. Too tight and you'll fight to get the cover on every time. Aim for snug but not stretched.
Materials and waterproofing options
Fabric choice makes or breaks a DIY cover. Here's what actually works outdoors and why.
| Fabric | Pros | Cons | Approx. Cost per Yard |
|---|---|---|---|
| Solution-dyed acrylic (e.g., Sunbrella or SunNova) | UV/fade resistant, mildew resistant, water resistant, breathable, UPF 50+ | Most expensive upfront | $20–$35 |
| Polyester canvas with PU coating | Affordable, waterproof surface | Fades faster, less breathable, can crack at fold lines after a few seasons | $6–$12 |
| Vinyl/PVC coated fabric | Fully waterproof, easy to wipe clean | Traps condensation underneath, heavy, not breathable | $8–$15 |
| Ripstop nylon (coated) | Lightweight, packable | Not as UV stable, better for temporary covers | $5–$10 |
My honest recommendation: spend the extra money on solution-dyed acrylic if the furniture is staying outside year-round. The fact that the color is baked into the fiber, not printed on top, is what makes it genuinely fade-resistant and mildew-resistant, not just treated to be that way temporarily. Sunbrella is the name most people know, but look for any fabric labeled '100% solution-dyed acrylic' with a UPF 50+ rating and mold/mildew resistance claims on the spec sheet. Fabric Mill describes Sunbrella as 100% solution-dyed acrylic that is UV resistant, water resistant, mildew resistant, fade resistant, and stain resistant, and it is breathable to help prevent condensation. It's the same construction, often at a lower price.
For waterproofing, breathability matters more than you'd expect. A fully sealed, non-breathable cover traps condensation underneath, which creates exactly the mildew problem you're trying to avoid. The best approach is a fabric that is water-resistant (sheds rain off the top) but allows moisture vapor to escape through the weave. If you're using a coated polyester or vinyl fabric, cut a few 1-inch vent holes near the base and back them with a small patch of mesh fabric sewn on the inside. This is the same principle used in high-end commercial covers that advertise a 'ventilated base.'
Seam sealing is the step most DIYers skip and then regret. Even a water-resistant fabric leaks at every needle hole. After sewing, apply seam sealing tape (adhesive-backed strips made for outdoor gear, available at fabric and outdoor sports stores for around $8–$12 per roll) along every seam on the inside of the cover. Press it flat with a warm iron. The tape needs to cover all needle holes and the full width of the seam allowance, not just the stitch line.
Measuring and patterning for a custom fit
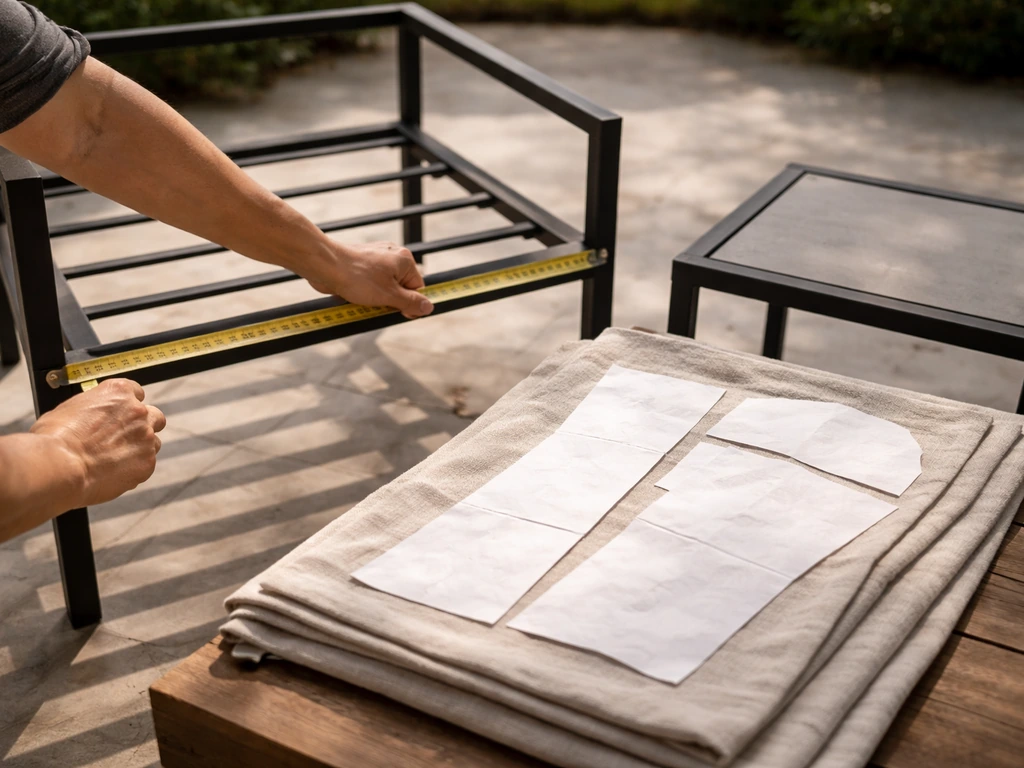
This is where most people go wrong. Measuring furniture for a cover is not the same as measuring a room for a rug. You need three core dimensions for every piece, plus a few extras depending on the shape.
- Width: Measure across the widest point of the frame, typically armrest to armrest on a chair or the full outer width of a table. Do not measure the seat surface alone.
- Depth: Measure front to back at the deepest point, usually from the front of the armrest or footrest to the back of the frame.
- Height: Measure from the floor (or feet of the furniture) up to the tallest point, which is usually the top of the chair back or the table surface. For lounge chairs, measure at the highest recline position.
- Drop length: Decide how far down the sides you want the cover to hang. Four inches off the ground is the standard. Subtract that from your height measurement to get your drop.
- For sectionals and sofas: measure each section individually (width, depth, height) and note how they connect. You may be making multiple covers or one large box cover with seams at the joints.
Once you have your three core dimensions, add seam allowance (1 inch on each sewn edge) and ease (1 inch on each side for slip-over covers, or 0.5 inches if you want a snug fitted box). Write your dimensions down before you touch the fabric. I always sketch a rough exploded diagram of the panels: top panel, front panel, back panel, two side panels, and note each panel's cut dimensions separately. This prevents the very expensive mistake of cutting one panel 2 inches too short.
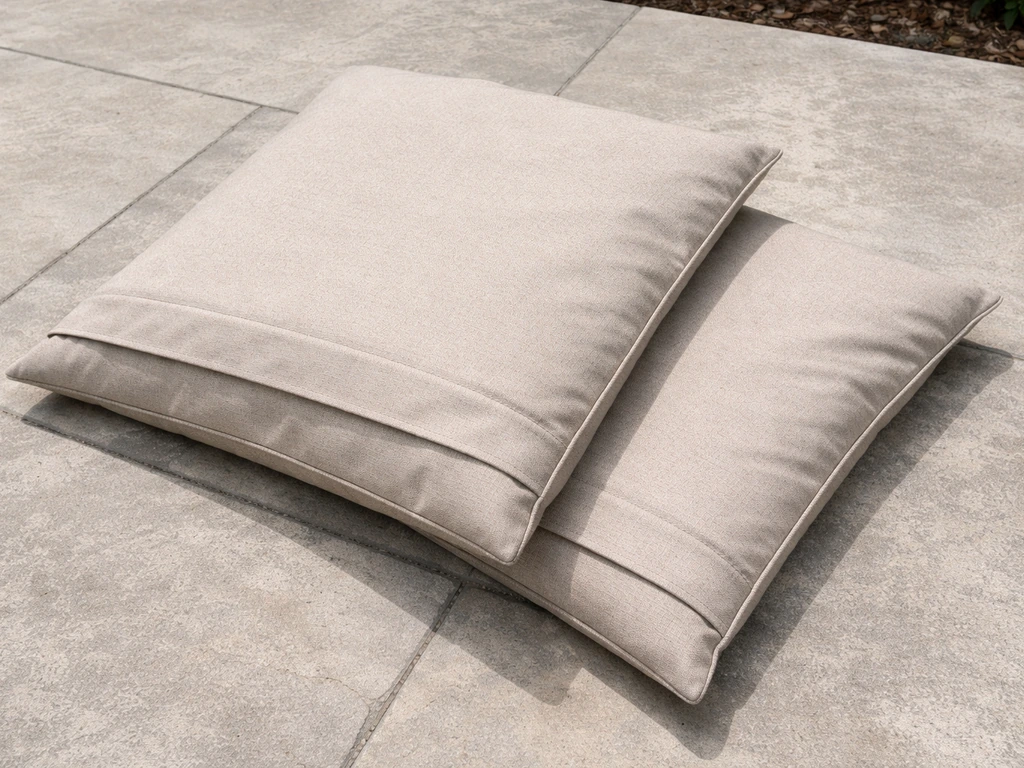
For a basic chair slip-over cover, you're essentially making a three-sided box that's open at the bottom. If you're making cushion covers instead of a full furniture cover, the pattern and closures will be a bit different, so plan for those before you cut your fabric covering cushions. Your panels are: one top rectangle (width plus ease x depth plus ease), two side rectangles (height x depth plus ease), one front rectangle (height x width plus ease), and one back rectangle (height x width plus ease). Transfer those dimensions to your fabric using tailor's chalk or a washable marker and a straight edge. Cut carefully.
Step-by-step: sewing the cover together
You do not need an industrial sewing machine. A basic home machine handles outdoor fabric fine if you use the right needle: size 16 or 18 with a rounded (ballpoint or tapered) tip. This pushes the yarns aside instead of punching through and weakening the weave. Set your stitch length to the longest your machine allows, usually 4–5mm. Shorter stitches create more needle holes per inch, which means more potential leak points and a weaker seam in heavy canvas. Thread with UV-resistant polyester thread, not cotton, which rots outdoors.
- Sew the front panel to the top panel, right sides together, along the top front edge. Use a 1-inch seam allowance. Press the seam open or to one side.
- Sew the back panel to the top panel the same way along the top back edge.
- Sew each side panel to the front, back, and top panels to form the box shape. Work one side at a time, pinning at corners first.
- At each inside corner, clip the seam allowance diagonally (almost to the stitch line) so the fabric lies flat when turned. This is the number one corner-finishing trick beginners miss.
- For extra water resistance, go back over every interior seam with a second stitch line 1/4 inch from the first (this is a flat-felled seam if you fold the allowance over, or just a reinforcing topstitch). Then apply seam tape over the inside of every seam as described above.
- Turn the cover right-side out and check the fit over your furniture before finishing the hem. Fix any awkward pulls or tight spots now, while it's still easy to re-seam.
- Fold the bottom hem up twice (1/2 inch then 1 inch) and sew a casing channel wide enough for your drawcord or elastic, leaving a 2-inch opening to thread it through.
If you're not confident sewing box corners, there is a no-sew shortcut: cut the cover as one large rectangle, fold it over the furniture, fold box pleats at the corners (like wrapping a gift), and secure the hem with heavy-duty snap fasteners or hook-and-loop tape rated for outdoor use. It's not as polished and won't last as long, but it works and costs almost nothing if you already own the fabric.
Ties, straps, elastic, and venting for a snug, durable fit
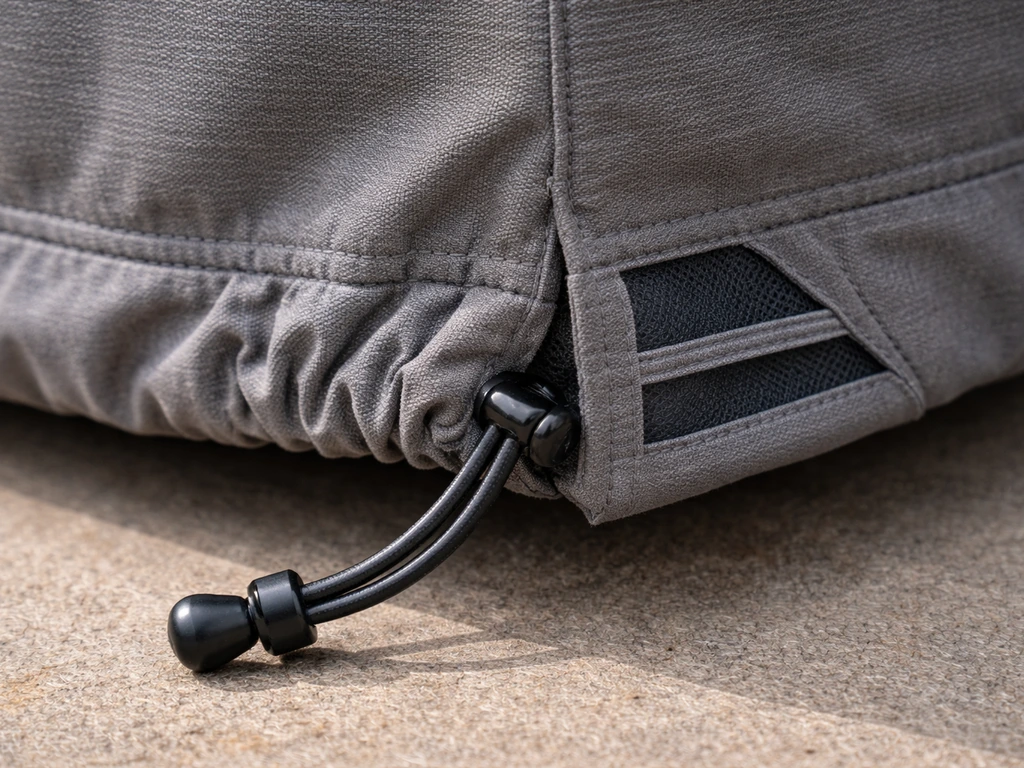
A cover that fits well but has no closure will still blow off in a 20 mph gust. You need at least one of these systems, and for anything larger than a side chair, you need two.
- Drawcord hem: Thread a 1/4-inch bungee cord or woven cord through the bottom hem casing and tie or cinch it snug under the furniture legs. This is the fastest, cheapest option and works well for simple chair covers.
- Elastic hem: Replace the drawcord with 1-inch wide elastic all the way around the hem. The cover grips the furniture like a fitted sheet. Best for round or irregular shapes where a drawcord would create uneven bunching.
- Buckle straps: Sew 1-inch webbing loops at the corners of the hem, then connect them under the furniture with short straps and side-release buckles. This is the most secure option for large covers over dining sets or sofas. Wrap the straps around a leg or cross them under the frame to gather any slack.
- Perimeter cinch with corner grommets: Install brass or stainless grommets at each corner of the hem (use a grommet kit, around $10). Thread a cord from grommet to grommet under the furniture in a star pattern and pull it tight. Works well for tarp-style covers over large items.
- Tie-down tabs sewn into side seams: For especially windy locations, add fabric loops sewn into the seams at mid-height on each side. Run a bungee cord or strap from loop to loop under the furniture for a secondary anchor point at mid-cover height.
For venting, the simplest approach is to leave the bottom hem slightly open at one or two points instead of cinching it fully closed, allowing air to circulate underneath. If you want a dedicated vent, cut a 2-inch circle about 4 inches up from the hem on the back panel, bind the edge with a grommet, and cover it from the inside with a small square of mesh fabric sewn down on three sides, leaving the bottom open like a flap. This lets air and condensation escape while keeping rain out.
Getting the cover on and keeping it in good shape all season
Installation is straightforward but a few habits make a real difference. Always wipe down the furniture before covering it. Dirt and moisture trapped under a cover accelerate rust on metal frames and mildew on cushion fabric. If you're covering furniture with cushions still attached, shake the cushions out first and make sure they're dry. A cover is not a substitute for drying things out.
Once the cover is on and the closure is cinched, give it a gentle tug at the corners to check that it's evenly distributed. A cover that's pulled too far to one side creates a low spot where water pools instead of running off.
For routine maintenance during the season, check the cover every few weeks. Brush off debris, especially leaves and pine needles that hold moisture against the fabric. If the cover gets muddy or develops a dark stain, spot clean it with a soft brush, mild dish soap, and cold water. Rinse thoroughly and let it air dry in the sun before putting it back on. Never fold it away damp. Even a mildew-resistant fabric will eventually develop a problem if you give mildew spores a warm, wet, dark environment to work in.
At the end of the season, wash the cover fully (solution-dyed acrylic can be hand-washed or run on a gentle machine cycle in cold water with mild soap), rinse it well, and hang it to dry completely before folding. Store it loosely folded in a breathable cotton storage bag or a pillowcase, not a sealed plastic bin. UV-resistant fabrics last years longer when stored away from sunlight, so a garage shelf or deck box is better than leaving it folded outside.
When things go wrong: fixing the most common cover problems
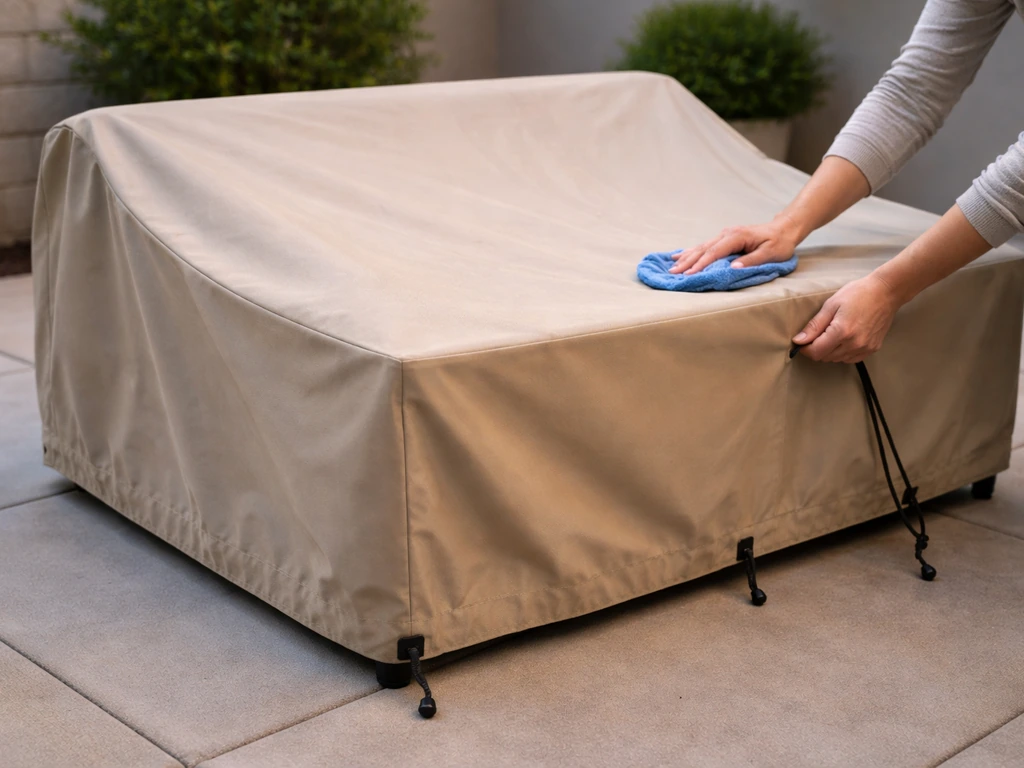
The cover blows off in wind
This almost always means the hem closure isn't secure enough, or the cover is too large and catches wind like a sail. First check the fit: if the cover hangs more than 6 inches from the furniture frame on any side, it's too big and needs to be taken in. If the fit is fine, upgrade from a drawcord to buckle straps crossed under the frame. For serious wind exposure, add mid-cover tie-down loops as described above.
Water pools on top instead of running off
A flat-topped cover on a flat piece of furniture will always collect some water. The fix is to add a foam 'peak' inside the cover: cut a small wedge of closed-cell foam and sew it into the top panel at the center so the cover has a slight dome or ridge. Water then sheds to the sides. Alternatively, if the furniture has a natural high point (like a chair back), make sure your top panel slopes toward it by cutting it with a slight taper.
Mildew spots appearing on the fabric
If you're seeing black or gray spots, moisture is getting trapped. Check whether the cover is sitting against the furniture so tightly that air can't move, whether you're covering things before they're fully dry, or whether the seam tape has failed (look for damp spots along seam lines after rain). Clean existing mildew with a solution of 1 cup bleach and 1/4 cup mild soap in a gallon of water, apply with a soft brush, let sit for 15 minutes, then rinse and dry fully. Add mesh vents if you haven't already, and make sure the hem closure isn't sealing the base completely.
Fabric is fading or degrading after one season
Premature fading usually means you used a non-solution-dyed fabric or a printed fabric that was not rated for outdoor UV exposure. Unfortunately there's no reversing UV damage once it's done. For the repair: if the fabric is still structurally sound, you can re-treat it with a spray-on UV protectant and water repellent (products like 303 Fabric Guard or similar) to extend its remaining life. But if you're rebuilding the cover, invest in the solution-dyed acrylic. Paying $30 per yard once is genuinely cheaper than replacing a $10-per-yard cover every year.
Seams are leaking or fraying
Fraying edges mean the seam allowance wasn't finished. You can fix this after the fact by running a zigzag stitch along the raw edge, or applying a liquid seam sealant (Fray Check or similar) along the edge. Leaking seams mean the seam tape failed or was never applied. Peel back any old tape, clean the seam with rubbing alcohol, let it dry, and apply fresh seam tape with firm pressure and heat. Check every seam, not just the obvious ones.
The cover is too tight to get on easily
This happens when ease allowance is too small, especially if you're covering cushions that are still attached. The quick fix without resewing: add a short zipper or hook-and-loop closure along one of the side seams so you can open the cover partway to slide it on, then close it up. If you want a cushioned-seat fit specifically, you may also like the dedicated approach in how to make covers for patio cushions, since the added bulk changes the sizing and closures. Going forward, cut with at least 1.5 inches of ease on each side dimension when cushions are included in the covered silhouette.
FAQ
What fabric should I choose if I need the cover to last through winter and heavy sun?
If your cover is meant for year-round outdoor use, prefer fabrics labeled 100% solution-dyed acrylic with UPF 50+ (and mildew resistance claims). Printed or top-dyed fabrics fade faster because the color is only on the surface, and they also tend to show mildew staining sooner even if they initially look water-resistant.
Can I use bleach to clean mildew on a DIY patio furniture cover?
Yes, but only as a last resort. Bleach can weaken fibers over time and may leave uneven discoloration, especially on solution-dyed acrylic. Spot test in a hidden area first, use the mild soap dilution method for existing mildew, and rinse thoroughly, then fully air-dry before reinstalling.
My cover keeps blowing off in wind, how do I stop it?
Measure again, then check whether the cover is fighting tight corners. The most common cause is too little ease or a hem that cinches the cover into the frame, creating a “tug point” that pulls wind under. Add slack by using the correct ease (for slip-over covers, about 1 inch per side) or adjust closures so the hem sits evenly but not stretched.
How can I tell whether my cover is too large or just missing the right tie-downs?
Try “dry fit” first: set the cover on the furniture without the closure, then check the gaps at the sides and the bottom. If any side hangs more than about 6 inches, it will catch gusts. If gaps are small but wind still lifts corners, upgrade to buckle straps crossed underneath, and add a second tie-down point for pieces bigger than a chair.
I have a cover that leaks at the seams, can I repair it instead of making a new one?
If you want to reuse the same fabric, you can usually rebuild without replacing everything by tracing the pattern onto new fabric and keeping only the panel widths and hem strap placement consistent. Replacing seams and adding seam tape is often the highest-impact upgrade when water is getting in through needle holes.
Where should I add vent holes so condensation does not build up underneath?
For best results, vent holes should be near the base, because condensation forms as temperatures drop and moisture needs a path out. If you place vents too high, you may still trap humidity in the lower portion of the cover, which encourages mildew on cushions and rust on frames.
Why does a fully sealed, plastic-like cover make mildew worse?
Avoid fully sealing the bottom hem against the ground for non-breathable fabrics. If you must use coated polyester or vinyl, add vent holes backed with mesh, and leave the bottom slightly open at one or two points so vapor can escape while rain is kept out by water-resistant shed at the top.
My slip-over cover is too hard to put on because it is tight at the sides, what is an easy adjustment?
The simplest fix is to add a dedicated low-stakes “access” closure. Install a short zipper or hook-and-loop section along a side seam so you can open the cover just enough to slide it on without wrestling tight panels, then close it after installation.
How should I store my patio furniture cover at the end of the season?
Yes. Even with solution-dyed acrylic, you should not store covers in a sealed plastic bin, because trapped moisture leads to odor and mildew. Store loosely in a breathable cotton bag or pillowcase, and let the cover dry completely in open air before folding.
What should I check first if black spots appear after a storm?
If you see black or gray spots after rain, check three things in order: whether the furniture or cushions were fully dry before covering, whether the cover is too tight (blocking airflow), and whether seam tape has any peeled or untreated sections. After fixing, add mesh vents and re-tighten the hem closure so water can shed outward instead of pooling near the base.
My edges are fraying, is it a sewing mistake or normal wear, and how do I fix it?
To prevent friction fraying from tugging straps and corners, finish raw edges with a zigzag or a liquid seam sealant on any exposed seams, especially at corners and strap attachment points. Also, avoid overstretching when securing the closure, since stretched fabric tears first at high-stress areas.
What’s the best way to repair a panel if I accidentally cut it too short?
If you cut too short a panel once, you can usually salvage by adding a replacement panel section with a properly taped seam rather than trying to re-knit the fabric. Plan the repair so the seam sits in a low-stress area (less tension) and ensure seam tape fully covers the needle holes across the entire seam allowance.