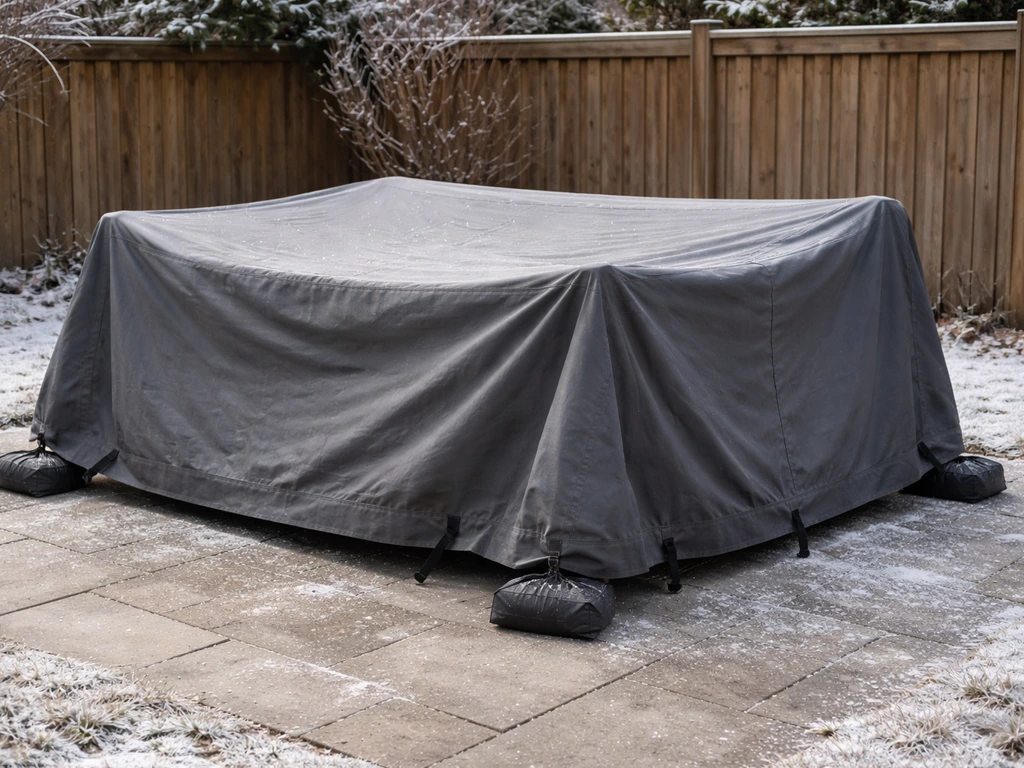
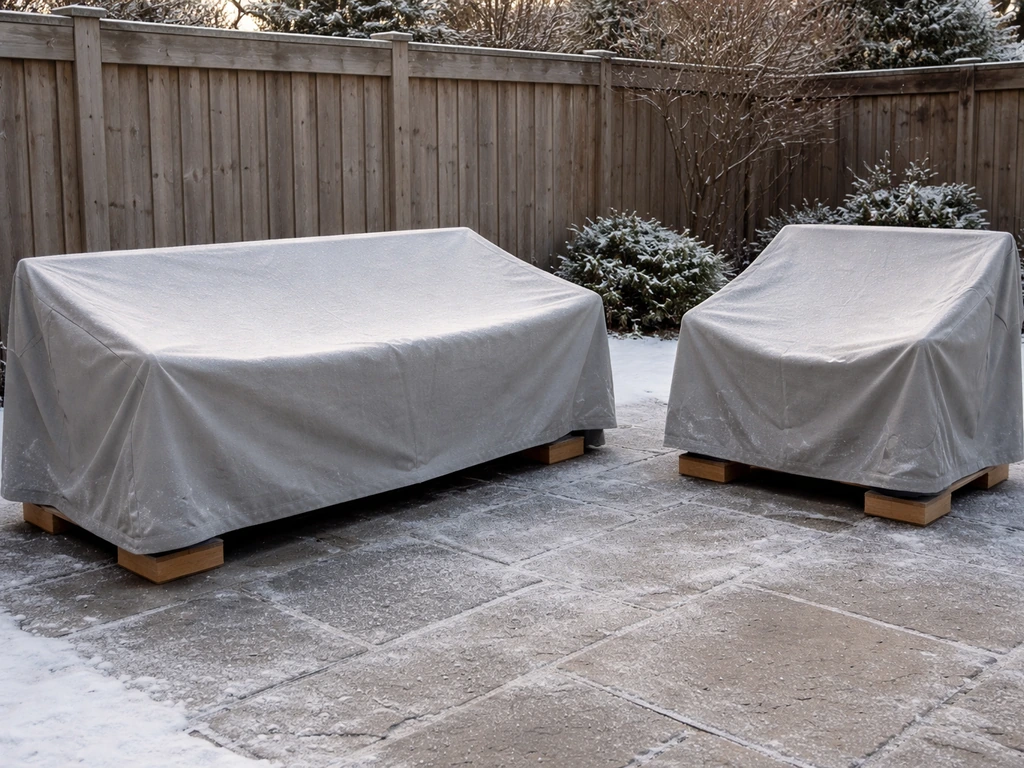
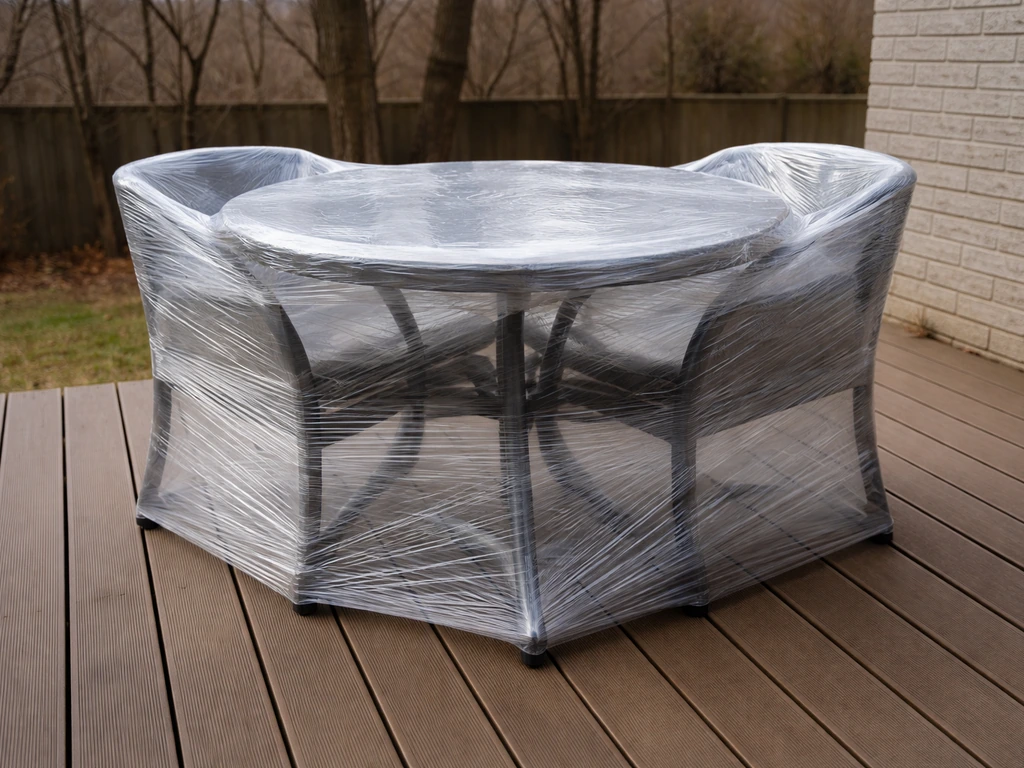
The most effective way to protect patio furniture from snow is to bring it inside a garage or shed before the first hard freeze, clean and dry everything thoroughly, store cushions indoors, and cover any frames you leave outside with breathable, vented covers rather than cheap plastic tarps. That single combination, clean, dry, covered or stored, prevents the two things that actually destroy outdoor furniture over winter: trapped moisture and repeated freeze-thaw cycles cracking finishes and accelerating rust.
How to Protect Patio Furniture from Snow: Steps, Covers

Maren Grady
22 Jul 2026
What this guide covers
I've run through this process enough times (and made enough mistakes) to know that the details matter a lot depending on what your furniture is made of, how bad your winters get, and how much space you have to work with. This guide walks you through the full process: deciding whether to store furniture indoors or leave it out, prepping everything before the snow hits, protecting each material type the right way, and handling cushions and fabric. For a practical step-by-step checklist on how to protect your patio furniture in the winter, see how to protect your patio furniture in the winter. For step-by-step instructions on how to winterize patio furniture, see this detailed guide. I've also included cover options (tarps, breathable covers, shrink wrap), rough cost ranges, and a troubleshooting section for the problems that show up after a long winter.
Store it inside or leave it out? How to decide
This is the first call you need to make, and it's worth getting right because everything else flows from it. The short version: if you have harsh winters and indoor space, bring the furniture in. For a focused answer to whether you can leave patio furniture outside in the winter, see our guide on can you leave patio furniture outside in the winter. If you don't have the space, or your winters are mild, a quality cover setup works fine. Here are the four things to weigh.
Climate and snow load
Not all winter exposure is equal. If you're in the upper Midwest, New England, or mountain regions where seasonal snowfall is measured in feet rather than inches, your furniture is dealing with sustained freeze-thaw cycles, heavy accumulated loads, and months of wet cold. NOAA data and ASCE ground snow maps show that some areas see design-level ground snow loads exceeding 30 psf, which is real structural weight sitting on top of anything left outside. Even a well-covered table can collect heavy snow that strains joints and legs. If you're in the mid-Atlantic or Pacific Northwest where winters are mostly wet and occasional, leaving furniture outside under a good cover is genuinely workable.
Material durability
Teak and high-quality powder-coated aluminum are the two materials most capable of surviving a winter outside with minimal protection. Bare steel, painted softwood, and wicker (especially natural wicker) are the most vulnerable. Cushions and fabric are almost never safe to leave out through a snow season, regardless of the frame material.
Storage space and alternatives
A two-car garage or large shed makes this easy. If you're short on space, consider that most patio sets stack or break down further than you think. Dining chairs nest, table legs often unscrew, and umbrella bases can be stacked in a corner. If you truly have no space, self-storage is a real option but adds cost: national average monthly rent for a 10x10 unit runs around $89 as of mid-2026, with climate-controlled units pushing higher. That math only works for expensive furniture worth protecting long-term.
Budget
Storing furniture indoors costs nothing if you have the space. A decent breathable cover for a table-and-chair set runs $80 to $140. A heavy-duty tarp costs $12 to $50 depending on size. DIY shrink wrap film runs $20 to $65 a roll. Professional shrink-wrapping a standard patio set costs roughly $200 to $400. Use that cost comparison to decide what level of protection makes sense against the replacement cost of your furniture.
| Option | Estimated Cost | Best For | Drawback |
|---|---|---|---|
| Indoor storage (own space) | Free | Any climate, any material | Requires garage/shed space |
| Self-storage unit (10x10) | ~$89/month | No home storage space | Ongoing cost adds up |
| Breathable furniture cover | $40–$140 | Mild-moderate winters, durable frames | Not airtight; needs secure fastening |
| Heavy-duty tarp | $12–$50 | Tight budget, short-term use | Traps moisture if sealed too tight |
| DIY stretch/shrink wrap | $20–$65/roll | Compact sets, moderate winters | Labor-intensive; ventilation tricky |
| Professional shrink wrap | $200–$400/set | Large sets, very harsh winters | Highest cost; must hire out |
Preseason prep: clean, dry, fix, then protect
Here's where I see most people go wrong: they skip the prep and go straight to covering everything up. Then they uncover it in spring and find mildew, rust spots, and cracked paint that the cover actually made worse by sealing moisture in. Do the prep first. It takes a couple of hours but it's the single most important step in the whole process.
- Clean everything. Use mild dish soap and warm water with a soft brush or sponge. Scrub frames, legs, tabletops, and the undersides of chairs where debris collects. Rinse thoroughly.
- Dry completely. This is non-negotiable. Let furniture air dry in the sun for at least 24 to 48 hours. If you're working against a forecasted storm, use old towels on metal frames and a leaf blower to push water out of joints and hollow tubes.
- Clear out trapped water. Tilt frames to drain any water pooled in hollow legs or joints. Some aluminum frames have drain holes at the bottom of legs; clear those with a thin wire if they're clogged.
- Inspect and do minor repairs now. Tighten loose screws and bolts. Replace rusted hardware with stainless steel equivalents (a few dollars at any hardware store). Spot-treat rust on metal frames before covering. Sand and touch up any chipped or peeling paint on wood or metal.
- Apply surface treatments. Wood frames get a fresh coat of sealer or exterior finish if needed. Metal frames with bare spots get primer and paint. Teak gets cleaned and, if specified by your manufacturer, a light oil or sealer treatment.
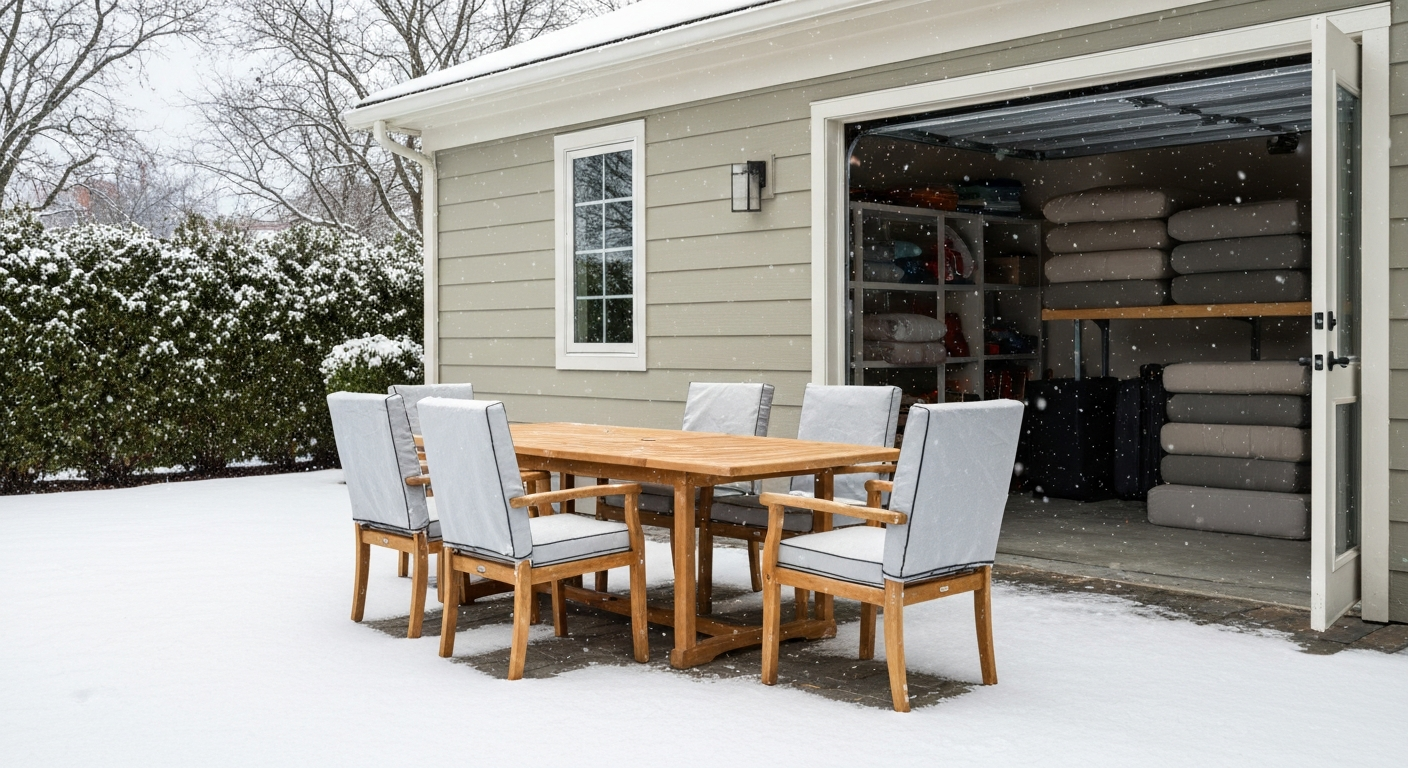
- Remove cushions and fabric. Clean them separately (see the cushion section below), dry them fully, and store them inside or in a vented storage box.
- Then cover or move furniture to storage. Never cover furniture that's still wet.
Protecting wood furniture (painted and pressure-treated)
Softwoods like pine, cedar, and pressure-treated lumber are probably the most common DIY-built patio furniture materials, and they need the most attention before winter. The enemy here is moisture getting into end grain and joints, then freezing and expanding. That's what causes cracking, warping, and paint failure. Repeated freeze-thaw cycles are genuinely destructive to wood finishes, so going into winter with compromised paint or bare spots is asking for trouble.
After cleaning and drying, inspect all painted surfaces closely. If paint is peeling or chipping, sand those areas back to bare wood, wipe off the dust with a tack cloth, and apply a coat of exterior primer followed by a topcoat of exterior enamel. Don't skip the primer step on bare wood, it's what keeps moisture from wicking back in. For pressure-treated lumber, a penetrating exterior wood sealer works better than paint because the wood's natural preservatives can interfere with paint adhesion over time.
One thing I learned the hard way: sealing weathered wood without checking the manufacturer's guidance can trap tannins and cause dark staining, especially on woods like cedar. If your wood has been weathering for a season or two without a finish, give it a proper clean with a wood brightener before sealing, rather than just slapping new product over the gray surface.
After treating, wood furniture benefits from indoor storage most of all. If you're leaving it outside, a breathable cover is critical. Trapping moisture against freshly sealed wood under a non-breathable plastic tarp defeats the whole point of the sealing step.
Protecting teak and other hardwoods
Teak gets its own section because it behaves differently from other woods. High-grade teak is naturally oil-rich and genuinely weather-resistant, which is why it's used on boats. It can survive outdoor winters in most climates without the same level of intervention needed for softwoods. That said, 'weather-resistant' doesn't mean 'maintenance-free.'
For preseason prep, clean teak with a soft brush and mild detergent, then rinse and let it dry completely. If your teak has been treated with teak oil or a sealer in the past, follow the original manufacturer's care instructions for reapplication. Here's the important nuance: if your teak has been left to weather naturally (the silver-gray look), do not apply oil or sealer without knowing the furniture's history. Applying oil to furniture that was sold as intentionally unfinished can interfere with how the wood is meant to perform, and some manufacturers explicitly advise against it.
Other dense hardwoods like eucalyptus and shorea are somewhat similar to teak but not quite as naturally oily. They benefit from an annual application of a penetrating hardwood oil before winter. Clean, dry, apply oil according to the product directions, let it cure for at least 24 hours before covering or storing.
Even teak benefits from being covered or stored in the harshest climates. In heavy-snowfall regions, the weight and sustained moisture of accumulated snow over months can still cause joint stress and surface checking over time. A breathable cover or indoor storage extends the life of even the best teak sets.
Protecting metal furniture: aluminum vs steel
Metal is where the difference in material really matters for winter prep, because aluminum and steel behave very differently in cold, wet conditions. Knowing which one you have changes your whole approach.
Aluminum
Cast or extruded aluminum with powder coating is the most low-maintenance metal option for outdoor furniture. Aluminum doesn't rust (it oxidizes, which is a much slower and more superficial process), and quality powder coating is quite durable. Before winter, clean the frame, inspect the powder coat for chips or scratches, and touch up any bare spots with an exterior spray paint in a matching color. This prevents the exposed aluminum from oxidizing at those points. Beyond that, a cover is sufficient for most climates.
Steel and wrought iron
Steel and wrought iron are the ones that need serious attention. These rust aggressively once moisture gets under a compromised finish, and snow covering a steel frame for months is exactly the scenario that produces deep rust. The DIY restoration process before winter goes like this: use a wire brush or sanding block to remove any loose rust or peeling paint down to solid material. Clean and degrease the bare metal. Apply a rust-inhibiting primer or self-etching primer, which chemically bonds to the metal surface. Then topcoat with an exterior enamel or direct-to-metal paint rated for outdoor use. Let everything cure fully before covering.
If you've got a piece with significant rust that you didn't catch before winter, the cover will slow further damage but won't stop it. Deal with it properly in spring before the next winter cycle. Rust that goes two winters without treatment can eat through frames and become structural rather than cosmetic.
| Material | Rust Risk | Key Prep Step | Cover Priority |
|---|---|---|---|
| Powder-coated aluminum | Very low | Touch up chips with exterior spray paint | Moderate |
| Steel / wrought iron | High | Wire brush, prime bare metal, topcoat with direct-to-metal paint | High |
| Galvanized steel | Low-moderate | Inspect for scratched coating, touch up with cold galvanizing compound | Moderate |
Protecting wicker, resin, and plastic furniture
There are two very different things sold as 'wicker': natural wicker (rattan, bamboo, willow) and all-weather resin wicker. They need completely different treatment in winter.
Natural wicker should come inside for winter, full stop. It was never meant for sustained outdoor exposure to rain and snow. Moisture causes it to swell, crack, and eventually unravel at the weave. If you have natural wicker on a covered porch that never sees direct precipitation, it might be okay with a cover, but prolonged damp cold is still risky. Bring it in if you can.
All-weather resin wicker is a different story. It's made from synthetic materials wrapped around an aluminum or steel frame, and most manufacturers design it to handle outdoor exposure year-round. Your main tasks are cleaning the weave (a soft brush and soapy water gets into the gaps), checking the frame underneath for any rust (especially if the inner frame is steel), and drying it completely before covering. A breathable cover keeps accumulated snow from sitting directly on the surface for weeks at a time.
Plastic furniture (injection-molded polypropylene chairs, resin tables) is generally the most forgiving of all patio materials in winter. Plastic doesn't rust, doesn't absorb moisture, and tolerates freeze-thaw cycles well. The main risks are UV degradation over years (not really a winter issue) and brittleness at very low temperatures where plastic can crack if struck or dropped. Store stacked plastic chairs in a garage if you have space, mostly to keep them from blowing around in winter storms rather than from material damage. If they're staying out, a tarp to keep accumulated snow weight off them is enough.
Cushion and fabric care before winter
Cushions are almost always the most expensive part of a patio set to replace, and they're also the easiest to damage over winter if you skip this step. Don't leave them outside. I've tried it with 'outdoor-rated' fabric and still ended up with mildew by spring. The combination of trapped moisture under a cover, minimal airflow, and months of cool damp conditions is exactly what mold needs.
Cleaning
Mix a solution of mild dish soap or a dedicated outdoor fabric cleaner with cool water. Use a soft brush to scrub both sides of each cushion, paying attention to seams and zipper areas where grime collects. For Sunbrella and similar solution-dyed acrylic fabrics, you can use a gentle bleach solution (about 1/4 cup bleach per gallon of water) on stubborn mildew spots. Rinse thoroughly until the water runs clear. Incomplete rinsing leaves soap residue that attracts dirt next season.
Drying (this step matters more than people think)
Stand cushions upright against a wall or fence in a sunny spot and let them dry completely before storage, both sides. Foam core cushions hold moisture for a long time, sometimes 48 hours or more after washing. If you store a cushion that's even slightly damp, you're creating the perfect mildew incubator. If you're racing the weather, bring cushions inside and prop them up in a warm room with a fan blowing across them.
Waterproofing treatment
Once cushions are clean and dry, you can refresh their water repellency with a fabric water repellent spray designed for outdoor textiles. Apply evenly, let it cure per the product instructions, and you'll head into next season with better beading performance. This is especially worth doing if your cushions are a few years old and you've noticed they soak up rain rather than shedding it.
Off-season storage options
The best option is a clean, dry indoor space with some air circulation: a shelf in the garage, a dry basement, or a spare room. Stack cushions flat or store them on edge, not crammed into a bin where they can't breathe. If indoor space is limited, a deck box or outdoor storage bench with ventilation holes works well, but make sure it has drainage and isn't fully airtight. A fully sealed plastic bin sitting outside in winter can still accumulate condensation inside and create a mildew environment even with clean, dry cushions going in.
Covers, tarps, and shrink wrap: what actually works
Choosing the right cover matters almost as much as using one. The biggest mistake I see is using a non-breathable plastic tarp pulled tight over furniture. That creates a sealed, humid microclimate under the cover where moisture from temperature swings condenses on the furniture surface. You can end up with more mildew and rust than if you'd left the furniture uncovered.
Breathable furniture covers
Purpose-made furniture covers with a water-resistant outer layer and breathable panels or vents are the right tool for most situations. Brands like Classic Accessories make covers with taped seams on top (to shed rain and snow) and air vents on the sides to let moisture escape. Prices run from about $40 for single chairs to $80 to $140 for full table-and-chair set covers. See the Classic Accessories Veranda patio cover (Walmart product listing showing model/prices) for current example retail prices and model options. Buy the right size for your furniture: a cover that's too large flaps and collects wind, and one too small doesn't seal well at the bottom. Most covers have hem cords or elastic edges to secure them; use them, especially in windy climates.
Tarps
A heavy-duty poly tarp works as a budget cover if you use it correctly. The key is not sealing it tight to the ground. Drape the tarp over furniture, secure it with bungee cords or rope, and leave the bottom edges slightly open to allow air exchange. This prevents the sealed-moisture problem while still shedding snow load. Tarps from home centers run $12 for a 6x8 foot version up to $50 or more for larger heavy-duty versions. They're less convenient than fitted covers (they flap, they blow off in wind, they're harder to secure) but they work if that's your budget.
Shrink wrap
Shrink wrap is mostly used by marinas for boats, but it works well for patio furniture in very harsh climates with heavy snow. It creates a tight, custom-fit protective shell. The ventilation issue is important here: any professional shrink-wrap job includes vents installed in the wrap specifically to prevent moisture buildup. DIY stretch wrap film (pallet film) is different, it's stretchable plastic film applied in overlapping layers rather than heat-shrunk. A roll of DIY stretch wrap runs $20 to $65. Retail DIY stretch‑wrap (pallet film) rolls commonly used for furniture wrapping are sold in ~15–18"×1000–1500 ft sizes with single‑roll prices about $20–$65 (blank" rel="noopener noreferrer">Cheap Pallet Wrap / Stretch Film market overview (Accio)). It's labor-intensive to do well, and without vents, it has the same moisture-trapping risk as a sealed tarp. Professional shrink-wrap service for a standard patio set runs $200 to $400, including vents. For a detailed cost breakdown and factors that affect the price, see how much to shrink wrap patio furniture. It's really only worth it for high-value sets in genuinely harsh winter climates. For more detail on this approach, the guides on how to shrink wrap patio furniture and how much to shrink wrap patio furniture cover the process and costs thoroughly.
Fastening and ventilation best practices
Whatever cover method you use, securing it properly is what separates a cover that actually works from one that blows off in the first November storm and leaves your furniture exposed for the rest of winter. Use the hem cord, drawstring, or elastic hem that came with your cover, and tighten it. For tarps, anchor them with bungee cords hooked through the grommets and looped under the furniture frame legs. In high-wind areas, add a second set of ties crossing over the top of the cover from anchor point to anchor point.
For ventilation: if you're using a tarp or non-vented cover, deliberately leave gaps at the bottom by not pulling it tight to the ground on at least two sides. Aim for 2 to 3 inches of open space at the base. This is enough to allow air circulation and moisture escape without letting in so much cold that the cover loses effectiveness. If you're in a region with heavy, wet snowfall, knock snow off covers periodically to prevent weight accumulation and moisture saturation of the cover itself.
Seasonal checklist at a glance
- Check local climate data (NOAA/NWS) to classify your winter as light, moderate, or heavy snow exposure.
- Decide: store indoors, rent storage, or cover in place.
- Clean all frames with mild soap and water; rinse and dry fully (48-hour dry time recommended).
- Tilt and drain hollow legs and joints.
- Inspect all surfaces: spot-treat rust, touch up paint chips, sand and reseal any bare wood.
- Apply appropriate surface treatment: wood sealer, teak oil (if specified by manufacturer), rust-inhibiting primer on bare metal.
- Clean cushions thoroughly; stand upright and dry completely for 24 to 48 hours.
- Apply fabric water repellent to cushions while they're clean and dry.
- Store cushions indoors or in a vented, dry storage container.
- Cover frames with breathable, vented furniture covers or properly vented tarps.
- Secure all covers with hem cords, bungee cords, or rope; leave bottom gaps for ventilation.
- Check covers after heavy snowfall; clear accumulated snow to reduce weight and moisture load.
When things go wrong: troubleshooting common problems
Mildew under the cover
If you uncover furniture in spring and find mildew or musty spots, the cause is almost always moisture that was trapped before covering (furniture wasn't fully dry), a non-breathable cover with no ventilation, or a cover that collected standing water in low spots and kept the area underneath perpetually damp. The fix for next year is prepping and drying more thoroughly, switching to a vented cover, and making sure covers are taut enough not to pool water. For this year's mildew: scrub with a diluted bleach solution (1 cup bleach per gallon of water) on non-porous surfaces, or a fabric-safe mildew remover on cushion fabric. Rinse and dry fully before use.
Condensation inside the cover
This is the sealed-tarp problem. Temperature swings cause moisture in the air inside the cover to condense on cool metal or wood surfaces, essentially creating a damp environment every time the temperature drops and rises. The solution is a breathable cover with vents, or leaving deliberate gaps at the base for air exchange. If you're stuck with a non-vented cover, cutting a few small slits near the bottom edges (not the top where rain enters) gives enough passive ventilation to reduce condensation significantly.
Wind damage and cover blow-off
Covers that are too loose or improperly secured will blow off in winter storms, sometimes wrapping around the furniture in ways that abrade finishes or tear fabric. The fix is adding more anchor points. Run a length of paracord or bungee cord around the full perimeter of the cover at mid-height, tying it to the furniture legs or threading it through grommets. For large table covers in very windy locations, a second line crossing diagonally over the top of the cover works well.
Rust appearing on covered metal
If you covered steel or iron furniture and find rust in spring, it either had small compromised spots in the paint before you covered it, or it was covered while still damp. Sand the rust back to solid metal, prime with a rust-inhibiting primer, and finish with direct-to-metal exterior paint. Do the prep work before next winter. One skipped season of surface maintenance can turn a cosmetic rust spot into a through-rust hole in the frame within two or three winters.
Tools and materials you'll actually need
- Mild dish soap or outdoor furniture cleaner
- Soft-bristle brush, sponge, and bucket
- Garden hose with spray nozzle
- Clean rags or old towels
- Wire brush or fine-grit sandpaper (80 to 120 grit) for rust removal
- Rust-inhibiting primer (spray or brush-on) for metal frames
- Exterior enamel or direct-to-metal spray paint for metal touch-ups
- Exterior wood sealer or penetrating oil for wood frames (species-appropriate)
- Teak oil or manufacturer-specified treatment for teak/hardwood
- Fabric water repellent spray for cushions
- Breathable, vented furniture covers sized to your pieces
- Heavy-duty bungee cords or paracord for securing covers
- Leaf blower (optional but useful for drying joints quickly)
A note on doing this every year
The reason most patio furniture fails before its time is inconsistent maintenance, not bad materials. A half-hour of prep in October makes a dramatic difference in what you uncover in April. The first year of doing this properly takes longer because you're often dealing with deferred maintenance. After that first season, if you've done the cleaning, touching up, and covering correctly, the following years are genuinely quick. Think of it as a trade: a couple of hours in fall saves you a few hundred dollars (or more) in replacements. For a deeper dive into specific parts of this process, the guides on how to cover patio furniture for winter and how to winterize patio furniture go further into those topics.
FAQ
Should I store patio furniture indoors or leave it outside under covers for the winter?
Decision rule: If you have indoor space (garage/shed) and your area sees harsh or prolonged winters, store furniture indoors when possible — manufacturers recommend indoor storage to prevent freeze–thaw damage, moisture problems and accelerated wear. If indoor storage isn’t available, choose breathable, vented covers and follow material‑specific prep steps. Use local snowfall/climate normals (NWS/PRISM) to classify exposure as light/moderate/heavy and weigh cost/time vs expected damage.
What is a simple pre‑winter checklist I can follow?
Pre‑winter checklist: 1) Clean all surfaces with mild soap and rinse; 2) Inspect and repair hardware/frames (tighten screws, replace rusted pieces); 3) Remove debris and drain/tilt frames to shed trapped water; 4) Dry completely (especially wood and cushions); 5) Clean, dry and store cushions indoors or in ventilated boxes; 6) Apply appropriate finish/sealer for wood/metal if needed; 7) Cover or store frames using breathable covers or shrink‑wrap depending on your choice.
How do protection steps differ by material (wood, teak, metal, wicker/resin, plastic)?
Material‑specific steps: Wood (softwoods): clean, dry, repair, then apply an exterior sealer per manufacturer guidance — avoid sealing wet or tannin‑bleeding wood. Teak: mild cleaning and drying; optional teak oil or sealer only per maker’s guidance (high‑grade teak tolerates weather better). Metal: remove loose rust/paint, degrease, prime with rust‑inhibiting primer, then paint with exterior metal enamel. Wicker/resin: clean, rinse, dry; check seams and repair broken weave; resin is durable but still benefits from a cover. Plastic: clean, dry, store protected from UV and heavy snow loads (don’t stack heavy snow on lightweight plastic).
What should I do with cushions, pillows and soft goods?
Cushion care: Clean per fabric instructions (mild soap, rinse), allow to dry completely in sun/air, then store indoors or in a ventilated storage box. Do not leave damp cushions under covers — that promotes mildew and mold. For short winters, use breathable cushion storage bags or plastic tubs with desiccant and vents. If limited on space, at minimum store cushions off the ground in a covered, dry location.
Which types of covers are best — tarps, breathable covers, or shrink‑wrap?
Cover types: Breathable, vented covers (water‑resistant top layer with vents) are best for long‑term outdoor coverage — they shed snow but reduce condensation. Heavy‑duty tarps are inexpensive but can trap moisture if non‑breathable and can flap in wind if not secured. Shrink‑wrap (professional or DIY) creates a tight sealed barrier and protects against wind/snow but can trap moisture if not done with vents; professional shrink‑wrap often includes proper ventilation and costs more. Avoid fully airtight plastics without ventilation.
How can I fasten covers so they don’t blow away and still allow ventilation?
Fastening and ventilation best practices: Use adjustable straps, bungee cords, or tie‑downs anchored to furniture legs or ground stakes (avoid drilling). Place vents or leave small deliberate gaps at the base to encourage airflow. For breathable covers use built‑in taped vents; for DIY shrink‑wrap include one or two small vented ports or use perforated film. Secure loosely enough to allow a little airflow but tight enough to prevent flapping that causes abrasion.