For most homeowners, shrink wrapping a standard patio set costs between $40 and $120 in DIY materials, or $199 to $350+ if you hire a pro to come out and do it for you. The exact number depends on how many pieces you have, how big they are, what film thickness you choose, and whether you already own a heat gun. A typical 4-piece dining set (table plus four chairs) sits comfortably in the $50–$80 DIY range if you shop smart.
How Much to Shrink Wrap Patio Furniture Cost Guide

Maren Grady
19 Jun 2026
What shrink-wrapping patio furniture actually involves
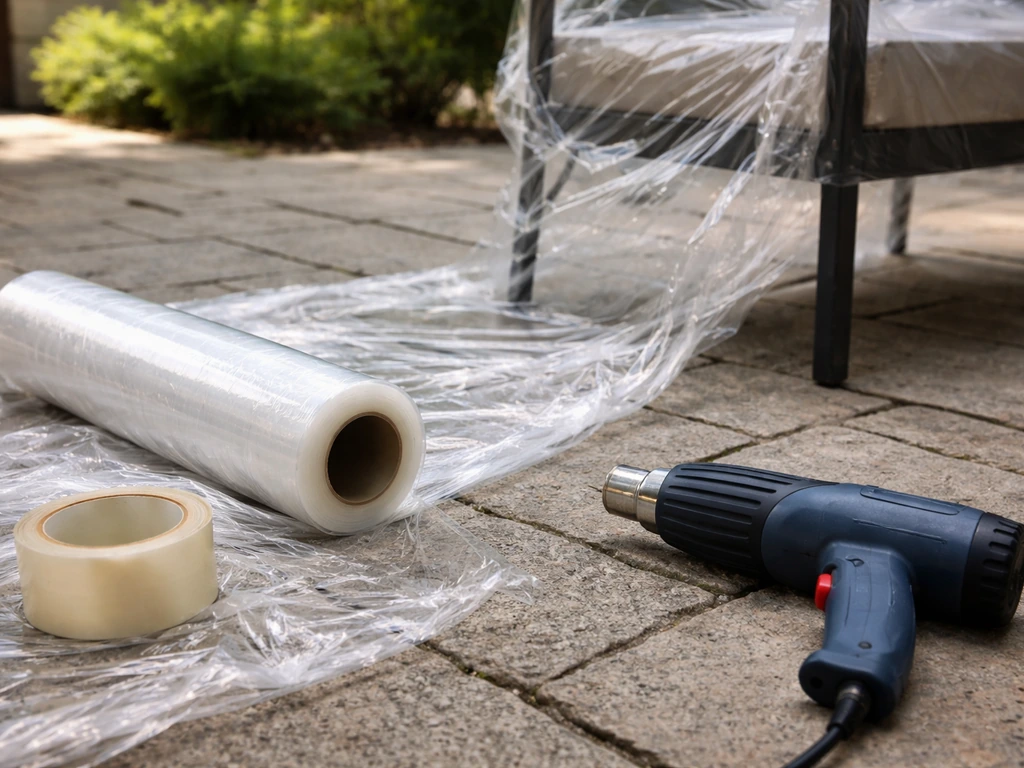
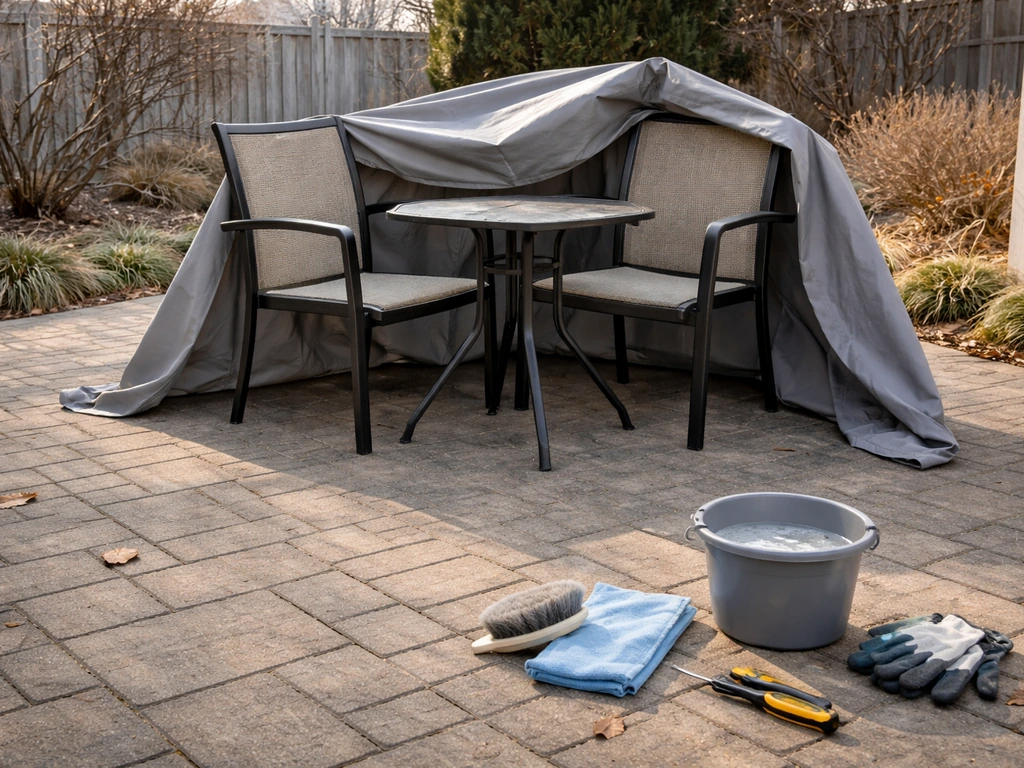
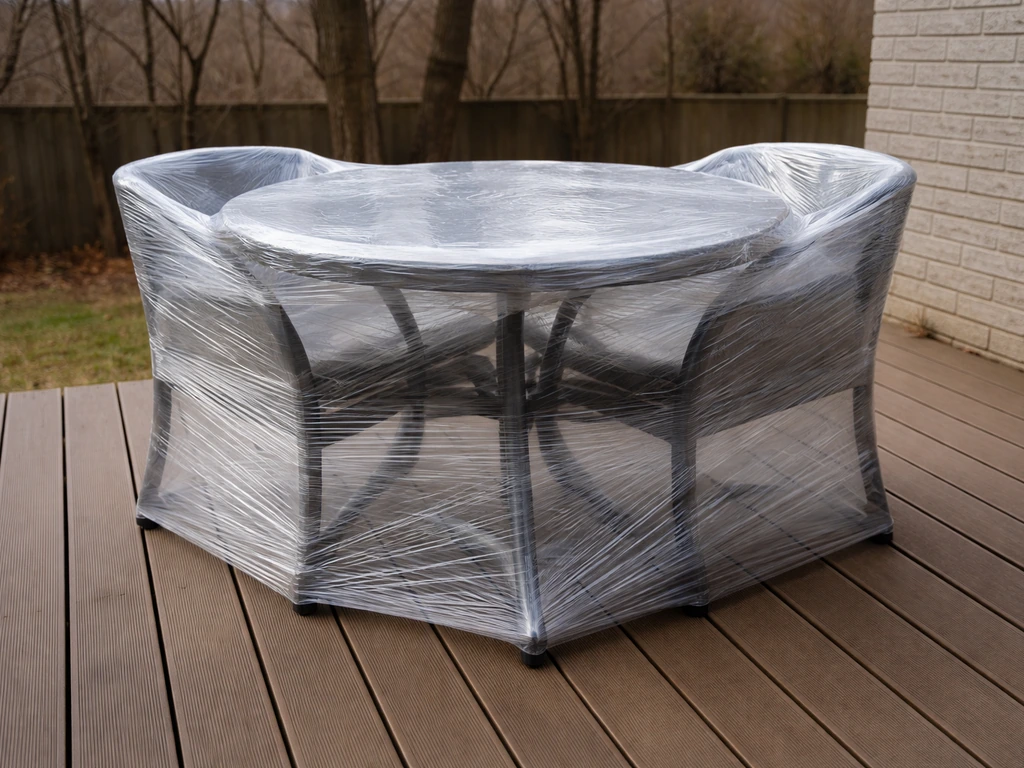
Shrink-wrapping patio furniture is not the same as tossing a tarp over your chairs and calling it done. If you want to do it right, focus on measuring, overlap, and heat-shrinking technique before you buy supplies how to shrink wrap patio furniture. You're encasing each piece (or a bundled group of pieces) in a continuous sheet of polyethylene film, overlapping the edges, and then using a heat gun to shrink the film tight so it forms a water-resistant, wind-resistant cocoon around the furniture. Done right, it creates a much tighter seal than a standard cover and holds up through a full winter of rain, snow, and UV exposure.
The full process involves a few distinct elements. First, you roll out and cut the shrink film to size. Then you wrap the furniture, making sure to leave about 12 inches of overlap at seams and folds. You use preservation tape (a UV-resistant, outdoor-rated tape) to seal seams and reinforce corners. If you're wrapping a stack of chairs or a larger set, you may also strap the bundle with woven high-tension strapping to hold the film in a continuous loop before heat-shrinking. Finally, you apply the heat gun in steady, sweeping passes until the film contracts tight. If any gaps exist, the whole wrap can fail early, so prep and overlap are everything.
Cost breakdown: materials, extras, and tools
Here's where the money actually goes. Shrink film is the biggest cost, but tape and tools add up faster than most people expect, especially if you're buying a heat gun for the first time.
| Item | What to Buy | Typical Cost |
|---|---|---|
| Shrink film | 6–7 mil polyethylene roll (17 ft x 120 ft is a common format, ~2,040 sq ft per roll) | $60–$110 per roll |
| Preservation tape | UV-resistant outdoor shrink wrap tape, 2-inch width | $10–$20 per roll |
| Woven strapping | Perimeter strap to hold film before heat-fusing (optional but helpful for stacks) | $8–$15 |
| Heat gun | Electric corded or cordless, 1,500–2,000 watts recommended | $30–$80 (one-time) |
| Heat knife / scissors | For clean cuts through thick film | $10–$25 or use heavy scissors you own |
| Work gloves | Film edges and heat gun get hot | $5–$10 |
The honest reality: if you already own a heat gun, your material cost for a single patio set can be as low as $30–$50 (partial roll of film plus tape). If you're buying everything from scratch, budget $100–$160 for the first project. After that first season, the heat gun pays for itself because you'll reuse it every year.
One thickness note worth knowing: 6 mil film is the entry-level outdoor option and works fine in mild climates. For areas that get heavy snow loads or harsh winters, 7–8 mil is a better choice. Thicker film costs more per roll but shrinks a little less dramatically and holds up better against punctures from furniture legs or sharp edges. Aosom specifically recommends that 7–8 mil range for outdoor patio furniture, and I'd agree based on how much more reliably it survives a rough winter.
How size and number of pieces change the price
This is the biggest variable in your budget. A single lounge chair takes maybe 15–20 square feet of film. A large sectional sofa or a stacked set of six dining chairs bundled together could eat through 80–150 square feet easily. When you're buying film by the roll, you'll often have plenty left over for a small set, but a large outdoor kitchen or deep-seating sectional might push you into needing a second roll.
- Single chair or small item: 10–25 sq ft of film, roughly $5–$15 worth of material
- Standard 4-piece dining set (table + 4 chairs, stacked together): 80–120 sq ft, roughly $20–$40 in film
- Large sectional sofa (3–4 pieces): 150–250 sq ft, roughly $40–$75 in film
- Full patio set with dining table, chairs, loungers, and side tables: 200–400+ sq ft, may require a full roll or two
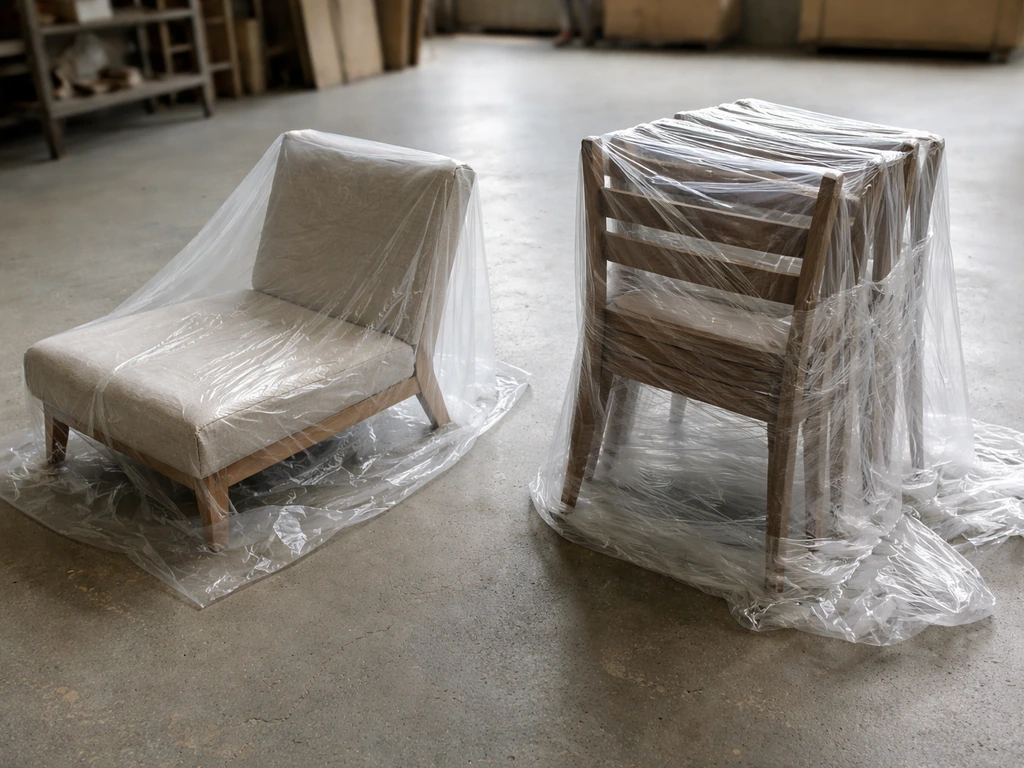
The smart move for most people is to stack and bundle your chairs before wrapping rather than wrapping each piece individually. Stacking four dining chairs and wrapping them as one bundle uses far less film than wrapping each chair separately, and it's actually more stable. This is a big reason why the DIY cost stays manageable for even larger sets.
DIY vs. pro cost: what you're really paying for
Professional shrink-wrapping services for patio furniture typically start around $199–$200 for a standard set (a table, chairs, and a few extra pieces) and go up from there. The Wickery starts at $200 for a standard deep-seating set. MobileShrinkWraps lists $199 as their entry-level patio bundle. Regional services like ShrinkWraptor price around $300 for a full residential patio set, and some providers (like Oakland Shrink Wrap) add a mobile service fee of $50+ on top of per-item pricing. So realistically, expect $200–$400 for professional service on a complete patio setup, more if you have a large or complex set.
What you're paying for with a pro is speed, experience, and the fact that they own a commercial heat gun and show up with everything already measured and cut. A good pro will do a set in under two hours. Your first DIY attempt will probably take two to four hours just for a modest set, because measuring, cutting, and getting your heat gun technique right all have a learning curve. I'll be honest: your first wrap won't be perfect.
There will be a wrinkle or a loose spot somewhere. But it will still protect your furniture, and by year two you'll be faster and cleaner. To help, remove cushions, cover with breathable protection, and store the set in a shed or garage when possible how to protect patio furniture from snow.
| Approach | Typical Cost | Time Required | Best For |
|---|---|---|---|
| DIY (first time, buying heat gun) | $100–$160 total | 3–5 hours | Budget-conscious owners willing to learn |
| DIY (repeat, own tools) | $30–$60 in materials only | 1.5–3 hours | Anyone who's done it once before |
| Professional service | $200–$400+ | 1–2 hours (your time) | Large or complex sets, time-strapped homeowners |
The break-even point is roughly one or two seasons. If you DIY for two winters, you've paid for the tools and then some. If you're only wrapping one or two chairs, hiring out doesn't make much sense economically, but for a full patio set that you want protected perfectly, a pro isn't unreasonable the first year while you decide if this is something you want to take on yourself going forward.
How to estimate how much shrink film to buy
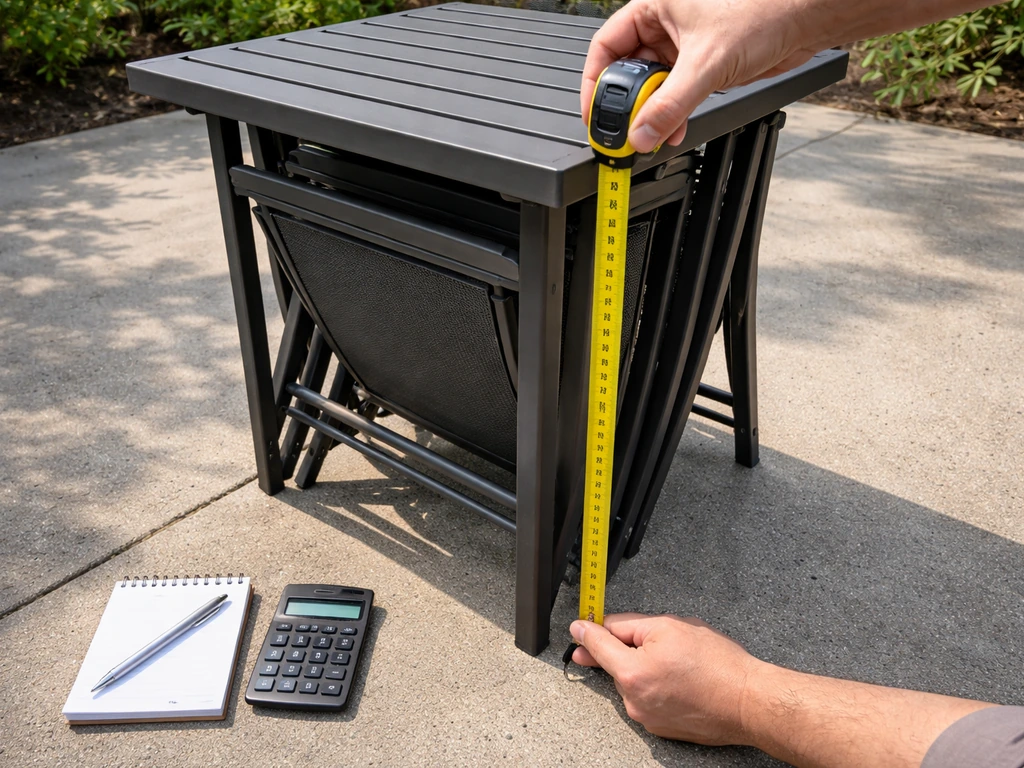
Here's the quick measuring method I use. Grab a tape measure and go through these four steps for each piece (or bundle) you plan to wrap.
- Measure the height, width, and depth of the furniture piece or stacked bundle in feet.
- Calculate the perimeter: (width + depth) x 2. Add 2 feet to that number to account for a 12-inch overlap on each side.
- Add the height twice (once for top, once for bottom overhang) plus another 2 feet total for the folding allowance at the bottom. Aosom recommends leaving an extra 12–20 inches beyond the furniture edge for folding under.
- Multiply your adjusted width (from step 2) by your adjusted length (from step 3) to get approximate square footage per piece. Add 15–20% on top of that total for overlap waste when you're seaming multiple sheets together.
As a real example: a 4-chair stack that measures 3 ft wide x 3 ft deep x 4 ft tall gives you a perimeter of (3+3) x 2 = 12 ft, plus 2 ft for overlap = 14 ft across. The wrap needs to cover 4 ft of height plus about 2 ft of fold-under = 6 ft of length. That's 14 x 6 = 84 sq ft for that bundle.
Add 15% for seam waste and you need about 97 sq ft. A standard 17 x 120 ft roll (2,040 sq ft) will cover multiple bundles like this comfortably. Note that [shrink wrap rolls are often sold in centerfold format, meaning the film is folded in half lengthwise on the roll](https://img. uline.
com/is/content/uline/ShrinkFilmGuideENUSpdf), so a 17-foot-wide roll actually gives you 8. 5 feet of single-layer film width when unrolled flat, or 17 feet when you unfold it fully. Factor that in when you're cutting.
Typical total cost ranges and example budgets
To make this concrete, here are realistic budgets for common patio setups, including materials only (assuming you already own a heat gun) and full first-time setup cost.
| Patio Setup | Film Needed (est.) | Materials Only | First-Time DIY (with heat gun) | Pro Service |
|---|---|---|---|---|
| 2 lounge chairs | 40–60 sq ft | $15–$25 | $65–$105 | $80–$150 |
| 4-piece dining set (table + 4 chairs) | 100–150 sq ft | $30–$50 | $80–$130 | $199–$280 |
| Deep-seating sectional (3–4 pieces) | 180–260 sq ft | $50–$80 | $100–$160 | $200–$350 |
| Full patio setup (dining + lounge + extras) | 300–500 sq ft | $80–$120 | $130–$200 | $300–$450+ |
These ranges assume 6–7 mil film bought from a marine or outdoor supply retailer (Fisheries Supply, Wholesale Marine, or similar), plus one to two rolls of preservation tape. If you buy from a big-box hardware store at retail prices, expect to pay 15–25% more per roll. Buying a larger roll or ordering direct from a distributor brings the per-square-foot cost down significantly if you have a big set or plan to wrap multiple seasons' worth.
Prep tips to make the wrap last (and avoid paying twice)
Here's where most first-timers lose money: they skip prep, end up with gaps or a loose wrap, and have to redo the whole thing before winter even hits. For a full guide on how to protect your patio furniture in the winter, focus on choosing the right cover method and sealing against moisture and wind before winter even hits. A few minutes of prep work is what makes the difference between a wrap that lasts all season and one that peels off in November.
- Clean and dry your furniture before wrapping. Moisture trapped under the film causes mold and defeats the whole point. Let everything air out for a full day after cleaning.
- Stack chairs before wrapping them, not after. It's much harder to bundle pieces once the film is partially applied. Get your groupings set, tie them together with a strap if needed, then wrap the whole bundle as one unit.
- Use preservation tape at every seam and corner. Corners are where heat-fused seams fail first under wind and UV stress. Mr. Shrinkwrap's guidance is to apply tape so at least 1.5 inches adhere to each side of the fused seam.
- Don't rush the heat gun. Keep the gun moving in slow, steady sweeps about 6–8 inches from the film. Holding it too close or staying in one spot too long melts holes in the film. I've done this. It's frustrating and wastes film.
- Fold the bottom edges under the furniture base and tape them down securely rather than leaving an open bottom edge. Open-bottom wraps let wind get underneath and peel the whole thing off.
- If you're in a snowy region, go with 7–8 mil film rather than 6 mil. The extra thickness resists punctures from furniture legs and handles snow weight without cracking or tearing.
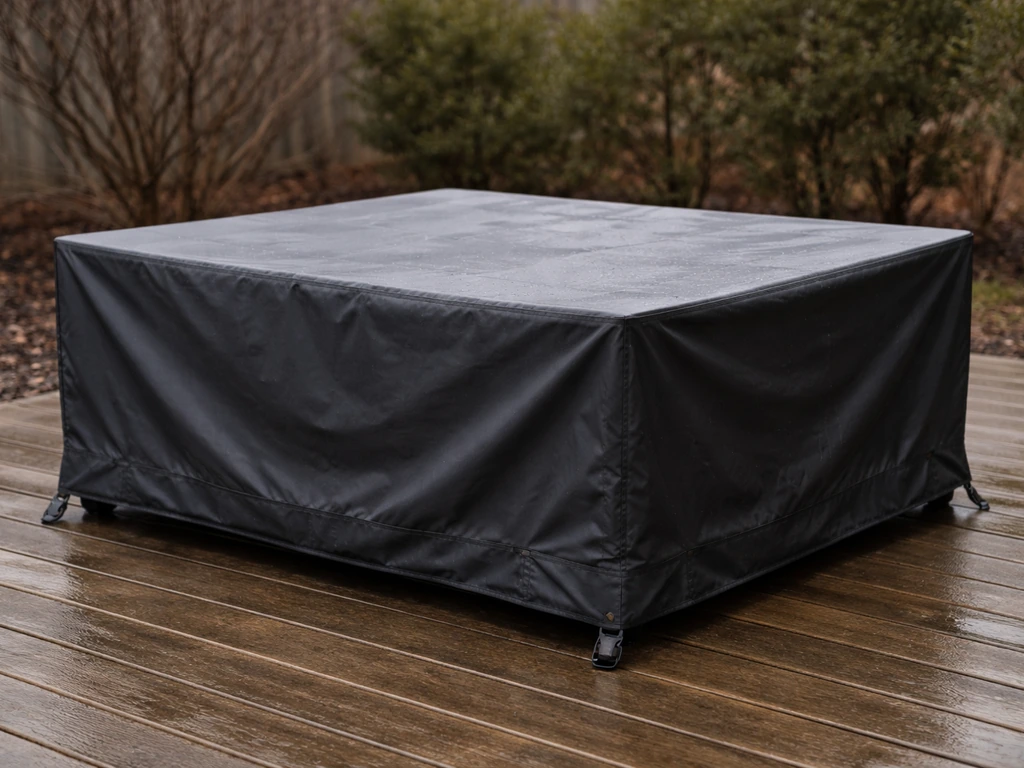
If you're weighing whether to shrink wrap versus other winter protection methods, it's worth knowing that shrink wrap forms a genuinely water-tight seal that standard covers and tarps can't match. That said, it's more involved than simply how to cover patio furniture for winter with a regular cover, and it's a bigger commitment than tarping. For furniture you really want to protect from moisture intrusion (cushions, wood frames, upholstered pieces), shrink wrap is worth the extra effort and cost. For metal or resin pieces that handle moisture fine, a quality cover might be enough and is a much simpler solution.
Once you've done it once, the whole process gets faster and cheaper. You'll already own the tools, you'll know how much film your set needs, and you won't make the beginner mistakes that waste material. Most homeowners who shrink wrap their own furniture find the total annual material cost drops to $30–$60 by the second season, which is hard to beat for genuine all-winter protection.
FAQ
What’s the fastest way to calculate how much shrink film I need for my patio set?
Plan film by square footage, then add 15% for seam waste. If you already know your set’s wrapped height and perimeter, use the “length x height” approach and include overlap (about 12 inches at seams/folds) so you don’t end up short and have to start a new wrap mid-project.
Should I wrap each patio chair separately, or bundle them together to save money?
Wrapping each chair individually usually uses more film and can create more failure points at seams. For dining sets and stacked chairs, bundle the chairs into a stable stack and wrap them as one group, then add tape at the major seam lines and reinforce corners with preservation tape.
Can I shrink wrap outdoors the day before winter weather, or do conditions matter?
Yes, but only if your seam/tape system is matched to outdoor exposure. Use UV-resistant, outdoor-rated preservation tape and fully seal major seams and folds. If you have to stop mid-wrap, keep the exposed film from catching wind, because small early gaps can widen once heat-shrunk.
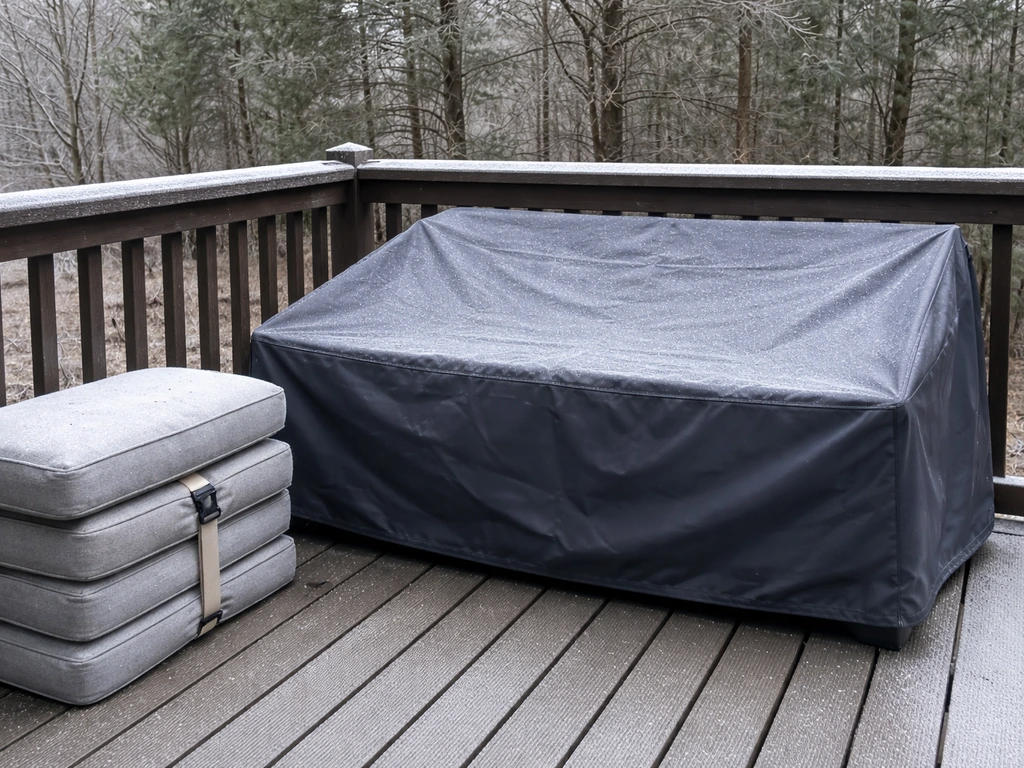
Do I need to remove cushions before shrink wrapping?
If you don’t remove cushions and other trap items, you can create trapped moisture and uneven shrink, which increases the odds of loose spots. Take cushions off, store them separately, and use breathable protection over anything that can’t be fully encased, so moisture has a way to escape rather than staying inside the cocoon.
Is 6 mil shrink wrap enough, or should I pay more for 7 to 8 mil?
It depends on your furniture’s edges and how rough winter is. Thin film (around 6 mil) can work in mild areas, but thicker film (7 to 8 mil) generally resists punctures better from chair legs, sharp aluminum corners, and accidental impacts during snow events.
How can I tell if my shrink wrap job is actually tight enough to last the winter?
Don’t rely on “making it tight” visually. The reliable test is whether seams stay flat and sealed after cooling, and whether the wrap feels uniformly contracted without creases that create lifting corners. If you see a channel or lifted edge, re-seal and re-heat before the first storm hits.
When does DIY shrink wrapping stop being worth it compared to hiring a pro?
The first wrap is the most expensive in time and materials because of learning curve errors, but you still break even after one to two seasons when you reuse the heat gun. If you only need to wrap one or two chairs, hiring can be more economical than buying a heat gun and extra tape.
How do I account for centerfold shrink wrap rolls when I’m budgeting square footage?
Pay attention to the roll format. Many rolls are sold centerfold, meaning the unrolled usable width differs from the labeled roll width when you unfold it for single-layer coverage. Factor this into your film quantity, otherwise you may think you bought enough when you did not.
Why is shrink wrapping a sectional or deep-seating set more expensive than a simple dining set?
If you’re wrapping a lounge sectional, deep seating, or anything with irregular geometry, expect higher film demand and more time sealing corners. Your costs also rise because you may need bundling straps or extra tape to keep the film from bridging around armrests and cushions.
Can I use cheaper tape instead of preservation tape to lower the cost?
Don’t use ordinary indoor tape. Outdoor shrink wraps rely on UV-rated, weather-rated tape to keep seams bonded across sun exposure and temperature cycling. Switching to a cheaper tape is one of the most common reasons wraps peel at the seams before winter ends.
What are the main hidden costs if I don’t already own the heat gun and supplies?
Budget extra for tools and incidentals if you’re buying from scratch: a heat gun, a roll of film, and one to two rolls of tape are the typical starter set. If you already own the heat gun, material cost drops substantially, often into a much lower per-season range for a standard patio setup.