The fastest fix depends on what's actually wrong. If your cushions feel like sitting on a brick, the foam is probably too dense or thin for your weight. If they've gone flat and lumpy, the foam has compressed unevenly and lost its rebound. If they feel fine at first but bottom out after ten minutes, you've got low-density foam that's given up. Each problem has a different solution, and most of them are genuinely DIY-friendly without spending a fortune on brand-new cushions.
How to Make Patio Cushions More Comfortable Fast

Maren Grady
4 Jun 2026

Comfort diagnosis: why patio cushions feel hard, lumpy, or flat
Before you buy anything or tear anything apart, spend five minutes figuring out which problem you're actually dealing with. Treating the wrong problem is how you waste money. Here are the most common culprits and how to identify them.
| Symptom | Likely cause | Best fix category |
|---|---|---|
| Feels hard from the first sit | Foam is too firm or cushion is too thin (under 2 inches) | Add a topper or replace with softer/thicker foam |
| Comfortable at first, then bottoms out | Low-density foam (compresses quickly under weight) | Replace core with higher-density foam |
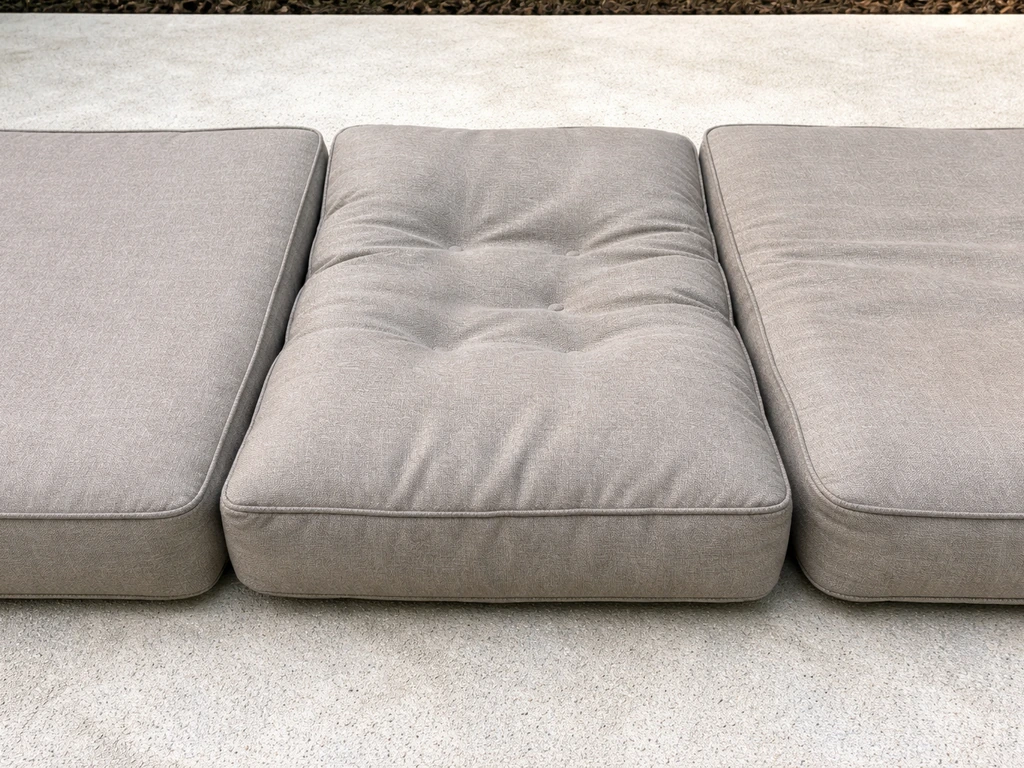
| Lumpy or uneven surface | Fill has shifted or compressed unevenly inside cover | Redistribute fill or replace foam entirely |
| Visibly flat or sunken in the center | Foam has permanently lost its spring | Foam replacement or full reupholstery |
| Scratchy or stiff to the touch | Cover fabric is rough or moisture-stiffened | Replace or soften cover, deep clean |
| Slides, sags, or overhangs the frame | Poor fit between cushion and chair | Reposition, add ties, or resize cushion |
| Smells musty or damp | Moisture trapped in foam (mildew forming) | Deep clean, dry thoroughly, add water-resistant liner |
Press down firmly in the center of the cushion and release. Good foam springs back within a second or two. If it stays compressed, creases, or returns slowly, the foam density is gone. Also check the edges: if the outer foam walls have crumbled or rounded off significantly, the whole core needs replacing, not just a topper fix.
Quick fixes: repositioning, leveling, and simple add-ons
Start here before spending money. These fixes take under 30 minutes and cost little to nothing, and they solve more problems than you'd expect.
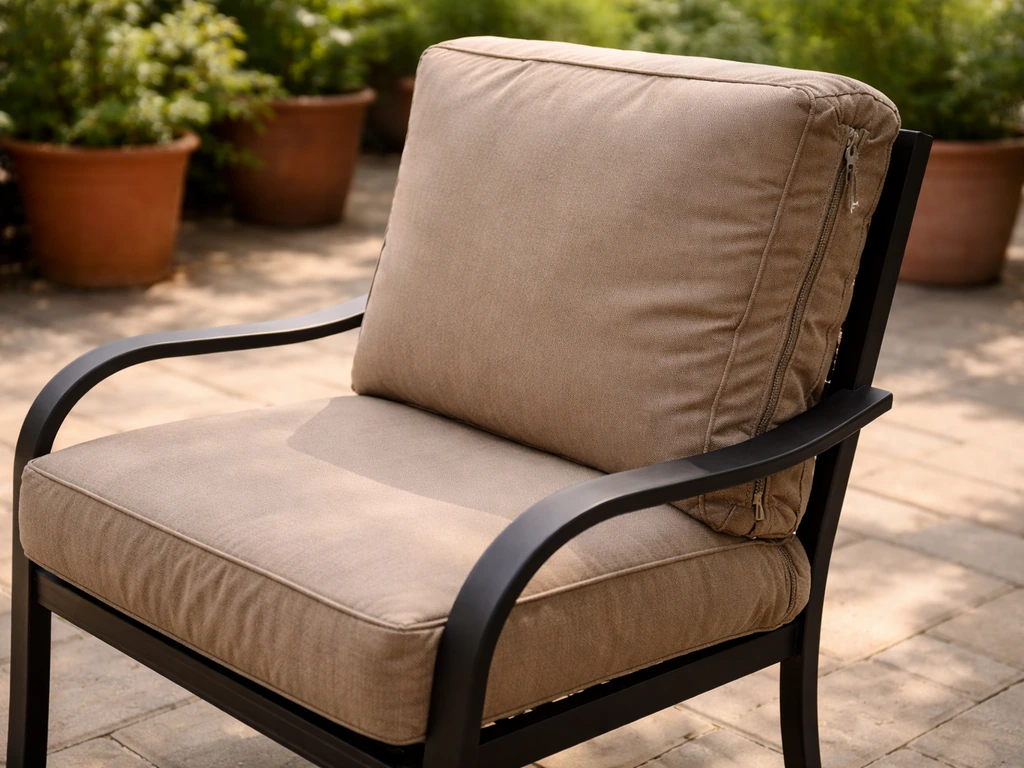
Reposition the cushion on the frame
Cushions that slide forward, sag at the back, or hang over the edge of the chair frame will always feel uncomfortable regardless of foam quality. The frame is the foundation, and if the cushion isn't sitting squarely on it, you're fighting an uphill battle. Push the cushion all the way back so the rear edge meets the chair back, and make sure neither side is hanging off the frame. If your cushion doesn't have tie straps, you can add simple ribbon or twill tape ties by hand-sewing or even hot-gluing them to the cushion corners as a temporary fix.
Add a thin seat pad or cushion topper
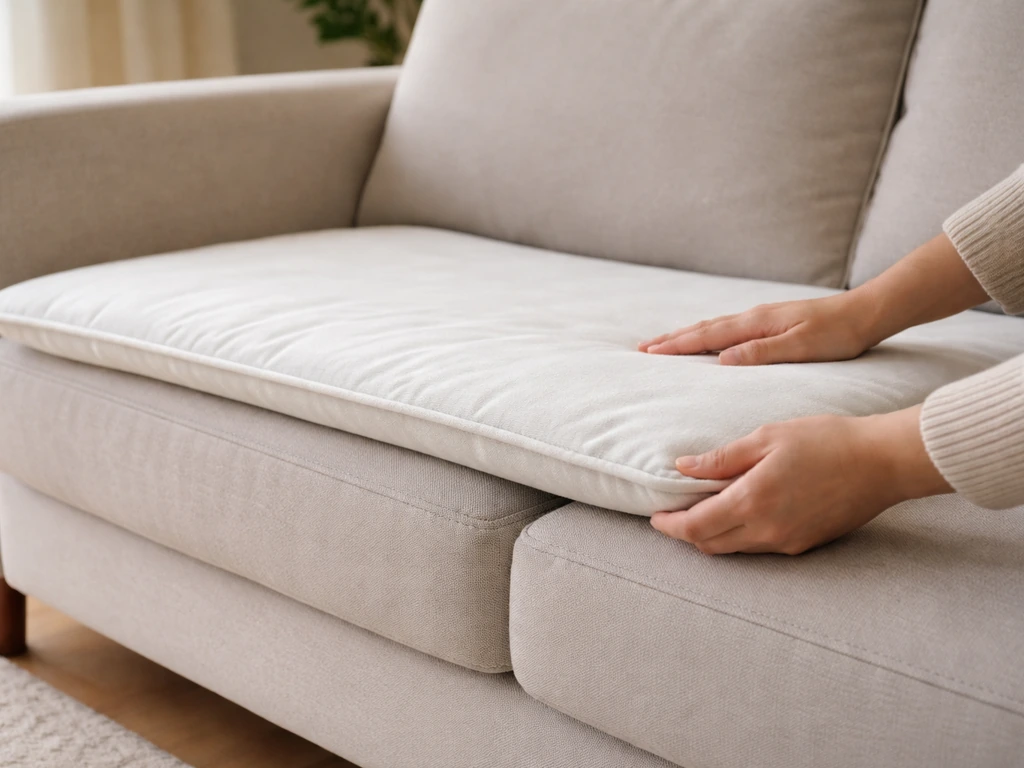
A thin seat pad laid on top of your existing cushion is the cheapest and quickest comfort upgrade available. You're looking for something no more than 1 inch thick so it doesn't bunch up or cause your existing cover to pull open. Look for memory foam or gel seat pads at discount stores, or repurpose an old chair pad from inside the house. Keep in mind this is a band-aid, not a cure: if the underlying cushion has truly bottomed out, a pad on top will only delay the inevitable. If you want the whole setup to feel better, focus on cushion comfort first by upgrading foam, thickness, and fit how to make patio furniture more comfortable.
Fluff and redistribute the fill
If your cushion has a removable cover with a zipper, open it up and check what's inside. Fiberfill-stuffed cushions (which feel softer but don't last as long as foam) often just need to be hand-fluffed and redistributed. Pull clumped batting apart, push fill back into the corners, and zip it up again. It takes three minutes and can buy you another season of comfort before a more significant fix is needed.
Upgrading cushion materials and thickness
This is where you get real, lasting results. If your diagnosis pointed to foam failure, replacing or upgrading the inner core is the most effective thing you can do short of buying entirely new cushions.
Choosing the right foam density
Foam density is measured in pounds per cubic foot, and it's the single biggest factor in how long a cushion holds up. Anything below 1.8 lb/ft³ will compress quickly and feel great for a few weeks before it starts bottoming out. For outdoor seating where cushions sit in the sun, get rained on, and take heavy use, aim for at least 1.8 lb/ft³ and ideally 2.0 lb/ft³ or higher for the core. Higher density foam costs more upfront but easily lasts three to five times longer than budget foam.
Firmness is a separate spec measured in ILD (Indentation Load Deflection). A higher ILD means firmer foam. For outdoor seat cushions, a medium-firm range (around 35 to 45 ILD) tends to work well for most adults: supportive enough that you don't bottom out, but not so stiff it feels like a park bench. If you want that plush feel without sacrificing support, use a high-density core with a 1-inch layer of softer, lower-ILD foam on top.
Getting the thickness right
Thickness matters more than most people realize. A 2-inch outdoor cushion is noticeably thin and firm: fine for casual use, but not comfortable for long dinners or lounging. Three inches is the sweet spot for most outdoor chairs and benches: it gives genuine support without feeling excessive. Four inches or more is ideal for chaise lounges and deep-seat sofas where you're sinking in for an extended sit. If your current cushions are 2 inches and constantly feel hard, going to 3 inches alone will make a dramatic difference even if everything else stays the same.
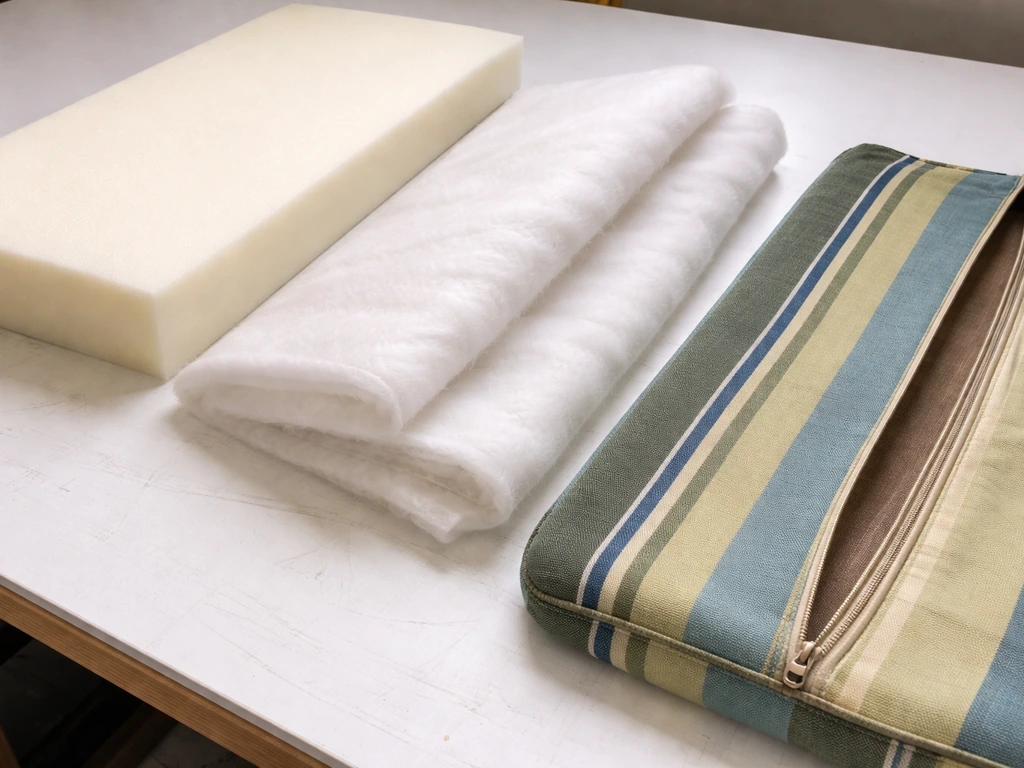
The layered fill approach
One of the best DIY upgrades is building a layered cushion insert: a high-density foam core wrapped in a layer of polyester batting. If you’re starting from scratch, this guide also covers how to measure and build a layered patio cushion insert for better support layered cushion insert. The dense core prevents bottoming out and gives structure, while the batting wrap adds that soft, plush feel on the outside. You can buy foam cut to size from online foam suppliers or upholstery shops, then wrap it with batting from any fabric store. This combination reliably outperforms either material used alone.
Reupholstery options: covers, inner foam, and batting
Here's where a lot of people hesitate because it sounds complicated. It really isn't, especially if your cushion covers have zippers. The decision tree is simple: if the foam is still good but the cover is worn, just replace the cover. If the foam is gone but the cover is fine, just replace the foam. If both are done, do a full reupholstery. Let's walk through each.
Step 1: Open it up and assess
Unzip or carefully seam-rip the cover open. Pull out the foam or fill and set it aside. Give the cover a real look: is the fabric faded, torn, or stiff? Press the foam: does it spring back or stay compressed? Smell it: any mustiness suggests moisture damage. This assessment tells you exactly what needs replacing so you're not guessing. Reupholstery steps commonly start with removing the outer cover so you can evaluate foam or fill condition and measure correctly before replacing or refilling removing the outer cover to evaluate foam condition and measure correctly.
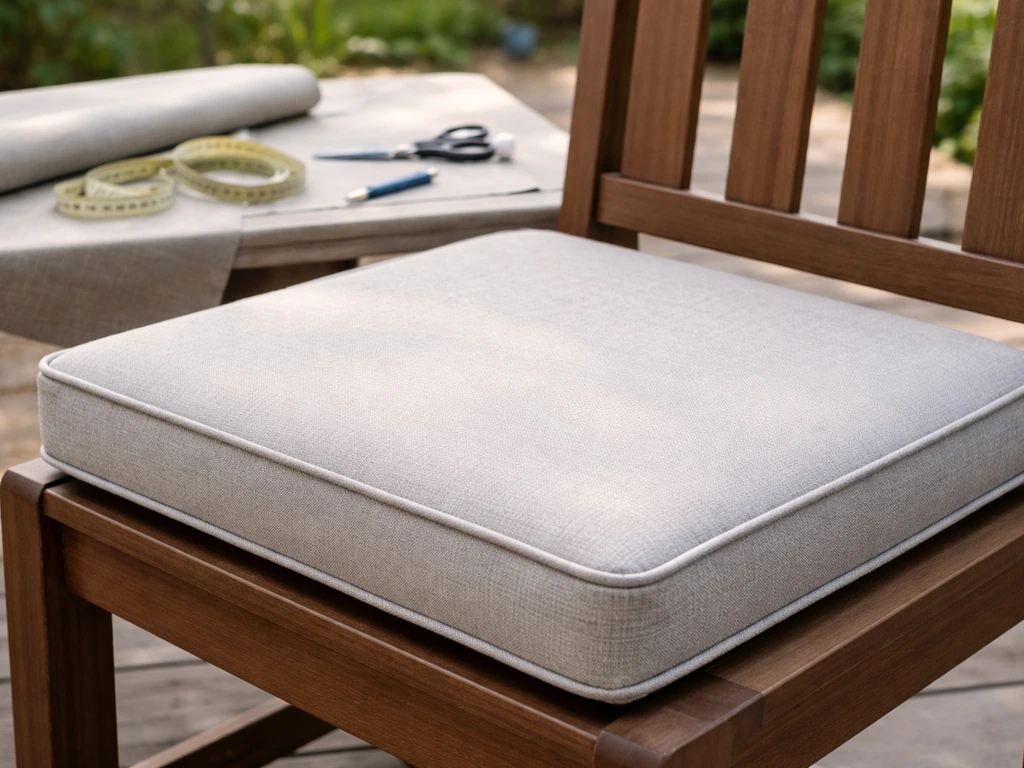
Step 2: Replacing the foam insert
Measure the existing foam carefully: length, width, and height. When you order new foam, match the thickness to what the cover was designed for. If you go even a half-inch thicker, the cover may not zip closed without forcing it, which strains the zipper. If you want to go thicker, you'll need a new cover too. Cut foam to size using an electric carving knife (this is legitimately the easiest tool for clean cuts) or a sharp serrated bread knife. Wrap the foam in a thin layer of Dacron batting before sliding it into the cover. The batting compresses enough to close the zipper but adds noticeable softness.
Step 3: Replacing or making a new cover
For outdoor cushion covers, fabric choice matters enormously. Solution-dyed acrylic fabrics (Sunbrella being the most recognized brand, but there are budget-friendly alternatives) are the gold standard for outdoor use: they resist UV fading, dry quickly, and don't support mildew growth the way cheaper polyester blends do. If you're sewing your own cover, use outdoor-rated thread and a UV-resistant zipper. A basic box cushion cover is beginner-friendly and well worth tackling even if you've never sewn before. If sewing isn't your thing, pre-made outdoor cushion covers are widely available and surprisingly affordable: just match your cushion dimensions closely.
If you're interested in building cushions from scratch rather than restoring existing ones, the process overlaps heavily with what's covered above. The fabric quantity you'll need depends on cushion dimensions and whether you're adding piping or gussets, which is worth calculating before you buy. To figure out how many yards of fabric you need for patio cushions, measure each cushion piece and add extra for seams and any piping or overlap fabric quantity you'll need.
A note on drainage
When reupholstering outdoor cushions, consider adding small drainage holes at the bottom corners of the cover. Some outdoor cushion designs include these deliberately: they let trapped water escape after a rain instead of sitting inside the foam. A few small grommets or even manually-made holes (use a seam ripper and seal the edges with fray-stop liquid) can meaningfully extend how long the foam stays dry and functional.
Waterproofing and outdoor durability upgrades
Water is the number one enemy of outdoor cushion comfort. It weighs foam down, promotes mildew, breaks down adhesives, and eventually causes foam to crumble. Getting ahead of moisture is way easier than dealing with the damage after the fact.
Water-resistant liners for the foam core
One of the smartest upgrades you can make during a reupholstery project is wrapping the foam core in a water-resistant liner before covering it with fabric. This is a thin, waterproof or water-resistant fabric (look for outdoor liner fabric or even shower curtain liner material) that goes between the foam and the outer cover. It doesn't stop moisture forever, but it slows penetration dramatically, giving the foam a fighting chance to dry out between rains.
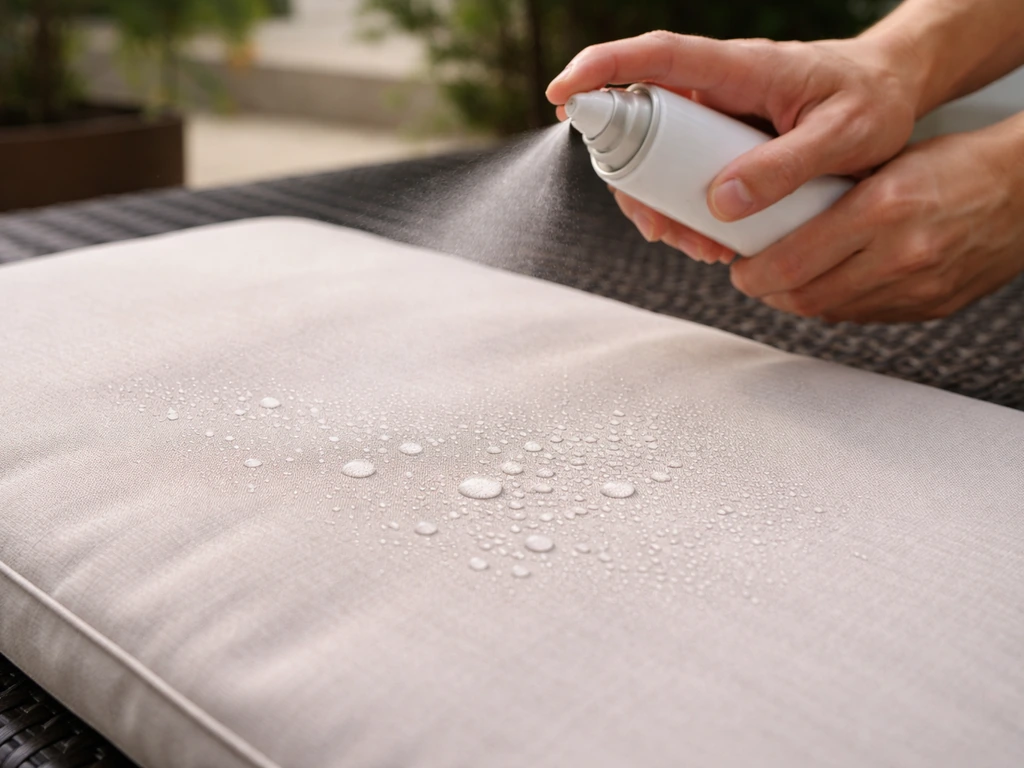
Fabric treatment and spray-on protection
Even good outdoor fabric benefits from a spray-on water repellent treatment, especially after cleaning (which removes some of the original water-resistant finish). Products like 303 Fabric Guard or similar outdoor fabric protectors can be applied to clean, dry covers and restore water beading. Reapply once a season or after any deep cleaning.
Storage and covers between uses
Leaving cushions outside year-round, even with quality fabric, accelerates degradation significantly. Waterproof furniture covers are a worthwhile investment for between-use and overnight protection. For seasonal storage, bring cushions indoors or into a dry shed rather than leaving them under a plastic tarp where moisture can still build up underneath. Make sure they're fully dry before stowing: cushions packed away damp will come out smelling like a basement.
Cleaning and maintenance to keep cushions comfortable longer
A clean cushion is a more comfortable cushion. Dirt and debris work into fabric fibers and create surface roughness, and organic matter left on cushions is the real driver of mildew, even on mildew-resistant fabric. Building a simple cleaning habit prevents most problems before they start.
Regular spot cleaning
Brush off loose dirt, leaves, and debris with a soft brush or dry cloth after every use or after any wind event. For spills, blot immediately with a clean cloth: do not rub, which pushes the spill deeper into the fibers. For spot cleaning, mix a small amount of mild dish soap with warm water, apply with a soft brush in a circular motion, then rinse thoroughly with clean water. For spills, blot immediately, then spot-clean with a mild soap solution and rinse thoroughly to prevent soap residue from attracting dirt and discoloring the fabric spot cleaning, mix a small amount of mild dish soap with warm water. The rinsing step matters: soap left in the fabric attracts more dirt and can cause discoloration.
Deep cleaning routine (do this 2 to 3 times per season)
- Remove cushion covers if possible and brush off any loose debris first.
- Mix 1/4 cup mild dish soap per gallon of warm water, or use a 50/50 white vinegar and water solution for mildew spots.
- Apply the solution with a soft-bristle brush, working it into the fabric surface in sections.
- Let it sit for 10 to 15 minutes on stubborn stains or mildew spots.
- Rinse completely with a garden hose until the water runs clear and no soap residue remains.
- Stand cushions on their edge or hang them so both sides can air dry fully before using or storing. Never lay them flat wet.
- Do not put cushion covers in the dryer: heat shrinks them and changes their shape, making them impossible to zip closed over the insert.
After-rain routine
After any rain, prop your cushions on their side or at an angle as quickly as possible. This lets water run off and allows air to reach both surfaces. Foam that sits flat while soaked stays wet much longer, and prolonged moisture is how mildew takes hold inside the core where you can't easily clean it. If cushions got fully soaked, squeeze out as much water as you can by hand, then stand them on edge in a sunny spot. Give them a full day to dry before laying them flat again.
End-of-season care
Before storing for winter, do a full deep clean and let cushions dry completely outdoors on a dry day. Any moisture left inside the foam during storage will turn into a mildew problem by spring. If you're storing them in a garage or shed, stack them loosely so air can circulate, or store vertically. Avoid airtight plastic bags, which trap any residual humidity. A breathable storage bag or an old pillowcase works better for long-term indoor storage.
Maintenance that prevents sagging over time
Rotate and flip your cushions regularly if they're reversible: this distributes wear evenly so one spot doesn't compress faster than the rest. If you always sit in the same spot, the foam in that zone will fail first. Rotating every few weeks is a simple habit that meaningfully extends the life of even budget foam. And if you've made the upgrade to a layered high-density core with a batting wrap, that investment will only pay off if you're also keeping moisture out and giving the foam time to decompress between uses.
FAQ
Can I just add a cushion topper to make patio cushions more comfortable without changing the foam?
Yes, but only if the issue is surface softness or uneven fill. If the center bottoms out after a short sit, a topper will feel good briefly yet still lets you sink into failed core foam. For best results, add a topper no thicker than about 1 inch and consider pairing it with better core density or a layered insert.
How do I tell whether my cushion needs a foam replacement or just more padding?
A good quick test is to press hard in the middle, then press along the outer edges and corners. If the edges feel collapsed or the outer walls are rounded, the core is likely failing and a topper will not restore the structure. In that case, you’ll get better comfort by rebuilding or replacing the inner foam rather than only cushioning the top.
What foam firmness should I target if I want patio cushions that feel plush but still support me?
For most outdoor seating, aim for medium-firm support rather than very soft. Using low-ILD foam alone often feels plush at first but bottoms out faster. A reliable approach is a supportive high-density core paired with a 1-inch softer layer on top, so you get comfort without losing rebound.
If my cushions feel too firm, will thicker foam alone make them comfortable?
Thickness upgrades work, but only if the cushion still fits the chair and cover. If your current cushions are 2 inches and feel hard, moving to 3 inches can help a lot, yet you may need a cover that fits the new height. Otherwise the zipper and piping can be strained or won’t close smoothly.
What’s the risk of ordering foam that’s slightly thicker than my old cushion?
Yes, but don’t make the foam too tight. Overstuffing by even a half-inch can prevent zippers from closing or cause cover seams to pull, which leads to early cover wear. Measure cover capacity, match foam thickness closely, and if you want thicker comfort plan on a new cover.
Are drainage holes and liners always helpful, or can they make things worse?
Start with where the water goes and where air can dry. Add drainage holes or corner openings if your design allows it, but also ensure cushions can dry quickly after rain (for example by storing them upright or on their side). If you add a water-resistant liner, you still need ventilation and proper drying to avoid trapped moisture.
Does water-repellent spray actually improve comfort, or is it only about protecting the fabric?
Clean on a regular schedule, then protect. After cleaning, apply a spray-on water repellent to help fabric bead water again, especially if the cover has been through repeated wetting. Also rinse thoroughly after any soap use, because residue attracts dirt and can reduce the effectiveness of water repellents.
If my cushion slides, can I add tie straps, and how should I do it safely?
Yes, but it must be done while the cushions are fully dry. Sewing or gluing ties on damp cushions can trap moisture near the corners and encourage mildew in the core area. After attaching tie straps, test that the cushion stays snug under normal movement.
Is it better to keep patio cushions covered with plastic or stored in an enclosed garage?
Avoid leaving cushions under a plastic tarp that seals moisture in. Tarping can reduce airflow, so moisture from humidity or partial drying remains trapped. Use breathable covers for between-use, and for overnight or seasonal storage, bring cushions fully dry indoors or into a dry shed.
What should I do if my cushion cover smells musty even before I decide what to replace?
If your cushion cover smells musty after opening, moisture likely reached inside the core, meaning deodorizing the cover alone may not solve the problem. In that case, reassess the foam and liner, because compromised core foam can continue to hold odor and will stay less comfortable even after cleaning.