You can make patio furniture cushions from scratch at home using outdoor foam, a Dacron wrap, and a sewn fabric cover. The full process takes one weekend and costs $30 to $80 per cushion depending on your materials, which is a fraction of what replacement cushions cost at a furniture store.
How to Make Patio Furniture Cushions and Covers

Maren Grady
15 May 2026
The basic steps are: measure your chairs, cut the foam to fit, wrap it in batting, sew a cover with a zipper or ties, and attach the finished cushion to the frame. Even if you have never touched a sewing machine, this guide will walk you through every part of that process. To finish your project, you will also sew a durable outdoor cover and attach the cushion to the chair so it stays in place outside.
Measuring Your Patio Chairs and Existing Cushions

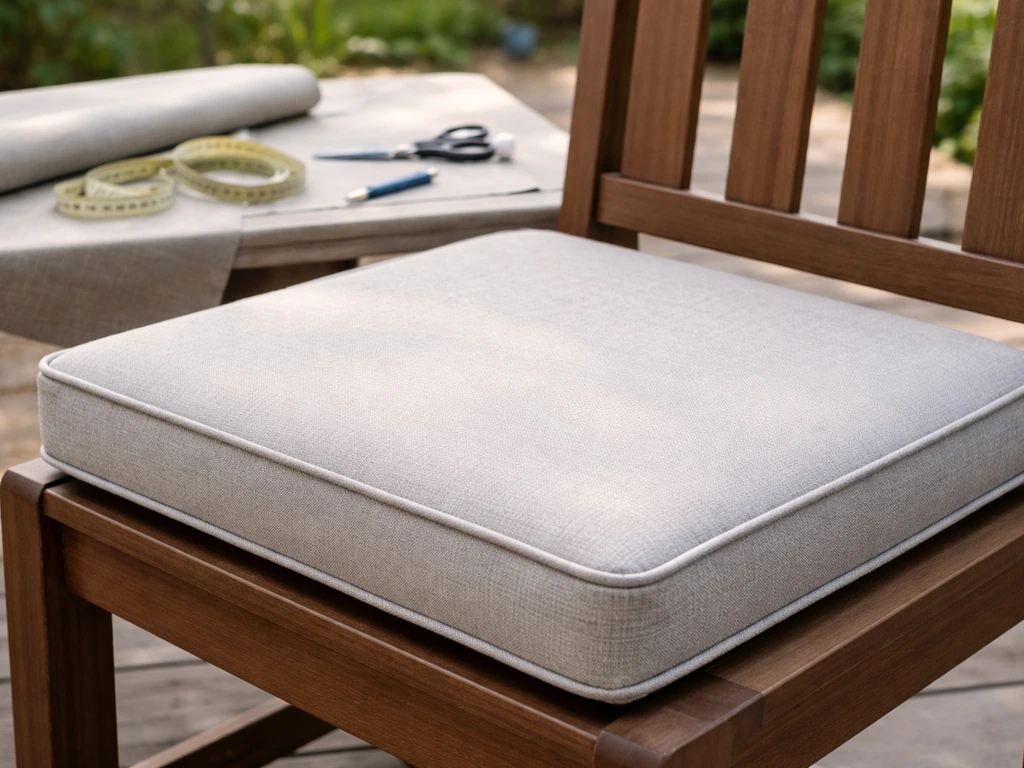
Good measurements are the foundation of this whole project. Get them wrong and everything that follows is off. Grab a flexible tape measure, a pen, and a piece of paper before you do anything else.
If you already have cushions that just need to be replaced or recovered, measure the existing cover first, not the old foam. Old foam compresses over time and gives you a false reading. Measure the cover seam-to-seam across the length, then the width, then the thickness from the sitting surface down to the base. Round each number up to the nearest quarter inch. These three numbers (length, width, thickness) are what you will use to order or cut foam.
If you are starting from scratch with bare chair frames, measure the seat opening directly. For the length, run your tape from the back rail to the front edge. For the width, measure from the inside of one arm to the other. For thickness, decide how deep you want the cushion to sit. Two to three inches is standard for a seat cushion. Write down all three numbers and add about half an inch to both length and width so the foam fills the cover snugly without bunching.
- Measure existing covers seam-to-seam, not old foam, for the most accurate fit
- Measure length, width, and thickness for every cushion you plan to make
- Round measurements up to the nearest quarter inch
- Add roughly half an inch to length and width so foam fills the cover firmly
- Measure thickness from the sitting surface to the frame or decking below, not from a compressed spot
- Sketch the seat shape, especially if it has curved front corners, and note any irregular dimensions
One mistake I made on my first set: I measured the length while the tape was angled. Even a slight angle gives you a longer number than reality. Keep the tape flat, parallel to the surface, every single time.
Choosing the Right Foam, Thickness, and Fabric
Outdoor foam: what actually works
Not all foam is made for the outdoors, and using regular indoor upholstery foam will cost you. It absorbs water, stays wet for days, grows mold, and breaks down within a season or two. For patio cushions you want Dry Fast foam, sometimes called reticulated foam. It is an open-cell polyurethane foam engineered so that water passes straight through the open structure and drains out the bottom, leaving the foam effectively dry within minutes. It is the right choice for any cushion that will be left outside or exposed to rain.
For added protection, some builders use a thin closed-cell foam base under the open-cell core. The closed-cell layer blocks ground moisture from wicking upward through the seat of the chair into the foam. You do not have to do this, but if your chairs sit directly on a wet deck it makes a real difference.
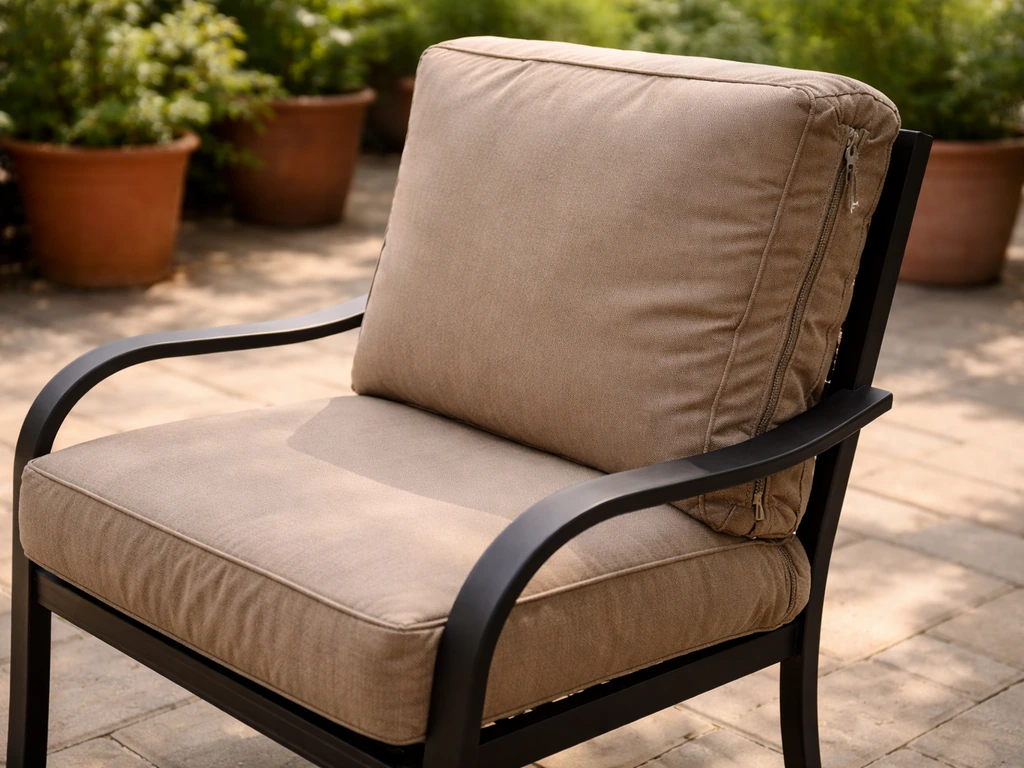
Thickness is a comfort and proportion call. You can also improve comfort with thicker foam, a better batting layer, and a properly sized cover that supports your back and hips make patio furniture more comfortable. For a dining chair seat, two inches is usually enough. For a lounge chair or deep-seat sofa, go three to four inches. Anything thinner than two inches tends to feel like you are sitting on the frame within a season.
Dacron wrap: the step most people skip
Wrapping your foam in a layer of Dacron polyester batting before putting it in the cover rounds out the edges, adds softness, and helps the cover slide on smoothly. Use a batting thickness of half an inch to one and a half inches. Cut it large enough to wrap around all four sides and the top of the foam, then secure it with a few strips of spray adhesive or upholstery tape before sewing the cover.
Outdoor fabric: what to buy and what to avoid
Sunbrella is the most recommended outdoor upholstery fabric for good reason. It is made from 100% solution-dyed acrylic, meaning the color goes all the way through the fiber rather than sitting on the surface. That is what makes it genuinely fade-resistant, mold-resistant, and water-resistant over years of outdoor use, not just a surface coating that wears off. It costs more (roughly $20 to $40 per yard depending on the pattern), but it outlasts cheaper alternatives by several seasons. If you want to estimate how many yards you will need for a full set, you can use these fabric yardage calculations for patio cushions before you buy how many yards of fabric for patio cushions.
One thing worth knowing: fully waterproof, non-breathable fabrics seem like they should be better, but they can actually trap moisture inside the cushion if water gets in through the seams. Trapped water with no way to dry is exactly where mold grows. A water-resistant but breathable fabric like Sunbrella is a smarter long-term choice than a 100% waterproof vinyl or laminated canvas.
| Fabric Type | Water Resistance | Breathability | Fade Resistance | Cost per Yard | Best For |
|---|---|---|---|---|---|
| Sunbrella (solution-dyed acrylic) | High (water resistant) | Yes | Excellent | $20–$40 | All outdoor cushions, long-term use |
| Olefin/Polypropylene | Moderate | Yes | Good | $8–$18 | Budget-friendly outdoor use |
| Canvas (treated) | Low-moderate | Yes | Fair | $6–$14 | Covered patios or light use |
| Fully waterproof/vinyl | Very high | No | Good | $10–$25 | Marine or very wet climates (with drainage) |
My recommendation: if you are investing time in making these cushions yourself, spend the money on Sunbrella or a quality olefin. Cheap polyester fabric from a general fabric store is not made for prolonged UV and moisture exposure and will fade or degrade within a year.
Building the Foam Cushion Insert
This is the physical core of the cushion, and it is easier to assemble than it sounds. You are basically cutting foam to size, optionally layering a closed-cell base, and wrapping the whole thing in Dacron. No sewing required for this step.
What you need
- Dry Fast open-cell foam cut to your measurements
- Optional: half-inch closed-cell foam for the base
- Dacron batting (half inch to one and a half inch thickness)
- Electric carving knife or foam cutting tool (a sharp bread knife works in a pinch)
- Spray upholstery adhesive
- Straightedge or ruler
- Marker for cutting lines
Step-by-step foam assembly
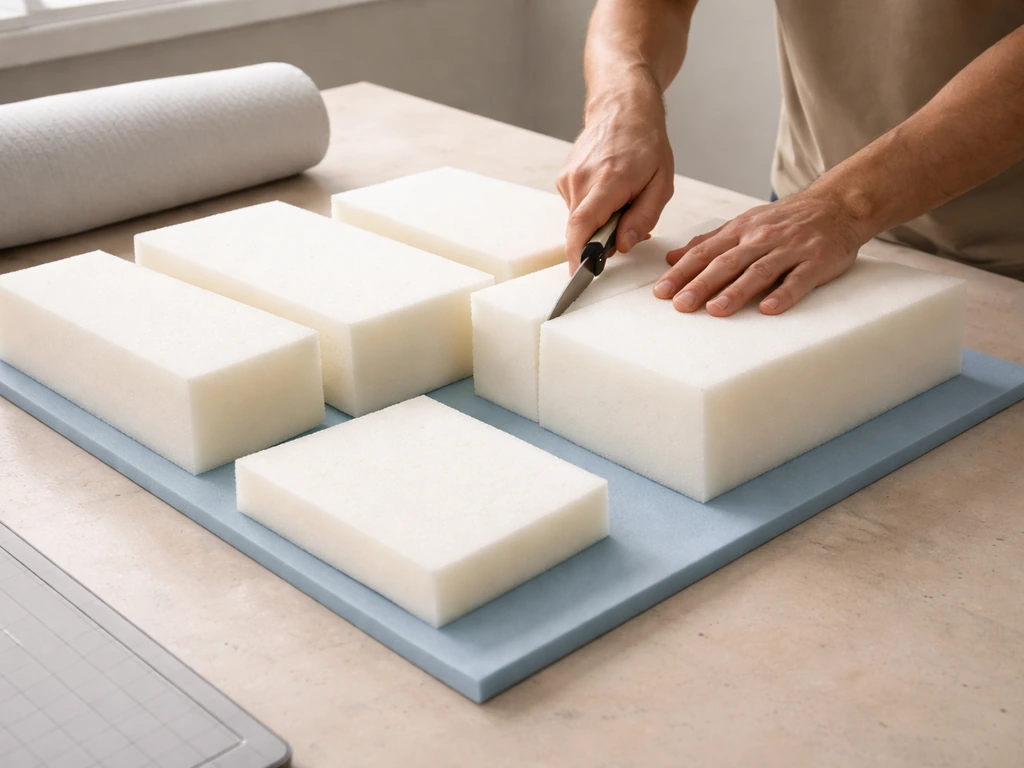
- Mark your foam with a ruler and marker using your final measurements. Double-check before cutting.
- Cut the foam with an electric carving knife using slow, steady strokes. Do not press down hard or you will compress the foam and cut at an angle. Let the blade do the work.
- If you are adding a closed-cell base layer, cut it to the same length and width as the main foam. Glue it to the bottom of the main foam block with spray upholstery adhesive and let it cure for 15 to 20 minutes.
- Cut your Dacron batting into one large piece that wraps around the top and all four sides of the foam with a few inches of overlap. You do not need to wrap the base if you are using a closed-cell layer there.
- Lightly spray the top and sides of the foam with upholstery adhesive, then wrap the Dacron snugly around it. Smooth out lumps as you go.
- Let the adhesive set for 10 minutes, then do a quick test: the batting should stay in place without shifting when you squeeze the foam gently.
Here is where I messed up on my first attempt: I cut the foam half an inch short because I forgot to account for the Dacron wrap adding dimension. Measure the foam itself to your target dimensions, and remember the Dacron adds about a quarter to half an inch all around. That is actually a good thing because it helps the cover look full and smooth.
Sewing the Cushion Cover
This is the part that intimidates most beginners. But a basic outdoor cushion cover is just a few rectangles of fabric sewn together with a closure on one end. If you can sew a straight line, you can make this cover.
Calculating your fabric pieces
Your cover needs a top panel, a bottom panel, and a boxing strip (the band of fabric around the sides that gives the cushion its depth). Add a half-inch seam allowance to every edge. So if your finished cushion should be 20 inches long, 18 inches wide, and 3 inches thick, your top and bottom panels should each be cut at 21 inches by 19 inches (adding one inch total for seam allowances on each dimension).
The boxing strip should be cut at the cushion perimeter (20+18+20+18 = 76 inches) plus seam allowances, by the cushion thickness plus seam allowances (4 inches total). For cushion quantities and yardage, the math adds up quickly across a full set of chairs, so plan your cuts before buying.
Making the pattern and cutting the fabric
- Make a paper pattern first by tracing your foam insert on kraft paper or newspaper. This is especially useful if your seat has curved or angled front corners.
- Add your half-inch seam allowance around the entire perimeter of the pattern piece.
- Lay your outdoor fabric flat on a large table or clean floor. Pin the pattern down and trace it with tailor's chalk or a fabric marker.
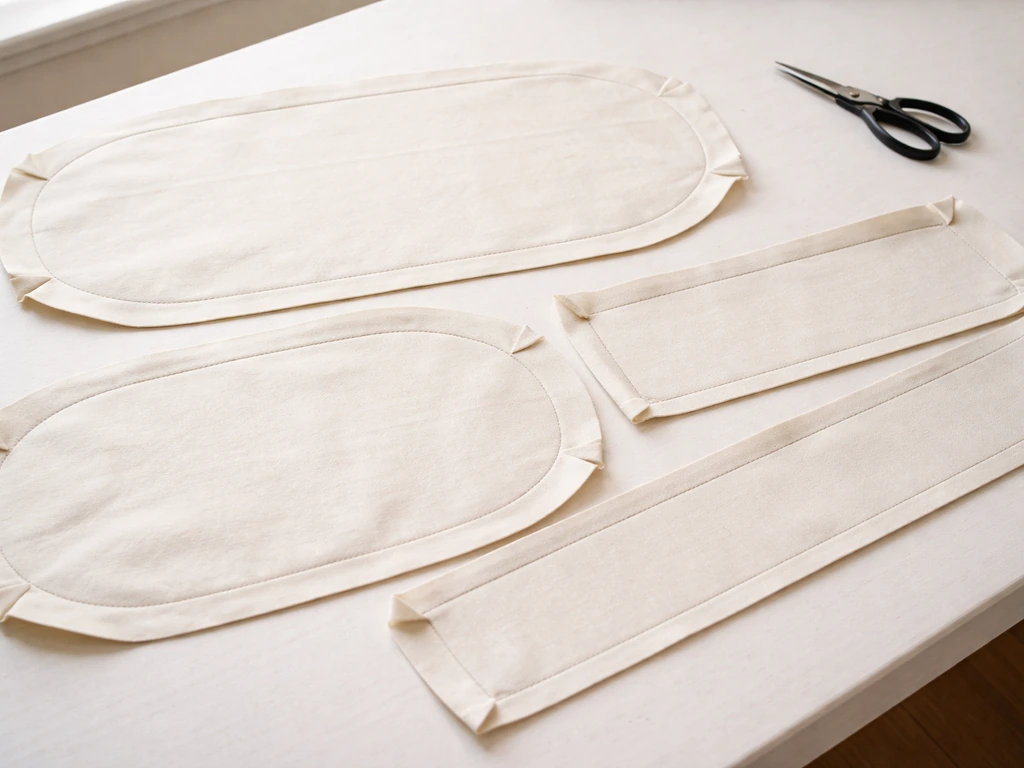
- Cut carefully with fabric shears. Do not use paper scissors, they will leave a ragged edge that frays faster outdoors.
- Cut one top panel, one bottom panel, and your boxing strip. Label each piece lightly with chalk so you do not mix them up.
Assembling the cover
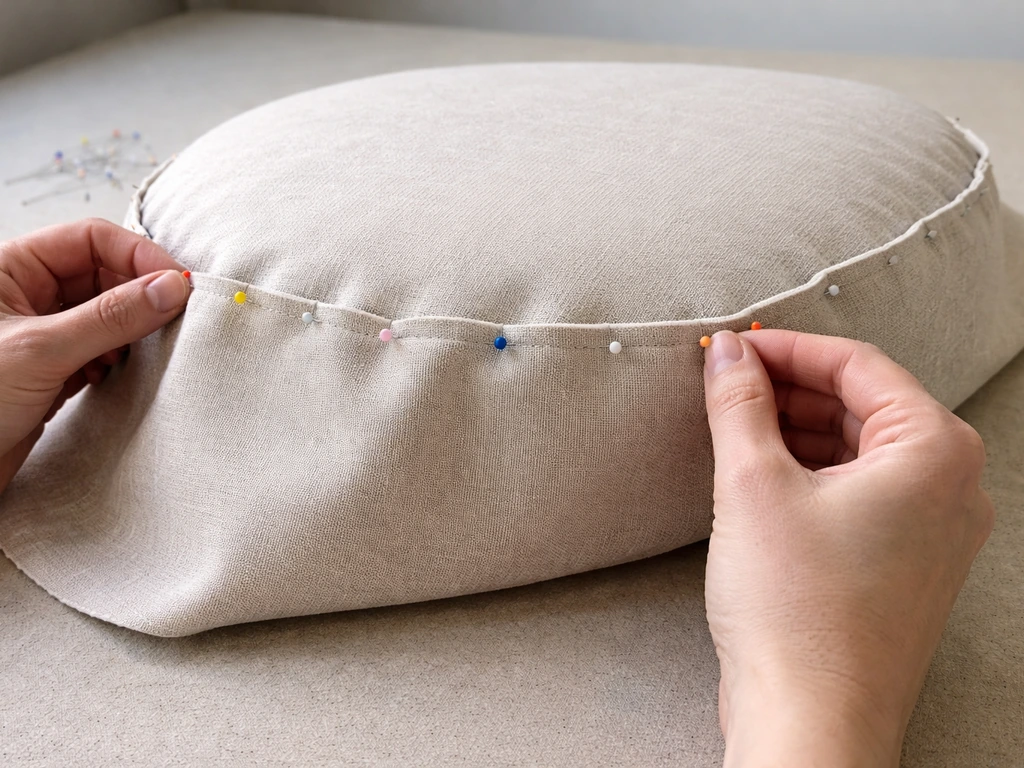
- Pin the boxing strip to the top panel with right sides facing. Start at a back corner, not a front corner, so any small misalignment ends up at the back where it is least visible.
- Sew along the top edge with a half-inch seam, backstitch at the start and end. Clip the corners so the boxing strip turns cleanly around each corner without pulling.
- Attach the bottom panel to the other edge of the boxing strip the same way, but leave the entire back edge open. This is where your closure will go.
- Clip any curved corners, trim seams to reduce bulk, and press the seams flat if your fabric handles a low iron setting.
- Turn the cover right side out and check the corners. If they look puckered, clip a bit more seam allowance at those spots and re-press.
Adding Ties, Zippers, or Elastic (and Attaching the Cushion to the Chair)
Zipper closure
A zipper is the cleanest closure for an outdoor cushion cover because it stays fully closed and lets you remove the cover for washing. Use a nylon coil zipper in a length that runs most of the back edge (at least 18 inches for a standard chair cushion). Install it before you sew the back seam closed. [Use a zipper foot on your machine and stitch as close to the teeth as possible so the zipper pull moves freely.
](https://www. sengerson. com/diy-outdoor-cushion-covers-with-zipper-tutorial/) Stitch on both sides of the zipper tape with the zipper open, then close it to check that the pull runs smoothly. If the stitching is too far from the teeth, the zipper will look gappy and may catch fabric.
This is one of those things that takes one practice run on scrap fabric to get right.
Ties
Ties are easier to sew than a zipper and work great on dining chairs. Cut four strips of your outdoor fabric (or use ribbon or nylon webbing), each about 18 to 24 inches long and one to one and a half inches wide. Fold each strip in half lengthwise, sew the long edge and one short end closed, then flip right side out. Position one tie at each back corner of the cushion and one at each front corner if needed. Sandwich them into the seam as you sew the boxing strip to the panels so they are anchored directly into the seam rather than just topstitched on. Topstitched ties pull off under use.
Elastic corners
For chairs where you cannot tie the cushion easily, elastic corner loops work well. Sew a two-inch loop of half-inch elastic at each bottom corner of the cover, tucking it into the seam. The loops hook under the chair frame or around the legs to hold the cushion in place. This approach is common on stackable chairs with thin frames.
Inserting the foam and doing a test fit
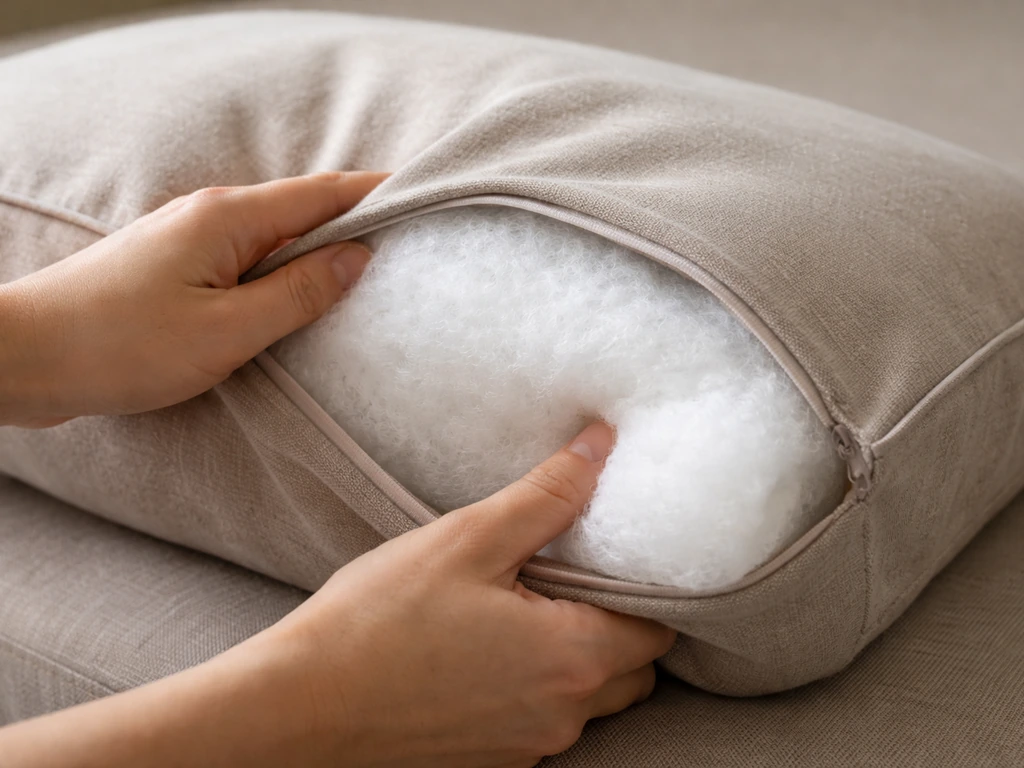
Compress the foam and Dacron-wrapped insert slightly and feed it into the cover through the open back edge or zipper opening. Work it into the corners first, then smooth it toward the center. The cover should look full and taut without being so tight that you cannot get the zipper closed. If it is too tight, remove the insert and let the foam rest for a few minutes before trying again (foam sometimes needs to decompress). If the cover is too loose and baggy, the foam insert is undersized and you will need to add another thin layer of Dacron or cut a slightly larger foam piece.
Weather-Proofing and Caring for Your Outdoor Cushion Covers
Making great cushions is only half the battle. How you treat them the rest of the time determines whether they last two seasons or ten. A comfortable patio setup also depends on choosing the right foam thickness and using soft batting so you can sit for longer without pressure points.
Fabric treatment after sewing
If you used Sunbrella or another solution-dyed acrylic, the fabric already has built-in water resistance baked into the fiber. After sewing, the seams themselves are the weak point since needle holes break the weave. Apply a seam sealer (available at fabric and outdoor stores) along every sewn seam on the outside of the cover. This closes those holes and keeps water from wicking into the cushion interior. Reapply once a season or whenever water stops beading on the surface.
Routine cleaning
For Sunbrella and similar outdoor fabrics, spot clean with a mild soap solution and cold water. Use a soft brush, rinse thoroughly, and always let the covers air dry completely before storing them or stacking the cushions. Do not leave wet cushions stacked or bagged, that is how mold starts even on mold-resistant fabric. Avoid undiluted bleach, but a diluted solution (about one cup of bleach per gallon of water) can be used for stubborn mildew stains on Sunbrella, rinsed well afterward.
Seasonal storage
At the end of the outdoor season, clean the covers, let them dry fully, and store them indoors or in a breathable storage bag. Never store cushions in a sealed plastic bag or airtight bin without making sure they are bone dry first. Moisture sealed inside is the number one cause of cushion mold over winter. If your cushions have Dry Fast foam inserts, the foam itself is very forgiving, but the cover fabric and the Dacron wrap need to be dry before they go into storage.
Quick tips for making cushions last longer
- Bring cushions inside during heavy rain or overnight if you live in a humid climate
- Store cushions on edge rather than flat if stacking creates pressure points that deform the foam
- Flip and rotate cushions every few weeks to even out wear and sun exposure
- Apply a UV protectant spray once a season to non-Sunbrella fabrics to slow fading
- Check ties and zipper pulls at the start of every season and reinforce any loose stitching before it fails completely
- Spot-treat mildew immediately rather than letting it spread, because early-stage mildew cleans off much more easily than established growth
Once you have made one set of cushions, making more gets significantly faster. You will already have your patterns, you will know your chair dimensions, and you will have a sense of how the materials behave. Many people find they use the same basic process to make patio pillows and back cushions for the same chairs, which rounds out a full seating set for a fraction of the retail cost.
FAQ
If I’m making cushions to fit existing covers, how do I avoid ordering foam that’s too tight?
For foam-in-place projects, order or cut the foam based on your cover’s finished size, then plan for the batting to compress slightly when you insert it. If you’re reupholstering existing covers, measure the cover seam-to-seam and round up as you did before, but also do a quick “fit check” by slipping a thin towel or scrap batting inside to confirm the corners look full, not stretched.
Can I use this same method for cushions on a covered patio in hot, humid climates?
Yes, but treat the padding and closure as the “climate control” points. Use outdoor batting (Dacron) and a solution-dyed fabric, then ensure you can fully remove the cover for drying. In hot, humid areas, ventilation and fast-drying storage matter as much as water resistance, so consider a zipper closure even if ties are easier.
What should I do if my cushion zipper doesn’t close smoothly after installation?
If your zipper stalls, catches, or won’t close, it’s usually a sizing or sewing alignment issue. First confirm the foam insert is not over-compressed, then check that the zipper is installed with the fabric edge aligned evenly on both sides (use the zipper open while stitching). If the zipper teeth look gappy, resew closer to the teeth, a zipper foot helps.
Are tie closures better than elastic corner loops for all patio chair styles?
For dining chair cushions, ties often work best only when you can anchor them to a stable part of the chair (like the back corners of the frame). If your chairs are rounded, have angled backs, or you frequently slide cushions, elastic corner loops or a deeper boxing fit will hold more reliably than topstitched ties.
How can I tell whether seam sealer is actually protecting my cushion covers?
Stitching a seam sealer on a finished cover is helpful, but it won’t fix gaps from poor seam alignment or loose thread tension. After applying sealer, run a hand over the seam to confirm it feels continuous, then test with a light spray of water on a scrap piece if possible. If water beads and runs off, you’re good, if it wicks along the seam, add additional sealer to that exact line.
How often should I wash or deep-clean patio cushion covers?
Plan for seasonal removal and washing, not just quick spot cleaning. Even solution-dyed fabrics need periodic deep cleaning to keep dirt from grinding into the weave. Make a simple routine: brush off debris monthly during use, then do full washing and dry completely before storing at season end.
Can I substitute another outdoor fabric for Sunbrella and still get similar results?
Yes, but avoid swapping only the fabric while keeping incompatible materials. If you choose a different outer fabric, confirm it is outdoor rated and breathable. Fully waterproof laminated fabrics can trap moisture if seams leak, so if you’re changing fabrics, keep the same seam sealing step and focus on drying ability.
My finished cushion cover looks baggy or too tight, how do I diagnose the cause?
To keep the cover from becoming baggy, make sure your foam and batting dimension “calibrate” to each other. If the cover looks loose once assembled, add batting thickness (in small increments) or cut the foam slightly larger next time (since you already use a wrap allowance). If it feels too tight, shorten the insert by letting it decompress or trimming foam only after you’ve rechecked your target dimensions.
What’s the best way to store patio cushions through winter without encouraging mold?
When you store cushions indoors, use airflow, not plastic protection. Store them flat or slightly elevated so air can reach all surfaces, and use a breathable storage bag. If you must use a bin, only do it after a full drying window and consider placing a small moisture absorber to reduce residual humidity.
How do I keep the boxing strip from twisting or sewing crooked on a first attempt?
For beginners, the easiest way to prevent a crooked boxing strip is to baste first and check the perimeter match before final stitching. Pin or baste around the entire cushion perimeter, then verify the zipper or back opening alignment is centered. If it’s off, adjust before committing to the final seam, because trimming after sewing is more difficult with outdoor fabrics.