You can make durable, removable outdoor patio pillows from scratch in a single weekend using solution-dyed acrylic fabric, reticulated dry-fast foam or a polyfill insert, a UV-resistant thread, and either a water-resistant zipper or a simple envelope closure. The key difference between a pillow that lasts three seasons and one that smells like mildew by August is the materials you choose before you cut a single piece of fabric.
How to Make Patio Pillows: Step by Step Outdoor DIY

Maren Grady
11 Jun 2026
Pick the right outdoor materials and pillow fill
This is where most DIYers go wrong. They grab bargain upholstery fabric from the craft store, stuff the pillow with standard polyfill, and wonder why it looks faded and smells musty after one summer. Outdoor pillows live in a genuinely harsh environment: direct UV exposure, rain, humidity, bird mess, and pollen. Every material choice needs to account for that.
Fabric: go solution-dyed acrylic if you can
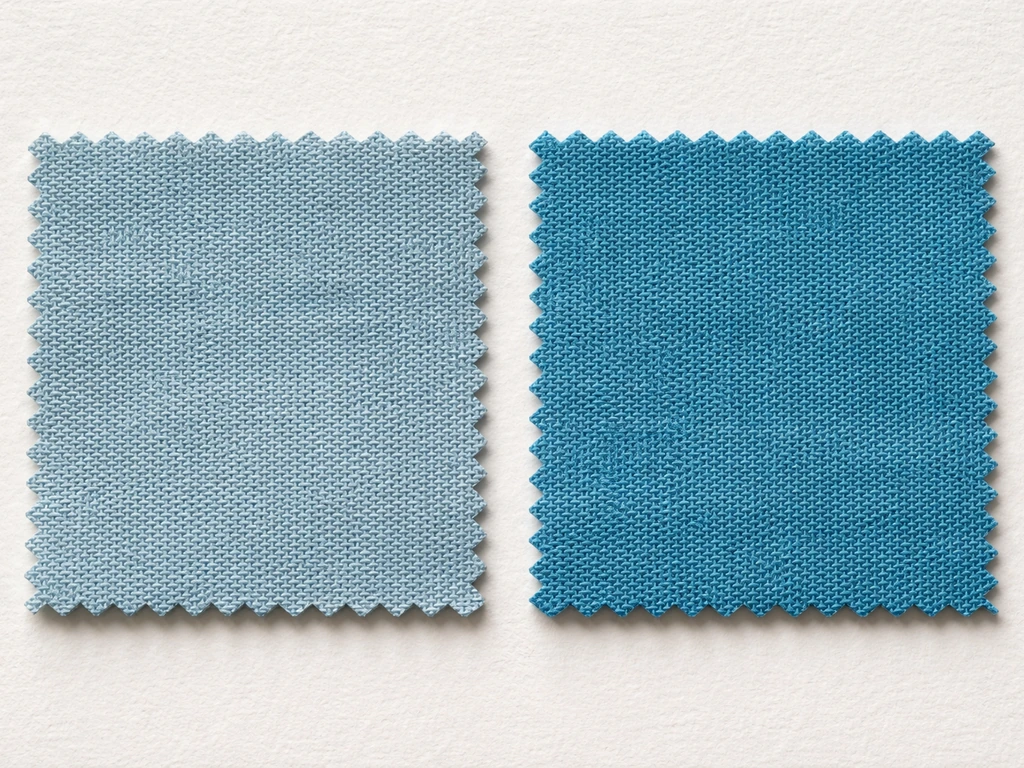
Solution-dyed acrylic is the gold standard for outdoor fabric because the pigment is built into the fiber during manufacturing, not printed on top. That means UV rays have nothing to bleach away. Brands like Sunbrella and Defab's Somerton acrylic advertise 50+ UV resistance, and it shows in practice. When you are shopping, look for fabrics rated using a "star" system for UV/fade performance (Sailrite uses this approach in their fabric selection guide).
The higher the star rating, the better the fabric holds up in direct sun. You also want to check the AATCC 22 spray test rating for water repellency. A fabric rated 100 on that test beads water off the surface almost completely. Anything rated 70 or below will soak through quickly.
If solution-dyed acrylic is out of your budget, look for solution-dyed polyester canvas marketed as outdoor fabric. Products like Ottertex waterproof canvas offer decent UV and water resistance at a lower price point. Avoid regular decorator fabric, canvas drop cloth, or indoor upholstery material for anything that will actually sit outside. They will fade, saturate, and rot faster than you expect.
Thread and hardware: the overlooked part
Standard polyester thread will eventually degrade in UV exposure. Use bonded nylon or a UV-stabilized polyester thread like Champion Thread's Poly UVex, which is specifically engineered for high-UV outdoor applications. For Tex 70 bonded nylon (a good weight for outdoor pillow covers), set your machine needle to size 18-21 (metric sizing) or a 110/18 to 120/19 in imperial sizing. Using too small a needle with heavy outdoor thread causes skipped stitches and seam failures down the road.
For zippers, skip the standard nylon coil zipper. YKK makes an AquaGuard line (both coil and molded-tooth VISLON versions) that has a water-repellent coating and holds up to outdoor moisture. Molded-tooth zippers like the VISLON style handle water and grit better than coil, and some options include UV-resistant treatments. These are easy to find at outdoor fabric shops and only cost a dollar or two more than a standard zipper.
Fill: dry-fast foam beats polyfill outdoors
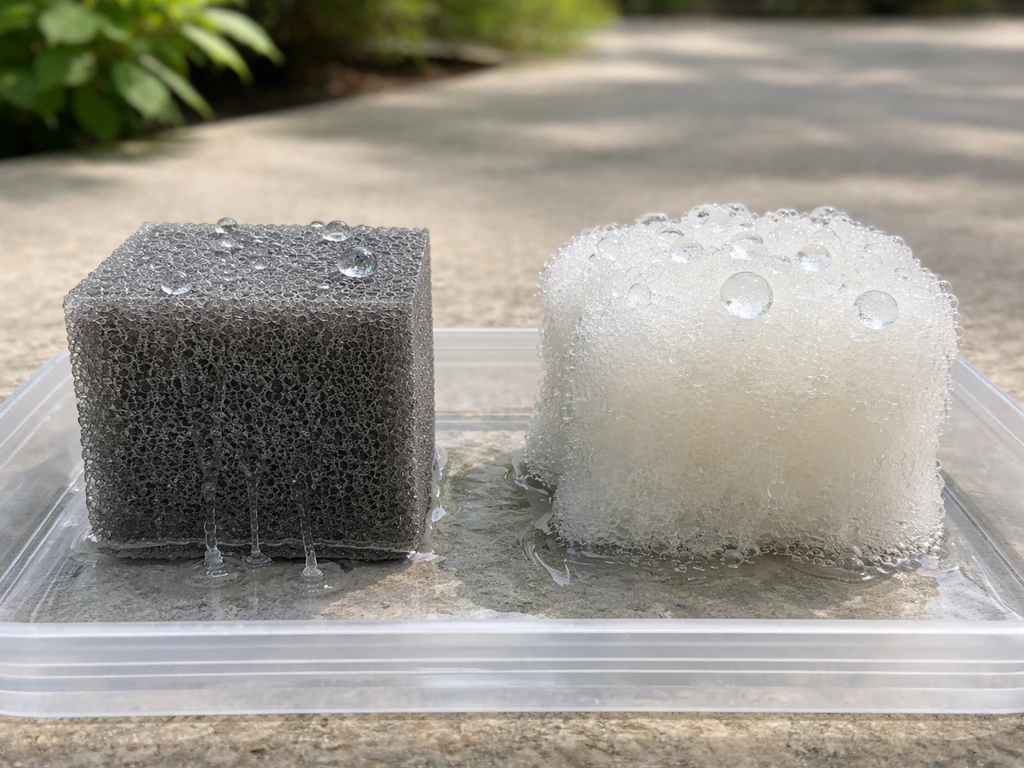
Polyester fiber fill (standard polyfill) is not recommended for outdoor pillows that will get wet. It holds water, takes forever to dry, and becomes a mildew breeding ground inside your cover. Reticulated dry-fast foam is a much better choice for any pillow that might get rained on. It is an open-cell foam with a sponge-like reticulated structure that lets water drain through in minutes rather than hours.
Products like Sailrite's CushionRite Dry Fast Antimicrobial Foam, Foamite's Qik-Dri, and CushionFoamz dry-fast foam all share the same key properties: extreme open-cell drainage, mold and mildew resistance, and antimicrobial treatment. For pillows that will live under a covered patio or get brought inside regularly, a wrapped polyester fiber insert can work if you are diligent about drying it out. But if your pillows sit exposed, use dry-fast foam.
You can cut it to any size with a sharp serrated bread knife or an electric carving knife.
| Fill Type | Water Drainage | Mildew Risk | Best For | Cost |
|---|---|---|---|---|
| Reticulated dry-fast foam | Drains in minutes | Very low (antimicrobial) | Exposed outdoor pillows, rain exposure | Moderate ($) |
| Standard polyester fiber fill | Holds water for hours | High if wet repeatedly | Covered patios only, brought in regularly | Low ($) |
| Down/down-alternative insert | Poor drainage | Very high | Indoor use only | Moderate to high ($$) |
Recommendation: use reticulated dry-fast foam for any pillow that will stay outside. You can also improve comfort by adding a thicker, dry-fast insert and a plush-yet-supportive outer cover. Cut it about 1-2 inches larger than your finished cover dimensions so the pillow looks full and plump rather than flat and sad.
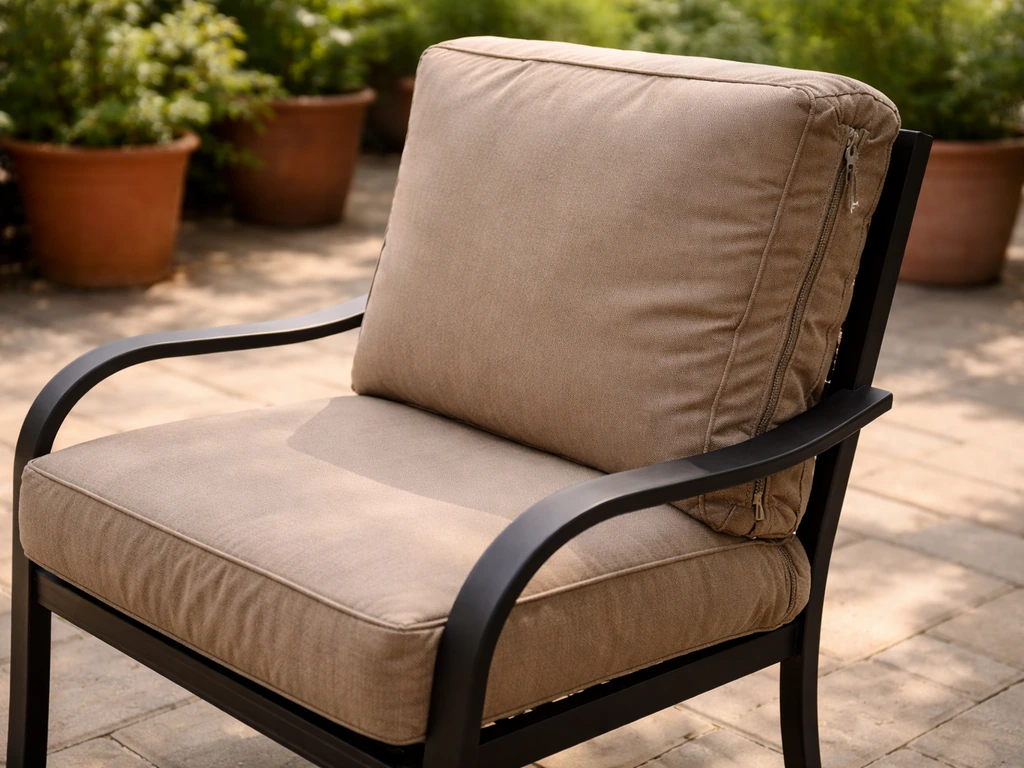
Choose sizes and styles (and how many pillows you need)
Standard outdoor throw pillow sizes run 16x16 inches, 18x18 inches, and 20x20 inches for square pillows. Lumbar pillows for chair backs are typically 12x20 inches or 14x24 inches. For a two-seat loveseat, two 18x18 pillows on each end with a lumbar in the middle is a classic starting point. A standard sofa can handle three to five pillows depending on how full you want it to look. If your patio furniture feels too firm or you want extra support, add or upgrade seat cushions and back pillows so every seating surface is comfortable for long days outside.
The insert should always be 1-2 inches larger than the finished cover measurement in both dimensions. So if you want an 18x18 inch pillow, cut your foam or buy your insert at 19x19 or 20x20 inches. This is the trick that makes DIY pillows look store-bought rather than flat and deflated. Multiple sources confirm this 1-2 inch upsizing rule, and I will say from experience it makes a visible difference.
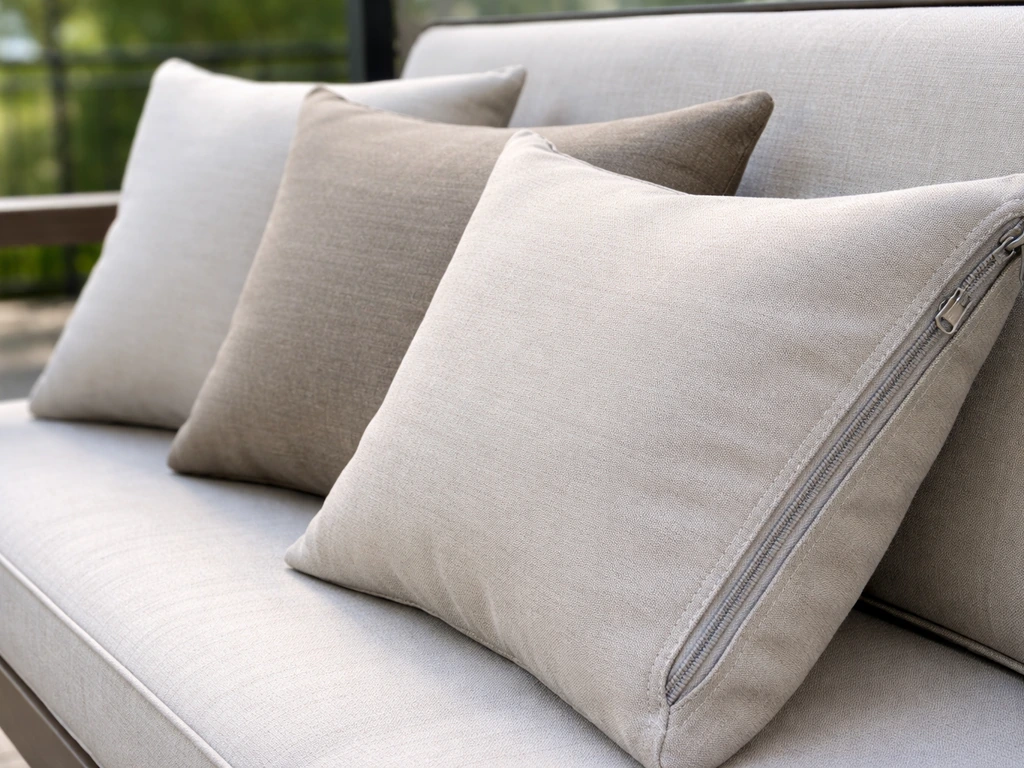
For style, you have three main closure options: a zippered cover, an envelope back, or a simple sewn-shut pillow. For patio use, I strongly recommend either a zipper or envelope back so you can remove the cover for cleaning without destroying the pillow. Sewn-shut outdoor pillows are not practical once mildew or staining sets in. If you are making your first pillow and feel intimidated by zippers, the envelope back is a beginner-friendly alternative that actually works really well outdoors.
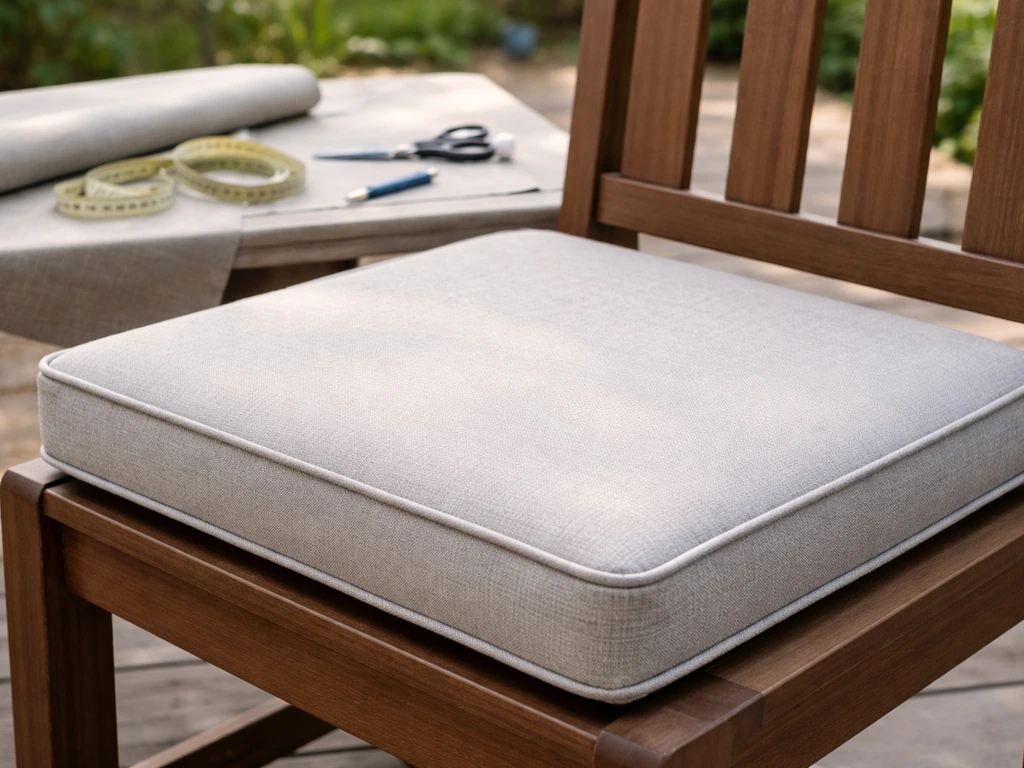
Measure, draft a pattern, and cut fabric cleanly
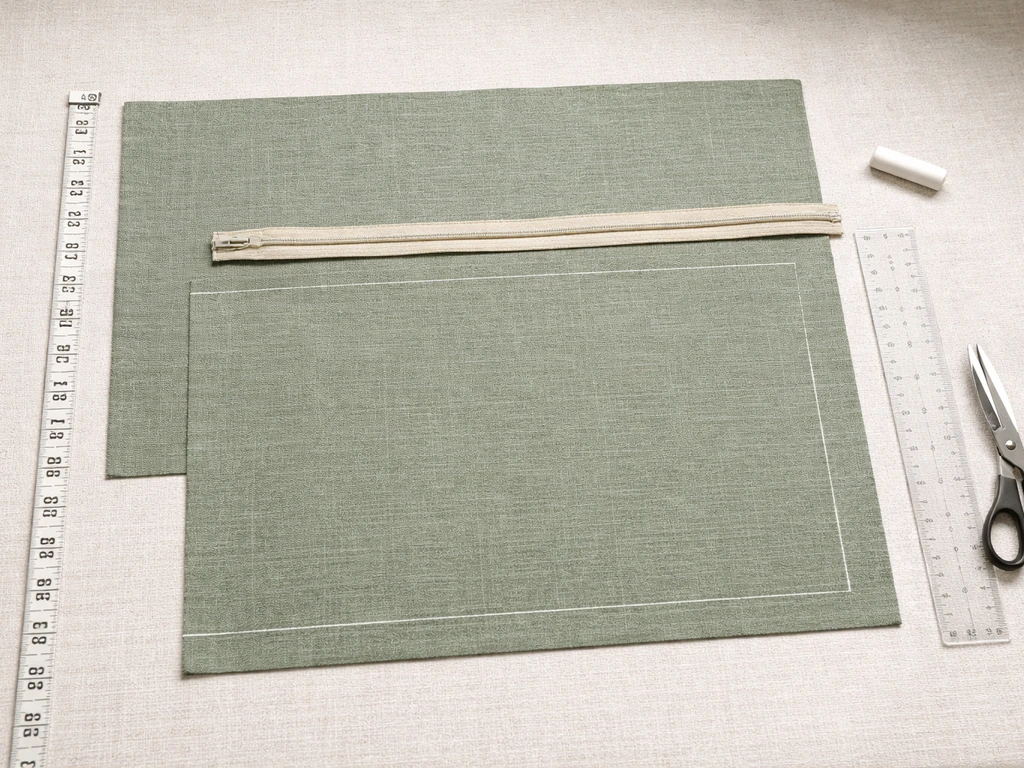
Measure your fill insert first, since that is the fixed dimension everything else builds from. Write down the exact height and width (or height, width, and depth if you are doing a boxed pillow rather than a flat throw pillow). For a flat pillow cover, your finished cover size equals the insert size minus 1-2 inches on each side to account for the snug fit.
Drafting the pattern pieces
For a zippered square or rectangular pillow, you need two pieces: a front panel and a back panel, both cut to the finished size plus seam allowance. The standard outdoor seam allowance is 1/2 inch to 5/8 inch. Ecopatchy’s guide for outdoor cushion covers also puts the standard outdoor cushion seam allowance in the same range of about 1/2 inch to 5/8 inch standard outdoor seam allowance of 1/2 inch to 5/8 inch.
I use 5/8 inch because it gives a little more material to work with at the seam and reduces the chance of the seam pulling out under tension. So for an 18x18 finished pillow: each panel is cut at 19 1/4 x 19 1/4 inches (18 plus 5/8 on each side).
For an envelope back closure, you use one front panel and two back panels that overlap in the center. The two back panels each need extra length to create the overlap. A common approach: divide the back finished dimension in half, then add 5 inches to each back panel for the overlap zone. For an 18-inch finished width back, each back panel would be cut approximately 14 inches wide by the full height of the finished pillow plus seam allowances. The two pieces overlap in the middle, creating a hidden opening you can push the insert through.
Cutting outdoor fabric without fraying
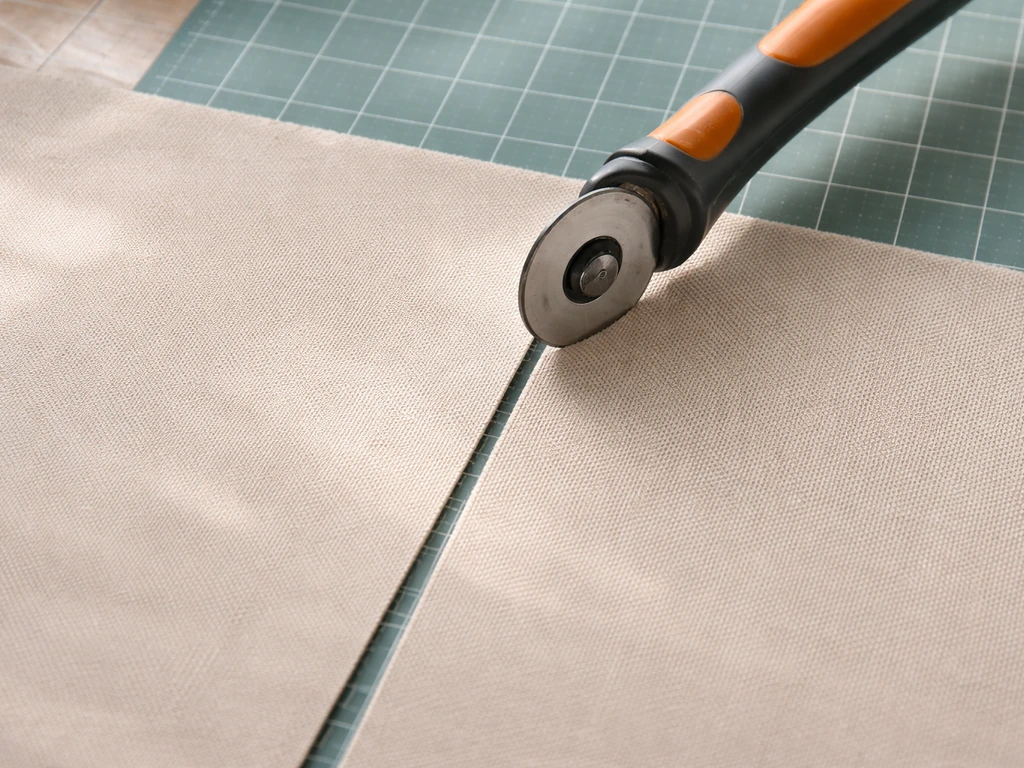
Outdoor acrylic fabric frays aggressively if you cut it with dull scissors. Use a rotary cutter with a fresh blade on a self-healing cutting mat, or very sharp fabric shears. Mark cutting lines on the back of the fabric with a chalk marker or fabric pencil. Cut all pieces in a single clean pass. Immediately after cutting, run a zigzag stitch or serger along every raw edge, or apply a bead of seam sealant or fray check. I usually do both on outdoor fabric because the raw edges will eventually see moisture, and a fraying edge inside the pillow traps debris and moisture against the fill.
Sew the pillow cover for outdoor durability and easy cleaning
Set your machine up with UV-resistant or bonded nylon thread (in both the needle and bobbin if possible), a size 18-21 needle, and a straight stitch length of about 3mm. A longer stitch puts fewer holes in the fabric, which helps water resistance at the seam.
Seam options for outdoor pillows

A standard straight seam with a 5/8-inch allowance, pressed open and topstitched, is the easiest approach and works well if you seal the seam afterward. For more durability, a flat-felled seam encases the raw edges completely inside the fold: sew a 5/8-inch seam, trim one side to 1/4 inch, fold the wider allowance over the trimmed side, press flat, and topstitch down. Flat-felled seams are what you see on outdoor gear and marine canvas because they are extremely strong and keep moisture from wicking through the needle holes into the seam. French seams work similarly for lighter-weight outdoor fabric: sew with wrong sides together first, trim close, then fold right sides together and sew again to encase the raw edges inside a clean seam.
After sewing, apply a seam sealer to all stitched lines. Products like 303 Fabric Guard can be sprayed on the finished cover to restore water repellency to the fabric and seal needle holes in the seams. Aurora Marine's Dri Stitch seam sealer is another option often used for outdoor covers and marine canvas. Let it cure fully before using the pillow outdoors.
Hem the back panels before assembly
If you are making an envelope back, hem the inner edges of both back panels before assembling the cover. Fold the edge over 1/4 inch, press, fold again 1/4 inch, and topstitch. This double hem prevents fraying at the opening and gives the overlap a clean finished look. For a zippered cover, you will install the zipper along one edge before sewing the four sides together.
Sewing sequence for a zippered cover
- Install the water-resistant zipper along the bottom edge of the back panel (or along one seam of the pillow), using a zipper foot. Center the zipper so it stops about 1 inch from each side seam.
- With right sides together, pin the front and back panels together at all four edges.
- Sew three sides with your 5/8-inch seam, leaving the zipper edge for last.
- Sew the zipper edge, reinforcing the stitching over the zipper tape ends.
- Clip the corners diagonally to reduce bulk (cut close but not through the stitching).
- Open the zipper before turning right side out, or you will trap the cover inside itself.
- Turn right side out, push the corners out with a blunt tool, and press.
Insert the fill and assemble closures (zippers and straps)
For a foam insert, compress the foam slightly as you feed it through the zipper or envelope opening. Foam always fights you a little here. Fold it gently in half like a taco, feed the folded edge in first, then work the corners into place inside the cover. Never force it by grabbing the cover fabric from the outside and yanking. You will stress the seams.
For a fiber fill insert, use a pillow form that is 1-2 inches larger than the cover as discussed above. Feed it in through the envelope overlap or open zipper, working it into the corners before closing. Once the insert is seated, the cover should feel plump and taut but not stretched at the seams. If seams are pulling, your insert is too large. If the cover looks limp and baggy, size up to a thicker or larger insert.
Some outdoor pillow designs include fabric ties or velcro straps sewn to the back to anchor the pillow to a chair or furniture frame. To add these, cut 1.5-inch wide strips of matching outdoor fabric, fold them lengthwise with right sides together, sew and turn right-side out, and topstitch. Attach them in pairs at the corners of the back panel before final assembly. These keep your pillows from blowing across the yard every time there is a breeze.
Weatherproofing, protection, and storing your patio pillows
Even well-made outdoor pillows benefit from a fabric guard treatment. Spray 303 Fabric Guard over the finished pillow cover according to the product instructions, letting it dry fully before use. This restores or boosts the water repellency of the fabric surface and helps prevent dirt from bonding to the fibers. Reapply once a season or after a thorough cleaning.
One thing worth knowing about mildew: Sunbrella and similar solution-dyed acrylics do not naturally promote mildew growth, but dirt and organic debris sitting on the fabric will. If your pillows are sitting under trees, near a grill, or in a humid climate, clean them regularly and do not leave them wet. Mildew grows on what is left on the fabric, not the fabric itself.
For storage when you know rain is coming or during off-season, keep a few things in mind. Store pillows in a breathable container or bag rather than a sealed plastic bin. Trapped moisture without airflow is exactly what mildew needs. If you use a weatherproof outdoor storage box, crack the lid slightly or look for one with ventilation. Brafab's furniture cover guidance notes that non-breathable covers need air gaps to prevent moisture buildup, and the same logic applies to storage. Stand the pillows upright on their edges rather than stacking them flat so air can circulate between them.
If you are bringing pillows inside for winter, make sure the foam or fill is completely dry first. Even a slightly damp foam insert will mildew inside a storage bag over several months. Press on the foam, check the cover seams, and let them sit in a sunny spot for a few hours before storing.
Maintenance tips and common troubleshooting fixes
Routine cleaning
Brush off loose dirt with a soft-bristle brush before it has a chance to set into the fabric. For a basic wash, mix a small amount of mild dish soap with lukewarm water and scrub gently with a soft brush. Rinse thoroughly with clean water, making sure no soap residue stays in the fibers. Air dry completely. Always air dry, never machine dry. High heat damages solution-dyed acrylic and will delaminate any coating on your fabric. Sunbrella's care guides consistently emphasize this: air dry only.
Removing mildew
If mildew does appear (it will happen eventually, especially in humid climates), there are two reliable approaches. The Sunbrella method: mix one cup of bleach, one cup of dish soap per gallon of water, apply to the affected area, let it soak for 15 minutes, scrub, and rinse thoroughly. Sunbrella fabric tolerates bleach because of how it is dyed, but check your specific fabric's care guidelines before using bleach.
The vinegar method (better for fabrics that cannot tolerate bleach): mix equal parts white vinegar and water in a spray bottle, spray on the mildew, scrub with a soft-bristle brush, and rinse well. Both approaches work. The bleach solution is faster on heavy mildew, the vinegar method is gentler for lighter cases. Either way, always let the pillow dry completely in the sun after treating.
Common problems and fixes
| Problem | Why It Happens | Fix |
|---|---|---|
| Pillow looks flat and saggy | Insert is too small for the cover | Use an insert 1-2 inches larger than the cover dimensions |
| Seams pulling apart after one season | Wrong thread or stitch length; no seam sealing | Re-sew with bonded nylon thread, size 18-21 needle; apply seam sealer |
| Mildew smell after rain | Moisture trapped in fill; not drying fully | Switch to reticulated dry-fast foam; always air dry completely after rain |
| Fabric fading in 1-2 seasons | Non-UV-rated fabric used | Replace cover with solution-dyed acrylic rated for outdoor UV exposure |
| Zipper sticking or corroding | Standard zinc zipper used outdoors | Replace with YKK AquaGuard or molded-tooth water-resistant zipper |
| Cover too stiff to get insert in | Foam insert cut same size as cover | Cut foam 1-2 inches larger than cover opening; compress foam to insert |
| Stuffing too full, seams buckling | Insert oversized for cover | Trim foam down or use a smaller insert; leave 1/2 inch of ease at seams |
Adapting old cushions or existing pillow forms
If you already have outdoor pillow inserts or old cushion foam, you can absolutely repurpose them by sewing new covers. Measure the existing insert, cut new panels from outdoor fabric using the dimensions above, and sew fresh covers. To estimate fabric yardage for patio cushions accurately, plan for the cushion dimensions and add extra for seam allowances and any pattern matching how many yards of fabric for patio cushions.
This is one of the most cost-effective ways to refresh your patio without replacing everything. If the old foam smells musty, set it in direct sunlight for a full day to kill surface mildew before encasing it in a new cover. If the foam is crumbling or has lost its structure, cut it down and wrap it with a thin layer of outdoor-rated poly batting to restore its shape, or replace it with dry-fast foam cut to size.
Making new cushion covers for patio furniture follows the same process described above and is worth tackling as a companion project once you have the material workflow dialed in.
Quick shopping and materials checklist
- Solution-dyed acrylic outdoor fabric (Sunbrella, Defab Somerton, or equivalent) with a high UV star rating and AATCC 22 water repellency rating
- Bonded nylon thread (Tex 70) or UV-stabilized polyester thread for needle and bobbin
- Sewing machine needles, size 18-21 (metric) or 110/18 to 120/19 (imperial)
- Reticulated dry-fast foam cut to your insert dimensions (1-2 inches larger than finished cover)
- YKK AquaGuard or VISLON water-resistant zipper (at least 80% of the pillow's opening width)
- 303 Fabric Guard or equivalent seam sealer spray
- Fray check or seam sealant for raw edges before sewing
- Rotary cutter, self-healing mat, and chalk marker for accurate cuts
- Zipper foot for your sewing machine
- Soft-bristle brush for maintenance cleaning
FAQ
Can I make patio pillows with indoor fabric if I keep them under a cover?
You can, but expect faster fading and possible water absorption at seams. If any chance of rain or wet leaves hits the fabric, choose a solution-dyed outdoor fabric (or outdoor-rated canvas) and seal seams, because the seam holes and wicking are usually what fail first, not the flat surface.
What is the best closure if I want the easiest cleaning routine?
For most patios, choose a zipper with a water-resistant style rather than an envelope-only cover, because zippers let you remove the entire cover and rinse or wash more thoroughly. If you prefer envelope because it is beginner-friendly, use it only if you are comfortable cleaning the overlap area carefully (it traps grit where it folds).
How do I prevent the zipper from getting stiff or breaking after seasons outdoors?
Use an outdoor-rated zipper and keep it away from heavy stress. When you sew it in, add a little reinforcement by backstitching over the zipper ends, and after assembly run a seam sealer along the zipper-side stitching so water cannot creep into the zipper tape.
Can I use regular polyfill if I do not expect the pillows to get wet?
It is still risky. Even under “covered” patios, humidity, morning dew, and occasional drips can leave polyfill damp for hours, which can lead to mildew odor. If you must use fiber fill, commit to fully drying the insert after any wet weather and store pillows with airflow.
How tight should the foam insert be so the pillow does not look flat?
Aim for a cover that feels plump when closed, but do not overstuff to the point that seams strain. Your guideline is that the insert is typically 1 to 2 inches larger than the finished cover in each dimension, then compress slightly while inserting. If the fabric pulls at the corners, your insert is oversized for that cover pattern.
Why do my outdoor pillow covers feel less water-resistant after a wash?
Most fabric guard and water-repellent treatments wash off gradually, and needle holes become pathways over time. After cleaning and full air-drying, reapply fabric guard to the cover surface and let it cure fully before outdoor use.
What should I do if my pillow seams leak or fray after rain?
Check two things: edge finishing and seam sealing. Outdoor acrylic frays aggressively, so use a fresh blade for cutting, then zigzag or seal raw edges immediately. After sewing, apply a seam sealer on all stitched lines, not just the seams you can see, and allow full cure before exposure.
Can I use bleach on every outdoor pillow cover?
Not automatically. Even if some solution-dyed acrylic fabrics tolerate bleach, always verify your specific fabric care instructions first because different coatings and blends can react differently. For mild mildew, vinegar is often the safer first choice, and you can reserve bleach for heavy cases.
How often should I clean outdoor pillows to avoid mildew odors?
Clean on a schedule that matches your conditions, for example every 2 to 4 weeks during high pollen or tree canopy season, and immediately after any spill or bird droppings. The goal is to remove organic debris before it sits and creates a mildew-friendly surface.
How should I store patio pillows so they do not mildew in off-season?
Store dry pillows in a breathable container, avoid sealed plastic bins, and keep airflow even inside a storage box by cracking the lid slightly or choosing a ventilated cover. Stand pillows on their edges if possible to increase circulation, and make sure the insert is completely dry before bagging.
Can I reuse old cushion foam and just replace the covers?
Yes, if the foam is still structurally sound and not crumbling. If there is mildew odor, sun-treat the foam in direct light for a full day, then encase it in a new cover. If the foam breaks down or stays lumpy, wrap it with outdoor-rated poly batting or replace it with dry-fast foam.
What needle and stitch settings matter most for outdoor fabrics?
Use a needle size appropriate for bonded nylon or UV-stabilized thread (a common starting range is 18 to 21 size) and keep straight stitch length around 3 mm to reduce excessive punctures. Also sew with consistent tension, because loose seams create gaps where moisture can wick into the interior.
How can I tell whether my cover size is wrong before I commit to the final sewing?
Do a quick test: pin or baste the cover to the finished dimensions and insert the foam or insert you plan to use. If the cover feels stretched or seam stress is visible, reduce insert size or adjust cover dimensions. If it looks baggy and loose, switch to a thicker or correctly upsized insert.