To weatherproof wicker patio furniture, you need to clean it thoroughly, let it dry completely, apply a UV-resistant waterproofing sealant or protectant suited to your wicker type, rustproof any metal hardware, protect the cushions with a fabric repellent or sealed storage, and set up a seasonal routine to keep everything in good shape year after year. The whole process takes a weekend at most, costs well under $50 in most cases, and can add years to furniture that would otherwise crack, fade, and fall apart within a season or two. If you have metal patio furniture, the key steps are cleaning it, treating rust, applying a weather-resistant sealant or paint, and using covers to prevent corrosion how to weatherproof metal patio furniture. If you are sealing metal patio furniture, focus on rust treatment and a weather-resistant sealant or paint designed for outdoor use.
How to Weatherproof Wicker Patio Furniture Step by Step

First: Figure Out What Kind of Wicker You Actually Have

This step matters more than most people realize. Natural wicker and synthetic resin wicker need different treatments, and using the wrong product on the wrong material is how you end up with sticky, gummy strands or trapped moisture that breeds mold.
Natural wicker is made from plant fibers: rattan, willow, bamboo, cane, or reed. Run your fingers along the strands. They feel slightly organic, a little rough or grainy, and each strand is a little irregular. The color tends to look like dried plant material. If your furniture came from a garden center or antique shop and was labeled 'rattan' or 'natural wicker,' it almost certainly falls into this category. Natural wicker absorbs moisture, which is why it warps, swells, and grows mold when left in the rain.
Synthetic resin wicker is plastic, usually polyethylene (PE) or high-density polyethylene (HDPE). Manufacturers often market it as 'all-weather wicker' or 'outdoor resin wicker.' The strands are uniform in shape, feel like a flexible plastic, and have a consistent sheen. If your set was sold as a patio set from a big box store in the last 10 to 15 years, it is very likely resin. Resin wicker is far more resistant to rain and UV by design, but it still fades, gets brittle from prolonged sun exposure, and its frame hardware can still rust badly.
Once you know what you have, do a damage check before you buy a single product. Look for cracked or broken strands, loose or unraveling weave edges, fraying binding at the corners, mold or mildew spots (usually black or greenish-gray patches), and any rust on the frame joints or hardware. Poke the frame joints and see if they flex more than they should. All of this tells you whether you need minor prep work or a more involved repair session before you seal anything.
Clean It Properly Before You Touch Any Product
Here is where I see people lose the whole project: they skip a real clean, slap on a sealant, and then wonder why it peeled or looked patchy within a month. Any dirt, mold, or old product residue sitting on the surface when you apply a sealant just gets sealed in. The protectant also does not bond correctly to a dirty surface. You have to start clean.
Cleaning natural wicker
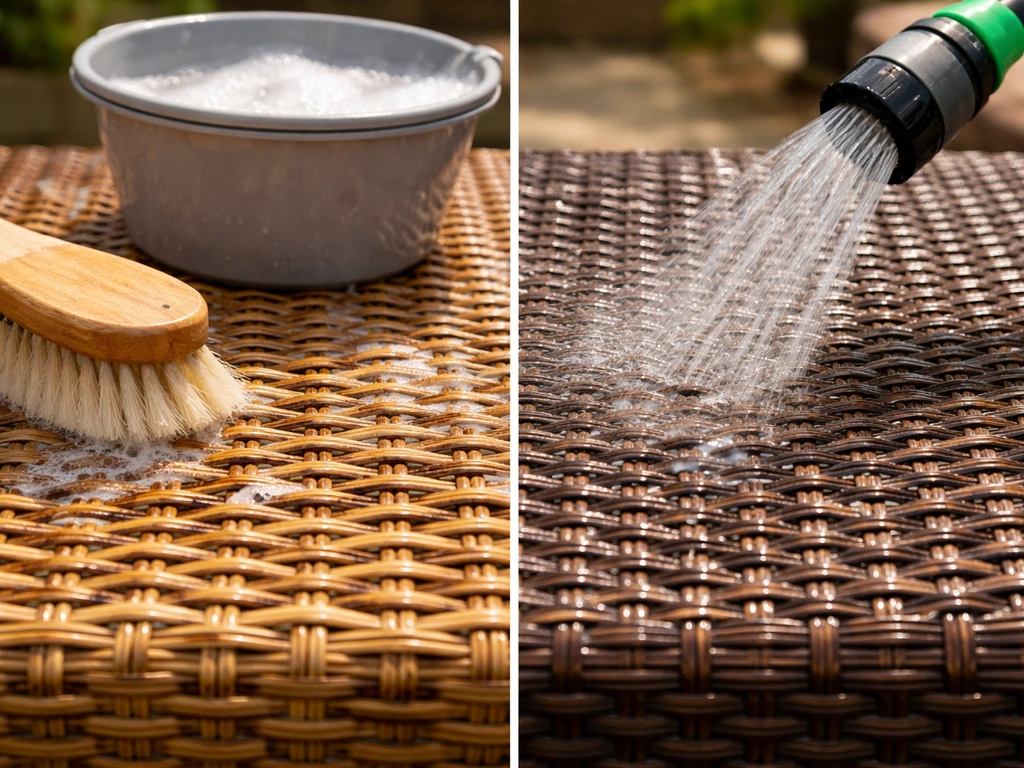
Mix a few drops of mild dish soap into a bucket of warm water. Use a soft-bristle brush (an old toothbrush works great for getting into the weave) to scrub the entire surface, including underneath. For mold spots, swap the soap solution for a mix of one part white vinegar to two parts water, or a diluted solution of one tablespoon of bleach per quart of water if the mold is heavy. Rinse with a damp cloth rather than a hose. Do not soak natural wicker. It absorbs water quickly and takes a long time to dry, and if you seal moisture into it, you will have mold problems within weeks.
Cleaning synthetic resin wicker
Resin wicker is more forgiving. You can use a hose on a gentle setting, soapy water, and a brush. For stubborn dirt in the weave gaps, a soft brush or even a blast from a garden hose at close range works well. If there are mold spots (they can still develop on resin wicker where dirt collects), a diluted bleach solution handles it quickly. Rinse everything off completely and wipe down with a clean cloth.
Drying is non-negotiable
Both wicker types need to be completely dry before you apply anything. The Home Depot's outdoor furniture use-and-care guidance advises cleaning thoroughly and making sure the furniture is completely dry before storing it, and it recommends using waterproof, breathable covers when storing outdoors [completely dry before you apply anything](https://images. thdstatic. com/catalog/pdfImages/1d/1d2a5111-6fe5-44e0-8af3-24d76190b9cf.
pdf). For natural wicker, that means at least 24 to 48 hours in a warm, well-ventilated area out of direct rain. If you are in a humid climate, a dehumidifier running nearby speeds things up significantly and helps prevent mold from forming during the drying phase. Resin wicker dries faster, usually within a few hours in warm weather, but still needs to be fully dry in all the weave crevices.
Tip it at an angle to let any trapped water drain out, then let it air dry before moving on.
How to Apply Weatherproofing: Sealants, UV Protectants, and Water Barriers
There is no single product that does everything for every type of wicker, so the right pick depends on your material and the main threat in your climate: rain, UV, humidity, or all three.
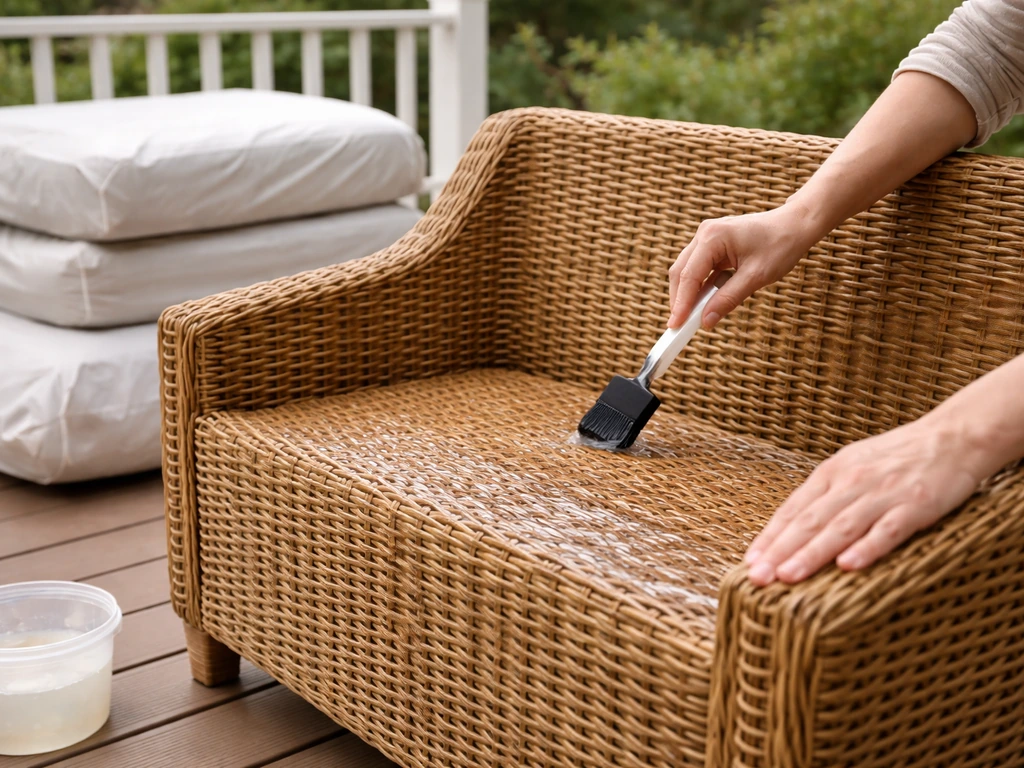
For natural wicker: sealant is your best friend
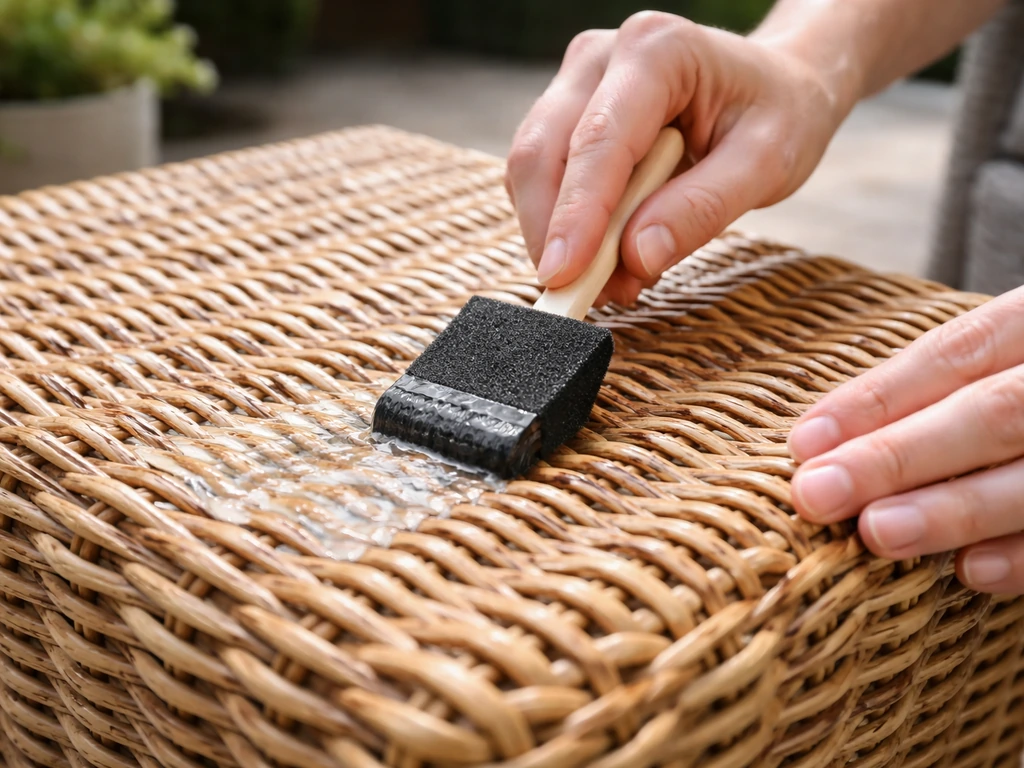
A clear polyurethane or lacquer sealant designed for wood or wicker is the go-to for natural rattan and willow furniture. Products like Thompson's WaterSeal or a rattan-specific wicker sealant (available at hardware stores for around $10 to $20) create a barrier that repels water without completely cutting off the fiber's ability to breathe. Spray cans are worth the few extra dollars here because they let you get into the weave far more evenly than a brush does.
Hold the can 8 to 10 inches away and use short, overlapping passes. Do not try to do one heavy coat. Two or three thin coats with 2 to 3 hours of drying time between each is the right method. Heavy coats trap air bubbles and create a sticky, uneven surface that looks terrible and flakes off within a season.
For UV protection on natural wicker, look for a product that specifically lists UV inhibitors or UV block on the label. Sun damage shows up as bleaching, brittleness, and cracking in natural fibers, and a standard waterproofer alone will not stop it. Some products combine water resistance and UV protection in one formula, which is worth the convenience.
For resin wicker: UV protectant and 303 Aerospace-type products
Because resin wicker is already water-resistant by design, the bigger enemy is UV degradation. Over time, UV exposure makes polyethylene strands brittle, chalky, and prone to cracking. A product like 303 Aerospace Protectant (around $15 to $20) is one of the most recommended options in this category. It restores sheen to faded plastic, blocks UV rays, and repels water as a bonus. Apply it with a clean cloth or sponge, work it into the weave, and wipe off any excess so it does not sit on the surface and leave a residue. Reapply every 3 to 4 months during active outdoor use.
Avoid silicone-based protectants on resin wicker. They can attract dirt, make the surface slippery, and cause problems if you ever want to repaint or refinish the furniture later.
Breathable furniture covers as a barrier layer
A good fitted furniture cover is not a substitute for sealing, but it is a powerful complement to it, especially if you live somewhere with frequent rain or harsh sun. Look for covers made from breathable, water-resistant fabric (not solid plastic, which traps moisture and causes exactly the mold problems you are trying to prevent). Brands like Classic Accessories or KHOMO make wicker-specific covers for $30 to $60 that fit chairs, loveseats, and sectionals. The breathable weave lets moisture vapor escape while keeping rain out. For storms or extended periods when you will not be using the furniture, these covers are genuinely worth using every single time.
Comparison: sealant vs protectant vs cover
| Method | Best For | Cost Range | Reapplication Frequency | Limitations |
|---|---|---|---|---|
| Clear sealant (spray or brush) | Natural wicker: water and UV protection | $10 to $20 | Once per season | Can look glossy; wrong application causes stickiness |
| UV protectant (303-type) | Resin wicker: UV block and water repellency | $15 to $20 | Every 3 to 4 months | Not a structural fix; does not seal cracks |
| Breathable furniture cover | Both wicker types: storm and sun barrier | $30 to $60 | Replace every 2 to 3 years | Not a substitute for treating the wicker itself |
| Fabric waterproofing spray (for cushions) | Cushion fabric: water and stain resistance | $10 to $15 | Once or twice per season | Does not replace sealed cushion storage |
Don't Forget the Frame and Hardware
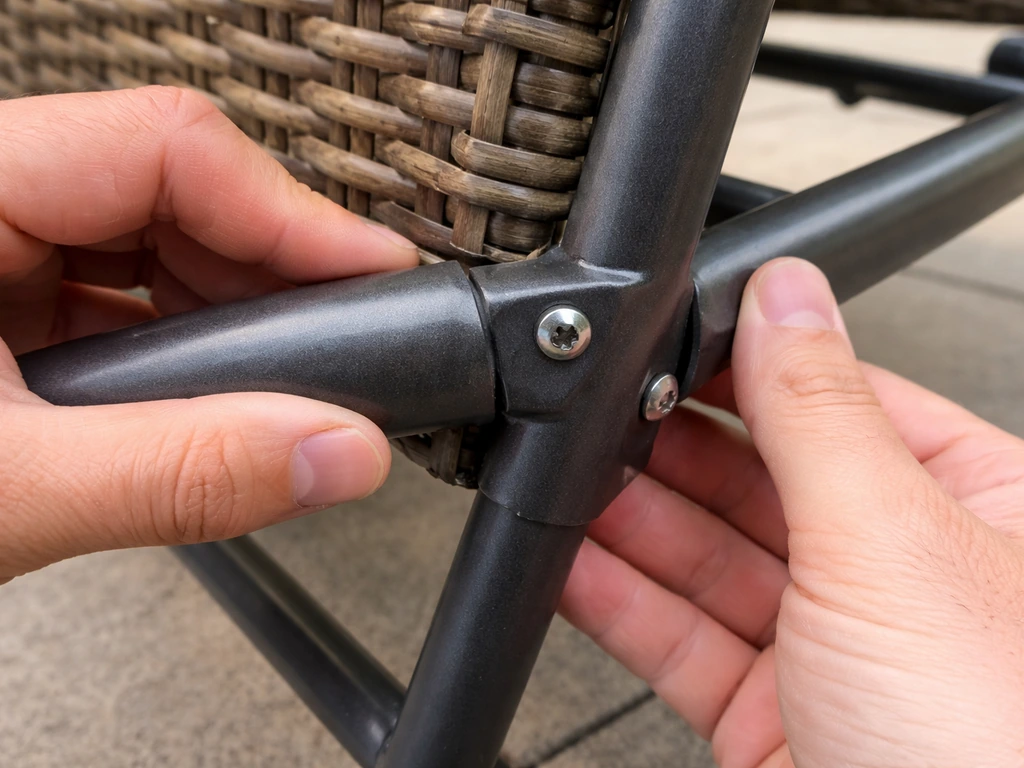
The wicker strands get all the attention, but the frame is what actually holds the furniture together. Most wicker furniture is built on a metal frame (usually steel or aluminum) with screws, bolts, or rivets at the joints. Steel frames rust. Even aluminum frames can develop corrosion at joints and fasteners over time. I have seen perfectly good wicker completely trashed because the underlying frame failed, and it is entirely preventable.
Check the frame joints and joinery
Push and flex each joint gently. If it moves significantly or you hear creaking, the joint is failing. On steel-framed pieces, look for orange rust staining bleeding through where the wicker meets the frame. On aluminum frames, look for chalky white residue (oxidation). If a joint is just loose, tightening the hardware or applying a drop of thread-locking compound (like Loctite, about $5 at any hardware store) on the bolt before retightening often solves it. If the metal itself is rusted through, you may need to replace that section of frame, which is a bigger repair.
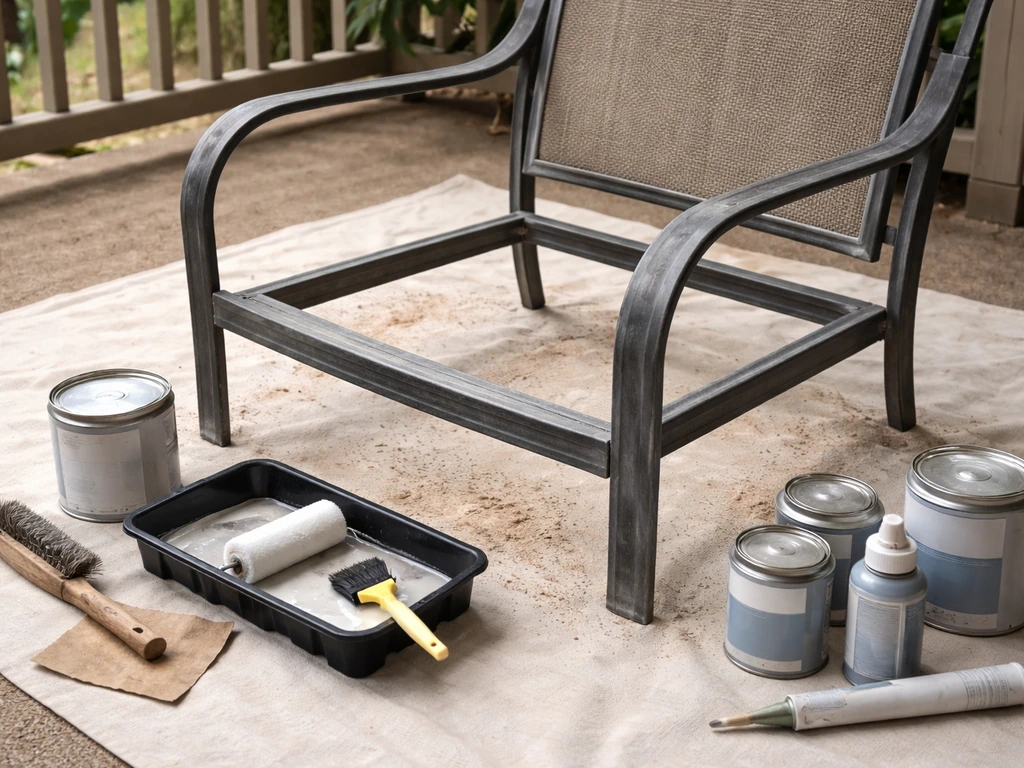
Rustproofing the hardware and steel frames
For surface rust on steel frames, sand the rust off with 80 to 120 grit sandpaper, apply a rust converter product (like Rust-Oleum Rust Reformer, about $8 to $10), let it cure for a few hours, and then follow up with a coat of spray-on metal primer and a weatherproof paint or clear coat. For hardware like screws and bolts, replace rusted steel fasteners with stainless steel equivalents. A bag of stainless M5 or M6 bolts costs a few dollars and lasts indefinitely outdoors. If you want to go the extra mile, a coat of clear rust-inhibiting spray over the entire painted frame adds another layer of protection.
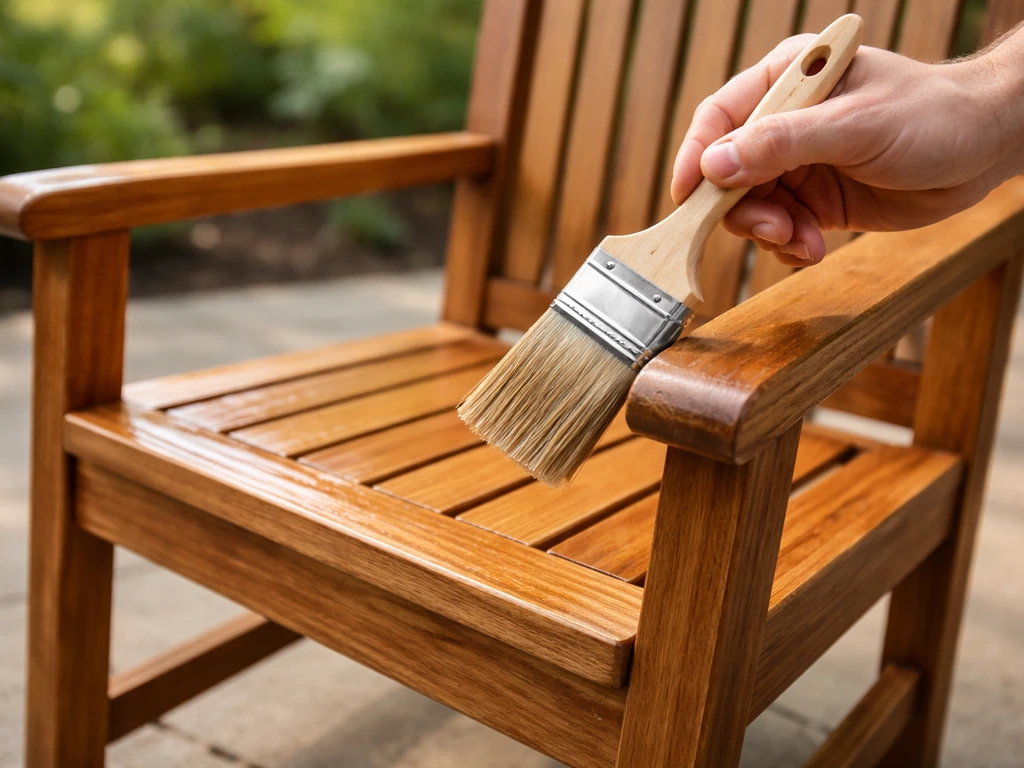
If the frame is wood rather than metal (less common but it does come up, especially on older natural wicker pieces), treat it similarly to how you would approach any outdoor wood: sand any rough or peeling areas, apply a wood sealant or exterior primer, and repaint if needed. If you have teak patio furniture, use the same outdoor-wood approach by cleaning thoroughly, letting it dry, and applying a teak-appropriate sealer to repel moisture and resist the weather seal teak patio furniture. The approach for weatherproofing wood frames closely mirrors what you would do for solid wood patio furniture.
Protecting the Cushions: Covers vs Treatments
Outdoor cushions are almost always the first thing to fail on a patio set. Foam absorbs water and stays wet for days, which leads to mildew, that musty smell that never really goes away, and foam that compresses and never bounces back. You have two main strategies here and they work best together.
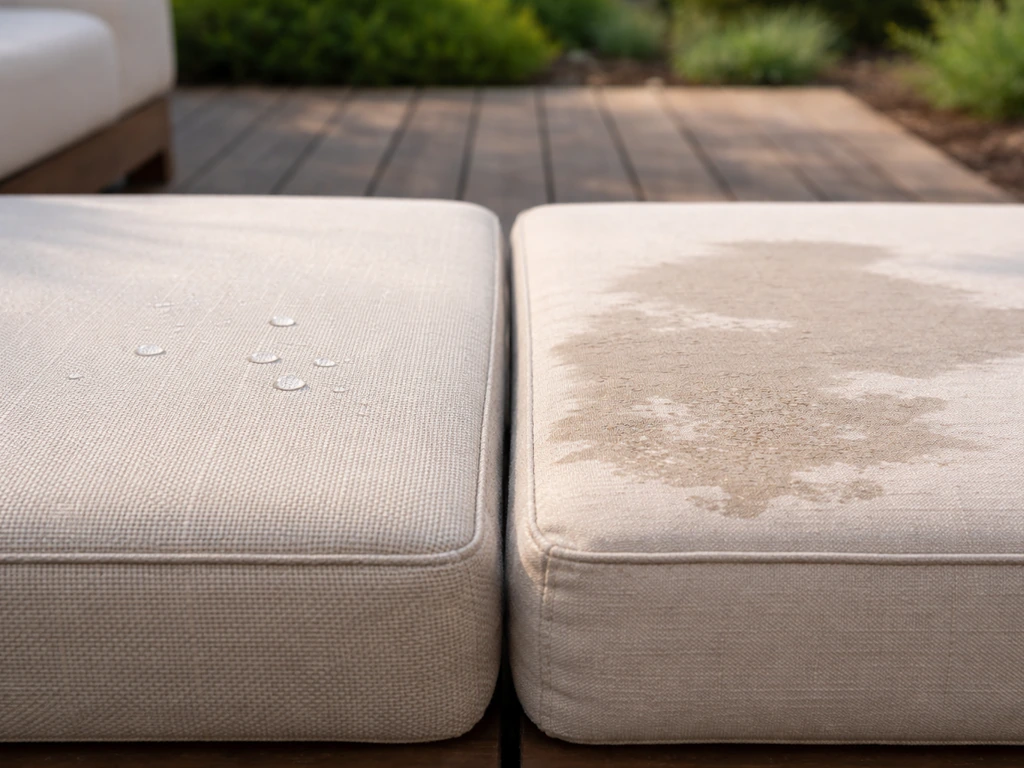
Fabric water repellent treatment
If your cushion covers are made from outdoor fabric like Sunbrella or a similar solution-dyed acrylic, a fabric waterproofing spray like Scotchgard Outdoor Water Shield or Star Brite Waterproofing Spray ($10 to $15) restores the water-shedding capability of the fabric. Clean the covers first, let them dry completely, then apply the spray in light, even coats from about 6 inches away. Let it cure for at least 24 hours before the cushions go back outside. Reapply at the start of each outdoor season or any time water stops beading on the surface and starts soaking in instead.
Removable covers and sealed storage
If your cushions have removable covers, keep them that way. Wash the covers at the start and end of each season, treat them with a fabric repellent, and store the foam inserts in large zip-seal storage bags or plastic bins with tight lids when the furniture is not in use. This single habit prevents more cushion deterioration than anything else I know. If your cushions do not have removable covers, consider replacing them with ones that do. Many standard patio cushion sizes accept aftermarket covers, and it makes long-term maintenance dramatically easier.
For cushions that will be stored for more than a few weeks, avoid plastic garbage bags (they trap moisture) and instead use breathable fabric storage bags or ventilated plastic bins that allow a little airflow. Stacking them flat in a cool, dry space indoors is always better than leaving them outside under a cover, even a good one.
Build a Maintenance and Storage Routine That Actually Sticks
One-time weatherproofing is better than nothing, but a simple routine is what keeps wicker furniture looking good for five, ten, or even fifteen years. None of this takes more than a few minutes once you get into the habit.
Monthly checks during the outdoor season
- Wipe down the wicker with a damp cloth to remove surface dirt before it works into the weave
- Check for any new cracked or broken strands and flag them for repair before they spread
- Look at the frame joints for any new rust staining or looseness
- Make sure furniture covers are properly fitted and not trapping moisture underneath
- Check that cushion fabric is still beading water (if not, it is time to reapply fabric repellent)
Seasonal reapplication schedule
For natural wicker, reapply your sealant once a year, ideally at the start of the outdoor season after a thorough clean. If you had a particularly harsh summer with lots of rain and direct sun, do a light reapplication at the end of summer too. For resin wicker, apply a UV protectant every 3 to 4 months during active use. Both types benefit from a furniture cover during extended periods of non-use, especially during summer storms.
Winter storage: the right way
If you are in a climate with freezing temperatures or heavy winter precipitation, bring natural wicker indoors. Freeze-thaw cycles are brutal on plant fibers and will crack strands and loosen joints faster than years of summer use. A garage, shed, or basement works perfectly. Store it in a dry, well-ventilated space and if your space is humid, run a dehumidifier nearby to prevent mold from forming during storage.
Resin wicker is tougher and can survive winter outdoors under a good fitted cover, but bringing it inside or at least into a covered area (like a garage or covered porch) is always the better call if you have the space. Cold temperatures alone will not destroy resin wicker, but freeze-thaw expansion and contraction can crack strands over multiple winters, especially if any moisture is trapped in the weave.
Quick fixes for common mid-season problems
- Loose or unraveling strand: apply a small amount of clear-drying flexible adhesive (like E6000 or a marine-grade contact cement) to re-anchor the end of the strand. Hold it in place for a minute and let it cure fully before using the furniture.
- Mold or mildew spot: treat it immediately with a diluted white vinegar solution, scrub gently with a soft brush, rinse and dry completely. Do not seal over mold: it will keep growing underneath.
- Faded color on resin wicker: a UV protectant restores sheen, but for deep fading you can use an outdoor plastic spray paint in a matching color, applied in thin coats.
- Rust bleed at a frame joint: sand the rust, apply rust converter, let it cure, then touch up with a weatherproof metal paint. If the joint is also loose, tighten the hardware or replace the fastener with stainless steel.
- Waterlogged cushion: stand it on its edge in a warm, well-ventilated area and let it air dry for at least 24 to 48 hours before putting it back in service. Never seal a wet cushion into a cover or storage bag.
Weatherproofing wicker is genuinely one of the higher-value maintenance projects you can do for your patio. The materials are cheap, the time investment is modest, and the payoff is furniture that actually holds up instead of slowly falling apart. If you have metal or wood patio furniture alongside your wicker set, the same season-start cleaning and protection routine applies across the board, making it easy to knock out all of it in a single weekend. If you are also wondering how to waterproof patio furniture beyond wicker, use the same clean, dry, and seal approach tailored to the material.
FAQ
How do I know which sealant or protectant will work on my wicker without damaging the finish?
Do a spot test in an unseen area first (especially on natural rattan). Some sealants can darken fibers or create a slightly glossy finish, and a short test helps you see drying time, sheen, and whether the product “grabs” into the weave without turning sticky.
Can I seal over existing mildew or mold spots on wicker patio furniture?
If you see mildew or black spots, treat them first, then clean again and allow a full dry period. Do not apply any protectant over mold, because it can lock in spores and cause recurring growth even after weatherproofing.
What if I already sealed my wicker last year, can I just apply another coat?
Yes, but only after the surface is fully dry and the product is compatible with what you used before. If your prior coating is flaking or tacky, you typically need to remove the loose layer, then clean and recoat. Recoating too soon can create bubbling or patchiness.
How long should I dry wicker after cleaning before sealing it?
For natural wicker, avoid heavy soaking and avoid sealing immediately after washing. Plan drying time based on humidity and airflow, not just daylight, since trapped moisture in the weave is what leads to mold or early coating failure.
Are furniture covers enough to weatherproof wicker, or will they make moisture problems worse?
A cover that is non-breathable (solid plastic) can trap moisture underneath, especially in humid climates or after rain. If you want maximum protection, choose breathable water-resistant covers and ensure the furniture is dry before covering.
My wicker sealant feels tacky or gummy. What should I do?
If the sealant feels tacky after application, it usually means the coating trapped moisture or was applied too thick. Let it cure longer in warm, ventilated conditions, then lightly clean the surface; if it remains tacky or flakes, you may need to strip and reapply in thinner coats.
How do I weatherproof resin wicker that is already turning chalky or brittle?
For resin wicker, small cracks and chalkiness can be UV stress. Clean, then apply a UV protectant designed for plastic and reapply on schedule. Do not rely on a generic waterproofer, since UV degradation is the main issue.
How can I prevent streaks or residue from protectants on wicker?
Wipe off excess protectant thoroughly, especially on resin wicker. Leaving residue on the surface can attract dirt and leave a hazy look. Use a clean cloth after the weave treatment so you’re protecting fibers, not coating the top layer.
Should I weatherproof cushions before or after I seal the wicker frame?
If straps or cushions got wet during cleaning, dry them separately and air them out before reassembly. Mixing damp cushions with a fresh coating on the furniture increases the chance of trapped moisture and mildew at the underside and seams.
Do I need to repair broken strands or loose weave before sealing wicker?
Yes. Loose weave damage can create tiny pockets where water collects. Repair or tighten first, then weatherproof after the repairs are stable, otherwise the coating can crack along the damaged area and fail faster.
How often should I reapply weatherproofing based on my weather conditions?
Do it at the start of your outdoor season after a proper clean, and use your environment to fine-tune. If you regularly get heavy sun or driving rain, plan an extra light reapplication mid-season or at the end of summer, but avoid frequent “top-offs” when the coating is still intact.
What is the safest way to weatherproof wicker during freezing winters?
For natural wicker in freezing areas, bring it indoors or into a dry, ventilated space to avoid freeze-thaw damage. If you cannot bring it in, keep it under a breathable cover and protect it from direct winter precipitation, but assume the best results come from indoor storage.
Can I store cushion foam under a plastic cover or garbage bag to protect it from moisture?
Use breathable storage for cushions and avoid sealing foam in airtight plastic for long periods. If you must use a bin, keep it in a cool, dry room and ensure the foam is completely dry first, otherwise odor and mildew return quickly.