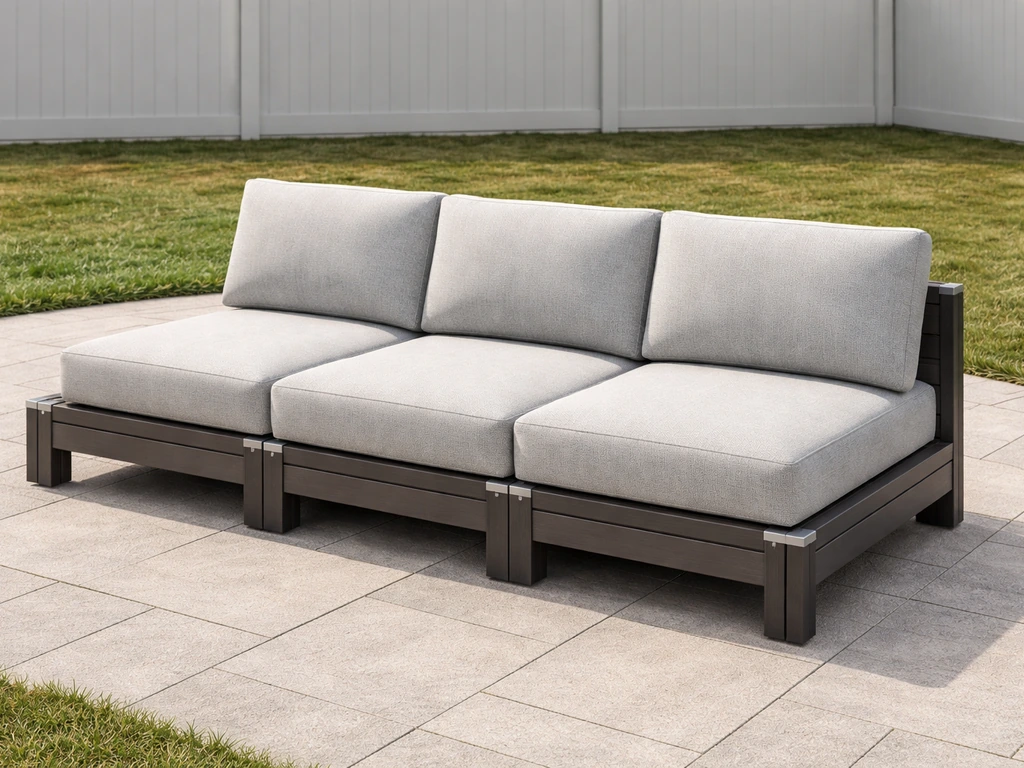
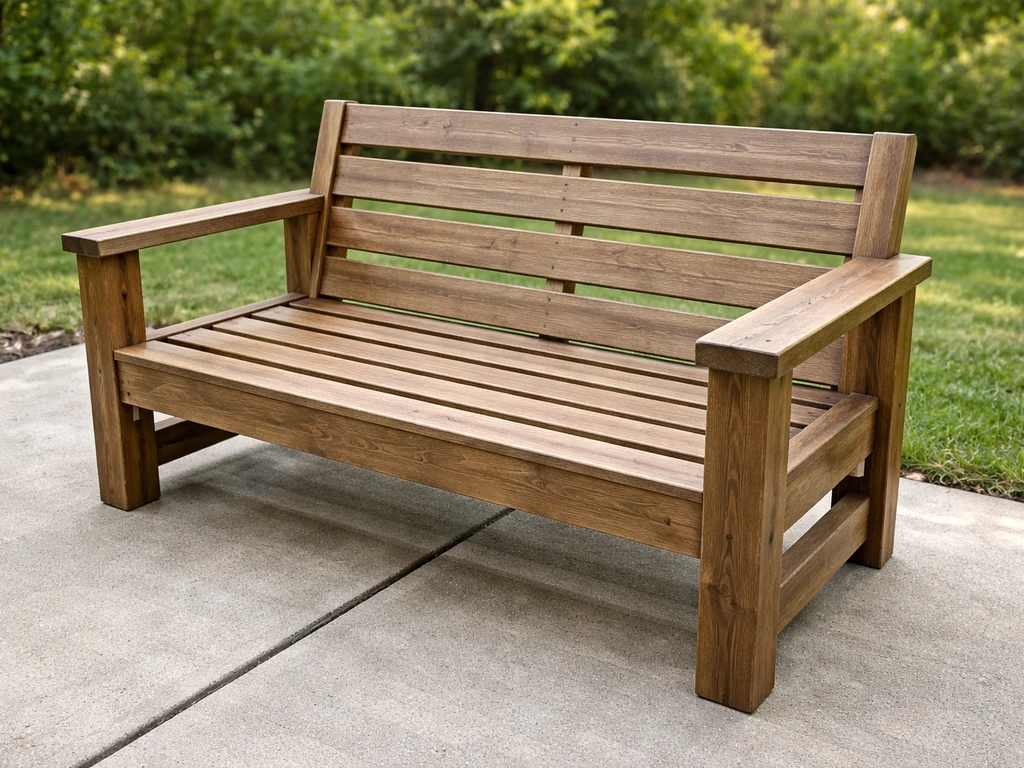
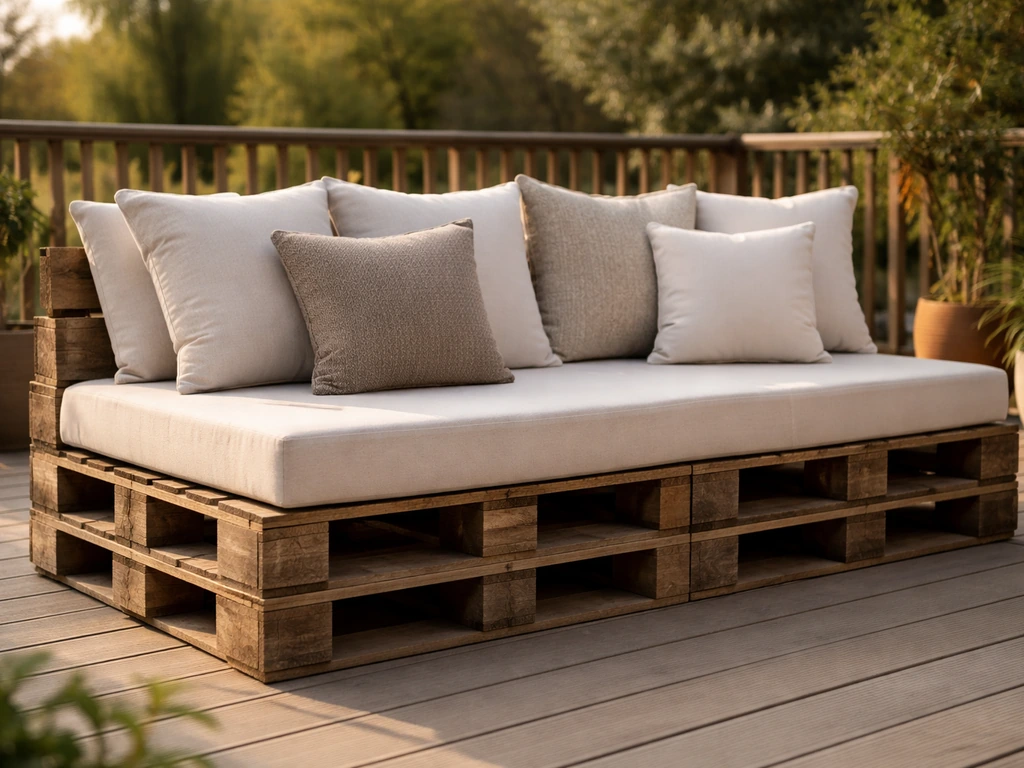
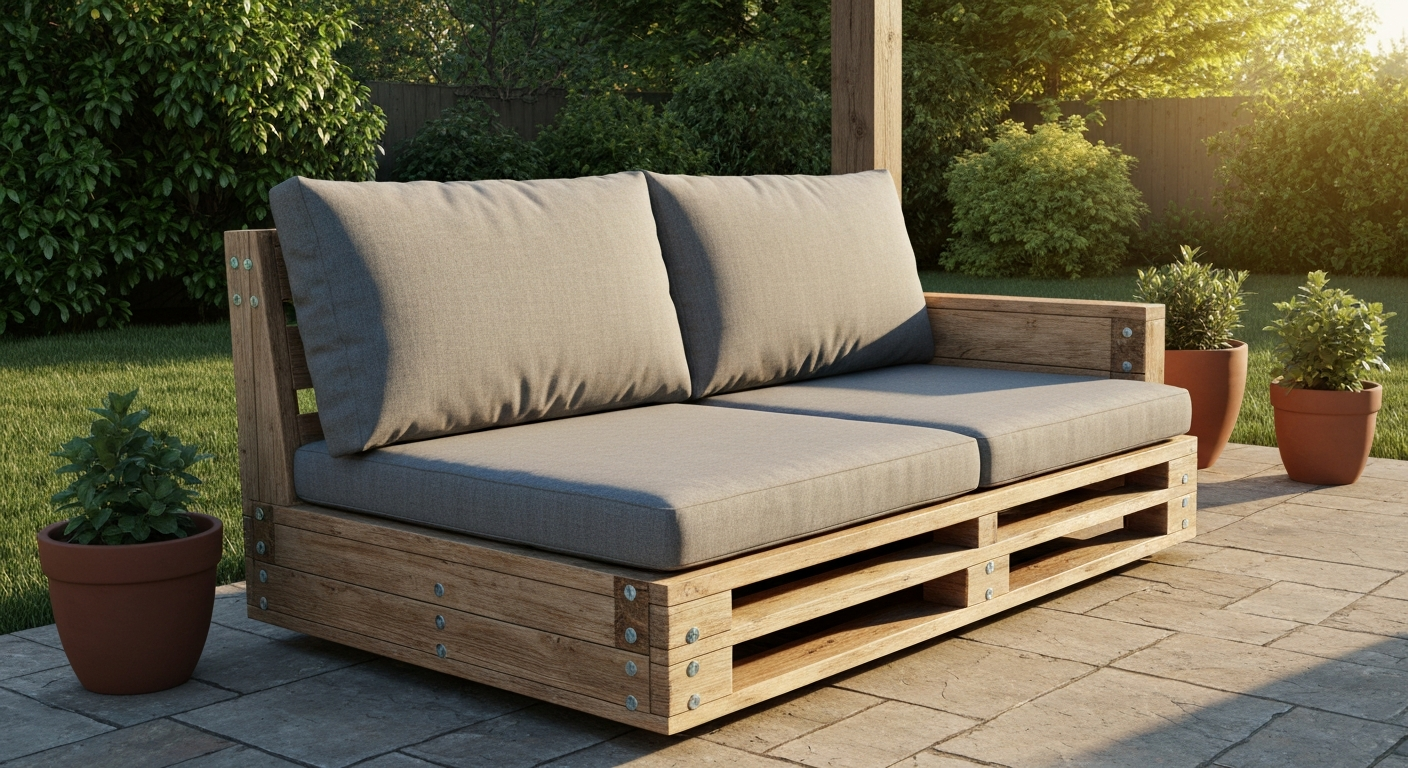
You can absolutely turn an indoor couch into patio furniture, but only if the frame is worth saving. Strip the underside, probe every rail and joint, and if the bones are solid hardwood or structural plywood, you have a real candidate. If it's particleboard or has rotting wood, walk away and build from scratch instead. This guide walks you through the full decision, inspection, prep, structural repairs, step-by-step conversion, and weatherproofing so you end up with a piece that actually holds up outside, not one that falls apart after the first rainstorm.
How to Turn a Couch into Patio Furniture: DIY Guide

Maren Grady
29 Jul 2026
Who this guide is for
If you have an old sofa sitting in a garage or headed for the curb, or if you're staring at a bare patio and don't want to spend $800 on a furniture set, this is for you. I wrote this for budget-conscious homeowners and beginners who've never reupholstered anything before, but it goes deep enough that experienced makers will find the structural and weatherproofing sections useful too. You'll learn how to decide whether to convert an existing couch or build something new, how to inspect and repair a frame, how to measure correctly, and how to weatherproof everything so it lasts more than one season. I'll also walk through a quick pallet couch build and a simple sectional join method for when a full conversion isn't worth the trouble.
Convert an existing couch or build from scratch? Use this checklist first
I've made the mistake of pouring hours into a couch that wasn't worth saving. Before you pick up a single tool, run through this checklist. It takes about 15 minutes and will tell you whether conversion makes sense or whether you'd be better off building new patio seating from scratch.
- Flip the couch and expose the entire underside. Remove the dust cover (the thin black fabric stapled to the bottom) with a flathead screwdriver or staple remover.
- Check frame material. Press your thumbnail hard into every visible rail. Kiln-dried hardwood (oak, maple, beech) or structural-grade plywood will barely dent. Particleboard or MDF will crumble or compress easily — stop here, the frame is not worth converting.
- Look for rot or insect damage. Soft, dark, or crumbling wood, visible tunneling, or sawdust piles mean the frame is compromised. Same verdict: build new.
- Flex-test every joint. Grab each rail and push sideways with moderate force. More than about half an inch of movement at any joint means the glue has failed. Fixable if isolated; not worth it if widespread.
- Check corner blocks. These are the triangular or square blocks glued and screwed into the inside corners of the frame. Missing, cracked, or loose blocks are the single most common cause of a wobbly couch — and they're easy to replace.
- Inspect seat support slats and spring attachments. Broken slats or detached spring clips cause the sag you feel when sitting. Count how many are broken.
- Look for previous water damage. Staining, swelling, or warped rails mean the piece has already been wet. Outdoor exposure will accelerate whatever damage is already there.
- Estimate your repair cost honestly. Add up replacement corner blocks, new slats, glue, screws, outdoor fabric, and quick-dry foam. If that total exceeds $120–150 for a basic sofa, compare it against the cost of building a simple pallet couch, which can come in at $60–90.
If your couch passed the frame material check, has fewer than three broken joints, and shows no rot or water damage, convert it. If it failed on material or has extensive damage, building from scratch, whether a pallet couch, a two-seat loveseat, or a simple sectional, will almost always be more durable and cost-effective in the long run.
Tools and materials: what you actually need
I've broken these into two lists: one for converting an existing couch, and one for building new patio seating from scratch (pallet couch or simple frame build). You won't need everything on both lists, just pick the one that applies after running the checklist above.
For converting an existing couch
| Item | Purpose | Approx. Cost |
|---|---|---|
| Staple remover / flathead screwdriver | Remove dust cover and existing upholstery staples | Free / $4 |
| Drill + bits (pilot hole sized to screw root diameter) | Drive screws without splitting wood; through-bolt joints | $0 if owned / $35 basic drill |
| 1/4" or 5/16" carriage bolts, washers, lock nuts (stainless 304) | Through-bolt reinforced joints for outdoor use | $8–12 per pack |
| #8–#10 exterior-grade stainless or coated wood screws | Attach corner blocks and sistered rails | $7–10 per box |
| ANSI/HPVA Type I waterproof wood glue (e.g. Titebond III) | Reglue failed joints; required for exterior exposure | $10–14 |
| Hardwood corner blocks (oak/maple) or pre-cut 2x2 blocks | Replace missing or broken corner blocks | $5–10 |
| 1x2 or 1x3 kiln-dried hardwood strips | Sister alongside cracked or weakened rails | $10–20 |
| Jute or polypropylene webbing (outdoor-rated) | Replace failed seat webbing | $12–18 |
| Outdoor quick-dry foam (open-cell reticulated, 3–5 in thick) | Replace existing indoor foam that will mold outdoors | $30–80 depending on linear footage |
| Outdoor upholstery fabric (solution-dyed acrylic, e.g. Sunbrella-grade) | UV, water, and mildew resistance | $15–30 per yard |
| Heavy-duty staple gun + 3/8" or 1/2" stainless staples | Attach new fabric to frame | $20–40 (gun); $6–8 (staples) |
| Exterior wood paint, stain, or spar urethane | Seal and finish exposed wood | $15–25 |
| Rust-inhibiting metal primer + spray paint (if metal frame or hardware) | Prevent rust on any metal components | $8–12 |
| Sandpaper (80, 120, 220 grit) | Prep wood surface before sealing | $5–8 |
| Drop cloth or plastic sheeting | Protect work surface | $4–6 |
For building new patio seating from scratch (pallet couch or simple frame)
| Item | Purpose | Approx. Cost |
|---|---|---|
| ISPM-15 heat-treated (HT-stamped) pallets | Main structure for pallet couch or platform base | $0 (free at hardware/garden stores) to $15 each |
| 2x4 or 2x6 pressure-treated or cedar lumber | Frame rails, legs, and back support for simple builds | $20–50 depending on size |
| Miter saw or circular saw | Cut lumber to length | $0 if borrowed / $60–80 basic circular saw |
| 3" exterior structural screws (GRK or equivalent) | Primary frame fastening | $12–18 |
| Wood glue (Titebond III) | Reinforce all glued joints | $10–14 |
| Modular sectional connectors or heavy L-brackets | Join sections for a sectional layout | $10–20 |
| Outdoor quick-dry foam + outdoor fabric | Cushion and upholstery (same as above) | $60–120 total |
| Exterior stain or sealant (deck stain works well on pallets) | Protect raw wood from moisture | $15–25 |
| Sander or sanding block (80 and 120 grit) | Smooth rough pallet wood to avoid splinters | $10–15 for sanding block or pad |
Inspecting your existing couch: what to look for and why it matters
The single biggest mistake people make is skipping a proper frame inspection. I've done it, ripped off all the old fabric, bought new foam and fabric, and then discovered a cracked seat rail that made the whole thing flex every time someone sat down. Do this step before you buy anything.
Frame and joints
High-quality sofa frames use kiln-dried hardwood rails joined with mortise-and-tenon or double-dowel joinery, then reinforced with glued and screwed corner blocks. See Frame & Foundation Systems, Era Interiors for professional guidance on kiln-dried hardwood rails, mortise-and-tenon or double-dowel joinery, and glued plus corner-block reinforcement Frame & Foundation Systems — Era Interiors. Production furniture, especially anything under $500, often uses corner blocks plus glue over a softer wood or plywood frame, which is fine indoors but will flex faster outdoors. The first sign of joint failure is a slight wobble you can feel when you push the arm sideways. More than about half an inch of lateral movement in any joint is a failure. A completely detached joint (where the rail has separated from the leg) is a repair, but only if the wood itself is sound.
Corner blocks, slats, and springs
Corner blocks are your best friends and your biggest diagnostic tool. They're usually triangular or rectangular pieces of wood glued and screwed diagonally across inside corners. If they're intact, tight, and splitting-free, the frame has been well maintained. If they're missing (common on cheap builds) or have separated from the rail, the joint is only as strong as the glue, which probably isn't much after years of use. Broken seat support slats and detached spring clips are the most common causes of the classic couch sag, both are straightforward to fix. Count them before you start so you know your parts list.
Frame material check: hardwood vs particleboard
This is the make-or-break check for outdoor conversion. Solid kiln-dried hardwood (oak, maple, beech) and structural-grade plywood handle moisture cycling reasonably well with proper sealing. Particleboard, MDF, and low-density fiberboard, common in budget production furniture, absorb moisture, swell, and lose structural integrity outdoors even with a sealant coat. Scratch the edge of a rail with a utility knife. If it tears up in soft, compressed layers, that's particleboard. If it's dense and fibrous, that's solid wood or good plywood. Only proceed with the conversion if it's the latter.
Measuring and planning before you cut or buy anything
Good measurements prevent two common disasters: cushions that don't fit, and furniture that doesn't fit the space. Spend 20 minutes here and you'll avoid an expensive do-over.
Key dimensions to record
- Overall width (arm-to-arm outside)
- Total depth (front of arm to back of frame)
- Seat depth: measure from the front edge of the seat to the inside face of the back frame (not the back cushion) — this determines your seat cushion depth
- Seat height: floor to top of seat frame (before adding foam) — comfortable outdoor seating targets 17–19 inches finished height
- Arm height from floor
- Width between the inside faces of the two arms (your cushion width)
- Back frame height above the seat frame
- Clearance under the seat frame from the floor (important for drainage and whether you need to raise it off the ground on a base)
Standard comfortable seat height when finished (frame plus cushion) is 17–19 inches for most adults. If your frame sits low and you're using 4-inch foam, check your floor-to-frame height to make sure you land in that range. For deep-seat outdoor seating, a cushion depth of 24–28 inches suits taller users; 20–24 inches works for most. Plan cushion thickness at 3 inches minimum for firm seating and up to 6 inches for a plush deep-seat feel. Thicker foam also compresses more, so a 5-inch cushion will feel closer to 4 inches under body weight, account for that when planning finished seat height.
Take photos of everything: the underside, all four corners, the spring or webbing system, and any visible damage. You'll reference these constantly when buying replacement parts and when reassembling.
Prep and structural repairs: reinforcing the frame before anything else
Here's where I messed up on my first conversion, I painted the frame and stapled on new fabric before fixing a failing corner block, and the whole arm joint opened up after one summer. Structural repairs come first, always. This section covers everything from regluing joints to replacing webbing and addressing any rot or rust.
Regluing failed joints
- Remove all old glue from both mating surfaces using a chisel or coarse sandpaper (80 grit). New glue will not bond properly over old dried adhesive.
- For wood-to-wood joints, apply Titebond III Ultimate (or any ANSI/HPVA Type I waterproof wood glue) to both surfaces. For gaps or mixed materials (wood to metal hardware), use a two-part epoxy or polyurethane construction adhesive instead.
- Clamp the joint firmly and let it cure for the full time listed on the glue label — typically 24 hours for full strength. Don't rush this.
- Once cured, add a corner block for extra shear strength (see below). Glue alone on a high-stress joint is not enough for outdoor seating.
Installing or replacing corner blocks
- Cut a triangular or square block from 2x2 or 2x3 kiln-dried hardwood. The block should sit flat against both rails at the inside corner.
- Apply waterproof wood glue to both faces of the block that contact the rails.
- Predrill pilot holes sized to your screw's root diameter (not the thread diameter) to prevent splitting — drill bit sizing charts are available at any hardware store.
- Drive two #8–#10 exterior-grade stainless wood screws through the block into each rail at a slight angle to maximize thread engagement.
- For maximum strength at major load-bearing corners, add a through-bolt: drill a 1/4" hole through the assembled joint, insert a 1/4" stainless carriage bolt, add a washer and lock nut, and tighten snugly but don't overtighten.
Sistering a damaged rail
If a rail is cracked but not fully broken or rotted, you can sister it: cut a piece of 1x2 or 1x3 kiln-dried hardwood to the same length as the damaged rail, apply waterproof glue to the face that contacts the original rail, clamp it tightly flush against the damaged section, and drive exterior screws every 6–8 inches along its length. When driving exterior screws, predrill pilot holes sized to the screw root diameter, see the Pilot Hole Drill Bit Size Chart for Wood, Sheet Metal, Lag Screws (guide) for recommended sizes. This doubles the cross-section of the rail and dramatically improves rigidity.
Replacing seat webbing and spring clips
- Remove all old webbing or broken springs from the seat frame. Worn jute webbing should always be replaced — it will not handle outdoor humidity.
- For outdoor conversion, use polypropylene or nylon webbing (not jute) rated for exterior use. It resists moisture and mildew.
- Stretch each webbing strip across the frame at even spacing (typically 2–3 inch gaps), staple one end with heavy-duty staples, fold the end back for double thickness, and staple again for a secure anchor.
- Weave the straps in a basket pattern (alternating over/under) for balanced support, then staple and fold the opposite end.
- If replacing sinuous (S-shaped) spring clips, use the same gauge spring as the original. Clip them into the original notches and reconnect the cross-ties with spring twine, keeping equal tension across all springs.
Addressing rot or rust
If you find soft, dark, or crumbling wood in any structural rail, that section needs to be replaced entirely, there is no reliable way to stabilize rotted structural wood for load-bearing outdoor use. Cut out the rotted section and sister in a new piece of kiln-dried hardwood as described above, or replace the full rail. If you find rust on metal hardware or a metal frame, wire-brush the rust off completely, treat with a rust-converter product, prime with a rust-inhibiting metal primer, and topcoat with exterior metal paint before reassembly.
Step-by-step: turning an indoor couch into patio furniture
Once your frame is solid and all repairs are cured, you're ready for the actual conversion. Budget about a full weekend for this project, one day for disassembly, repairs, and wood finishing, a second day for foam cutting, fabric work, and reassembly. Here's how it goes from start to finish.
- Strip the couch completely. Remove all existing fabric, foam, batting, and webbing down to the bare frame. Use a staple remover and flathead screwdriver to pull every staple. Wear gloves — old staples are sharp.
- Complete all structural repairs from the previous section and allow all glue and adhesive to cure fully (minimum 24 hours). Do not skip ahead.
- Sand the entire wood frame with 80-grit sandpaper to remove old finish, then follow with 120-grit for a smooth surface. Pay attention to any edges or splinters that could puncture new fabric.
- Seal or paint the frame. Apply two coats of exterior spar urethane, exterior deck stain, or an outdoor-rated paint. This step is non-negotiable for wood that will live outside — even under cushions, the frame will absorb humidity. Let the first coat dry fully before applying the second.
- Treat any metal hardware. Apply rust-inhibiting primer to all brackets, clips, and screws that aren't stainless steel, then topcoat with spray paint if visible.
- Install new outdoor webbing or springs as described in the repair section above.
- Cut your quick-dry foam to size. Measure each cushion opening carefully. Use an electric carving knife or serrated bread knife to cut open-cell reticulated foam — it cuts much cleaner than a utility knife. Cut seat cushions 1/2 inch larger than the measured opening on each dimension so they fit snugly without gaps.
- Wrap foam in outdoor-rated Dacron (polyester batting) if you want a softer, rounded look. This is optional — skipping it gives a firmer, more tailored appearance.
- Cut your outdoor fabric pieces. Add 3–4 inches of extra fabric on every side of each cushion panel for wrapping and stapling. For any fixed back or arm pads, add the same allowance.
- Sew or staple cushion covers. For removable cushions, sew covers with a zipper or Velcro closure using a heavy-duty thread rated for outdoor use. For fixed padding stapled to the frame, pull the fabric taut and work from the center of each side outward, stapling every 2–3 inches with 3/8" or 1/2" stainless staples.
- Fold corners neatly. Miter the fabric at corners like you're wrapping a gift — fold one flap in, fold the adjacent flap over it, and staple flat. Bulky, bunched corners are the most common beginner mistake.
- Reattach the dust cover on the underside. Cut a piece of outdoor fabric or heavy-duty landscape fabric slightly smaller than the underside frame opening, and staple it in place. This keeps insects and debris out while still allowing airflow and drainage.
- Set the couch on its final base. If the legs are short and the frame sits close to the ground, add rubber furniture feet or small deck blocks for drainage clearance. A minimum of 1–2 inches of ground clearance under the frame prevents moisture wicking. If you want to mount it on a pallet platform for a more substantial look, see the pallet couch section below.
- Add cushions, pillows, and any finishing accessories, and step back. The whole process is done.
Quick pallet couch build (when building from scratch makes more sense)
If your frame inspection revealed particleboard or serious damage, don't waste your time on a conversion. A pallet couch can come together for $60–90 in materials and a Saturday afternoon. The key safety rule: only use ISPM-15 heat-treated pallets marked with the HT stamp. Avoid any pallet marked MB (methyl bromide), those were chemically fumigated and you don't want that under your cushions. Standard GMA pallets (48x40 inches) have impressive static load capacity, well-built examples are rated at 2,500 to 5,500 lb, so structural failure isn't a concern for seating loads. Stack two pallets for the seat base, one upright behind for the back, and connect them with 3-inch exterior structural screws through the front-face stringers. Sand everything with 80 and 120 grit to eliminate splinters, apply a deck stain or exterior sealant, and add your foam and outdoor fabric cushions using the same method described in step 7 through 12 above. For a full step-by-step tutorial on building a patio couch from scratch, see how to build patio couch. Total cost is typically $60–90 including foam and fabric.
Simple sectional join method
If you're building multiple pallet sections and want a sectional layout, connect them with heavy-duty L-brackets or purpose-made modular sectional connectors bolted through the side stringers of adjacent units. Use two connectors per join, one near the front and one near the back, to prevent the sections from pivoting apart when someone sits on a corner. This same method works for joining any two frame-built seating units. If you want to go deeper on building purpose-designed sectional patio seating, a full sectional patio couch build guide covers that from footprint planning through connector hardware in much more detail.
Weatherproofing: the part most people underdo
Weatherproofing is where a lot of DIY patio furniture projects fail in year two. The conversion goes great, summer looks good, and then after the first wet autumn or a winter without cover, the fabric is mildewed, the foam is waterlogged, and the frame joints are moving again. Here's what actually works for long-term outdoor durability.
Outdoor fabrics: what to look for
Solution-dyed acrylic fabric, the material used in Sunbrella and similar performance upholstery lines, is the gold standard for outdoor upholstery. The color is baked into the fiber rather than printed on the surface, so it resists UV fading and mildew far better than printed polyester or cotton canvas. If you're on a tighter budget, 600-denier or higher solution-dyed polyester is a solid middle-ground option. Avoid regular canvas, duck cloth, or any fabric that isn't explicitly rated for outdoor use, they'll mildew within one season in humid climates. For budget shoppers, remnant rolls of Sunbrella-grade fabric show up at fabric store clearance bins regularly at $8–15 per yard versus the typical $25–35 retail price.
Quick-dry foam: skip the regular indoor stuff
Standard indoor foam is a closed- or semi-open-cell structure that traps water and stays wet for days after rain. Outdoor seating needs open-cell reticulated foam, which is engineered with large interconnected pores that let water drain and air circulate so it dries in hours rather than days. A 4-inch thick seat cushion of good-quality reticulated foam costs roughly $30–55 per seat depending on density and supplier. Avoid the temptation to wrap indoor foam in a waterproof fabric cover and call it outdoor-ready, moisture will still find its way in through seams and zippers, and then it has nowhere to go.
Sealing and finishing the frame
Two coats of exterior spar urethane (which stays slightly flexible as wood expands and contracts) outperform rigid indoor polyurethane on wood that will see temperature and humidity swings. Exterior deck stain with a built-in sealer is another solid option, especially for pallet or rough-sawn lumber, because it penetrates the grain rather than forming a surface film that can peel. Apply sealant to every surface including the underside and the inside of leg cavities, moisture enters from the bottom up more than from the top down outdoors.
Rustproofing metal components
Any fastener, bracket, or hardware that isn't stainless steel will rust outdoors. For coastal or salt-air environments, 316 stainless steel is the right call, it has higher molybdenum content for better corrosion resistance. For inland locations, 304 stainless steel is fine and costs a bit less. If you're using coated or galvanized fasteners as a budget option, hot-dip galvanized outperforms electro-zinc plated (bright zinc) for outdoor longevity by a wide margin. Electro-zinc screws and hardware from the standard indoor fastener bins at hardware stores are not suitable for permanent outdoor use, they'll show rust within one season in most climates.
Drainage and ventilation
Water sitting on or under your frame is the enemy. Make sure the seat frame has at least 1–2 inches of clearance off the ground so air can circulate under it. If your frame sits flat to the patio surface, add rubber furniture feet or small plastic deck spacers, they cost about $4–8 per set. Tilt cushions upright when you know rain is coming to help them drain faster. For the pallet base, gaps between pallet deck boards provide natural drainage, don't fill them with caulk or plywood, those gaps are doing important work.
Realistic cost and time estimates
| Project Type | Estimated Cost (Materials) | Time Commitment | Difficulty Level |
|---|---|---|---|
| Convert a solid hardwood-frame sofa | $80–160 | 1.5–2 weekends | Beginner–Intermediate |
| Pallet couch (2 pallets + cushions) | $60–90 | 1 Saturday | Beginner |
| Pallet loveseat (smaller, 2-seat version) | $50–80 | Half day to 1 day | Beginner |
| Simple 2-section sectional from built frames | $150–250 | 2 weekends | Intermediate |
| Full frame rebuild (replace all rails + new cushions) | $130–200 | 2 weekends | Intermediate |
Routine maintenance and seasonal care
Even the best-built patio furniture needs seasonal attention to stay in good shape. At the start of each outdoor season, inspect every joint using the same flex test from the inspection checklist. Re-tighten any loose bolts. Touch up any chipped or peeling sealant with a fresh coat, especially on any wood that's been sitting through a wet winter. Clean fabric covers with a mild soap and water solution, most solution-dyed acrylics come clean with a soft brush and a rinse. Do not machine wash outdoor cushion covers with harsh detergents, as it strips the fabric's UV-protective coating faster.
At the end of the season, bring cushions inside or store them in a waterproof storage bin. If you leave the frame outside through winter (which is fine for sealed hardwood or pressure-treated lumber), cover it with a breathable outdoor furniture cover, not a plastic tarp, which traps moisture and accelerates mildew and mold on the frame. A breathable cover allows air movement while keeping snow, ice, and debris off the piece. Re-seal exposed wood every two to three years regardless of how it looks, by the time sealant looks weathered and gray, moisture has already been getting in.
Common problems and quick fixes
| Problem | Likely Cause | Fix |
|---|---|---|
| Frame wobbles after conversion | Corner block failed or joint not fully cured | Remove fabric at joint, add new glued-and-screwed corner block with through-bolt |
| Cushions stay wet after rain | Indoor foam used instead of reticulated outdoor foam | Replace foam with open-cell reticulated outdoor foam |
| Fabric mildews within one season | Non-outdoor-rated fabric or fabric stored wet | Replace with solution-dyed acrylic; always tilt cushions after rain |
| Wood turns gray/silver after one season | Sealant wore off or was applied to wet/unsanded wood | Sand lightly, reapply exterior sealant or deck stain |
| Seat sags in the middle | Webbing stretched or broken; not enough support slats | Replace webbing with polypropylene outdoor webbing; add an extra support slat |
| Legs rust at the base | Non-stainless fasteners or untreated metal legs | Wire-brush, apply rust converter, prime and paint; replace with stainless hardware |
| Pallet sections spread apart | Connectors placed too far back; only one connector per join | Add second L-bracket near front of each join; tighten all hardware |
| Fabric bunches at corners | Too much excess material; no mitered fold | Re-staple corners using gift-wrap fold method; trim excess before final staple |
A few safety reminders before you start
- Always wear safety glasses when using a drill, saw, or staple gun. Flying staples and wood chips are more common than people expect.
- When sanding old furniture, wear a dust mask — you don't know what old finishes or treatments might be on the original upholstery or wood.
- For pallet builds, always verify the HT stamp before using any pallet. If you can't find the stamp, don't use it.
- Pilot-drill every screw hole in hardwood. Driving a screw into hard maple or oak without a pilot hole will split the wood almost every time.
- Let glue cure fully before applying any load. One full day minimum for Type I waterproof glue — two days in cold weather.
- Use a proper workbench or sawhorse when cutting — never hold lumber freehand against your body while using a saw.
FAQ
Should I convert my indoor couch into patio furniture or build new outdoor seating from scratch?
Use the quick inspection checklist: expose the underside; probe rails for rot or soft wood; check corner blocks for looseness or splits; flex-test seat rails and joints for >½" movement; verify seat slats/spring attachments; identify frame material (kiln‑dried hardwood/plywood vs particleboard/MDF). If the frame is solid hardwood or plywood with only local damage, conversion + reinforcement is usually cost‑effective. If there is rot, multiple broken rails, particleboard components, or separated glue joints, a rebuild or new outdoor build is usually more durable and cheaper long‑term.
What tools and materials will I need for converting a couch or building pallet seating?
Basic tools: tape measure, cordless drill/driver, wood and metal drill bits, screwdrivers, circular or jigsaw, orbital sander, staple gun, clamps, chisels, hammer, wrench set, saw horses, safety gear (glasses, dust mask, ear protection, gloves). Materials: exterior wood (1x2, 1x3 hardwood or structural plywood), Titebond III or exterior epoxy for gaps, stainless‑steel fasteners (304 inland, 316 coastal) or hot‑dip galvanized for budget, carriage/hex bolts 1/4"–5/16" with washers/lock‑nuts, #8–#10 exterior wood screws, corner brackets or repair plates, quick‑dry outdoor foam, outdoor/solution‑dyed acrylic fabric, polyurethane or marine varnish or exterior paint, rust‑proof spray for metal, outdoor sealant for wood end grains, deck screws for pallet builds. Optional: modular sectional connectors, pallet HT‑stamped pallets, drainage mesh or slatted bases.
How do I measure an existing couch to plan the patio conversion?
Record: overall width, overall depth, seat depth (inside back to front of seat), seat height (floor to top of seat cushion), arm height, back height, width between arms, and underside clearances for ventilation/drainage. Photograph underside corners, corner blocks, and spring/slat attachments. Use standard seat targets as a guide: seat height 17–19 in, seat depth 20–24 in, cushion thickness 3–6 in.
Step‑by‑step: how do I inspect and make basic structural repairs to a couch frame?
1) Remove cushions and pull back fabric to expose the frame underside. 2) Clean debris and dry the frame. 3) Probe wood with a screwdriver for rot; mark damaged areas. 4) Test joints for movement; if loose, disassemble where needed. 5) Reinforce corner blocks with exterior glue + screws or replace with larger glued/screwed blocks. 6) Sister cracked rails by gluing and screwing a new hardwood strip alongside existing rail; through‑bolt with washers/nuts if shear loads present. 7) Replace broken slats/springs or reattach spring clips with new staples or connectors. 8) Pre‑drill pilot holes sized to fastener root to avoid splitting. 9) Let adhesives cure fully before reupholstering or load testing.
What adhesives and fasteners should I use for outdoor durability?
Use ANSI/HPVA Type I waterproof wood glue (Titebond III) for wood joints. For gaps or dissimilar materials use a marine epoxy or polyurethane adhesive. Fasteners: stainless steel 316 for coastal or 304 inland; hot‑dip galvanized for a lower‑cost outdoor option (avoid electro‑zinc for outdoors). Use #8–#10 exterior wood screws for brackets and 1/4"–5/16" carriage or hex bolts with washers and lock‑nuts for through‑bolting heavy joints. Predrill pilot holes sized to screw root diameter.
How do I weatherproof an indoor couch for outdoor use (fabrics, foam, frame protection)?
Frame: strip old fabric where necessary, sand and seal exposed wood with exterior wood sealer or paint/stain plus marine varnish for edges; coat metal parts with rust converter and rust‑proof paint. Fasteners: use corrosion‑resistant fasteners. Cushions: replace interior foam with quick‑dry, reticulated outdoor foam and wrap in a water‑resistant layer (Dacron or poly batting) for comfort. Upholstery fabric: use solution‑dyed acrylic outdoor fabric (Sunbrella or equivalent) with outdoor‑rated thread (polyester or PTFE). Add a breathable water‑resistant barrier (e.g., outdoor slipcovers or self‑draining cushion covers). Ensure drainage by adding slatted bases or holes and avoid trapping water.