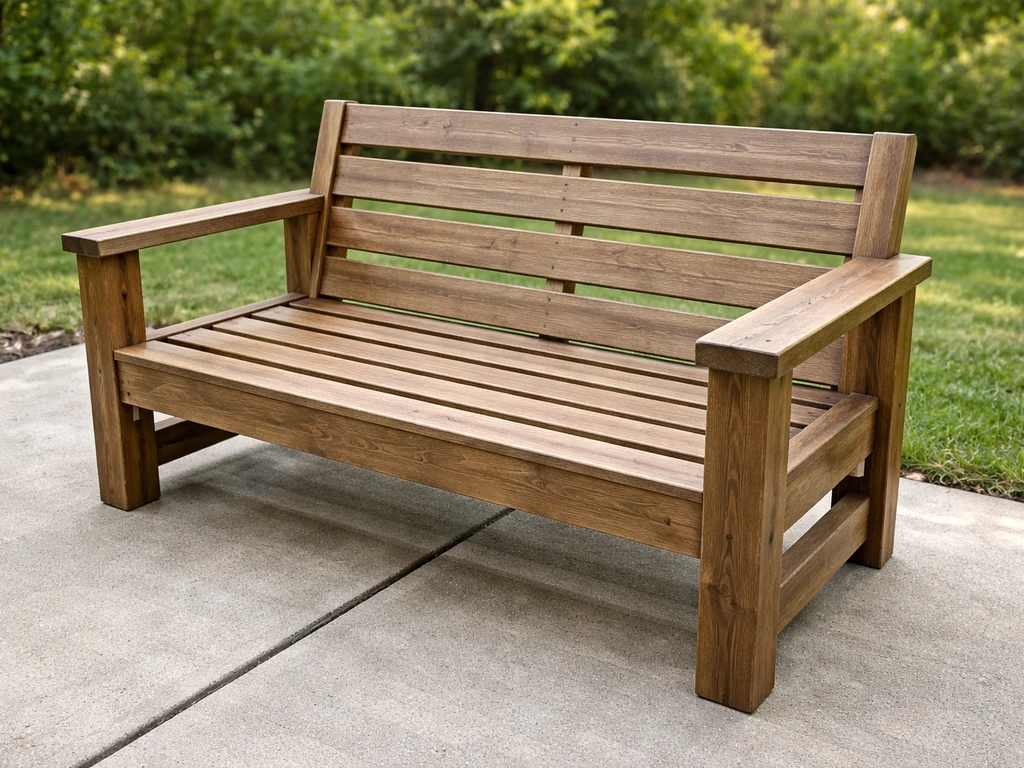
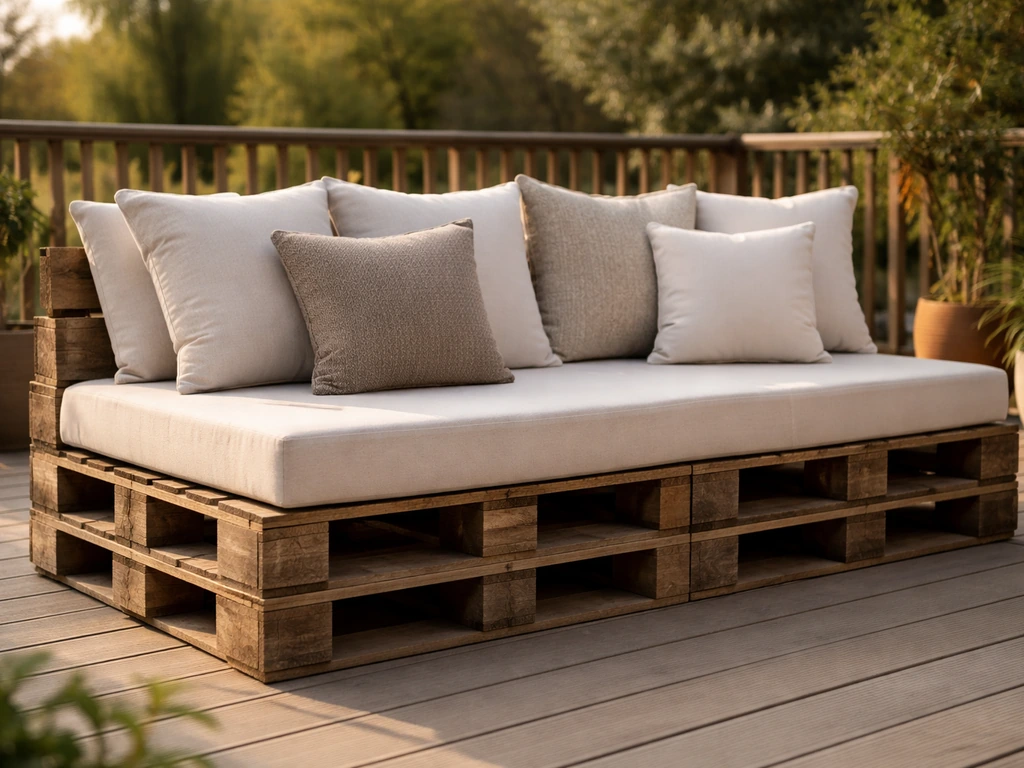
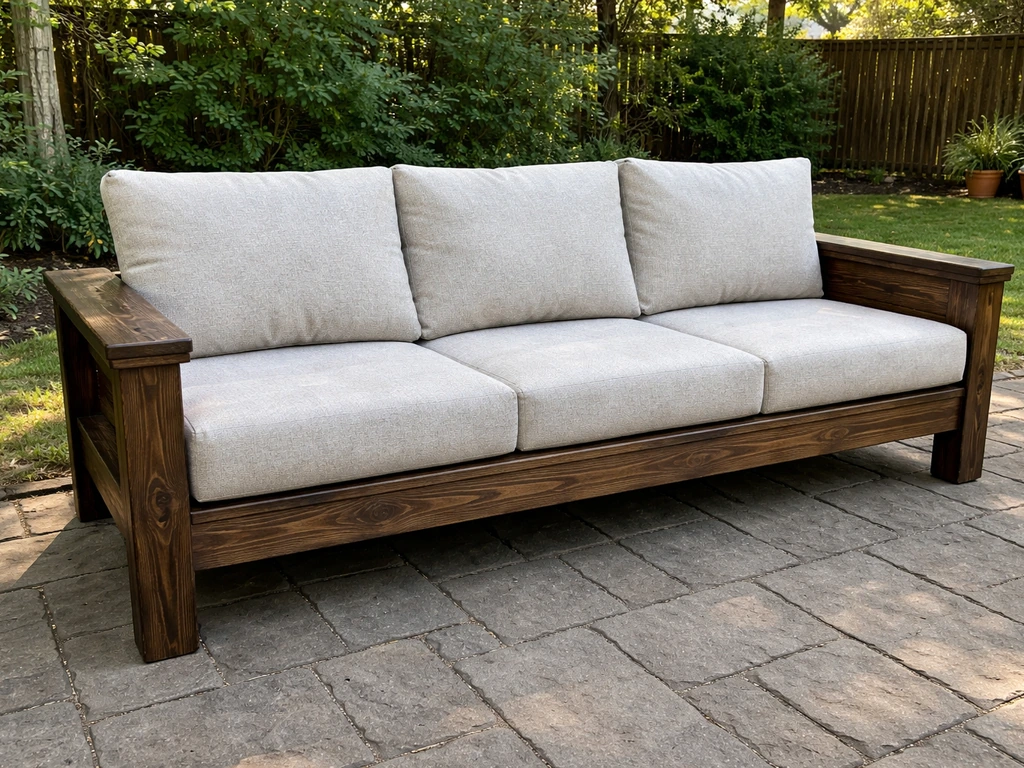
You can build a modular sectional patio couch from pressure-treated lumber in a weekend for roughly $200–$400 in materials, depending on how many sections you build. Each piece is its own freestanding frame, so you can rearrange them into an L-shape, U-shape, or straight sofa whenever you want. The key is building every module to the same seat height and depth so the sections sit flush when pushed together.
How to Build a Sectional Patio Couch Step by Step

Maren Grady
7 Jul 2026
Plan the layout and figure out your dimensions first
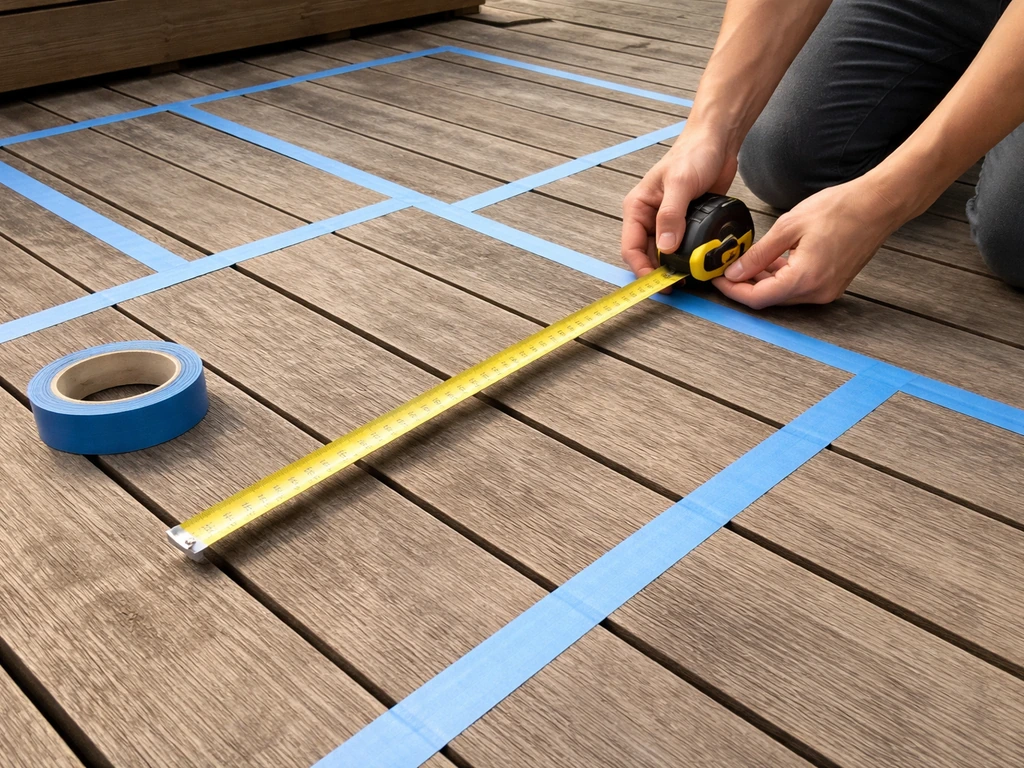
Before you cut a single board, go outside with a tape measure and lay out the space with painter's tape on the deck or patio surface. This step saves you from building a beautiful couch that's six inches too long for the wall it's supposed to sit against. I skipped this once and ended up with a sectional that stuck out into a walkway. Learn from that.
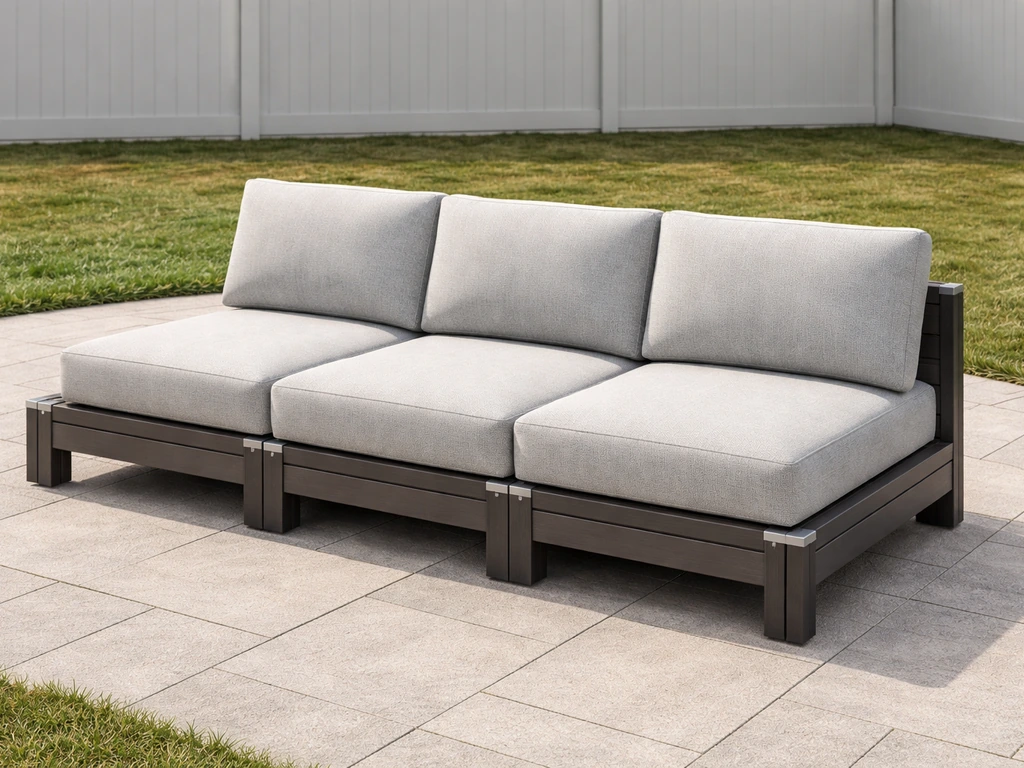
The most common sectional builds use three module types: a straight middle section (the armless piece you'll build the most of), a corner piece (which is typically a square chair section that connects two runs), and an end piece with an arm on one side. You can build a simple L-shape with one corner module and two or three straight/end pieces, or go bigger with a full U-shape by adding more middle sections.
For dimensions, aim for a seat depth of 20–24 inches (not counting the back) and a finished seat height of about 17–18 inches from the ground. That height works with standard 4–5 inch thick outdoor cushions and puts the seating at a comfortable lounge position. Each module width can be anywhere from 24–36 inches. I'd recommend 28–30 inches per section as a sweet spot, wide enough to be comfortable, narrow enough to move around a corner by yourself.
| Module Type | Typical Width | Notes |
|---|---|---|
| Armless middle section | 28–30 in | The workhorse piece — build 2–3 of these |
| Corner/chair section | 30 x 30 in (square) | Connects two runs at 90 degrees |
| End section with arm | 28–30 in | Caps the ends of the sectional |
| Ottoman (optional) | 24 x 24 in | Great for extending seating or footrest use |
Write down your final cut list before you go to the lumber yard. Group your dimensions by board size (2x4, 2x6, 4x4 for legs) so you can calculate how many linear feet you need. Most home centers will make straight crosscuts for free or a small fee, which is worth it if you don't have a miter saw at home.
Pick the right materials for outdoor use
This is where a lot of first-timers go wrong. Regular construction lumber (SPF, spruce/pine/fir) will rot and warp within a season or two when left outside. You need to start with either pressure-treated lumber (the greenish boards rated for ground contact or above-ground use) or a naturally rot-resistant wood like cedar or redwood. If you want your couch build to last outdoors, choose the right materials like pressure-treated lumber rated for ground contact or above-ground use. Pressure-treated 2x4s are the budget choice and easy to find. Cedar costs more but smells better, looks nicer, and is lighter to work with. Either works well for a sectional frame.
Lumber comparison: pressure-treated vs. cedar vs. redwood
| Wood Type | Cost (relative) | Rot Resistance | Weight | Best For |
|---|---|---|---|---|
| Pressure-treated pine | $ (cheapest) | Excellent | Heavier | Budget builds, painted finish |
| Cedar | $$ | Very good | Light | Stained or natural finish, visible wood |
| Redwood | $$$ | Excellent | Medium | Premium visible-wood builds |
| Douglas fir (sealed) | $ | Moderate (needs sealing) | Medium | Short-term or covered patio use only |
For hardware, skip regular zinc-plated screws entirely. They rust within one season and leave orange streaks on your wood. Use 2.5–3 inch exterior-grade deck screws (coated or stainless) and galvanized or stainless steel bolts, nuts, and washers wherever you're making a structural connection. The hardware cost difference is minimal, maybe $10–$15 more, and it matters a lot for how long the frame holds together.
For finishing the wood, exterior wood stain or a penetrating sealant (like Thompson's WaterSeal or a similar product) is your best bet. Paint works too but tends to peel on horizontal surfaces that collect water. Apply the sealant before assembly if you can, it's much easier to coat every side of a board while it's flat on a sawhorse than to try to reach inside the finished frame. Let it dry fully (usually 24–48 hours) before building.
Choosing outdoor cushions and fabric
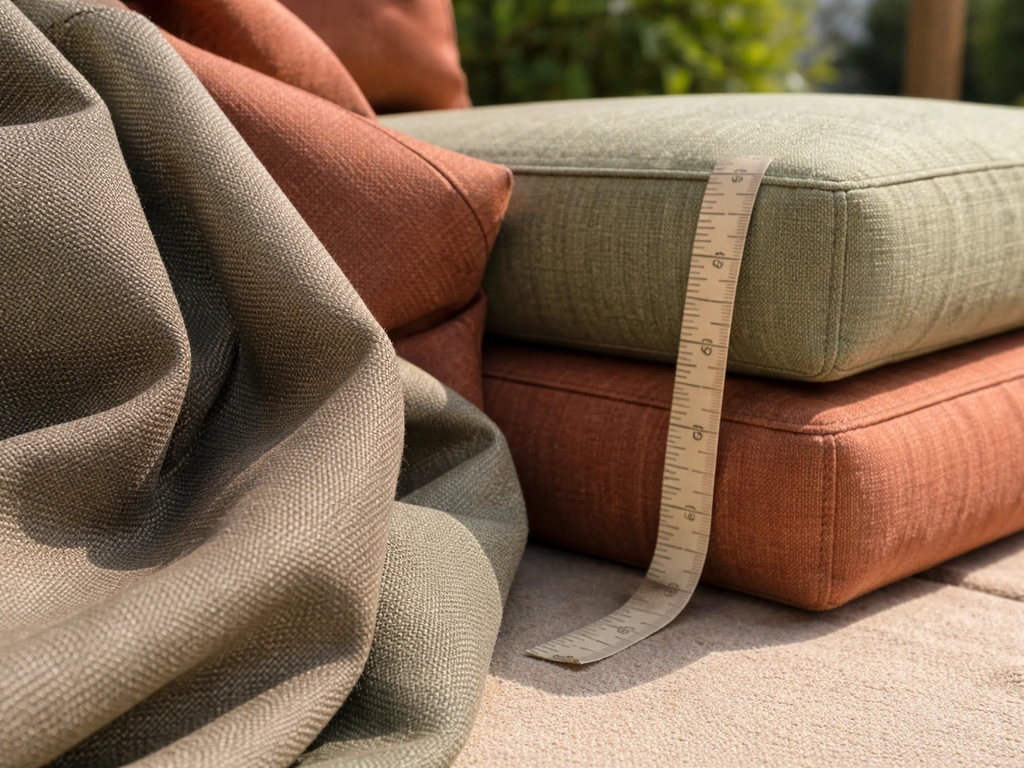
Outdoor cushion thickness matters more than people expect. For a deep-seat lounge build like this, go with cushions in the 4–5 inch range. Four inches is standard and works fine; 5 inches feels genuinely luxurious for lounging. If you're making your own cushions or buying foam to recover, look for open-cell polyurethane outdoor foam at 1.8–2.2 lb per cubic foot density for regular use. If you want cushions that hold up for 10+ years, 2.8 lb/ft³ foam is the premium option worth the extra cost.
For fabric, solution-dyed acrylic is the gold standard for outdoor use. The most recognized brand is Sunbrella. With solution-dyed fabric, the color is baked into the fiber itself before weaving (not printed or dyed on the surface afterward), which is why it resists fading so much better than cheaper outdoor fabrics. It's more expensive, expect to pay $25–$40 per yard, but it makes a real difference over a few seasons. Budget alternative: look for other solution-dyed acrylic fabrics at fabric stores, which offer the same technology at a lower brand premium.
Build the base frames one module at a time
Build each module as a completely independent, freestanding unit. This is what makes a sectional modular. Every frame follows the same basic structure: four corner legs, a rectangular seat frame, a back frame, and internal support slats. The only difference between module types is whether you add arm framing on one or both sides.
What you'll need
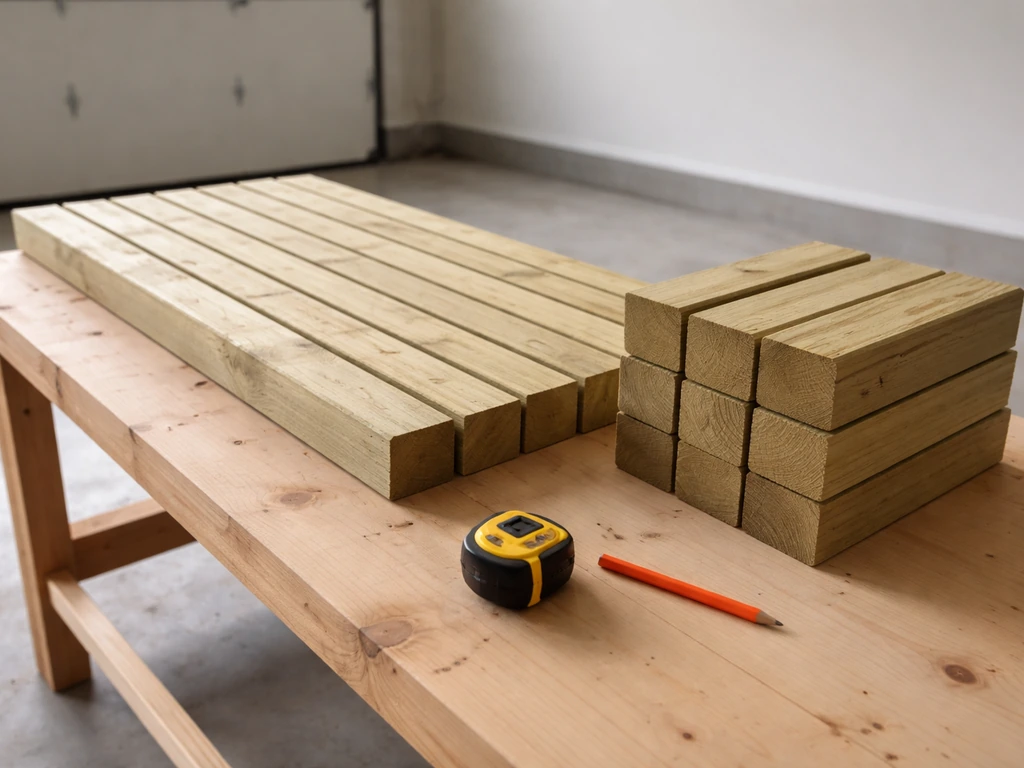
- 2x4 pressure-treated or cedar lumber (for seat and back frames)
- 4x4 posts (for legs, cut to 17–18 in for seat height, or build legs from doubled 2x4s)
- 2x6 boards (optional, for seat slats and back slats)
- Exterior deck screws, 2.5 and 3 inch lengths
- 3/8 in carriage bolts, nuts, and washers (for leg-to-frame joints)
- Speed square, tape measure, pencil
- Miter saw or circular saw
- Drill/driver
- Clamps (at least 4 bar clamps or F-clamps)
Frame assembly steps for one armless middle section
- Cut your four legs to the same length (typically 17–18 inches for the seat frame height). Consistency here is critical — measure twice, cut once, and check all four legs side by side before you move on.
- Cut your two long side rails (front-to-back pieces) to your seat depth (e.g., 22 inches to achieve a 20 in interior seat depth after the frame thickness is accounted for). Cut your two short front and back rails to your module width minus the leg width (e.g., for a 30 in wide module with 1.5 in 2x4 legs on each side, the rail is 27 in).
- Assemble the rectangular seat frame on a flat surface. Attach the four rails into a rectangle using two exterior screws per joint, with a clamp holding the joint square before you drive the screws. Check the diagonal measurements — if both diagonals match, the frame is square.
- Attach the legs to each corner of the seat frame. Pre-drill to prevent splitting, then drive two 3-inch screws through the rail into the leg at each corner. For extra strength, drill through and use a 3/8 in carriage bolt at each leg joint — this is the connection that gets the most stress.
- Add internal support slats across the seat frame (spanning front to back) spaced about 8–10 inches apart. These support the cushion and keep the seat from flexing. Use 2x4 or 2x6 boards for these, resting them on top of the front and back rails and screwing down through the top.
- Build the back frame as a separate rectangle. A comfortable back height is 24–28 inches above the seat surface. Build it the same way as the seat frame — two vertical side pieces and horizontal top and bottom rails — then attach it to the rear legs of the seat frame using carriage bolts. Angle the back frame slightly (about 10–15 degrees) by notching or angling the attachment point for a more comfortable recline.
- Add vertical back slats (2x4s standing on edge) across the back frame, spaced about 3–4 inches apart. These give the back its structure and something for the cushion to lean against.
- Sand all cut edges and exposed surfaces with 80–120 grit sandpaper, then apply your exterior sealant or stain to the finished frame.
For an end section with an arm, just add a vertical arm frame on one side: two short vertical posts (cut to arm height, usually 22–24 inches from the floor) connected by a horizontal arm cap board (a 2x6 laid flat on top looks great and gives a wide armrest you can set a drink on). Bolt the arm posts to the outside of the seat frame legs.
The corner section is just a square version of the armless middle module (typically 30x30 inches), built with the same seat height and depth. It sits at the junction of two runs and doesn't need a back if the two adjacent sections have backs that meet behind it, though many people add a diagonal back piece for comfort.
Assemble, attach, and align all the sections
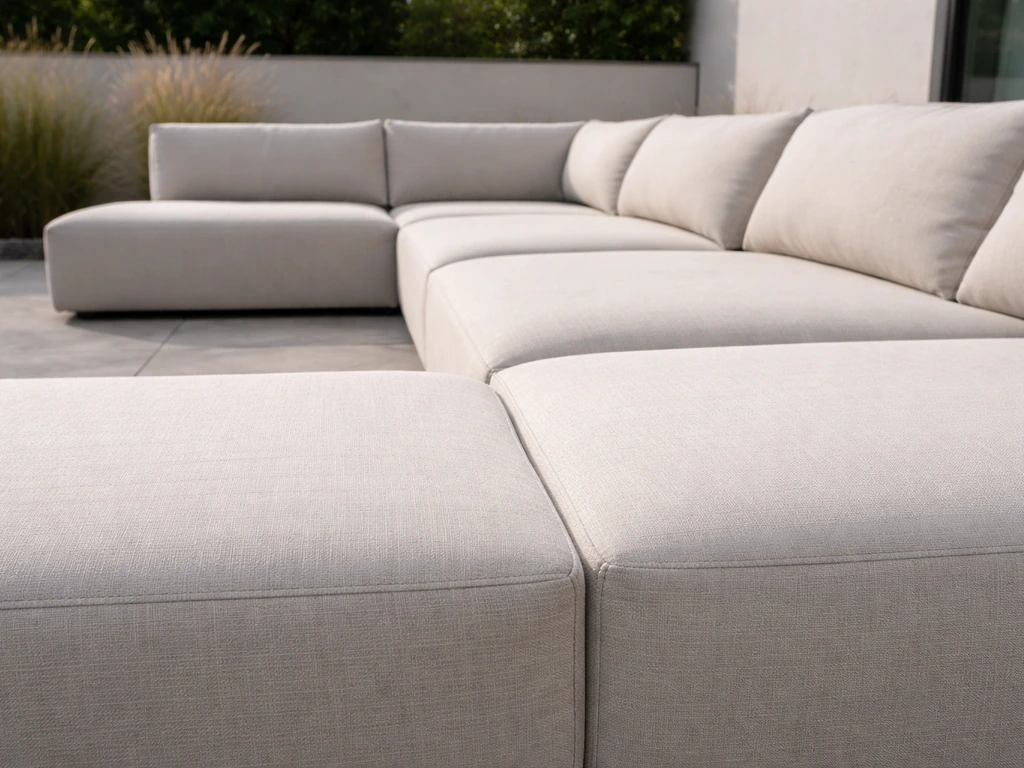
The biggest issue with modular sectionals is that the pieces shift around when people sit down, stand up, or when sections get nudged during use. There are a few good ways to fix this without permanently connecting the pieces (because the whole point is that they're movable).
First, get the alignment right. Place all sections in their intended configuration and use a long straightedge (a level works great) to confirm that the front edges are all flush and the seat surfaces are at the same height. If one module sits a little higher, shimming the legs with composite shims and trimming them to match is easier than re-cutting the legs. Once everything's level and aligned, mark the floor positions with chalk or tape so you can quickly reset the layout after cleaning or moving pieces.
To prevent the sections from drifting apart during use, use sectional furniture connectors (sometimes called sofa or sectional clips). These are small metal brackets that hook or clamp between adjacent frames and cost about $10–$15 for a set of four. You screw one side to each frame, then clip them together when the sections are in position. They hold the pieces tight but release easily when you want to rearrange. Another option is heavy-duty hook-and-eye bolts, one eye bolt screwed into each adjacent frame, connected by a short hook. Simple, cheap, and surprisingly effective.
Add furniture pads or rubber feet to the bottom of each leg. These protect your patio surface and add just enough grip to prevent unintentional sliding. Rubber leg caps sized for 4x4 or 2x4 legs are a few dollars at any hardware store.
Add cushions, fabric, and think about storage
You have two main options for cushions: buy pre-made outdoor deep-seat cushions (fastest and usually cheaper upfront) or make your own from outdoor foam and fabric (more work but you control thickness, firmness, and fabric). If you want to make a patio loveseat instead of a modular sectional, you can use these same outdoor-lumber, hardware, and cushion ideas while scaling the frame down to two-seat dimensions. Either way, the cushions should be removable. Don't staple or glue cushions permanently to the frame, you'll want to bring them inside or store them when it rains or during winter, and you'll want to clean them eventually.
If making your own cushions, cut your outdoor foam to fit the seat and back slat dimensions, then wrap in a dacron batting layer before covering with fabric. The batting softens the edge feel and lets the foam breathe. For the cover, sew a simple box-cushion cover with an outdoor zipper (regular zippers corrode) so you can remove and wash the cover. If sewing isn't your thing, outdoor cushion covers in standard sizes are easy to find online for $20–$50 each, and you can buy the foam separately.
Attach a small hook-and-loop strap (Velcro) or a furniture tie on the underside of each cushion and to the frame slat below it. This keeps cushions from sliding off when someone sits down or the wind picks up. Don't skip this, sliding cushions are one of the most annoying things about homemade outdoor furniture.
For cushion storage, the most practical solution is a deck box or storage bench nearby. If you want to get creative, you can build a simple plywood box (with a hinged lid) sized to match your cushions and leave it right next to the sectional. If space is tight, weather-resistant cushion storage bags designed for outdoor use are a compact alternative. The goal is to make it easy enough that you actually use it, if grabbing and storing the cushions is a hassle, they'll end up sitting in the rain all season.
Make it safe, stable, and easy to maintain
A common problem with wood patio furniture after a season or two is loose hardware. The freeze-thaw cycle, moisture swings, and the natural movement of wood all work bolts and screws loose over time. Make it a habit to go around every joint with a driver or wrench once a year (spring is a good time) and re-tighten anything that has worked loose. If a screw won't tighten because the hole is stripped, remove it, inject a little wood glue and a wooden toothpick or golf tee into the hole, let it dry, then re-drive the screw. This fixes stripped holes cleanly without having to replace boards.
Frame sag usually happens when the internal seat slats aren't bearing the load evenly or when a rail joint has loosened. If you notice the seat feeling springy or bouncy in one spot, flip the section over and check that all slats are screwed down and all rail-to-leg joints are tight. If a slat has cracked, it's an easy swap, remove the old one, cut a replacement from the same lumber, and screw it in.
For water damage on the wood, the early signs are graying, surface checking (small cracks along the grain), and soft spots. Gray color is mostly cosmetic and can be reversed by sanding and re-sealing. Soft spots mean actual rot has started. If the rot is surface-level, you can treat it with a hardener product (like LiquidWood) and re-seal. If the rot goes deep into a structural member, that board needs to be replaced, don't ignore it, because a rotted leg or rail is a safety hazard. This is why sealing from the start and resealing every 1–2 seasons is worth the hour it takes.
For cushion and fabric care, shake and air them out regularly. If you're using Sunbrella or another solution-dyed acrylic fabric, clean mildew spots with a mix of 1 cup bleach and 1/4 cup mild dish soap per gallon of water, apply it to the affected area, let it sit for 15–20 minutes, then rinse thoroughly. That formula comes straight from Sunbrella's own care guidelines. For routine dirt, just 1/4 cup mild soap per gallon of lukewarm water and a soft brush works fine. Always let covers air-dry completely before storing to prevent mildew from developing in storage.
Quick maintenance checklist to run each spring
- Re-tighten all bolts, screws, and sectional connectors
- Inspect every leg and rail for soft spots or rot — poke suspicious areas with a screwdriver
- Sand and re-seal any bare or grayed wood areas with exterior sealant or stain
- Check cushion foam for compression (if it's noticeably thinner or has permanent dents, it's time to replace the foam insert)
- Inspect fabric covers for seam separation, UV degradation, or mildew, and spot-clean as needed
- Replace any corroded hardware before it becomes a structural issue
One more thing worth mentioning: if this is your first outdoor furniture build and a full sectional feels like a big commitment, building a single patio couch or loveseat first is a solid way to test your process before scaling up. If you want the step-by-step process for a single-piece patio couch instead of a full sectional, see our guide on how to build patio couch. The frame-building skills are identical, and once you've made one module, the rest go together much faster. The modular approach is genuinely forgiving, you can always add a section later as your budget or space allows.
FAQ
Do I need to connect the modules permanently to make the sectional feel sturdy?
No, you can keep the “modular” part by using connectors (sectional clips or hook-and-eye bolts) plus rubber feet. Permanent fasteners are more likely to cause rubbing and misalignment when the wood moves, especially across seasons with moisture swings.
What’s the safest way to choose a cushion thickness if my patio couch back is also built from slats?
If your back is slatted, keep cushion thickness in the 4 to 5 inch range and make sure the seat frame height stays consistent with 17 to 18 inch target seat height. After building, do a quick dry test by sitting for 10 minutes in the cushions, then re-check comfort and whether the back causes you to slide forward.
Can I build this sectional on uneven patio surfaces like pavers or a sloped deck?
Yes, but plan for leg height variation. Use composite shims under the 4x4 legs to level each module, then trim shims after the alignment is correct. Mark the floor positions so you can reassemble quickly after moving modules for cleaning.
Should I treat the lumber with sealant again after assembly, or is one coat enough?
For outdoor longevity, one coat is rarely enough. Apply a penetrating sealant before assembly for the best coverage, then re-seal after assembly (or at least check coverage at end grain and inside corners). Many builders choose a reseal schedule every 1 to 2 seasons based on sun and rainfall exposure.
How do I prevent wicking and water pooling at the joints between modules?
Add feet that elevate the wood slightly and avoid tight gaps where water can sit. Also inspect the underside of the frames, especially around leg bottoms and rail joints, and make sure sealant reaches end grain. If you see standing water, adjust module placement or add a small drainage slope where possible.
What if my sectional rocks slightly when I sit on one end?
First verify that front edges are flush and seat surfaces match height using a long straightedge. If rocking persists, it usually means one or more legs are not fully bearing, so add or adjust shims under the low legs. If the frame is level and it still rocks, check internal slats for even bearing and tighten any rail-to-leg joints.
Can I use cedar or redwood instead of pressure-treated lumber and still expect it to hold up outdoors?
Yes, both are naturally more rot-resistant, but you still should seal all sides and end grain. Cedar also softens faster than treated lumber in some climates, so re-sealing becomes even more important, and hardware should still be exterior-grade to avoid rust stains and loosening.
What’s the best way to deal with stripped screw holes in already-built modules?
Remove the loose fastener, inject wood glue into the hole, insert a toothpick or golf tee, let it cure, then re-drive with an exterior deck screw. For frequently loosened structural joints, consider upgrading the connection hardware to bolts with washers for better long-term holding.
How should I store the cushions and fabric if I don’t have space inside year-round?
Plan for ventilation and dryness. Shake off debris, air-dry completely, and store in a weather-resistant cushion bag or covered storage if rain is expected. If any fabric stays damp in storage, mildew can form quickly, even with solution-dyed acrylic.
Is solution-dyed acrylic fabric truly necessary, or can I use cheaper outdoor fabric?
Cheaper outdoor fabrics often fade faster because color may be applied to the surface rather than through the fibers. If budget forces a lower grade, rotate covers seasonally and expect more frequent replacement. For consistent look over multiple years, solution-dyed acrylic is the safer choice.
How do I keep cushions from sliding if I plan to remove covers often for washing?
Use removable ties or hook-and-loop straps under the cushions, then attach the matching surface to the frame slat beneath. This keeps friction and retention without permanently modifying the cushion cover, and it still allows you to remove the cushions for cleaning.