You can build a solid, weather-resistant wooden patio chair from scratch in a weekend using cedar, teak, or pressure-treated lumber, basic hand tools, and a few key joinery choices. The build breaks down into six manageable stages: picking the right wood, planning your dimensions, cutting parts to a list, assembling the frame with strong joints, finishing for outdoor exposure, and doing a final check for wobble and fit. If you get those stages right, you'll end up with a chair that lasts a decade or more with basic annual maintenance.
How to Make Wooden Patio Chairs: Step-by-Step DIY Guide

Maren Grady
24 May 2026
Choosing the right wood for outdoor patio chairs
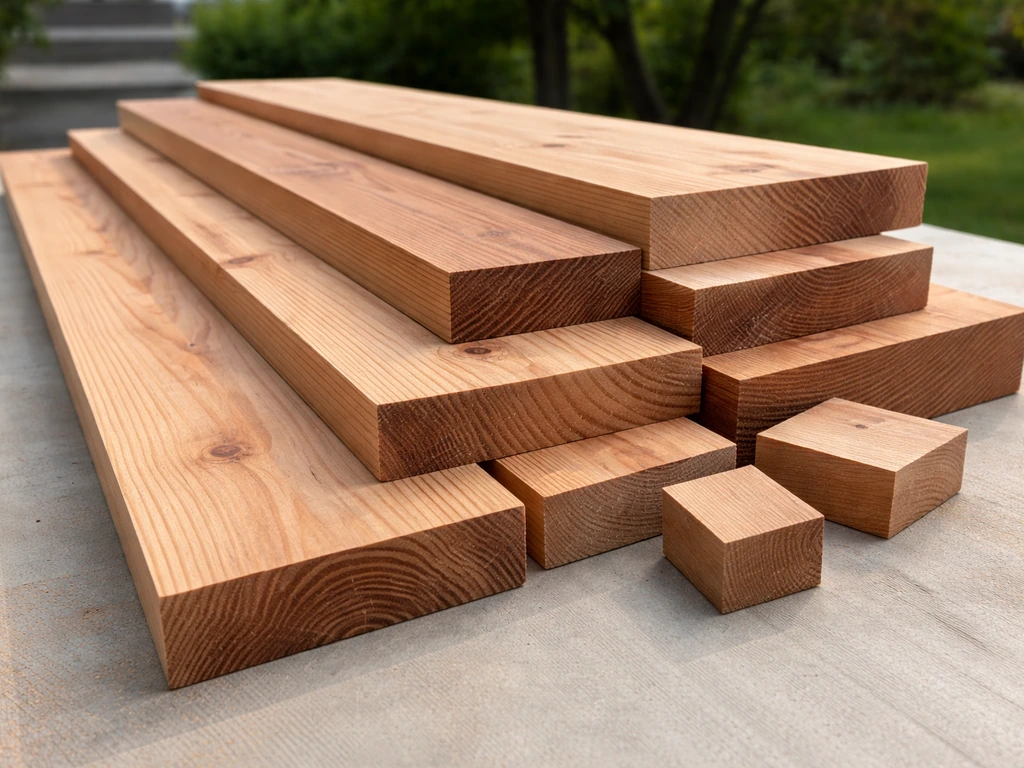
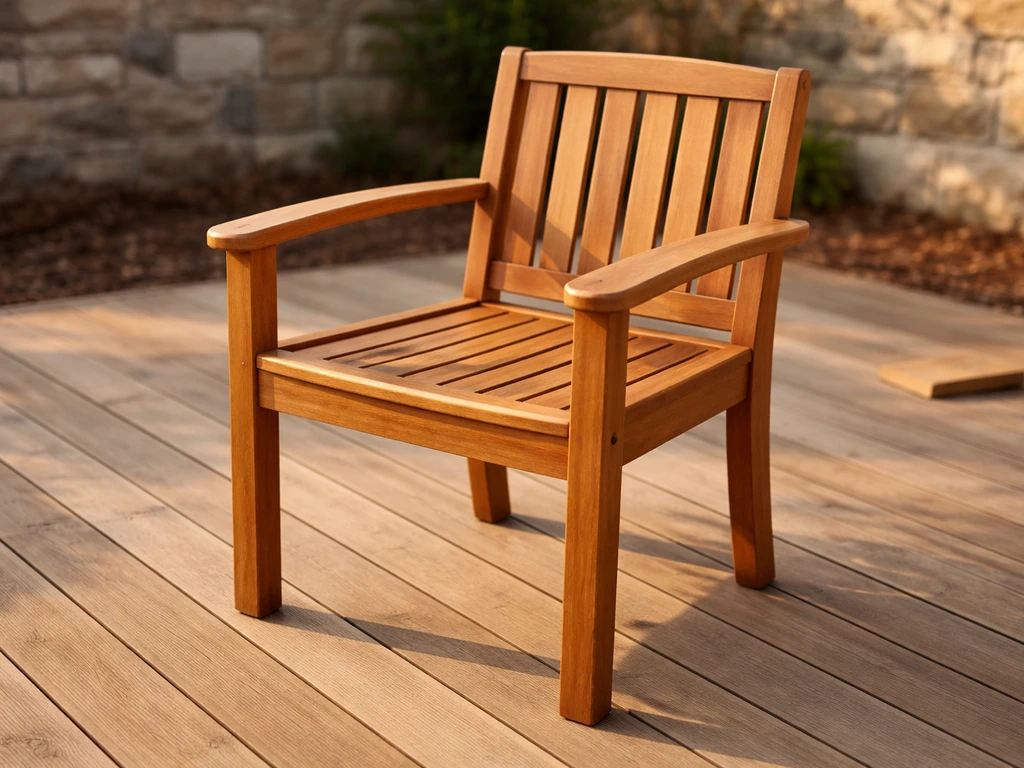
This is the decision that determines how long your chair survives outside, so don't skip it. Outdoor chairs live in a wet-dry cycle that punishes the wrong species fast. You want wood that resists rot, stays reasonably stable through moisture swings, and holds fasteners well. The three most practical options for a DIY build are western red cedar, teak, and pressure-treated pine.
Western red cedar is my top recommendation for most DIYers. It's widely available, relatively affordable, easy to work with hand tools, and naturally rot-resistant. Kiln-dried cedar typically ships at around 10% moisture content or less, which means less movement and warping once it's on your patio. It's also lightweight, which matters when you're moving chairs around seasonally.
Teak is the premium option. It has natural oils that make it extremely resistant to rot and insects, and it holds up beautifully in direct sun and rain. The downside is cost and availability. If you go with teak, avoid products marketed as 'teak oil' for finishing, they can peel badly over time and end up requiring a full strip-and-sand to fix. More on that in the finishing section.
Ipe (Brazilian hardwood) is incredibly durable but comes with a catch: it's so dense that standard drill bits and screws struggle, and its moisture content at purchase can range from about 10 to 18%. That variability means boards can shift and cup unevenly, especially in direct sunlight. It's also one of the priciest options. I'd save ipe for a later project once you have a build or two under your belt.
Pressure-treated pine is the budget-friendly choice and works well for structural parts like legs and frames. Modern PT lumber uses ACQ or CA-B preservative treatments, which means you must use compatible corrosion-resistant hardware, stainless steel (grade 304 or 316) or hardware labeled as compatible with ACQ. Standard zinc screws will corrode fast against PT lumber and your joints will fail within a couple of seasons. Don't mix them.
| Wood Type | Rot Resistance | Cost | Workability | Best Use |
|---|---|---|---|---|
| Western Red Cedar | Good (natural) | Moderate | Easy | Full chair build, slats, arms |
| Teak | Excellent (natural oils) | High | Moderate | Premium full builds |
| Ipe | Excellent | Very High | Difficult | Advanced builds only |
| Pressure-Treated Pine | Good (chemical) | Low | Easy | Structural frames, legs |
Planning dimensions, design style, and build approach
Before you touch a saw, sketch out your chair and nail down the dimensions. Getting this wrong is the most common beginner mistake, you end up with a chair that's either uncomfortably low, too deep to sit in without slouching, or too shallow to actually relax in.
For a standard outdoor dining chair, target a seat height of about 17 inches from the ground. Adirondack-style loungers typically sit lower, around 14 to 16 inches, because the reclined position compensates for the low seat. Seat depth (front to back) should land around 16 to 17 inches for an average adult. For the seat back angle, 95 to 105 degrees off the seat plane is the sweet spot for comfort, anything more upright and it feels like an office chair, anything more reclined and it becomes a lounger, not a dining seat.
If you plan to add cushions (and I recommend designing for them from the start), build your seat depth and width in half-inch increments, most custom cushion makers work in increments of half an inch for width and depth, and one inch for thickness. A cushion thickness of 2 to 4 inches is typical for a patio chair. Factor that in so your seated height still lands in the right range after the cushion is added.
Choosing a design style
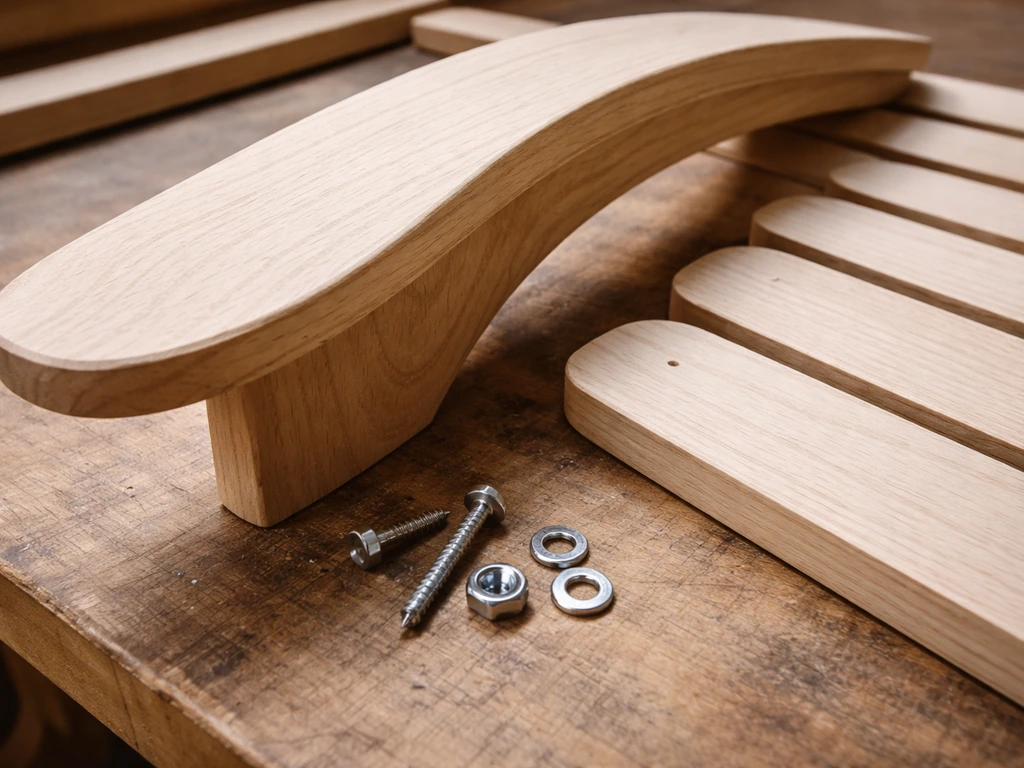
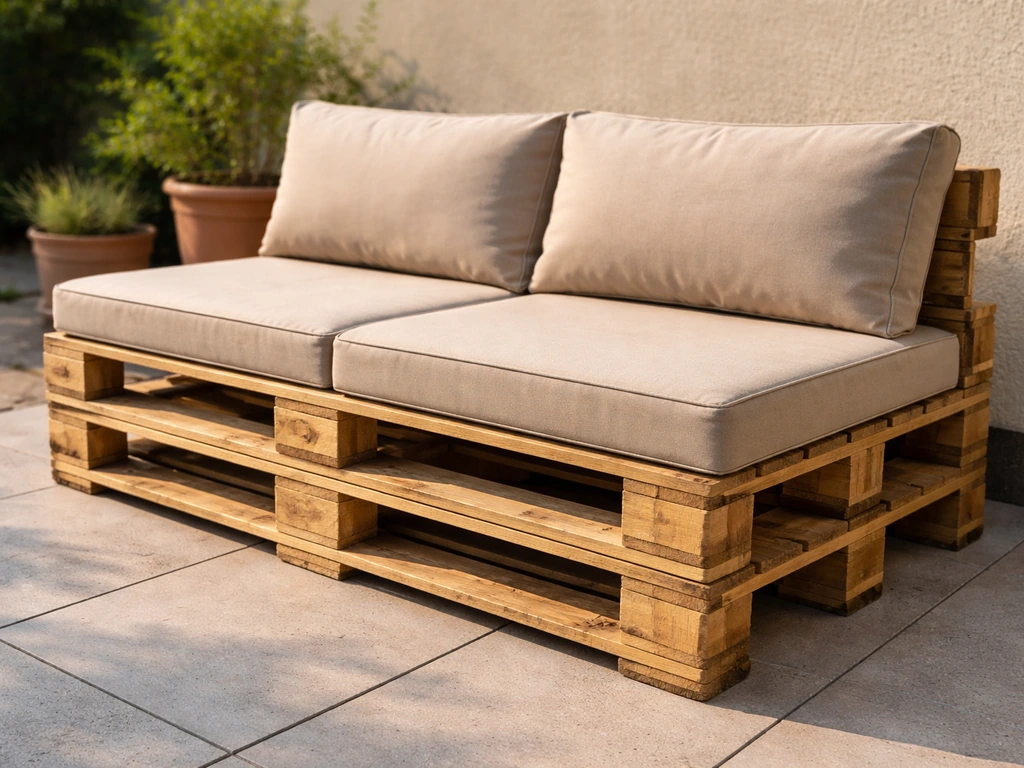
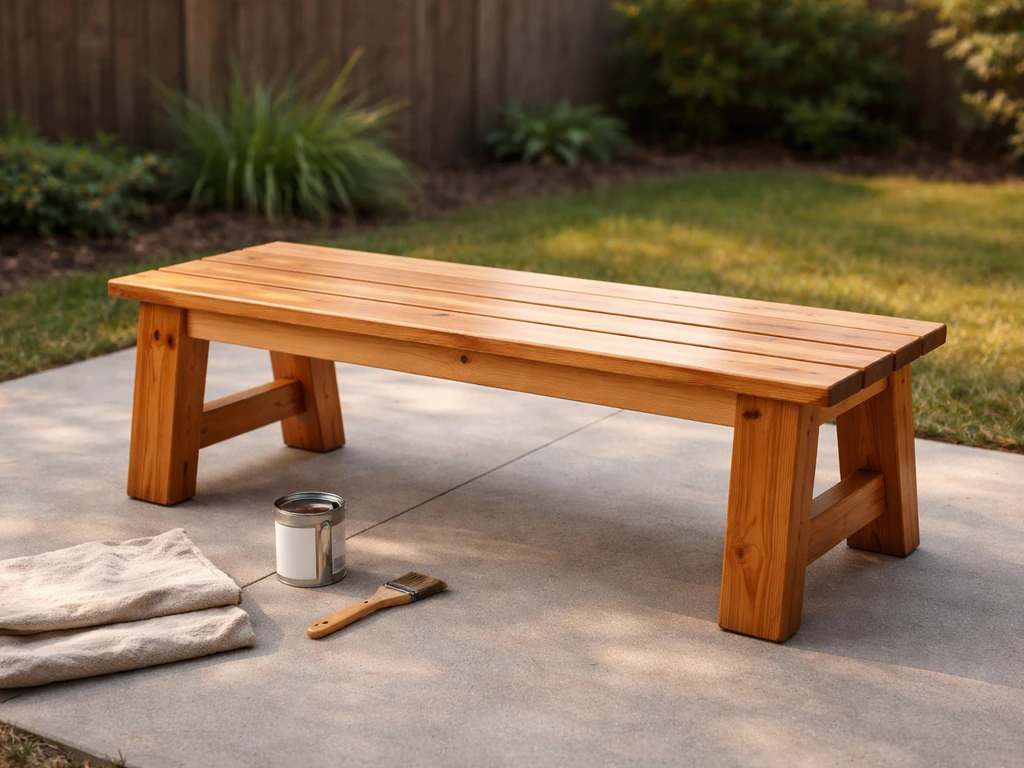
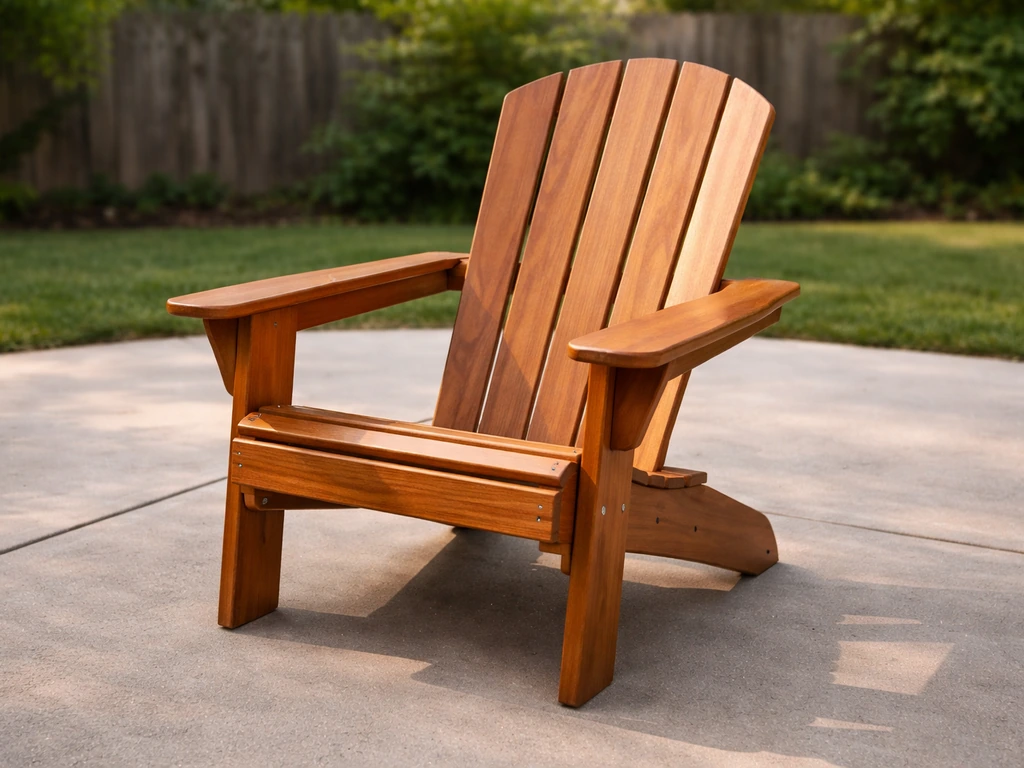
For a first build, I strongly recommend an Adirondack chair or a simple slatted garden chair. Both are forgiving of minor measurement variations, use straightforward joinery, and look great when finished. If you want to expand the project into a matching set (bench, side table, loveseat), the same wood species, slat widths, and finish will tie everything together. The techniques here apply directly to those broader patio furniture builds too, legs, aprons, slats, and frames follow the same logic whether you're making a chair or a bench. If you want a different take, you can also learn how to make patio furniture out of pallets using the same outdoor finishing and joinery principles patio furniture builds too.
Cut list, tools, and joinery methods for strong outdoor chairs
A practical cut list template
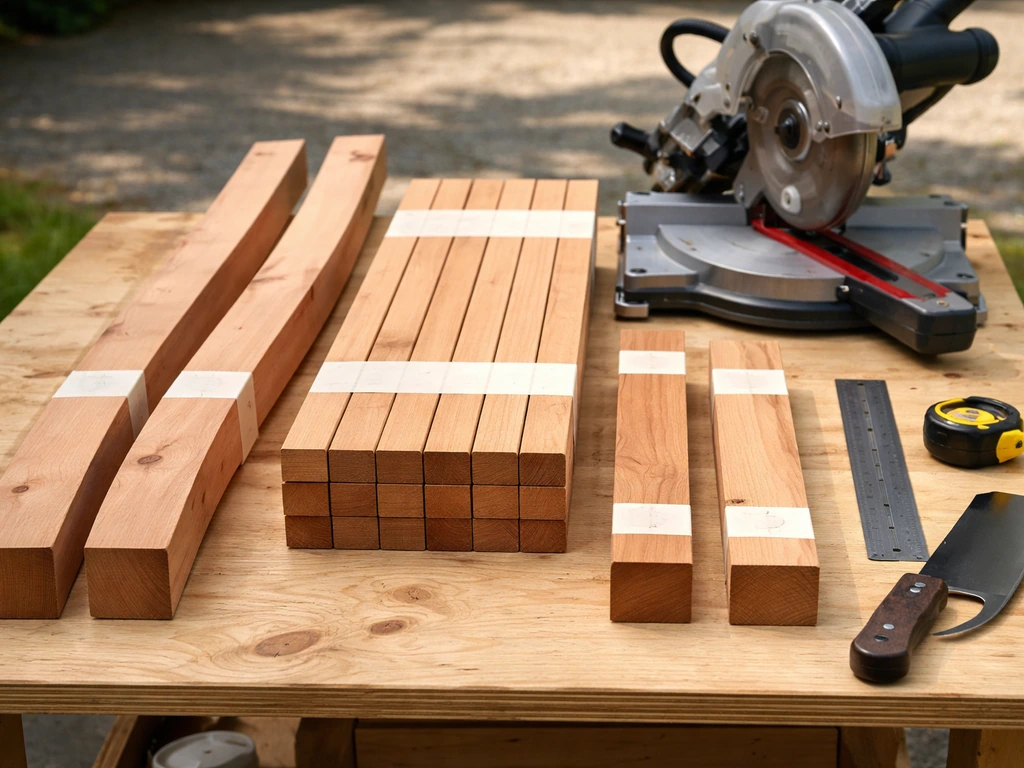
Here's a working cut list for a simple slatted cedar patio chair, adapted from proven Adirondack and modern garden chair plans. One example is Lowe’s Adirondak Chair Project Diagram, which provides cedar stock dimensions and part thickness/width details for a structured outdoor cut list blank" rel="noopener noreferrer">working cut list for a simple slatted cedar patio chair. Most parts come from 5/4x6 or 2x4 cedar boards. Grab four 8-foot cedar boards and you'll have more than enough material with offcuts to spare.
| Part | Qty | Dimensions (T x W x L) | Notes |
|---|---|---|---|
| Back legs | 2 | 1.5" x 3.5" x 36" | 2x4 cedar; angled at top |
| Front legs | 2 | 1.5" x 3.5" x 18" | 2x4 cedar |
| Seat side rails (aprons) | 2 | 1.5" x 3.5" x 20" | 2x4 cedar |
| Front/back aprons | 2 | 1.5" x 3.5" x 22" | 2x4 cedar |
| Seat slats | 5 | 0.75" x 5.5" x 22" | 5/4x6 cedar; spaced 1/8"–1/4" |
| Back slats | 4 | 0.75" x 3.5" x 23.75" | 5/4x4 cedar |
| Back rail (top) | 1 | 1.5" x 3.5" x 22" | 2x4 cedar |
| Back rail (bottom) | 1 | 1.5" x 3.5" x 22" | 2x4 cedar |
| Armrests | 2 | 0.75" x 5.5" x 26" | 5/4x6 cedar; shaped to preference |
Tools you'll actually need
- Miter saw or circular saw (for crosscuts and angle cuts on back legs)
- Jigsaw (for shaping armrests and back leg curves — optional but nice)
- Power drill and driver bits
- Pocket-hole jig (Kreg or similar — makes joinery much easier for beginners)
- Tape measure, speed square, and pencil
- Clamps (at least 4 bar or pipe clamps)
- Sander (orbital) and sandpaper from 80 to 220 grit
- Safety glasses, hearing protection, and a dust mask
Joinery: what actually holds the chair together
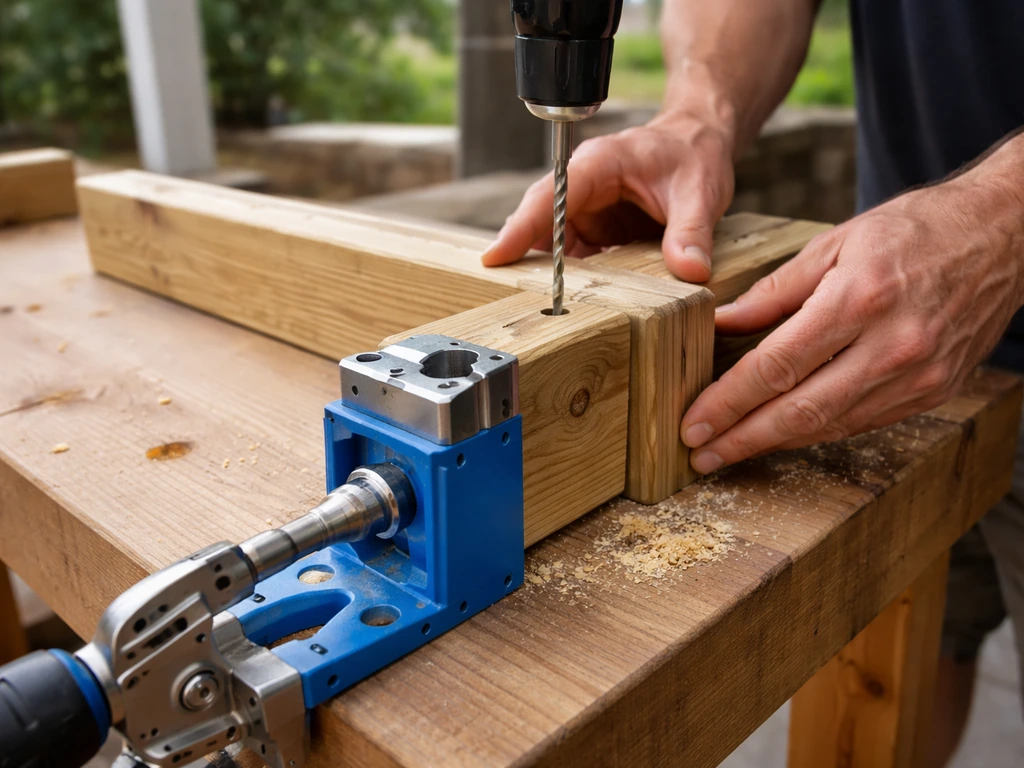
For a patio chair, you have three realistic joinery options: pocket-hole screws, mortise-and-tenon joints, or bolted connections. Pocket-hole joinery (using a jig like a Kreg) is the fastest and most beginner-friendly. Kreg's Blue-Kote pocket screws have three anti-corrosion layers and are designed for outdoor use, which makes them a solid choice here. When drilling, use the jig's depth collar and drill until the collar contacts the depth stop, this keeps every pocket consistent and your joints flush.
Mortise-and-tenon is the strongest traditional option. Testing from Wood Magazine found that outdoor mortise-and-tenon joints glued with type-2 (water-resistant) glue outperformed most other outdoor joinery methods. The trade-off is time and skill, cutting clean tenons takes practice. If you go this route, use a type-2 or type-3 exterior-rated wood glue, not standard interior yellow glue.
For structural connections like leg-to-apron joints, you can also use 3/8-inch carriage bolts with stainless steel washers and nuts. These are especially useful if you want the chair to be partially disassembled for storage. Whatever fastener you choose, stainless steel (304 or 316 grade) is the right call for longevity, particularly if you're using pressure-treated lumber.
Step-by-step build process for a wooden patio chair
- Cut all parts to length first. Work from your cut list and label every piece with masking tape and a marker. Check each piece against your measurements before moving on. This sounds tedious but it saves a lot of frustration.
- Build the two side frames. Each side frame consists of one back leg, one front leg, and one side apron (rail). Connect the apron to the legs using pocket screws or carriage bolts. Clamp the frame flat on your workbench while the joint sets. Make sure the side apron is level and the legs are plumb.
- Connect the two side frames with front and back aprons. This creates the base box of the chair. Use pocket screws driven through the aprons into the legs. Check for square immediately: measure corner to corner diagonally in both directions — the measurements should match. If they don't, shift a clamp diagonally across the longer measurement to rack the frame square.
- Install the seat slats. Space them 1/8 to 1/4 inch apart to allow for drainage and seasonal wood movement. A scrap of 1/4-inch plywood or a few coins make good spacers. Pre-drill pilot holes before driving screws to prevent splitting — this is especially important near the ends of cedar boards.
- Build the chair back. Attach the bottom back rail to the back legs first, then add the top rail. Slip the back slats into place and space them evenly, using the same 1/8 to 1/4-inch gap as the seat slats. Screw or pocket-screw each slat to both rails.
- Attach the armrests. Armrests typically rest on the front legs and are supported by the back legs or a short bracket. Clamp them in place, check that they're level and at a comfortable height (typically 7 to 8 inches above the seat surface), then fasten from below.
- Do a full dry-fit check before any finish goes on. Sit in the chair. Rock it. Push the back. If anything moves, re-drive the fasteners or add a pocket screw in a problem joint. It's much easier to fix now than after finishing.
Finishing for weather resistance (sand, seal, stain or paint)
Finishing is where a lot of DIYers rush, and the chair pays for it within a year. Don't do that. A good outdoor finish takes time but it's the single biggest factor in how long your chair lasts.
Sand before you finish
Start with 80-grit to knock down any mill marks or rough spots, move to 120-grit, then finish with 180 to 220-grit. Sand with the grain. After the final pass, wipe the entire chair down with a tack cloth or a damp rag to pull up dust. Let it dry fully before applying any finish.
Choosing your outdoor finish
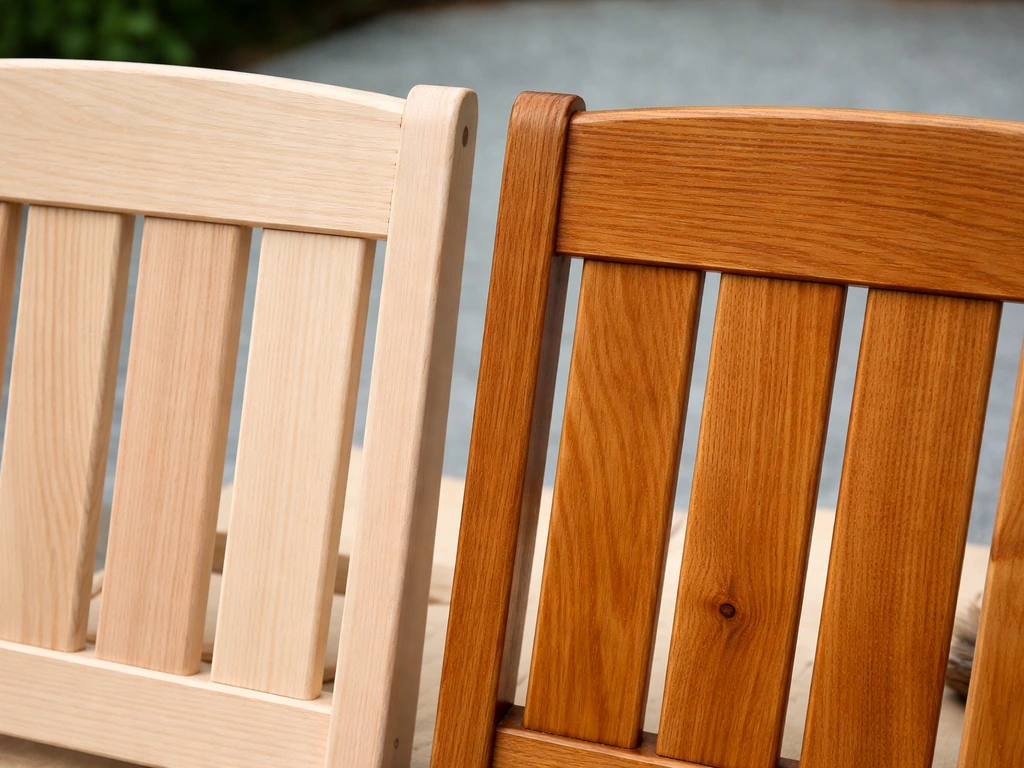
You have two broad categories to choose from: penetrating finishes (oils, penetrating stains) and film-forming finishes (spar urethane, exterior varnish, paint). Penetrating finishes soak into the wood and are easier to maintain, when they wear, you clean and recoat rather than strip and sand. Film-forming finishes sit on top and provide a harder barrier, but when they fail they peel, and peeling means more prep work at recoat time.
For cedar patio chairs, a penetrating exterior oil or semi-transparent oil-based stain is the most practical choice. Products like exterior penetrating oils (such as General Finishes Outdoor Oil) need a recoat window of at least 36 hours between coats, don't rush this. For a semi-covered patio, plan to recoat once per year. That annual coat is your maintenance interval and keeps the wood from going gray and drying out.
If you prefer spar urethane (a film-forming topcoat), apply thin coats and wait at least 12 hours between each. Lightly sand with 220 to 320-grit paper between coats for adhesion. Three coats is the minimum for outdoor exposure. Spar urethane is more durable on high-traffic surfaces but harder to touch up when it eventually chips or peels.
Water-based exterior stain is the fastest option, it dries in about 3 to 4 hours and can be recoated within 24 to 48 hours for full cure. Oil-based stain takes 12 to 24 hours to dry and even longer to fully cure. Both work, but water-based is more forgiving if you're working on a tight schedule or in variable weather.
One thing to avoid: products marketed as 'teak oil' on any species. Despite the name, these products tend to peel over time and can lock you into a full strip-and-sand before your next recoat. Use products rated specifically for exterior wood instead.
Cushions, slats, and comfort details
If you're building a bare slatted chair, the spacing between seat slats matters more than most people realize. A gap of 1/8 to 1/4 inch between slats lets rainwater drain and gives wood room to expand in humid weather without cupping or bowing. It also just feels better to sit on than a solid panel, especially in summer heat.
If you're adding cushions, measure your finished seat from front to back and side to side before ordering. Measure along the actual seating surface, not the frame. Most custom cushion makers work in half-inch increments for seat width and depth, and one-inch increments for thickness (with typical outdoor cushion thickness ranging from 2 to 6 inches). Build your seat to those increments from the start and you'll get a cushion that fits cleanly without overhanging or shifting.
For comfort without a cushion, a slight forward tilt on the back slats (angled 5 to 10 degrees back from vertical) and a contoured seat edge (rounded or chamfered on the front rail) make a big difference. Running a router with a roundover bit or just heavy sanding on that front edge eliminates the pressure point behind the knees that makes slatted chairs uncomfortable after 20 minutes.
Assembly checks, maintenance, and troubleshooting common issues
Before you declare it done
Once the finish is fully cured, do a proper assembly check. Set the chair on a known flat surface (your garage floor works) and press down on each corner. All four legs should contact the surface. If one rocks, find the long leg and shave it down with a hand plane or belt sander until all four feet are level. Don't skip this, a wobbly chair on a patio just gets worse over time.
Check every joint by applying moderate hand pressure in multiple directions. If a joint creaks or gives, add a pocket screw or re-drive any screws that aren't fully seated. Check the diagonal measurements of the seat frame one more time to confirm it hasn't racked during finishing.
Troubleshooting the most common problems
| Problem | Likely Cause | Fix |
|---|---|---|
| Chair wobbles | Uneven leg lengths or racked frame | Check diagonals; trim the long leg; add a diagonal brace if needed |
| Joint loosens after first season | Hardware corrosion or wood shrinkage | Replace fasteners with 304/316 stainless; re-tighten sequentially |
| Slats cupping or bowing | Moisture content too high at install or no spacing gap | Re-space slats with 1/8" gap; let wood acclimate before building |
| Finish peeling | Film-forming finish over oily wood, or coats too thick | Strip and sand; switch to penetrating oil; apply thin coats |
| Wood going gray | UV exposure and finish wear | Sand lightly, clean, and apply fresh coat of exterior oil |
| Rust streaks below fasteners | Non-compatible hardware with PT lumber or salt air | Replace with stainless or ACQ-compatible screws; seal countersink holes |
Ongoing maintenance to make the chair last
Wooden patio chairs need attention once a year, not once in a lifetime. Every spring, inspect every fastener for rust or looseness and tighten or replace as needed. Look for early signs of rot at the joints where water can pool, the bottom of legs and where slats meet rails are the first places to check. Clean the wood surface with a mild wood cleaner, let it dry fully, and apply a fresh coat of your chosen exterior finish. If you're in a semi-covered outdoor space, annual recoating is the right interval. Fully exposed chairs may need a touch-up every 6 to 9 months depending on your climate.
If you're building more than one chair and want to expand into a full set, the same wood, joinery, and finishing approach scales directly to a bench, a side table, or a full dining set. These same planning and build principles also work when you’re figuring out how to build patio furniture like benches, loungers, and dining chairs. If you want to make a patio set instead of just one chair, you can use the same wood, joinery, and finish so every piece matches and lasts outdoors. The core techniques stay consistent whether you're making one chair or a whole furniture arrangement, which makes this build a genuinely useful foundation for bigger projects down the road.
FAQ
How do I prevent screws from loosening outdoors on a wooden patio chair?
If your boards are thicker than your hardware expects, pre-drill deeper pilot holes and use hardware that matches the wood. For pocket-hole builds, set the collar correctly and do not reuse screws that were stripped or backed out, because weakened pocket holes will loosen quickly outdoors.
Can I glue the slats down instead of spacing them?
Yes, but only if you keep expansion in mind. Use the same wood species for all slats, leave 1/8 to 1/4 inch gaps, and avoid gluing slats to the frame. A glued slat can swell, buckle, and force the chair into a permanent wobble.
What if I already purchased zinc screws for pressure-treated lumber?
Do not install PT lumber with regular zinc fasteners. If you already bought zinc screws, return them if possible. For a working chair, switch to stainless steel hardware compatible with ACQ, and consider replacing any joints that were assembled with the wrong fasteners.
How do I know when it is safe to apply a second coat of outdoor oil or stain?
For a penetrating oil or stain, the key is the wood reaching dryness and temperature before recoating. If the surface feels tacky, shows cloudy spots, or you see uneven darkening, wait longer than the minimum window. Applying on damp wood can trap moisture and create blotches that are hard to fix.
How should I apply oil-based penetrating finishes to avoid sticky or uneven spots?
Plan to wipe off excess after the soak time listed on the product label. Thick, pooled finish can remain soft and attract dirt, and it can also create uneven sheen that makes future touch-ups difficult.
What should I do if my cedar boards cup or warp after cutting?
If you see cupping or twisting during dry fitting, stop and let the boards acclimate in the shade outside for a few days. Also check that you are using kiln-dried stock where possible, and orient boards so grain direction and cup direction match the chair layout instead of fighting them.
Should I do the final wobble check before or after finishing?
A lightweight chair that feels solid in the garage can still wobble on a patio. Recheck after the first exterior finish coat because wood movement after sealing can change leg contact. If one leg still rocks, shave the long leg again, do not try to “shim” with random thickness scrap.
How do I measure for cushions so they do not interfere with the chair’s back or fit poorly?
For cushions, measure from the seating surface to where your backrest contacts or supports you, then include clearance for movement when you sit down. If your cushion will be thicker than 4 inches, verify your seat height still lands in range and consider a slightly steeper back angle to keep posture comfortable.
If I use carriage bolts, how do I keep the joints tight and the chair from rocking?
Use stainless hardware, and pre-drill clean pilot holes to reduce splitting. Also keep bolt heads and washers fully seated, if a bolt is slightly proud it can create wobble and abrade finish at touch points.
How can I confirm slat spacing will still be comfortable after seasonal wood movement?
In most cases, a spacer test with scrap wood will save you. Cut a small sample rail with the same thickness and reproduce your slat spacing, then simulate humid conditions (or compare with a second dry-fit) to confirm the gaps stay functional and the chair does not feel stiff.
What is the correct way to touch up a chair mid-season without stripping it?
Yes. When you recoat annually, clean first and lightly de-gloss any areas that are rough or peeling. If you use film-forming products, do a spot-sand on chips and feather edges before topcoating, otherwise the next layer will not bond and will peel.