You can absolutely build your own patio furniture from scratch, even as a beginner, and end up with something that lasts longer than most store-bought pieces. The basic process is this: pick a simple project (a bench, a side table, or a lounge chair), measure your space so the piece actually fits, cut and join your lumber with the right weather-resistant fasteners, then seal and finish it properly before it ever sees rain. Skipping any one of those steps is where things go wrong. This guide walks you through every step in order so you don't have to learn the hard way.
How to Make Patio Furniture: Build Outdoor Pieces Step by Step

Maren Grady
15 May 2026
Pick a project and measure your space first
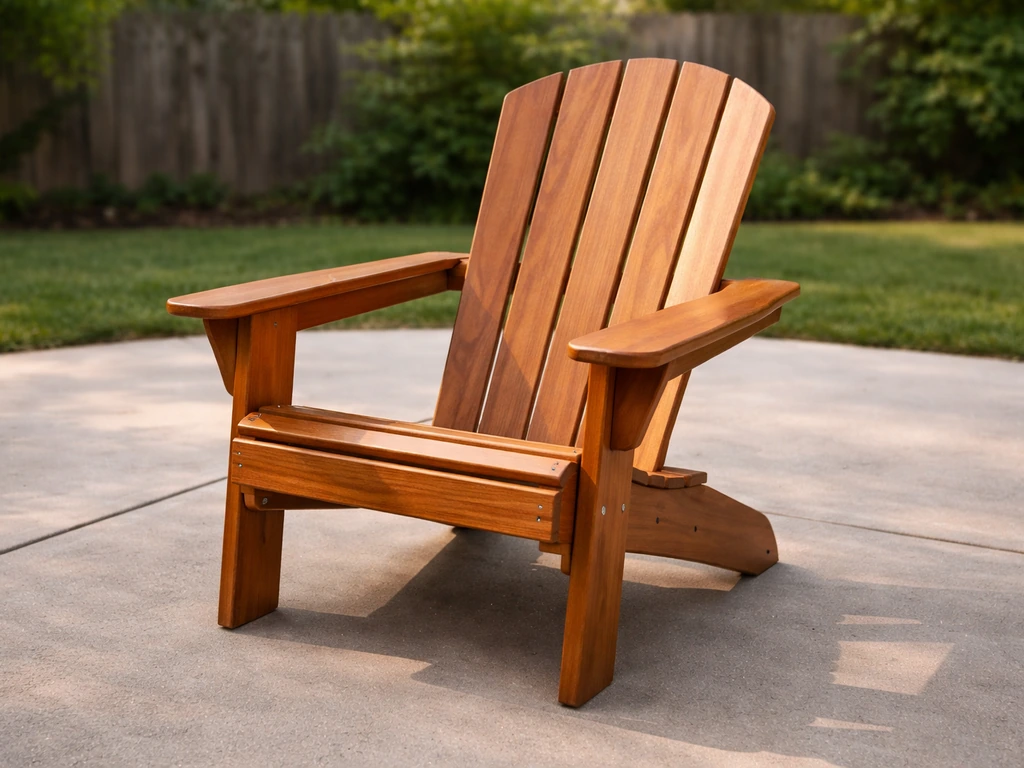
Before you buy a single board, decide what you're actually building. For first-timers, a simple garden bench or a small outdoor side table are the best starting points. They involve straight cuts, basic joinery, and forgiving proportions. If you want to go bigger, a full patio chair or dining table is very doable but takes more planning.
There are also sibling projects worth knowing about, like building a patio set as a matched collection, making wooden patio chairs with angled backs, or building patio furniture out of pallets if budget is the main driver. If you want more than one matching piece, use the same weatherproofing and build steps as you work through how to make a patio set.
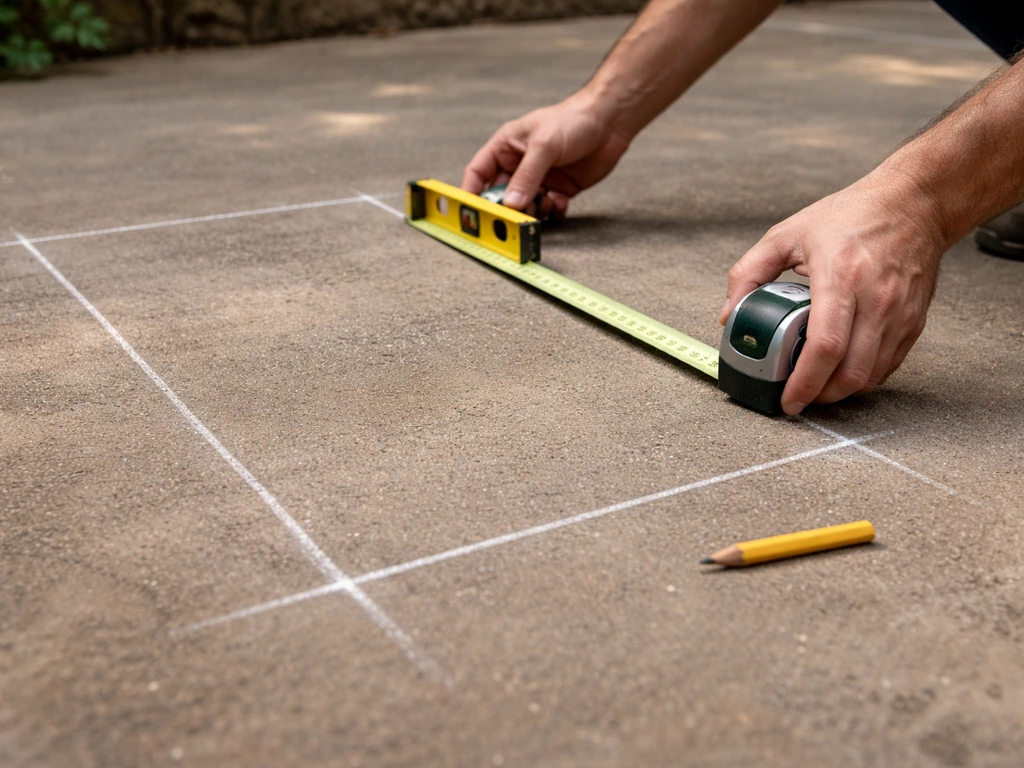
Once you've picked a project, measure the space before you do anything else. This sounds obvious but it's the step most people skip, and then the furniture ends up crowding the patio. Here's how to think about it: a standard bench seat sits 18 to 20 inches off the ground, with a seat depth of around 15 to 17 inches for comfort. DIY patio chairs often target a 16-inch seat height.
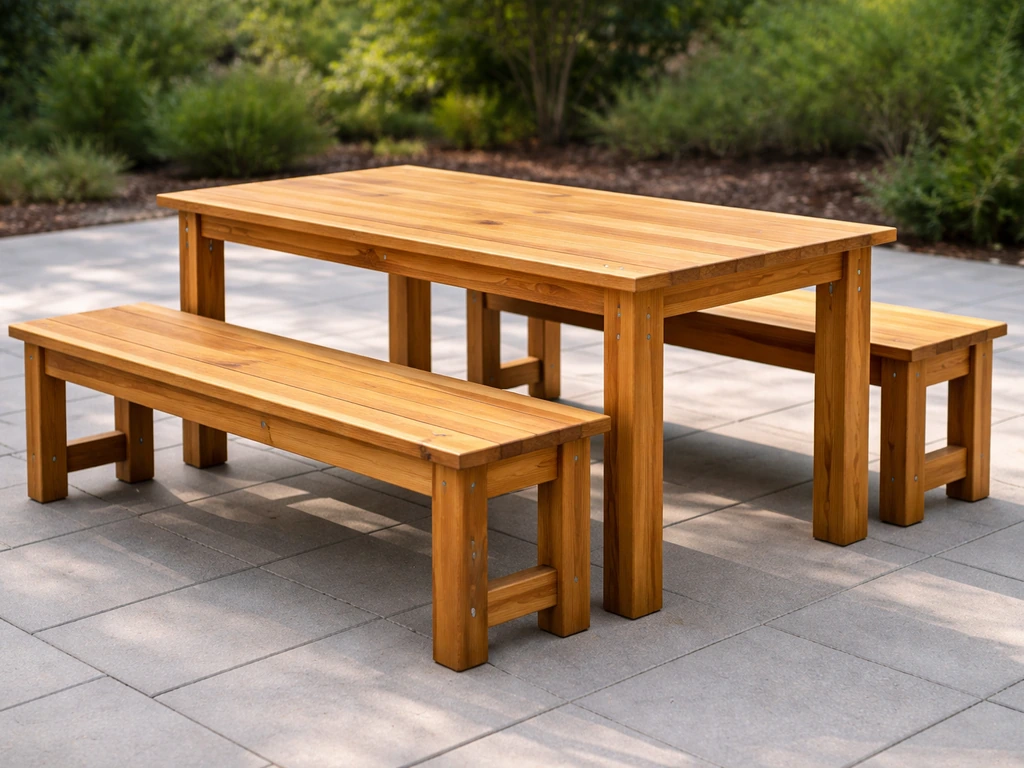
Once you get your measurements dialed in, the same weatherproof materials, fasteners, and sealing steps are what you’ll use when you learn how to make wooden patio chairs. For tables, plan at least 36 to 42 inches of walkway clearance behind any chair so people can move around without shuffling sideways, and leave 18 to 24 inches of chair pull-back room in front of the table.
Even around a small side table, keep at least 18 inches of clearance on all sides so it doesn't feel jammed in.
A trick I use: cut pieces of cardboard to the footprint of the planned piece and lay them on the patio. Walk around them, pretend to pull out chairs, and see if it actually flows. It takes five minutes and saves a lot of regret. Measure twice, cut once is the cliche because it's true.
Choose weatherproof materials and supplies
This is the most important decision you'll make for the whole project, because the wrong material means rot, warping, or rust within a couple of seasons. For wood, you've got three solid options for outdoor use: pressure-treated pine, cedar, and teak. Pressure-treated pine is the cheapest and most available at any big-box store. Cedar is naturally rot-resistant, lighter, and easier to work with, and it smells great. Teak is the gold standard for outdoor durability but costs significantly more. For a first build, pressure-treated pine or cedar are the practical choices.
| Material | Durability | Cost (approx.) | Ease of Working | Best For |
|---|---|---|---|---|
| Pressure-treated pine | Excellent (chemically protected) | $ (lowest) | Moderate (heavy, can split) | Benches, tables, structural frames |
| Cedar | Very good (naturally rot-resistant) | $$ (mid-range) | Easy (light, smooth) | Chairs, benches, decorative pieces |
| Teak | Outstanding (naturally oily) | $$$$ (premium) | Easy but expensive to waste | Long-term investment pieces |
| Redwood | Very good (naturally resistant) | $$$ (regional availability) | Easy | West Coast builds, visual showpieces |
| Reclaimed pallet wood | Variable (depends on source) | $ (near free) | Moderate (inconsistent quality) | Budget builds, rustic style |
One thing most beginner guides skip: if you use pressure-treated lumber, you need to be careful about your fasteners. The chemicals used to treat modern lumber, specifically ACQ and CA treatments, contain copper compounds that aggressively corrode standard zinc screws and most galvanized hardware. The right call is stainless steel screws (grade 304 or 316) or hot-dipped galvanized fasteners at minimum. Regular zinc or electroplated screws will start corroding within a year and can stain your wood orange. Spend the extra few dollars on stainless. It's worth it every time.
Tools, safety, and a simple shopping list
Tools you'll actually need
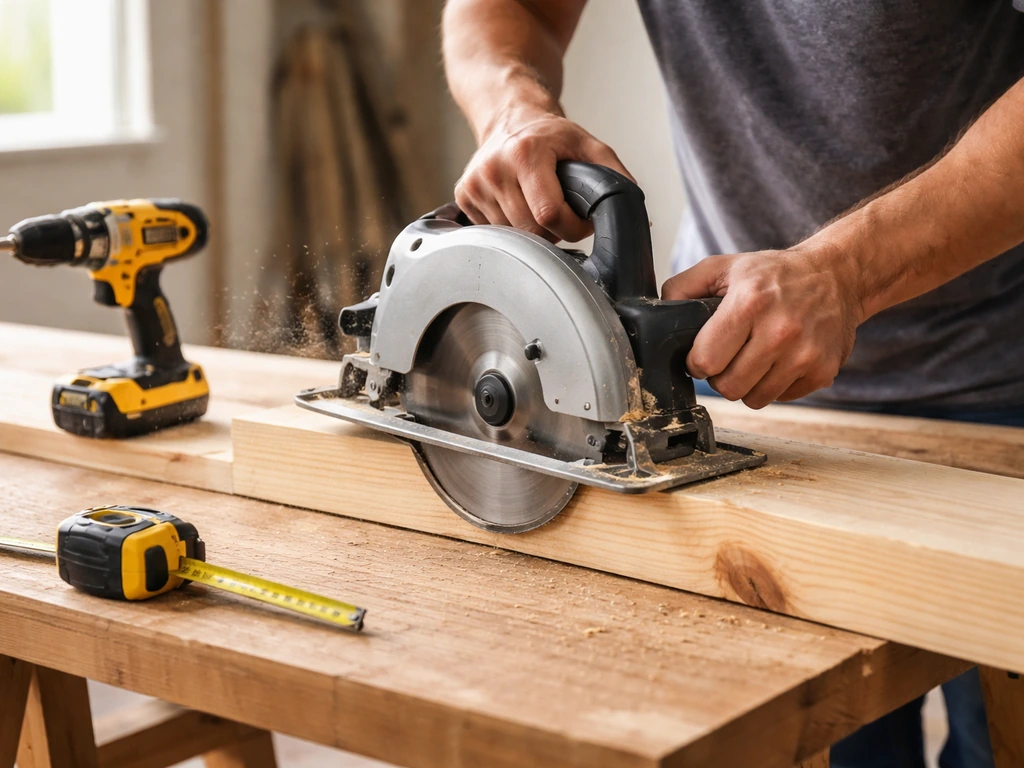
- Circular saw (with guards intact and functional — never bypass or remove them)
- Drill/driver with bits (a basic cordless drill is fine for most builds)
- Tape measure and a carpenter's square
- Clamps (at least 4, ideally 6 — they're your extra hands)
- Sandpaper or orbital sander (80-grit and 120-grit)
- Safety glasses, hearing protection, and work gloves
- Pencil and a marking knife for accurate layout lines
- Speed square for marking 90-degree cuts
On safety: OSHA woodworking standards (1926.304) require that circular saw guards cover the blade to the depth of the teeth, and they exist for a real reason. Never remove the lower guard on a circular saw, even briefly. Always wear eye protection when cutting, and hearing protection if you're making more than a few cuts, because sustained noise from power saws causes real hearing damage over time. Keep your workspace clear, make sure lumber is secured before cutting, and don't rush. I've seen people take shortcuts with guards and it never ends well.
Basic shopping list for a simple bench or table
- 2x4 or 2x6 pressure-treated or cedar lumber (quantity depends on your plan; a basic bench takes roughly 4 to 6 eight-foot boards)
- 4x4 post stock for legs (if building a table or heavy-duty bench)
- Stainless steel exterior screws, 2.5-inch and 3-inch lengths
- Wood glue rated for exterior use (Titebond III or similar)
- Exterior wood sealer or penetrating oil stain
- Sandpaper: 80-grit and 120-grit
- Optional: pocket-hole jig (makes cleaner, stronger joints with minimal experience)
Step-by-step build instructions
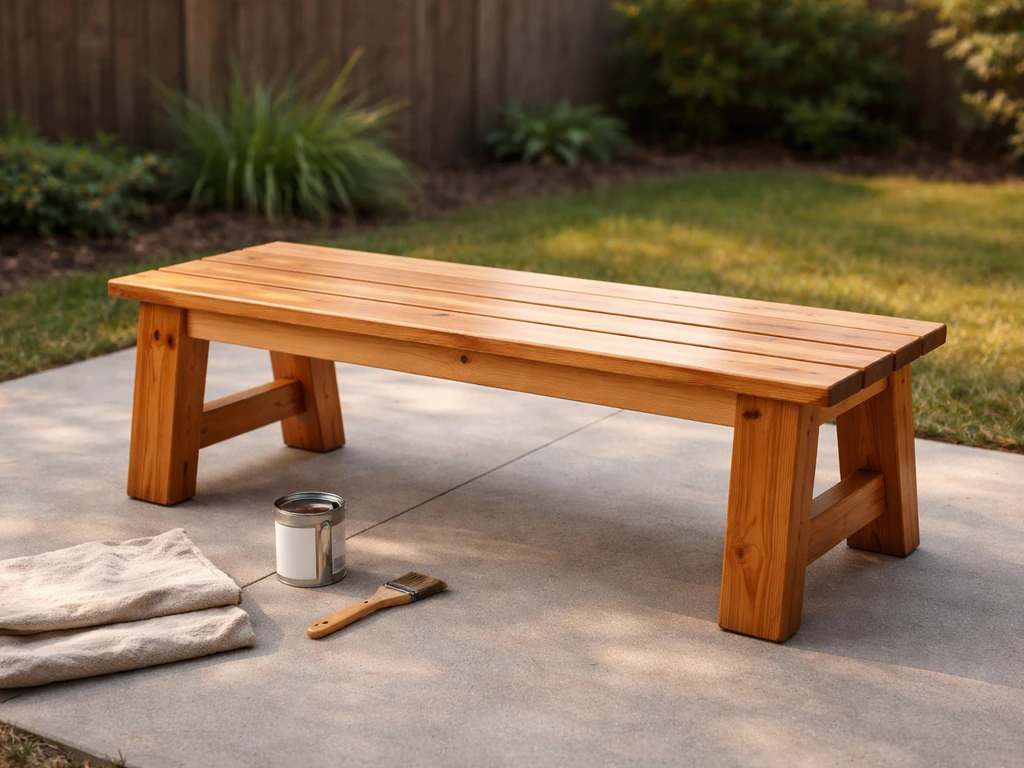
I'll walk through building a basic garden bench here because it's the most beginner-friendly full piece of patio furniture you can tackle. The same principles (frame first, surface second, sand and finish last) apply to chairs, side tables, and small dining tables. Once you understand the logic, scaling up or adapting is much easier.
Step 1: Cut your pieces to length
A simple bench design uses two side frames connected by stretchers, with seat boards running across the top. For a standard 6-foot bench that seats three adults comfortably, cut your lumber like this: two seat rails at 72 inches (the full length), four legs at 17.5 inches (this gives you an 18-inch seat height after accounting for seat board thickness), two end stretchers at 15 inches (the width of the bench), and four seat boards at 72 inches. Use a speed square to mark a perfect 90-degree line before every cut. Sloppy cuts create gaps at joints, which trap water, which leads to rot. Take your time here.
Step 2: Build the side frames
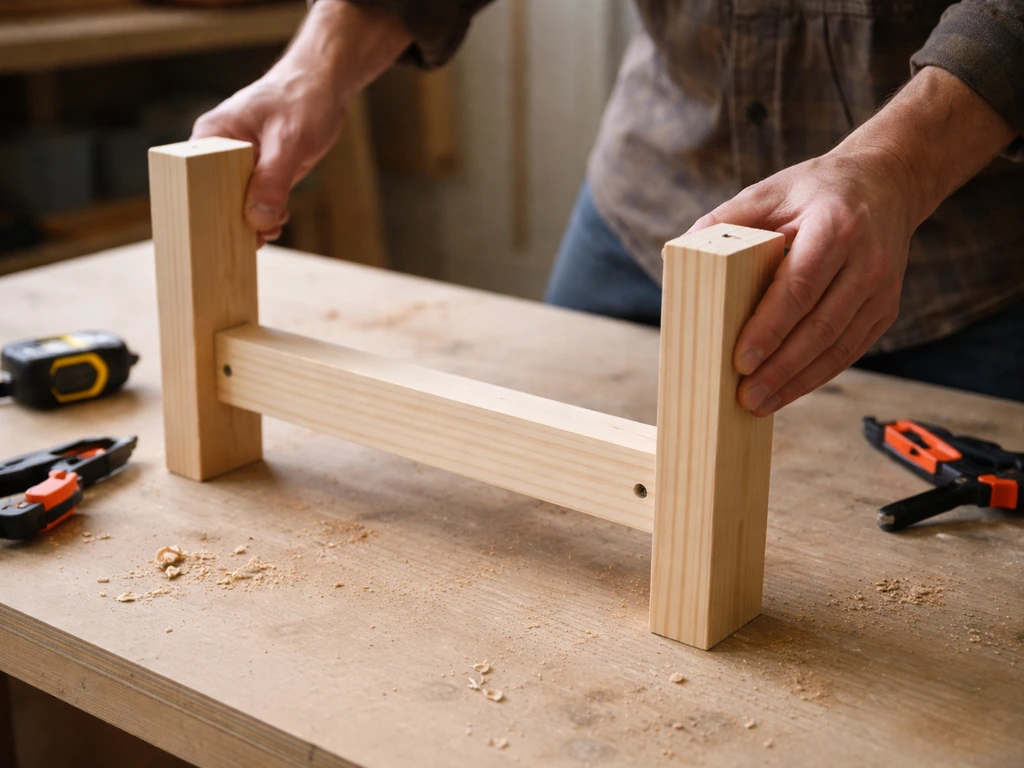
Take two legs and one end stretcher and lay them flat on your work surface. The stretcher connects the two legs about 3 inches up from the bottom of the legs (not at ground level, because raising it slightly keeps that joint away from standing water). Pre-drill every hole before driving a screw, especially near the ends of boards, because wood splits easily without a pilot hole. Use two 3-inch stainless screws at each joint, plus a bead of exterior wood glue. Clamp the joint tight while you drive the screws. Repeat for the second side frame. Let the glue set for at least 30 minutes before handling.
Step 3: Connect the frames with seat rails
Stand both side frames upright and connect them at the top with your 72-inch seat rails, one on each side of the leg tops. Check for square with your carpenter's square before driving any screws. If it's not square, it will wobble forever, and no amount of tightening will fix a frame that was assembled crooked. Clamp everything in position, verify it's square, then fasten with two 3-inch stainless screws per joint with glue. This is your main frame and it needs to be solid.
Step 4: Add the seat boards

Lay your seat boards across the top of the frame, spacing them about 1/4 inch apart (a scrap piece of plywood or a large coin works as a consistent spacer). That gap allows water to drain rather than pool on the seat surface. Fasten each board with two stainless screws per rail crossing point, pre-drilling each hole. Don't overtighten to the point of crushing the wood fiber. Drive until snug and the head sits just barely below the surface.
Step 5: Sand everything smooth
Start with 80-grit sandpaper to knock down any rough spots, splinters, or uneven edges, then follow up with 120-grit for a smoother surface. Round over every corner and edge slightly. Sharp square corners get hit, chip, and expose raw wood to moisture. Pay extra attention to the top edges of seat boards where people will sit, and to the legs near the bottom. All that exposed end grain at the bottom of the legs is a major water-entry point and needs special attention in the finishing step.
Weatherproofing and finishing for outdoor durability
Here's where most DIY patio furniture fails long-term: people build it, leave it unfinished or apply a quick coat of paint, and wonder why it's cracking or rotting in two seasons. Good finishing is a separate project in its own right and deserves real attention.
If you used pressure-treated lumber, you need to let it dry before finishing. Freshly treated wood is often still wet from the treatment process, and a sealer applied to wet wood won't bond or penetrate correctly. Most guidance suggests waiting 6 to 12 months before applying a finish to new pressure-treated lumber, or you can test it: sprinkle water on the surface. If it beads up, it's not ready. If it soaks in, you're good to go.
For cedar or dried lumber you're finishing right away, a penetrating oil-based exterior stain is usually the best choice for outdoor furniture. Unlike paint or film-forming varnishes, penetrating stains soak into the wood rather than forming a coating on top. That means they don't crack or peel when the wood expands and contracts through seasonal temperature swings. Typical maintenance intervals for oil-based penetrating stains are every 1 to 2 years for furniture in full sun, and up to 2 to 5 years for pieces in covered or shaded areas.
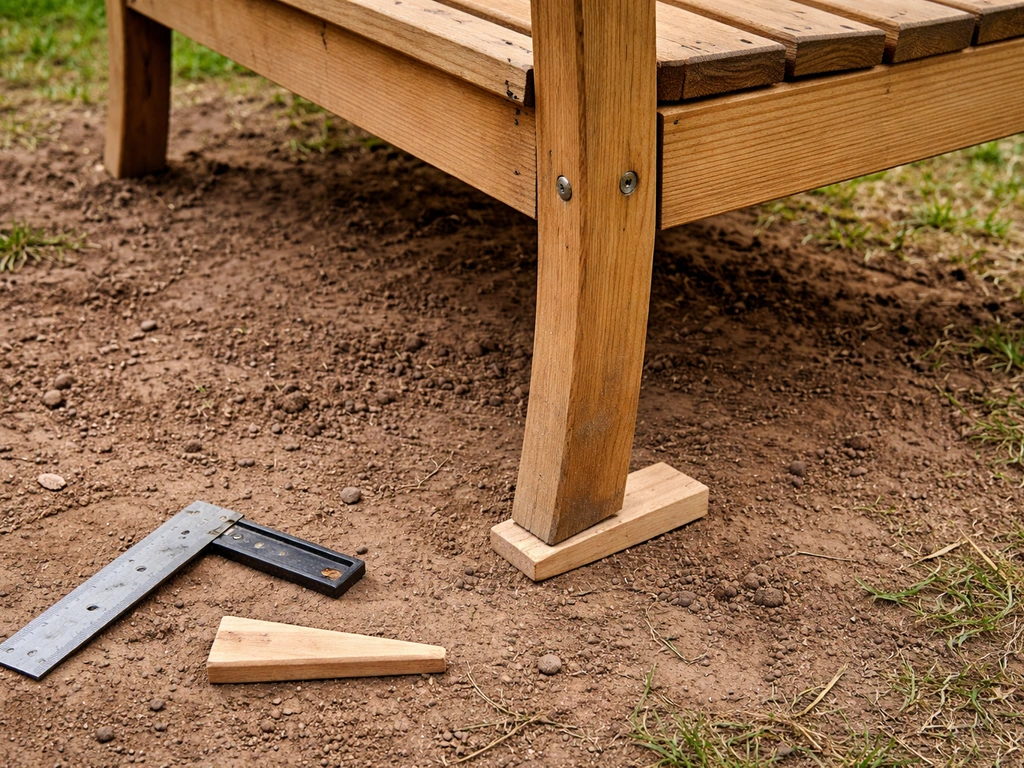
The step most people skip: seal the end grain
The bottom of each leg, where the wood was cut, is pure end grain. End grain acts like a bundle of straws: it wicks water up into the core of the wood much faster than the face or edge grain does. Before your bench ever touches the ground, apply two or three coats of epoxy sealer or a dedicated end-grain sealer to the bottom of every leg. Let each coat absorb fully before adding the next. This one step can add years to the life of your furniture. Also seal the underside of any horizontal surfaces (seat boards, table tops) because those faces don't dry as quickly as the tops and stay damp longer.
For the rest of the piece, apply your penetrating oil stain or exterior finish with a brush, working it into the grain. Most products recommend one to two coats, with a full drying period between coats (commonly 36 hours or more depending on temperature and humidity). Read the label for your specific product. Lightly sand with 220-grit between coats if you want a smoother final result.
Common problems and how to fix them
The bench wobbles
Wobble almost always comes from one of two causes: the frame wasn't assembled square, or the joints have loosened over time. If it was never square to begin with, the fix is to add a diagonal brace. Cut a piece of scrap lumber at an angle and screw it from one corner of the frame to the opposite corner on the inside of the structure. This triangulates the frame and eliminates racking (the side-to-side lean).
If the joints were square but have loosened, tighten all the screws, add a fresh bead of exterior wood glue at the joints if there's any play, and clamp until set. Do a quarterly check on all fasteners since outdoor temperature swings work screws loose over time.
Joints are cracking or separating
Wood moves. In outdoor conditions, it expands when wet and contracts when dry, and joints take the stress of that movement. If you used butt joints (end of one board against the face of another) with only screws, those joints are particularly vulnerable. The fix going forward is to add a second fastener point at each joint (staggered, not in a line, to avoid splitting), use exterior wood glue in every joint at assembly time, and consider upgrading to pocket-hole joinery or half-lap joints on future builds for more glue surface area and mechanical strength.
Signs of rot starting
Rot almost always starts in the same places: the bottom of the legs (end grain touching the ground or pooling water), hidden corners where two pieces meet and trap moisture, and the underside of horizontal surfaces. If you catch it early, when the wood is just slightly soft or discolored, you can stabilize it with a penetrating epoxy consolidant, then build up the area with epoxy filler and re-seal it. If the rot has gone deep and the structural integrity is compromised, that piece needs to be replaced. Don't ignore early rot. It spreads faster than you'd expect.
Fasteners are staining the wood
Orange or black streaks running down from screw holes mean your fasteners are corroding. This happens when non-stainless screws were used in pressure-treated lumber, or when any steel hardware is left unprotected in a wet outdoor environment. The fix is to pull the corroding screws, clean the stain with a wood bleach or oxalic acid solution, let it dry fully, and replace with stainless steel screws. Not hot-dipped galvanized if you're using ACQ or CA treated wood: go full stainless.
Maintenance, seasonal care, and keeping it protected
Building it is half the job. Keeping it in good shape over years is the other half, and it's honestly not that much work if you stay ahead of it.
Annual maintenance routine
- Inspect all joints and fasteners every spring. Tighten anything loose, and re-glue any joints that have developed play.
- Clean the furniture with a mild soap and water solution, scrubbing any mildew or dirt from the grain. Rinse and let it dry completely, at least 48 hours in good weather.
- Check the finish. If water no longer beads on the surface, the protective coating is depleted. Apply a fresh coat of penetrating oil stain or exterior finish. For furniture in full sun, plan on doing this every 1 to 2 years.
- Reapply end-grain sealer to the bottom of the legs every couple of years, or whenever you notice the wood looks dry or is absorbing water quickly.
- Look carefully at hidden joints and corners where water might pool. These are the rot starting points. If any area feels soft, address it immediately.
Covering and storing for winter
If you're covering the furniture in place for winter, use a waterproof cover and make sure the furniture is completely clean and dry before it goes under the cover. Covering damp furniture is one of the most common mistakes people make: it traps moisture, which breeds mildew and starts rot faster than leaving it uncovered. Also look at how your cover sits on the piece. If there are low points where water can pool on top of the cover, that pooling weight and standing water can compress the cover onto the furniture and hold moisture against it. Adjust the cover so water runs off rather than pools.
If you're moving the furniture into storage, elevate it off the ground using small risers or a pallet so air can circulate underneath. Furniture sitting directly on a concrete or dirt floor in a garage or shed stays damp longer and can develop mold on the underside even when everything else looks fine. A few inches of clearance makes a real difference. And one more thing: don't store wooden furniture right next to bare soil or untreated wood piles, where termites can find it easily. Small habits like these are what separate furniture that lasts a decade from furniture that needs replacing every few years.
FAQ
Can I use pallets for outdoor patio furniture without it falling apart quickly?
Yes, but treat it like a different material system. Always seal the parts that contact the ground, and use stainless or hot-dipped galvanized fasteners, not random box-store screws. Before assembly, remove any loose boards, sand off splinters, and replace any pallet sections that smell strongly of chemicals, show mold, or feel punky when pressed.
What should I do if my pressure-treated wood still feels wet when I’m ready to finish?
If the wood is slightly damp, skip sealing and let it dry until the surface feels uniformly dry. The water-drop test helps, but also check the end grain on the legs, it takes longer to dry than the faces. If your wood was pressure-treated recently, don’t try to rush finishes, because products won’t bond well and you will get patchy adhesion.
Is it okay to paint patio furniture instead of using penetrating stain?
Paint is possible, but it is less forgiving than penetrating stain. Paint forms a film that can crack as wood expands and contracts, and cracks become pathways for moisture. If you want color, choose an exterior paint made for trim or siding and do a proper primer plus thin coats, or keep it simple with an oil-based penetrating stain for the best long-term behavior.
What kind of wood glue should I use for outdoor furniture joints?
For outdoors, avoid regular interior wood glue and avoid “construction” glues unless the label explicitly says exterior-rated for wet exposure. Use an exterior wood glue compatible with outdoor weathering, and make sure you clamp long enough for the specific product. Also note that glue is not a replacement for mechanical fasteners, it only helps joint strength and water resistance at the seam.
Do I really need stainless screws, or will galvanized work?
For a bench like the one described, stainless is the safer default. If you choose hot-dipped galvanized, confirm it is compatible with the treated-wood chemistry you used, ACQ and CA treated lumber can still accelerate corrosion in some setups. When in doubt, buy grade 304 or 316 stainless screws to avoid orange staining and early loosening.
Why does my DIY bench feel stable at first but wobble or loosen after rain?
It’s usually a drainage issue or a joint sealing issue. If your bench seat pools water, increase spacing between seat boards, and make sure underside surfaces and all horizontal edges are sealed. If the frame wobbles only after wet weather, re-check square, then tighten joints and add a diagonal brace if needed.
Should patio furniture legs sit directly on concrete, or should I add risers?
Use the feet-and-ground reality test. Place the furniture where it will live, then look for any direct contact points that can trap standing water (especially the leg bottoms and underside of seat rails). If you have a flat concrete slab and no slope, consider small stand-offs or exterior risers to keep airflow and reduce constant moisture contact.
Can I assemble first, then stain and seal later?
Yes, but do it selectively. A sealer or stain applied after assembly is fine for visible faces, however end grain and hidden underside corners are the priority. If a leg bottom was left unsealed during building, you may need to remove hardware or disassemble partially to properly coat that end grain.
How do I know when it’s the right time to apply the next stain coat?
You’ll get the best results if you wait until the wood is dry enough that finishes stop changing from wet to dry in a reasonable time. The water-drop bead test is helpful, but for cedar or other quickly-drying lumber you should also check temperature and humidity, cool or humid conditions can slow drying and cause uneven sheen. If a coat skins over too fast, that can trap solvent and lead to tackiness or poor curing.
What maintenance checks should I do, and when should I reapply finish?
You should inspect it at least a couple of times per season. Look for rust streaks around fasteners, soft or darkened wood near leg bottoms, and any gaps that have opened at joints. Re-stain or re-oil the top surfaces when they start to look dry or the water no longer beads on the grain, not on a calendar date alone.