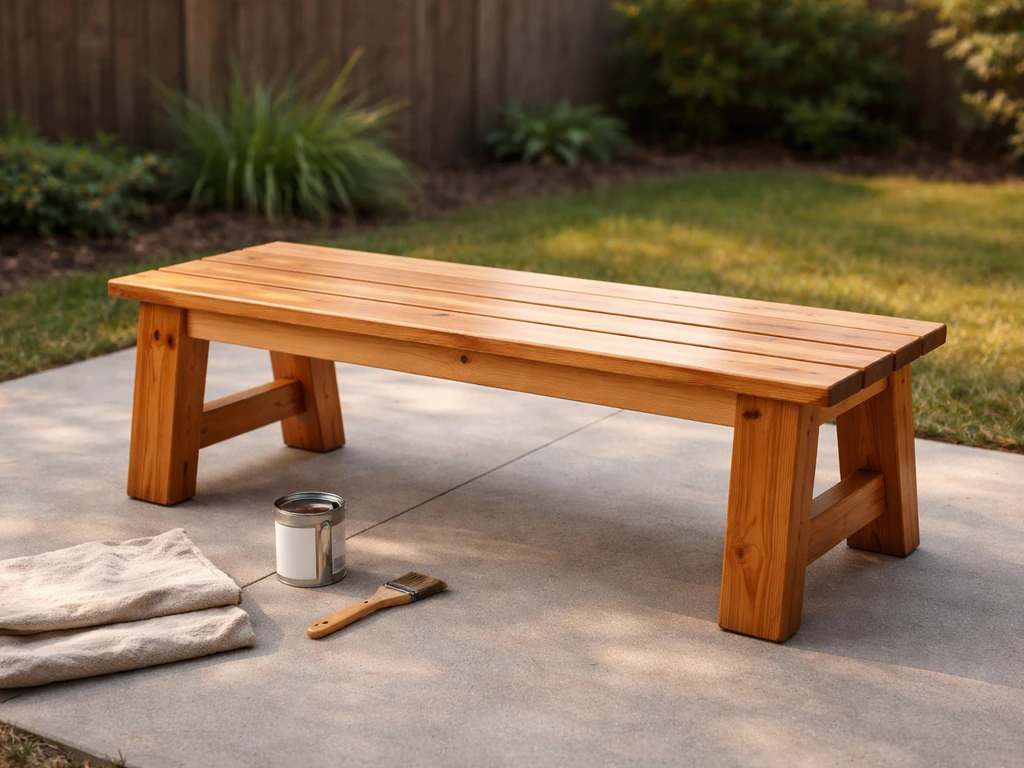
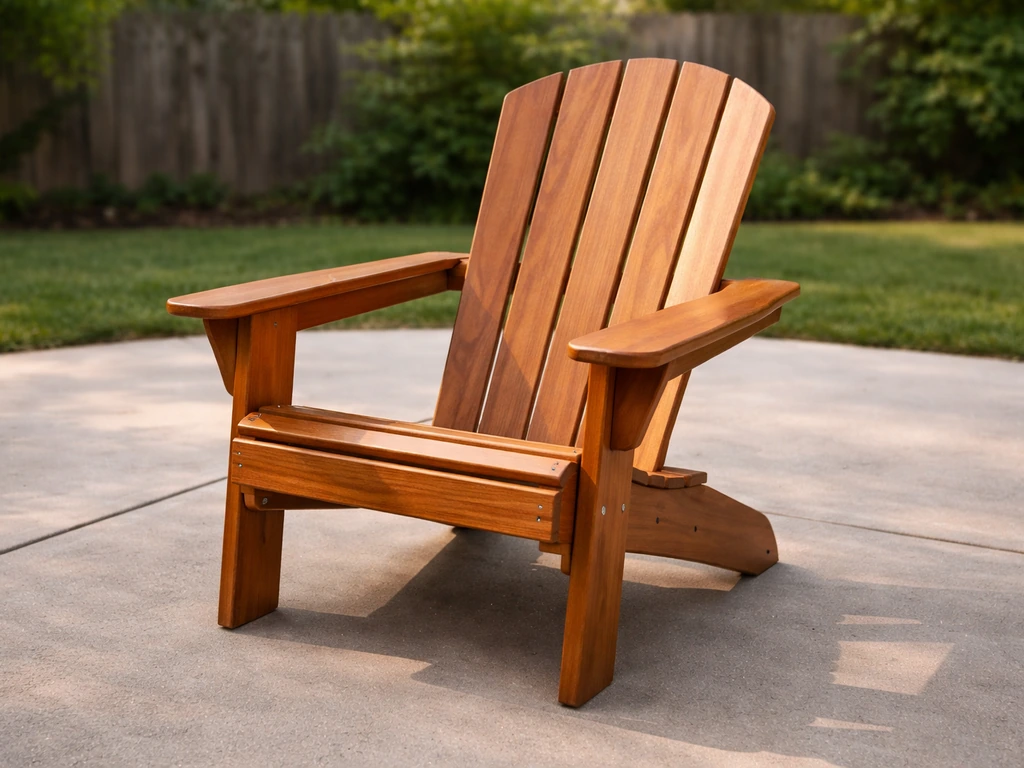
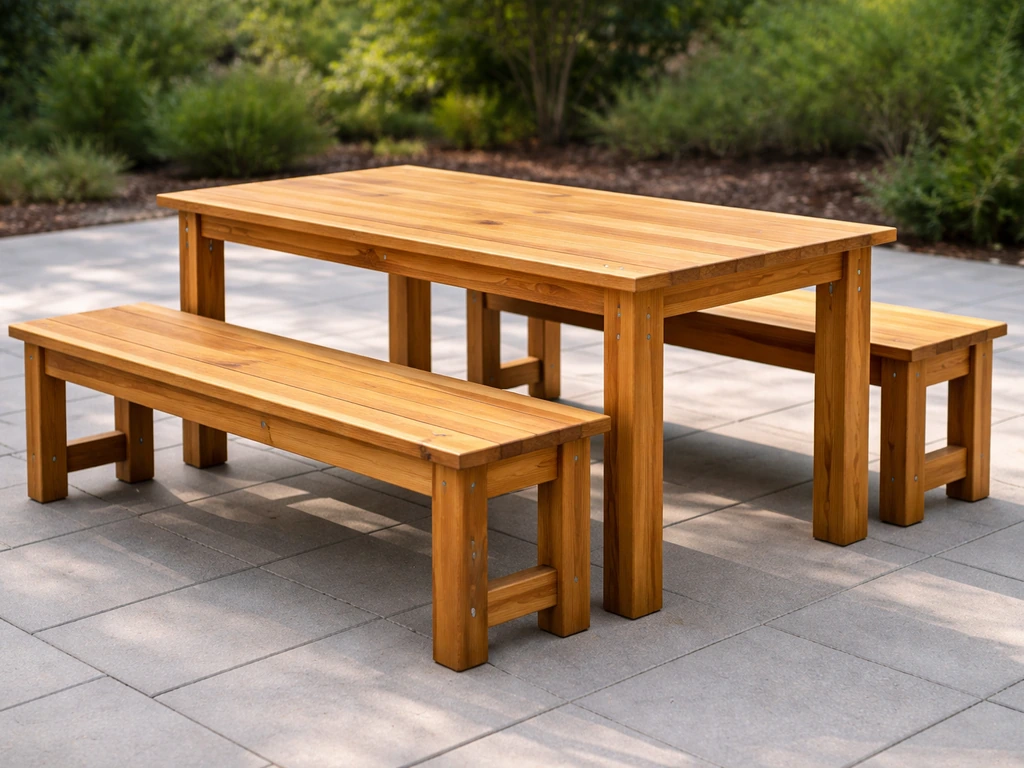
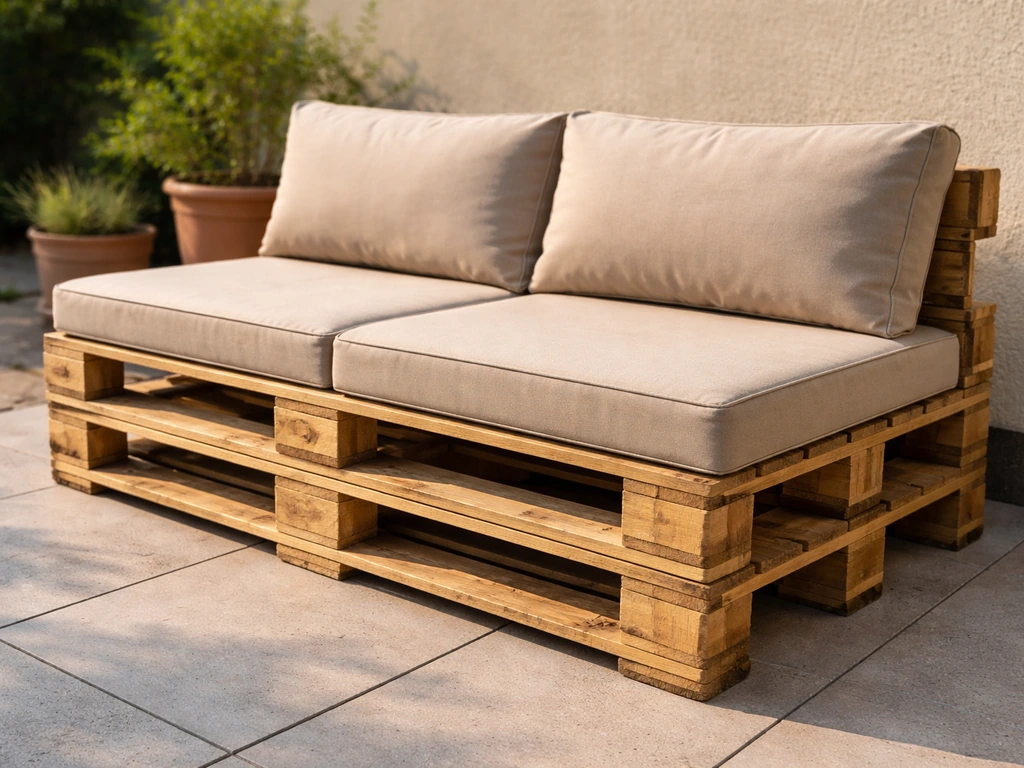
You can absolutely build real, durable patio furniture from wood pallets, a sofa-style bench, a low coffee table, a simple dining bench, for well under $50 in materials if you source pallets for free. The key is picking the right pallets, prepping them properly so the wood is safe and splinter-free, and finishing everything with a weather-resistant sealer or stain before it ever sits outside. Skip any of those steps and you'll end up with wobbly, rotting furniture in a single season. Do them right and you'll have pieces that hold up for years.
How to Make Patio Furniture Out of Pallets: Step-by-Step

Maren Grady
19 May 2026
Choosing the Right Pallet for Outdoor Furniture
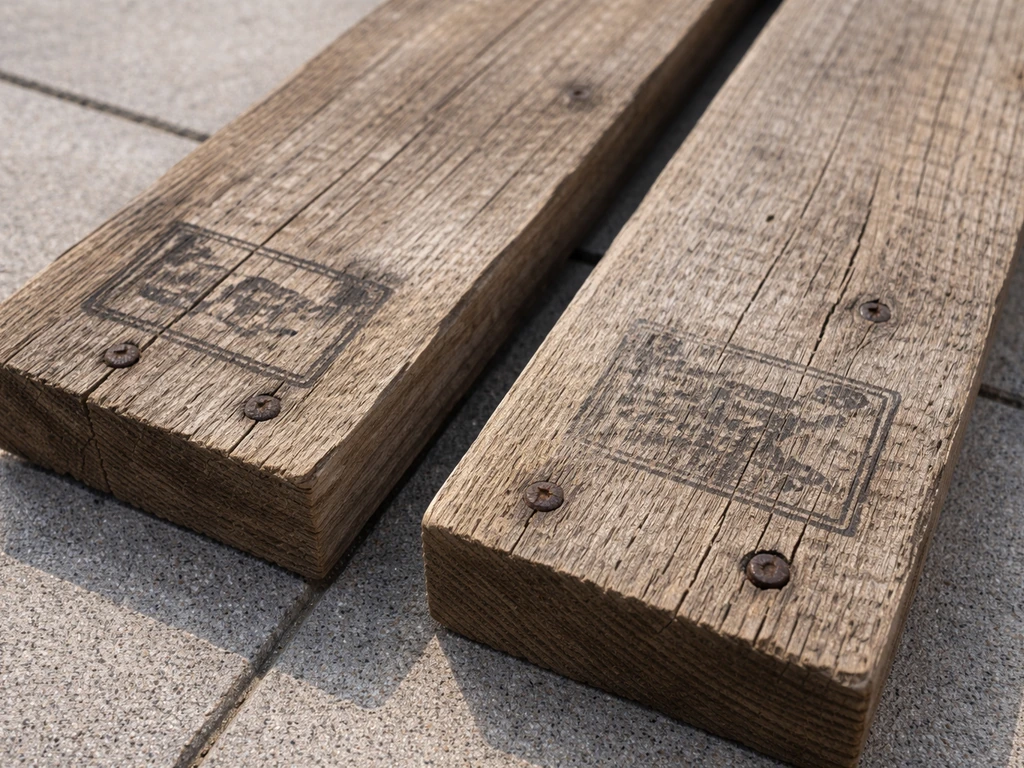
This is the step most beginners completely gloss over, and it's actually the most important one. Not all pallets are safe to use for furniture, especially furniture you're going to sit on, eat next to, or let your kids use outside.
Every pallet that's been used in international shipping is required to carry an IPPC/ISPM 15 compliance stamp, a small block symbol burned or stamped into the side of the pallet. Inside that mark, you'll see a two-letter treatment code. Here's what those codes mean and what to do with each one:
| Code | What It Means | Safe to Use? |
|---|---|---|
| HT | Heat Treated — wood was heated to kill pests, no chemicals added | Yes, this is what you want |
| MB | Methyl Bromide — fumigated with a toxic pesticide | No — avoid completely |
| KD | Kiln Dried — a drying method, not an ISPM 15 treatment on its own | Only if combined with HT |
| No stamp / illegible | Unknown treatment history | No — skip it, don't guess |
Look for the HT stamp and nothing else questionable. Reject any pallet with an MB stamp, any pallet with a missing or unreadable stamp, and any pallet that looks like it's been used to haul chemicals, has mystery stains, or smells off. Lumber yards, garden centers, pet supply stores, and furniture retailers are great sources for clean HT pallets. Hardware stores and grocery warehouses are also worth asking, many give them away for free just to avoid disposal fees.
Beyond the stamp, check the physical condition. You want pallets where the deck boards (the top planks) are at least 3/4 inch thick, relatively even, and not cracked through. Avoid pallets with warped or twisted boards, small bows are workable, but severe warping will cause headaches during assembly. Standard GMA pallets measure 48 x 40 inches and are the most common size you'll find, which makes them ideal because build plans and furniture dimensions usually assume that size.
Tools, Materials, and Safety Before You Start
You don't need a fully equipped workshop. Most pallet furniture builds can be done with basic tools you may already own or can borrow. Here's what you'll actually need:
- Circular saw or jigsaw (for cutting boards to length)
- Reciprocating saw or oscillating multi-tool (very helpful for disassembly)
- Drill/driver with bits and countersink bit
- Pry bar and hammer (for pallet disassembly)
- Tape measure and carpenter's square
- Orbital sander plus 60-, 80-, and 120-grit sandpaper
- Safety glasses or goggles
- NIOSH-approved respirator rated for wood dust (not just a paper dust mask)
- Work gloves
- Exterior wood stain, paint, or sealer (more on this in the finishing section)
- 2.5- to 3-inch exterior-grade screws, countersunk head — coated or stainless for outdoor use
- Wood filler or exterior-grade filler for gaps (optional but useful)
- Paint brushes or a small roller for applying finish
Safety really does matter here. Wood dust from sanding pallet wood, especially older reclaimed wood, is associated with dermatitis and respiratory irritation. OSHA also explains that wood dust exposure is linked to dermatitis and allergic respiratory effects, and it lists a nuisance-dust PEL of 15 mg/m³ (total dust) and 5 mg/m³ (respirable fraction) as an 8-hour time-weighted average Wood dust from sanding pallet wood, especially older reclaimed wood, is associated with dermatitis and respiratory irritation.. OSHA sets exposure limits for wood dust specifically because repeated exposure causes real problems over time. Wear your respirator any time you're sanding, cutting, or doing anything that produces visible dust. Safety glasses are non-negotiable during cutting and disassembly, pallets love to throw splinters and nail fragments. And if you're applying solvent-based finishes or stains, those introduce their own respiratory and skin hazards, so keep ventilation high and PPE on.
How to Prep Your Pallets (Cleaning, Disassembly, Sanding, and Weatherproofing)
Prep is genuinely the most time-consuming part of this project, and it's tempting to rush through it. Don't. Properly prepped pallet wood is the difference between furniture that looks intentional and furniture that looks like a stack of old pallets on your patio.
Step 1: Clean the Pallets First
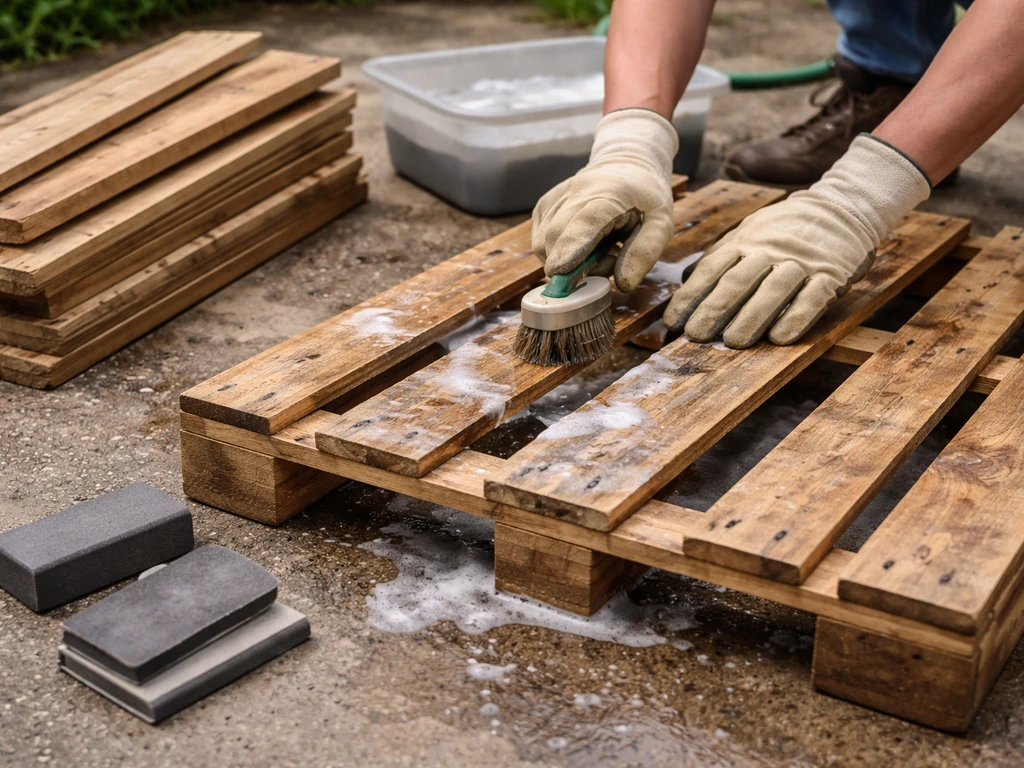
Start by scrubbing the entire pallet with a stiff brush and warm soapy water. Get into the gaps between boards. Rinse thoroughly and let everything dry completely, ideally 24 to 48 hours in the sun. If you spot any dark spots that look like mold or mildew, treat them with 3% hydrogen peroxide (the standard drugstore bottle). Apply it directly to the affected area, let it sit for 10 to 15 minutes, then scrub and rinse. Avoid bleach on wood, it doesn't penetrate effectively into the wood fibers, and it can actually break down wood over time. Hydrogen peroxide is safer and more effective on porous, unfinished wood surfaces.
Step 2: Disassemble the Pallet (If Needed)
Some builds use whole pallets stacked as-is, which saves a ton of time. But for most furniture projects, you'll want loose boards to work with. The easiest disassembly method: use a circular saw or reciprocating saw to cut along the inside edge of the runners (the thick blocks or stringers running lengthwise). This frees most of the deck boards without too much splitting. Then use your pry bar and hammer to pop the remaining boards off the runners, working slowly so you don't crack the wood. You'll have nail stubs left behind, pull those out with a claw hammer or use a nail punch to drive them flush. Never sand over embedded nails or staples. Stop immediately if you hit metal, remove the fastener, then continue. Hitting a nail with your sander will ruin the sandpaper, potentially damage the sander pad, and send metal fragments flying.
Step 3: Sand in Stages
Start with 60-grit on your orbital sander to knock down rough grain, splinters, and surface grime. Move to 80-grit to smooth out the scratches from the first pass, then finish with 120-grit for a surface that's pleasant to the touch. For any pieces that will be arm rests, seat surfaces, or anywhere skin touches, spend extra time on that 120-grit pass. After sanding, wipe everything down with a slightly damp cloth to raise the grain, let it dry, and do a final light pass with 120-grit. That last step makes a noticeable difference in how smooth the final finish feels.
Building a Simple Pallet Bench: Step-by-Step Assembly
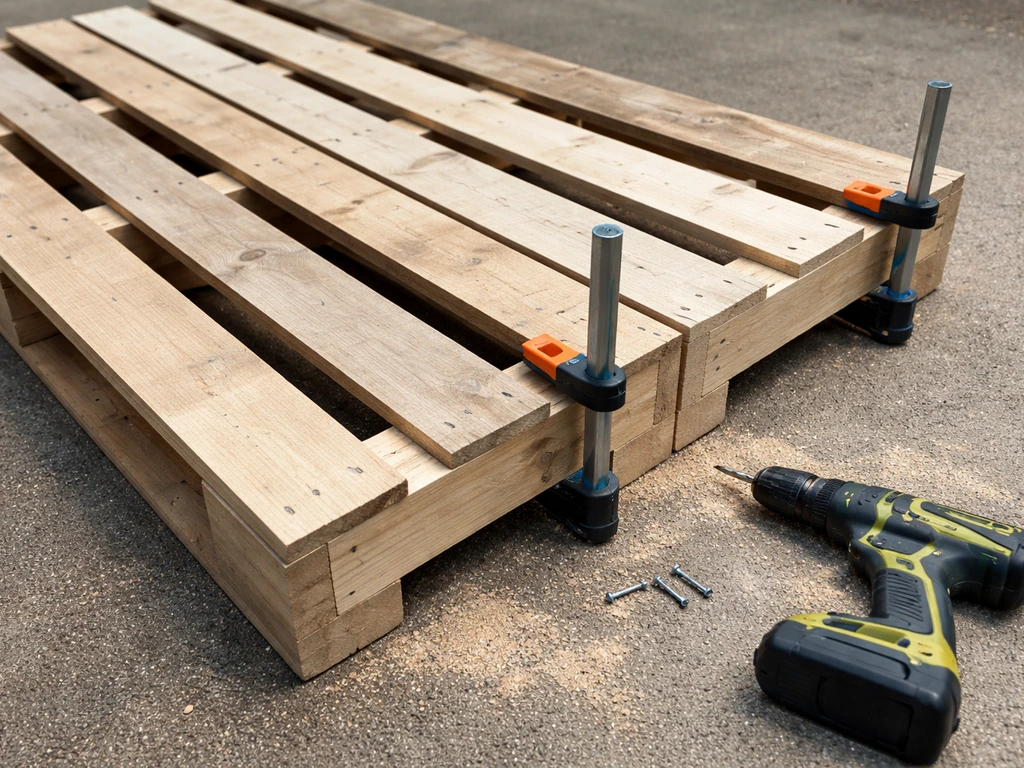
A classic pallet bench is the ideal first build, it's straightforward, uses minimal materials, looks intentional when finished, and is genuinely useful on any patio. If you want more detailed plans for projects like benches, tables, and seating, this guide on how to build a patio furniture setup will walk you through the process. This plan uses two standard 48 x 40-inch GMA pallets and produces a bench approximately 48 inches wide with a seat height of about 17 to 18 inches. Adjust as needed for your space.
- Gather your two prepped pallets and decide which will be the base (bottom) and which will be the seat top. The base pallet will stand on its edge or be cut down; the seat pallet lays flat on top.
- Cut your end pieces: From disassembled pallet boards, cut two identical rectangles approximately 20 inches wide by 17 inches tall. These become the side panels that support the seat. Use your carpenter's square to make sure they're truly square — this matters for stability.
- Stand the two end pieces upright, parallel to each other, spaced 44 to 46 inches apart (slightly narrower than the seat pallet width so it overhangs cleanly on both ends).
- Lay the seat pallet flat across the top of the two end pieces. Check that it's centered and even on both sides.
- Drill pilot holes (this prevents splitting), then drive 2.5-inch exterior screws through the seat pallet deck boards down into the tops of the end pieces — at least 3 screws per side connection. Use a countersink bit so screw heads sit flush or slightly below the surface.
- Add a horizontal stretcher board across the front and back at the base, screwed into both end pieces. This dramatically improves stability and prevents the bench from racking (twisting side to side). The stretcher should be flush with the bottom or just slightly above floor level.
- Check for wobble: set the bench on a flat surface and press down on each corner. If it rocks, trim the low leg slightly with a hand saw or add adhesive furniture pads to the short corner.
- If you want a back on the bench, attach two vertical support boards to the back of the end pieces (essentially extending them upward), then screw horizontal slats across them at equal spacing. Three slats with roughly 2-inch gaps looks clean and feels comfortable.
For a coffee table version, the process is even simpler: stack two pallets flat on top of each other, screw them together through the top deck boards, and add four screw-in furniture legs (available at hardware stores for about $5 to $10 each) to the corners of the bottom pallet. That gives you a low outdoor coffee table in under an hour. If you're interested in building a full matching set, chairs, table, sofa frame, the same principles scale up; the joinery and finishing steps stay the same regardless of the piece size. If you want to build traditional how to make wooden patio chairs instead, start by choosing outdoor-safe lumber and exterior-rated fasteners just like you would here. If your goal is a complete patio set, start by measuring your space and planning the bench, table, and seating pieces to match build a full matching set.
Reinforcing, Fastening, and Customizing for Real-World Use
A pallet bench will feel solid at first but often develops wobble after a few seasons if it isn't braced properly. The stretcher boards mentioned in the build steps help a lot, but for any bench longer than 40 inches or any seating that will hold multiple adults, add diagonal cross-bracing inside the base frame. A diagonal brace running from the bottom front corner to the top back corner on each side creates a triangle that resists the lateral racking forces that cause furniture to wobble and eventually fail at the joints. You don't need anything fancy, a single pallet board cut on a diagonal and screwed into the frame corners does the job.
For fasteners, always use exterior-rated screws, either hot-dip galvanized, stainless steel, or coated deck screws. Standard interior drywall screws will rust within one season outdoors and the rust will stain your wood and weaken the joints. Countersink every screw so the head sits at or below the wood surface, then fill the recess with exterior wood filler before finishing. This prevents water from pooling in the screw holes, which is one of the most common causes of rot in DIY outdoor furniture.
For comfort, pallet wood seat surfaces are flat but firm. Adding outdoor cushions is the obvious upgrade, standard 48-inch bench cushions fit a GMA-pallet bench perfectly. If you want to skip cushions, round over the front edge of the seat boards with sandpaper or a router with a roundover bit; a sharp 90-degree edge cuts into the back of your legs over time and makes the bench uncomfortable for long sitting. That one detail makes a huge difference in how much the furniture actually gets used.
Finishing and Protecting Your Pallet Furniture for Outdoor Life
Finishing is where a lot of DIYers rush and then wonder why their furniture deteriorates within a year. Pallet wood is typically soft pine or spruce, both are moisture-absorbent and will gray, warp, and crack without a proper finish. Here's how to do it right.
Choose the Right Finish
For outdoor pallet furniture, you have three main options: exterior paint, exterior stain, or a clear wood sealer. Each works, but they behave differently and suit different goals:
| Finish Type | Best For | Durability Outdoors | Notes |
|---|---|---|---|
| Exterior paint (latex) | Color, hiding imperfections in rough wood | Good with proper prep | Apply primer first; needs recoating every 2–3 years |
| Semi-transparent exterior stain | Showing wood grain while adding color and water repellency | Very good on horizontal surfaces | Needs more frequent reapplication on seat/table tops |
| Clear penetrating wood sealer | Preserving natural wood look | Good if quality product used | Needs annual maintenance coats on exposed surfaces |
A penetrating exterior stain like a semi-transparent waterproof wood stain is often the best choice for pallet furniture because it soaks into the wood rather than sitting on top, that means it won't peel or flake the way paint can. Products in this category typically have a dry-to-touch time of 2 to 6 hours depending on temperature and humidity, and they should be applied to clean, visibly dry, porous wood. Make sure your sanded wood is genuinely dry before you apply anything, if you drop a few beads of water on the surface and they absorb quickly rather than beading up, the wood is ready. TreatedWood.com also recommends waiting for the wood to be dry before finishing, using a water-drop test to confirm the surface absorbs moisture rather than beading up make sure your sanded wood is genuinely dry before you apply anything.
Apply the Finish Correctly
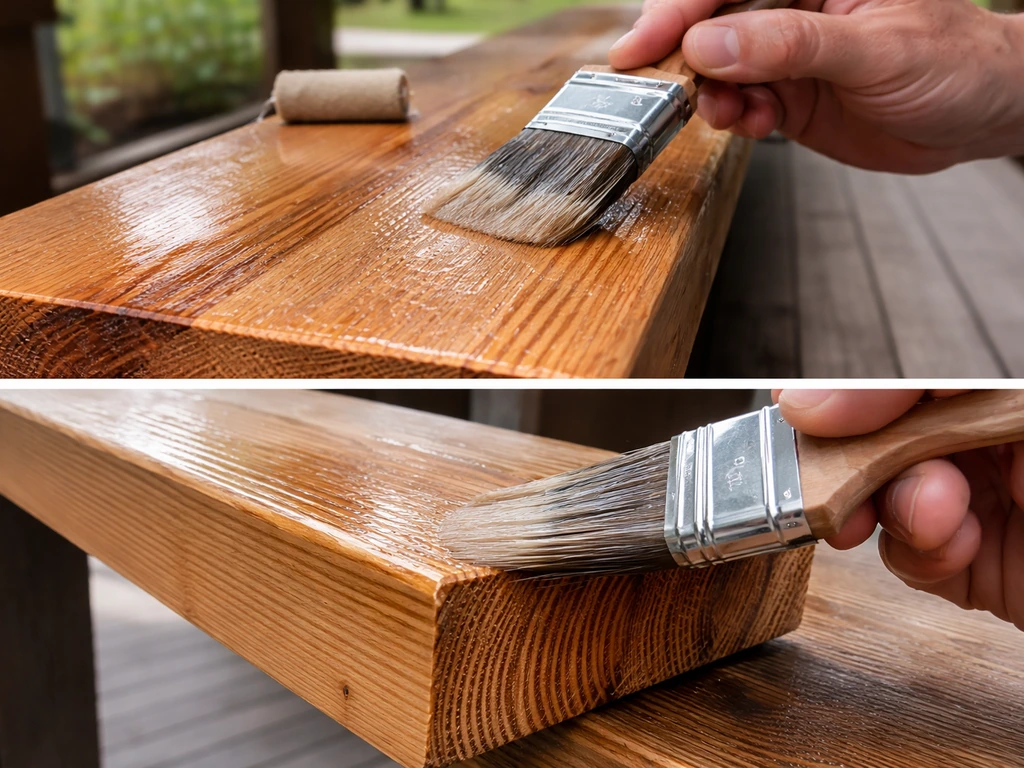
Work in a shaded area or on a cool, overcast day, direct sun causes finishes to dry too fast, leaving lap marks and reducing penetration. Apply with a brush or short-nap roller, working with the grain. Don't glob it on; thin, even coats penetrate better than thick ones. If you're using a water-based topcoat, allow several days of curing before the furniture is exposed to rain or heavy sun, some products specify waiting up to 5 days for full exterior readiness. If you're layering coats, follow the product's minimum overcoat window carefully: at 65°F, many sealers need at least 3 hours between coats; at 50°F, that can stretch to 8 hours. Rushing this causes adhesion problems between coats.
Apply finish to all surfaces, not just the visible top. The underside, the end grain, and the inside edges of any frame joints are where moisture enters first. End grain especially is like a straw, it draws water straight into the wood. Hit those areas with an extra coat.
If you're using a water-based copper azole preservative before your topcoat, note that it leaves a clean, paintable surface after drying and is compatible with latex paints and water-based stains. Solvent-based treated products, on the other hand, may not accept paint or stain until the solvents have fully evaporated, give them at least several days of drying time, and do the water-bead absorption test before applying your finish coat.
Maintenance, Troubleshooting, and Storage to Make It Last
Even well-built, well-finished pallet furniture needs some attention over time. The good news is that the maintenance is pretty simple if you stay on top of it rather than waiting until there's a real problem.
Seasonal Maintenance Routine
- Once a year (spring is ideal), wash the furniture with mild soap and warm water using a soft brush. Rinse thoroughly and let it dry completely.
- Inspect every screw and joint. Tighten any loose screws; replace any that have corroded or stripped. If a screw no longer grips, fill the hole with a wooden toothpick and wood glue, let it cure, then re-drive the screw.
- Sand lightly with 320-grit sandpaper to scuff any areas where the finish is worn, chalky, or peeling. Remove all sanding dust with a dry cloth.
- Apply a fresh maintenance coat of your original finish product to any worn areas — or a full recoat if the finish looks generally thin. Follow the same dry time rules as the original application.
- Check horizontal surfaces (seat tops, table surfaces) especially carefully — they take the most UV and water exposure and will need recoating more often than vertical surfaces.
Common Problems and How to Fix Them
Splinters returning after the first season usually mean the original sanding wasn't thorough enough on the seat surface, or the finish wore through and exposed raw wood. Sand back to smooth with 120-grit, wipe clean, and apply a fresh coat of finish. For wobble that develops over time, find the loose joint, usually it's a screw that's stripped its hole, and repair it using the toothpick method above, or add a corner bracket on the inside of the frame for a fast structural fix. Warped boards almost always come from one side drying out faster than the other, which happens when only the top surface is finished. The fix is to finish the underside too; for existing warped boards, remove them, wet the concave side, clamp them flat overnight, then let dry and refinish both sides before reinstalling.
If you spot mold or mildew returning despite cleaning, it usually means the wood is staying wet longer than it should, check that the furniture has clearance from the ground (at least an inch of airflow underneath), isn't sitting against a wall or fence that traps moisture, and is getting enough sun exposure to dry out between rain events. Treat the affected area with 3% hydrogen peroxide, let it fully dry, then apply a fresh finish coat to seal the surface.
Off-Season Storage
If you live somewhere with freezing winters, bringing pallet furniture inside or under a covered area for the off-season will dramatically extend its life. If you can't bring it inside, use furniture covers that breathe, fully sealed plastic tarps trap moisture underneath and actually accelerate rot and mildew. A breathable polyester cover that keeps rain off but allows airflow is the right call. Store cushions indoors in all cases; even outdoor-rated cushion fabric breaks down fast when left outside through winter. Doing a quick maintenance coat in spring before the furniture goes back into heavy use is the single best habit you can build to keep pallet furniture looking good season after season.
FAQ
Can I use pallets that have an MB stamp if I seal them well?
If the pallet has an MB treatment mark, don’t use it for any furniture that will be sat on, touched often, or used near food. Even after sealing, you cannot rely on the finish to make questionable treatment safe. Stick to HT pallets with a readable stamp and no chemical stains, residue, or off odors.
What should I do if I find nails or staples after I start sanding?
Yes, but only if you remove every bit of metal fastener before sanding. Embedded nails and staples need to be pulled, then you can sand safely. If you hit metal during sanding, stop immediately, pull the fastener, and replace any damaged boards before continuing.
How can I tell if pallet wood is dry enough for stain or sealer?
The fastest way to confirm dryness is the water-bead absorption test, then wait for your finish to cure per the product label. If beads sit on top for more than a moment or the surface feels cool and damp, keep drying. Also avoid applying stain or sealer in direct sun, because flash-drying can trap moisture and create uneven penetration.
Which fasteners are safest for patio use, and why do some joints loosen quickly?
For seating, use at least exterior-rated screws and countersink them, then fill the holes before finishing. Many DIY failures come from water pooling in screw recesses or using fasteners that rust. If you live near salt air or in heavy rain, prioritize hot-dip galvanized, stainless steel, or coated deck screws over cheaper options.
Do I really need diagonal bracing, and where should it go?
Diagonal cross-bracing matters most for anything longer than about 40 inches, any seat intended for multiple adults, and any base frame that can rack side-to-side. A simple triangle brace on each side significantly reduces wobble by preventing the frame from shifting at the corners.
If I don’t use cushions, what is the most important comfort upgrade?
Cushions are not just comfort, they also protect the finish by reducing abrasion and direct moisture transfer from legs to wood. If you skip cushions, at minimum round over the front edge of the seat boards, because sharp edges wear skin and dig in over time, especially after the wood swells and shrinks with weather.
Can I mix different stain and sealer products to get a specific color?
Some stains and sealers are tintable, but darkening pallet pine can hide defects until finish wears off. If you want consistent color and better UV protection, apply a penetrating exterior stain evenly across all surfaces and then consider an exterior topcoat only if the product line allows it. Avoid mixing products that are not specified as compatible because adhesion and peeling can happen between layers.
My pallet bench develops splinters again after a season, what’s the fix?
For returning splinters, the cause is usually either rough sanding on the seat surface or finish wear-through. Sand the contact areas back to 120-grit, wipe clean, and apply an additional exterior finish coat. If the splintering keeps coming from the wood fibers themselves, focus sanding and finishing on the seat top and edges rather than the undersides.
How do I troubleshoot a pallet bench that starts wobbling after a year?
If the bench wobbles, locate the first loose joint rather than adding random screws everywhere. Common culprits are a stripped hole or a joint that wasn’t tightened properly during the first build. A toothpick plug repair works for stripped screw holes, and a properly installed interior corner bracket is a stronger structural fix.
What’s the best way to cover pallet furniture in winter, and should I use a tarp?
Covers should allow airflow. Fully sealed plastic tarps trap moisture and can accelerate rot and mildew, especially where the wood stays damp. Use breathable, rain-shedding covers, and keep cushions stored indoors year-round.
How do I scale this into a matching patio set without ending up with uneven pieces?
Yes, but only if you use a plan and tools that keep fastener holes and board alignment accurate. For example, for a matching set you will want to standardize pallet size and seat height early, then cut and brace each frame to match. If you start with different pallet conditions, small board thickness and warp differences will show as uneven legs and gaps.