You can make a genuinely waterproof patio furniture cover at home using PVC-coated polyester or vinyl fabric, sealed seams, and a snug box-style fit. If you want to go deeper, the next sections walk through how to choose fabrics, measure for a snug fit, and reinforce seams so your cover stays waterproof through real weather patio furniture cover. The key is understanding that 'water-resistant fabric' alone doesn't make a waterproof cover. Needle holes, open seams, and loose hems are where covers fail in real rain. Get those three things right and your DIY cover will outperform most covers you'd buy off a shelf.
How to Make Waterproof Patio Furniture Covers Step by Step

Maren Grady
17 Jun 2026
Choosing the right waterproof cover style
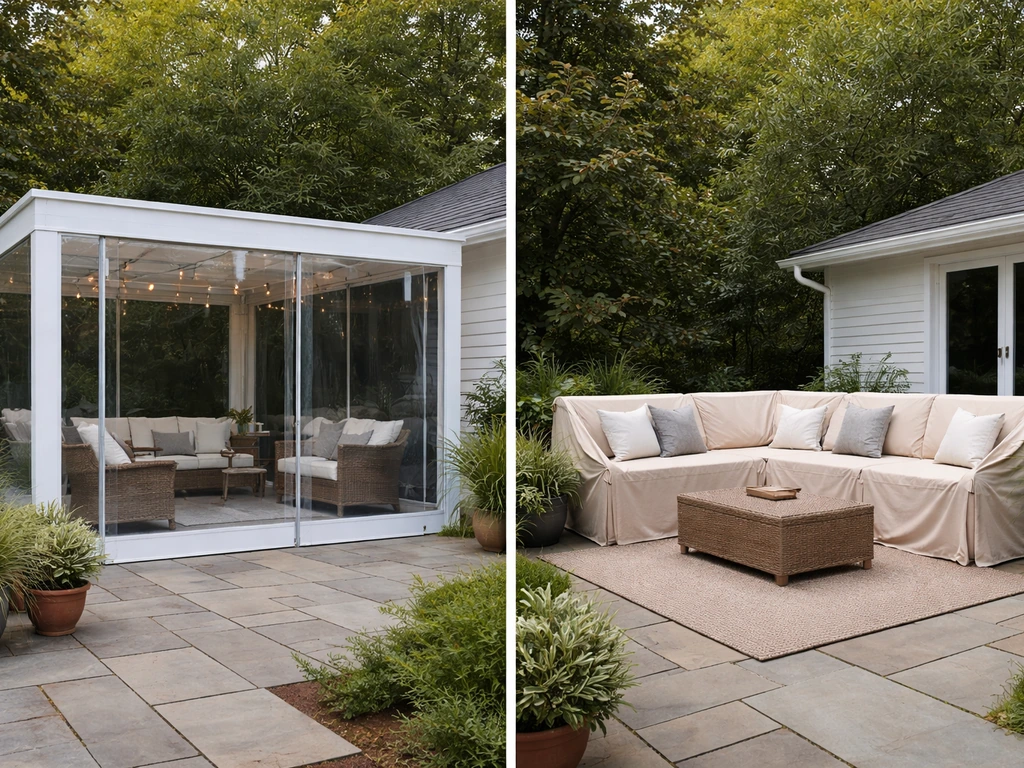
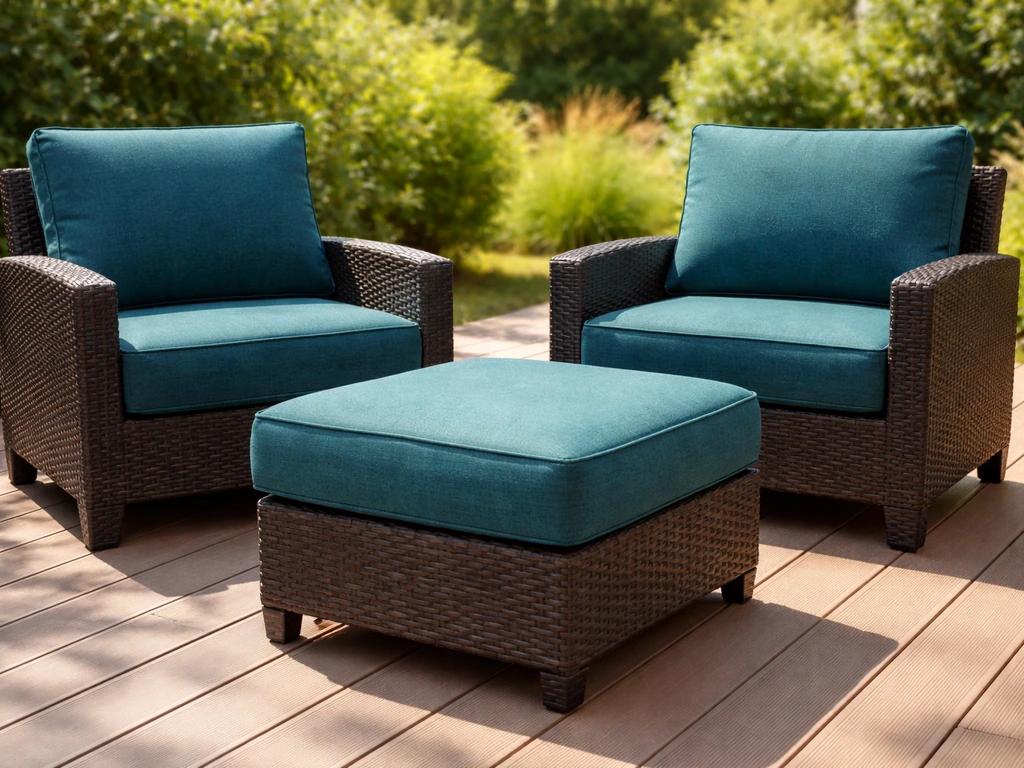
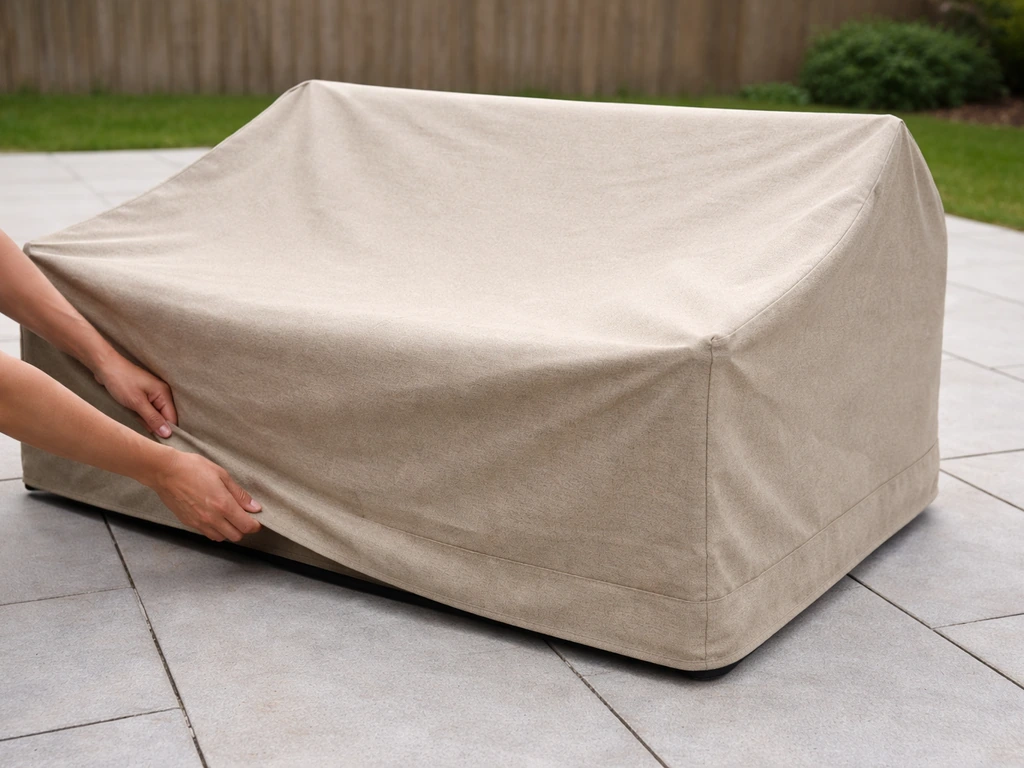
Before you buy a single yard of fabric, you need to decide which cover style actually fits your situation. There are two main types that most DIYers build: a full box-style enclosure that wraps over the entire piece, and a slipcover-style or cushion-only version. Full-coverage box-style outdoor furniture covers reduce wind displacement and help prevent water pooling by sitting flush over more surfaces with fewer gaps for wind-driven rain to enter [full box-style enclosure that wraps over the entire piece](https://covermagix.
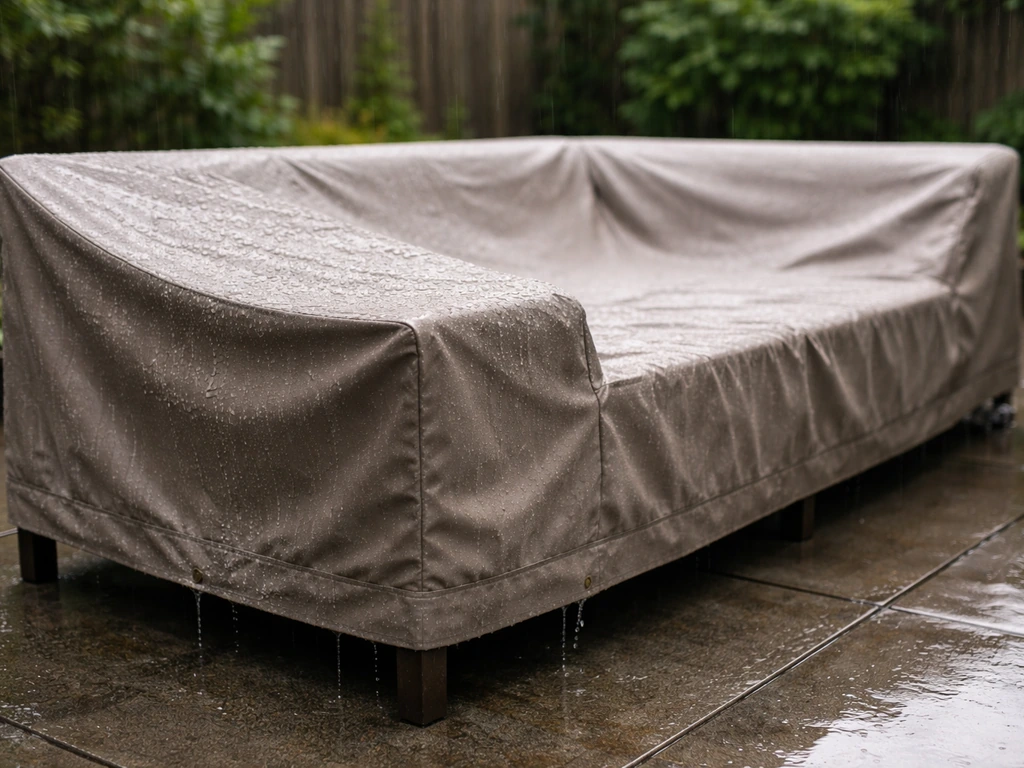
com/custom-outdoor-furniture-covers-guide/). For waterproofing purposes, the box-style wins every time. It sits flush against more surfaces, leaves fewer gaps for wind-driven rain to sneak in, and doesn't sag or pool water the way a loose cover does. Water pooling on a flat top is a real problem because the standing water adds weight and pressure directly onto your seams, which are already the weakest point.
Slipcover-style covers (the kind that drape over cushions or tuck around seat backs) are better as a secondary layer or for mild weather. If you want to try the slipcover option, learn how to make slipcovers for patio furniture using durable outdoor fabric and waterproof finishing techniques. They look great and are faster to make, but exposed edges and open hems at the bottom let in water during sideways rain. If your goal is genuine weather protection, go box-style. If you're also interested in the slipcover approach for appearance or light use, that's a separate project worth exploring on its own.
Within the box style, you also need to think about whether your cover needs any special features: an umbrella pole opening in the center of a table cover, separate sections for a sectional sofa, or an access flap for a propane connection on a grill-adjacent piece. Sketch your furniture with those details before you measure anything.
Materials and supplies for DIY waterproof covers
The fabric choice makes or breaks this project. Here's what actually works outdoors and what each option costs and involves.
Fabric options compared
| Fabric Type | Waterproof Rating | Durability | Sewing Difficulty | Approximate Cost |
|---|---|---|---|---|
| PVC-coated polyester (vinyl-coated) | Excellent (no additional coating needed) | High, UV/mildew resistant | Moderate (needs right needle/thread) | $5–$12/yard |
| PU-coated polyester (PU outdoor fabric) | Very good (>1500mm hydrostatic head) | Good, lighter weight | Easier than vinyl | $6–$14/yard |
| Marine-grade vinyl (solid vinyl sheet) | Excellent | Very high, extremely tough | Harder, heavy machine needed | $8–$20/yard |
| Ripstop nylon with DWR coating | Fair (surface repels, seams will leak) | Moderate | Easy | $4–$9/yard |
| Woven polyester canvas (untreated) | Poor without coating | Good base for DIY coating | Easy | $3–$7/yard |
My honest recommendation: PVC-coated polyester is the sweet spot for most DIYers. It's genuinely waterproof right off the bolt, it's stiff enough to shed water instead of pooling, and it's widely available at fabric stores and online. Marine vinyl is tougher but requires a heavy-duty sewing machine and will eat standard home machine needles alive. DWR-coated ripstop nylon feels like an easy win but the coating wears off at seams almost immediately, which defeats the purpose. If you already own a canvas drop cloth or leftover outdoor fabric, you can use it as a base and add a spray-on waterproofing coating later, but expect to reapply it every season.
Hardware and notions you'll need
- Heavy polyester or nylon thread, Tex 70 or heavier (standard cotton thread rots outdoors within one season)
- Sewing machine needles, size 16–18 for PU fabrics or size 18–20 for vinyl/PVC (use a new needle every project)
- Seam sealing tape (heat-activated, 20mm wide) or liquid seam sealer like Seam Grip+WP
- Grommets or D-ring anchors (every 18–24 inches along the hem works well) with a grommet press or setting kit
- Elastic cord or shock cord (for hem tension) or adjustable buckle straps to secure against wind
- Waterproof zippers if you're adding an access panel (look for TPU-coated or HydroSeal-style zippers)
- A rotary cutter, cutting mat, and long metal ruler for clean straight cuts on coated fabric
- Painter's tape or binder clips to hold pieces in place before sewing (pins leave permanent holes in vinyl)
One budget tip: buy a grommet kit from a hardware store instead of a fabric store. You'll pay about half the price for the same tool. For seam sealer, a small tube of Seam Grip+WP costs around $8 and is enough to seal an entire sofa cover.
Measuring and pattern planning (for a snug fit)
This is where most DIY covers go wrong. People measure once, cut, and end up with something too loose that sags and pools water, or too tight that rips at the seams the first time it goes on. Here's how to measure properly.
How to measure your furniture
- Measure width at the widest point (armrests included, not just the seat frame). Write it down.
- Measure depth front-to-back at the deepest point, again including any armrest or frame overhang.
- Measure height from the ground to the tallest point (seat back, table umbrella collar, or whatever sticks up highest).
- If you have cushions ON the furniture, measure with them in place. Your cover needs to fit over the full assembled stack.
- For round tables, measure the diameter, then add your drop length twice (because the cover hangs down both sides equally).
- Note any special features: umbrella pole holes, decorative finials, angled backs, or curved legs that need clearance.
Once you have your raw measurements, add a seam allowance and a fit allowance. Add 1 to 2 inches to both width and depth so the cover slides on and off without fighting you. Add your seam allowances on top of that (typically 5/8 inch per seam edge). Don't skip the fit allowance, it sounds generous but you'll thank yourself when you're pulling the cover on alone in a windstorm.
Planning your pattern pieces
A basic box-style cover for a sofa or loveseat breaks down into five main pieces: one top panel (width x depth), two side panels (height x depth), two end panels (height x width), and a hem allowance folded under or finished with binding. Sketch each piece on paper with exact dimensions before you touch your fabric. Label which edge gets sewn to which. This simple step saves hours of confusion. For a table cover, you only need one top circle or rectangle and one continuous band that forms the skirt around the sides.
Lay your pattern pieces on the fabric with a marker or chalk before cutting anything. Coated fabrics don't erase or unpick easily, and wasted yardage adds up fast. Align the panels so water-shedding texture (if your fabric has a directional coating) faces outward consistently across all pieces.
Step-by-step sewing and no-sew assembly options
The sewing method (most durable)
- Cut all pieces according to your pattern layout. Use a rotary cutter and metal ruler for clean edges on coated fabric.
- Clip or tape panels together (don't pin vinyl) with binder clips or painter's tape, right sides facing each other.
- Set your machine to a stitch length of 4 to 6 stitches per inch. Too tight and you perforate the fabric like a tear-off strip; too loose and the seam is weak.
- Thread with heavy polyester or nylon thread (Tex 70 minimum). Use a size 16–18 needle for PU fabric or size 18–20 for PVC/vinyl.
- Sew the top panel to the long side panels first, then attach the end panels, checking fit against your furniture as you go.
- Sew the hem at the bottom with a double-fold or bind it with webbing. If you're adding elastic, feed it through a folded hem channel and secure both ends.
- Set grommets every 18 to 24 inches around the hem perimeter using your grommet press.
- Seal every seam before use. This step is non-negotiable and covered in the waterproofing upgrades section below.
Here's where I messed up on my first cover: I used the wrong thread. Regular all-purpose polyester feels strong but it thins out and breaks down from UV exposure within six months outside. Spring for outdoor or marine-grade thread. It's a few dollars more per spool and it lasts years longer.
No-sew options (for beginners or quick projects)
If you don't own a sewing machine or don't want to deal with sewing coated fabric, you have two workable options. The first is heat-activated seam tape. You cut your panels, overlap the edges by about an inch, place seam tape between the layers, and iron with a dry iron at the recommended temperature (usually around 300 to 325 degrees Fahrenheit, but check your tape's instructions). This bonds the fabric layers together with a waterproof adhesive film. It's genuinely waterproof but less flexible than a sewn seam, so it works better on covers that don't get removed and reinstalled frequently.
The second option is using a pre-made waterproof tarp or heavy duty plastic sheeting with grommets already installed, and cutting and folding it to fit. You can add edges using self-fusing tape or waterproof adhesive. This isn't as clean or fitted as a sewn cover, but in a pinch it gets the job done for a season while you plan something more permanent. Just know that a loose tarp-style cover will shift in wind unless you add straps every 12 to 18 inches.
Waterproofing upgrades: seams, zippers, tie-downs, and coatings
This section is the one most tutorials skip, and it's exactly why so many DIY covers let water through within a few months. The fabric might be rated waterproof, but every needle hole, every seam, every grommet punch, and every zipper track is a potential leak path. Here's how to address each one.
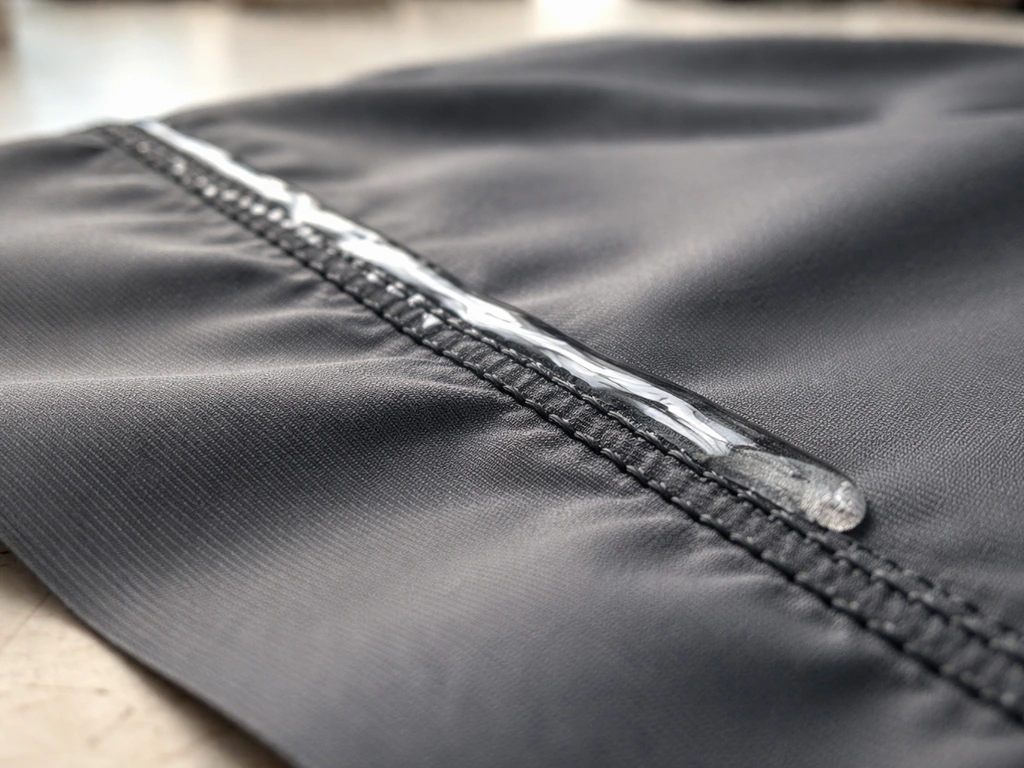
Sealing stitched seams
Stitching punches hundreds of tiny holes through your waterproof fabric. Even PVC-coated polyester, which is waterproof as a material, becomes a slow drip once it's sewn. You need to seal every seam. You have two choices: liquid seam sealer or heat-activated seam tape.
For liquid seam sealer (like Seam Grip+WP), apply a thin bead directly over the stitching on the inside of the cover. Work it into the thread holes with the tip of the applicator so it actually penetrates. Let it cure fully, usually 8 to 12 hours, before exposing it to water. One coat is usually sufficient on a flat seam, but curved or stress seams benefit from two passes.
For seam tape, place the heat-activated tape strip directly over the seam on the inside surface, then iron over it according to the tape manufacturer's temperature and time guidance (typically 10 to 15 seconds with firm pressure). Seam tape creates a waterproof film that physically covers the holes rather than filling them, which makes it faster but slightly more brittle in cold temperatures. Both methods work. I tend to use liquid sealer on high-stress seams (corners, hems) and tape on long flat panel seams where it's easy to run in a straight line.
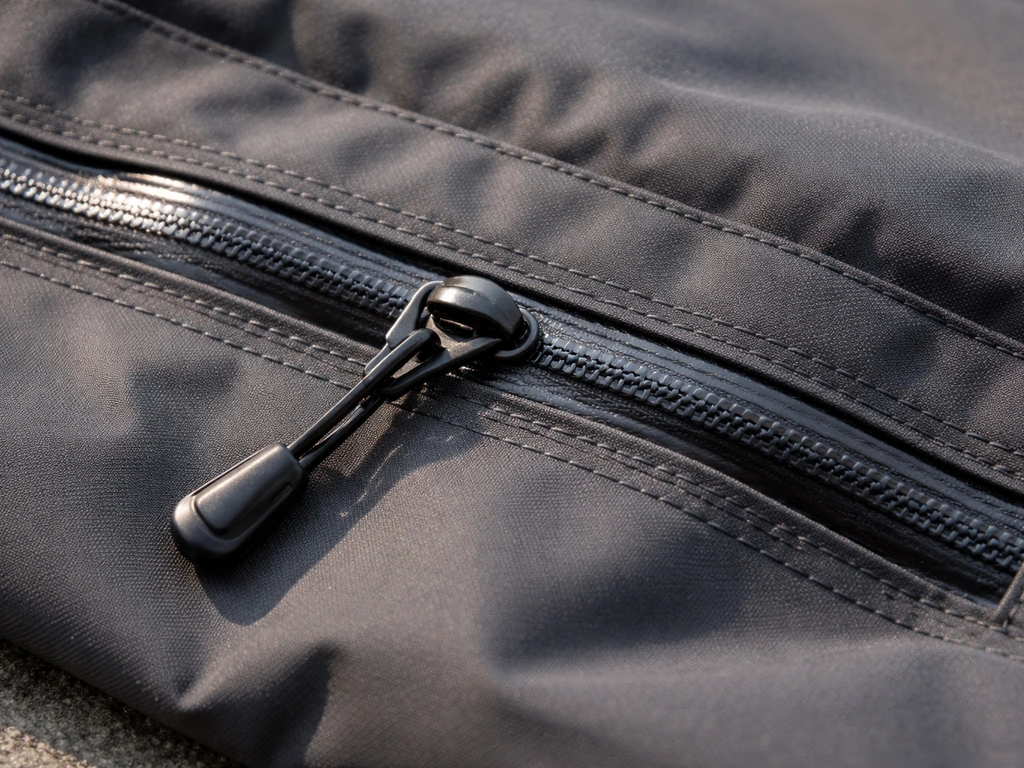
Zippers and access panels
If you're adding a zipper for easy access to cushions or for a cover that stays on year-round, use a TPU-coated or purpose-built waterproof zipper. Standard nylon zippers wick water through the teeth immediately. Once your zipper is installed, seal the seam tape or liquid sealer along both sides of the zipper tape where it meets the fabric.
Zippertubing notes that a properly closed Zippertubing track may not require post-closure sealing, but it also documents taping the center split line (ZT-Tape) as a sealing method seal the zipper seam tape or liquid sealer along both sides of the zipper tape where it meets the fabric. Do not spray waterproofing coating directly on the zipper mechanism itself.
It can gum up the slider and make it impossible to open. Lubricate zippers periodically with clear silicone spray to keep them moving smoothly.
Grommets and webbing: the wicking problem
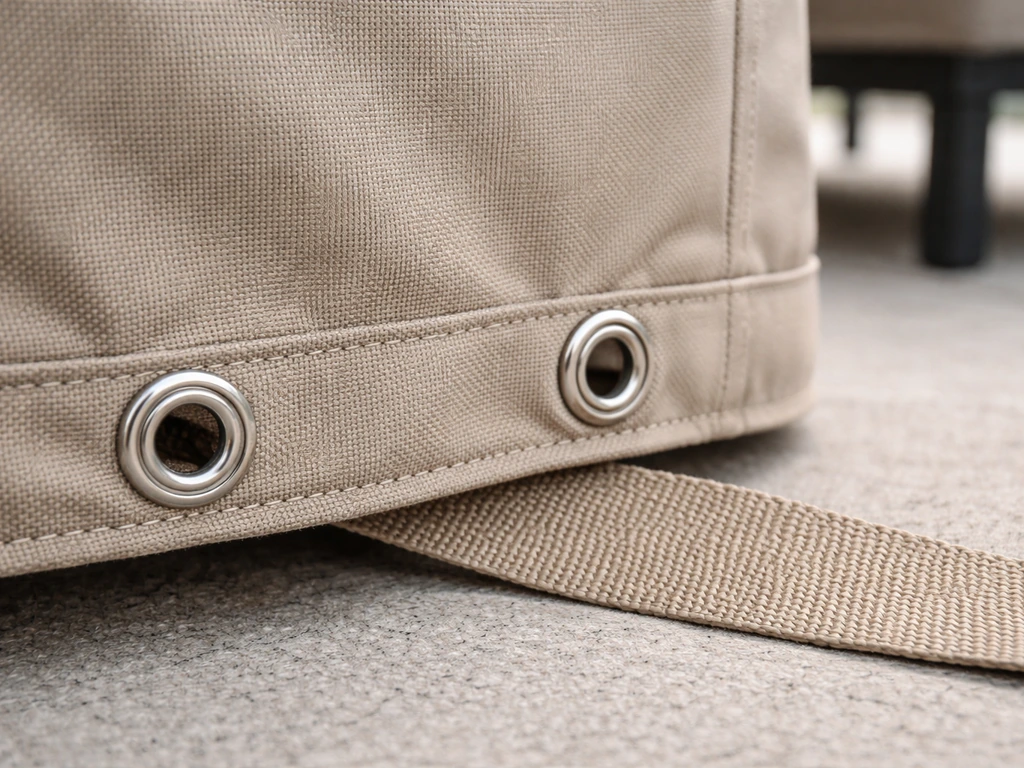
Every grommet hole punched through your fabric is a potential leak point. Set grommets with proper backing washers on both sides and make sure they clamp tight with no fabric gap. After setting them, dab liquid seam sealer around the inner edge of each grommet where it meets the fabric. The same logic applies to any webbing or strap you sew directly through the fabric. Webbing fibers can act like a wick, drawing moisture through the waterproof layer and into the cover's interior. Seal webbing attachment points with liquid seam sealer and, if possible, use a backing patch of waterproof fabric on the inside surface at each attachment point.
Wind tie-downs and storm flaps
A cover that blows off is useless. Add adjustable buckle straps that clip around furniture legs at the hem. Space them every 18 to 24 inches around the perimeter. For round tables or pedestal pieces, use an elastic hem cord threaded through a folded channel at the bottom of the cover so it cinches snugly under the base. On the windiest sides of your patio, you can add a storm flap: a 3 to 4 inch wide extra layer of fabric that drapes over the hem seam on the exterior and blocks wind-driven water from pushing up and under the cover's lower edge.
Spray-on waterproofing as a last step
If you're using canvas, ripstop nylon, or any fabric without a built-in coating, spray the finished cover with a silicone-based or fluoropolymer waterproofing spray (brands like 303 Fabric Guard or Rust-Oleum NeverWet are commonly available). Apply two coats, let each dry fully, and reapply every season. For PVC or PU-coated fabrics, this step isn't necessary on the base material, but a light topcoat spray on seam areas after sealing adds insurance.
Check that your waterproof rating is meaningful: fabrics rated at 1500mm hydrostatic head or above are considered genuinely waterproof for outdoor furniture applications. If you want to buy ready-made options instead, use these same waterproofing checks when shopping for patio furniture covers outdoor furniture applications. Anything below that is more accurately described as water-resistant.
Installation, maintenance, and seasonal storage tips
Putting the cover on correctly
Fit the cover over your furniture with the panels aligned to their intended sides (mark them during construction if your piece is asymmetrical). Pull the hem down evenly on all sides before securing straps. Clip buckle straps around legs and tension them snug but not white-knuckle tight. If your cover has an elastic hem, reach underneath and make sure it's seated under any crossbar or footrest so wind can't get a good grip.
One helpful check: press down on the top panel. It should feel taut with no large slack areas where water could pool. If it sags in the middle, your cover may be slightly oversized, and you can add a ridge cord across the top panel from corner to corner to encourage water to run off the sides.
Preventing mildew and trapped moisture
Here's a problem a lot of people don't anticipate: you make a cover so waterproof that it traps moisture inside. Condensation builds up underneath, the cushions stay damp, and within a few weeks you've got a mildew situation that's worse than if you'd left the furniture uncovered. To prevent this, remove the cover on dry sunny days to let everything air out. If you built a PVC or solid vinyl cover, consider adding two or three small mesh ventilation grommets near the lower hem on opposing sides. This allows airflow without meaningfully compromising water resistance in a downpour.
Cleaning your cover without wrecking it
Clean PVC or PU-coated covers with a mild neutral soap solution and a soft cloth or sponge. If you want to change the color after building your cover, follow these steps for how to dye patio furniture covers safely without weakening the waterproof finish. Rinse thoroughly with a gentle garden hose. Do not use a pressure washer: the concentrated spray can force water into seams and physically damage the coating.
Do not use acetone, turpentine, bleach, or strong household cleaners. They break down PVC and PU coatings permanently and your cover won't be waterproof anymore after that. For stubborn mold spots, a diluted white vinegar solution (about one part vinegar to four parts water) works without damaging the coating. Never machine wash or machine dry a coated cover.
Storing covers at the end of the season
Before storing for winter or an extended period, clean the cover, rinse it completely, and let it air dry fully, inside and out. Storing even slightly damp will give you mildew regardless of how good your fabric is. Once dry, fold loosely rather than rolling tight, which can crack PVC coatings in cold temperatures. Store flat or hung in a breathable bag or a pillowcase, away from sharp objects that can puncture the coating. A garage shelf works well. Avoid compressed storage under heavy items. If you live somewhere with freezing winters, know that PVC can become brittle at very low temperatures, so indoor storage is worth the effort.
At the start of the next season, unfold, inspect every seam and grommet for separation or cracking, and touch up any compromised seam sealer before the first rain. It takes about 15 minutes and extends the life of the cover by years. A well-made DIY cover using PVC-coated fabric with properly sealed seams should realistically last four to six seasons with this kind of care, which is comparable to or better than most off-the-shelf covers at two to three times the price.
FAQ
What fabric weight or coating thickness should I look for to make a cover truly waterproof?
Aim for a heavier coated material (often the stiffer, thicker feel when you lift it). Very thin coated sheeting is more likely to crease and open micro-gaps at fold lines. If the fabric feels flimsy, plan on extra seam taping and more careful fitting, and expect a shorter lifespan.
Can I make it waterproof without sewing, using only adhesive or tapes?
Yes, but choose heat-activated seam tape meant for coated outdoor fabrics, and keep the seams straight to avoid stress pulls. Adhesive alone can peel as the cover flexes. For high-movement stress points (corners, where legs tug), use a belt-and-suspenders approach, tape plus an interior liquid seal at the ends.
How do I prevent leaks at the zipper if I add one for easy access?
Use a purpose-built waterproof zipper (often TPU-coated). After installation, seal where the zipper tape meets the fabric on both sides, and place a small interior backup patch over the zipper ends (where stress concentrates). Avoid spraying any waterproof coating directly into the zipper track, it can gum the slider.
What’s the safest way to cut coated PVC or vinyl fabric so it doesn’t fray or create weak spots?
Use a sharp rotary cutter or new blade, and cut on a protected surface. Coated fabrics can tear if the blade drags, creating irregular edges that won’t seat flat under seam tape or sealant. After cutting, handle gently so you do not create punctures that later become leak paths.
Do I need to seal every seam, even seams that look “already sealed” by the coating?
Yes. Coated fabric can repel water as a material, but needle holes and stitched channels still act like leak paths. Seal both sides of seams only if your construction method requires it, but at minimum seal the stitching lines thoroughly, including corners and the last inch at each seam run.
How long should I wait after seam sealing before putting the cover on in the rain?
Let liquid seam sealer cure fully, typically 8 to 12 hours, before water exposure. If you’re unsure, test a small sealed scrap in shallow water for a few minutes. Putting it on early can create slow leaks that only appear after repeated wetting.
Will water pooling still happen on a waterproof box-style cover, and how do I fix it if it does?
It can if the cover is slightly oversized or the top panel has slack. After fitting, press the top so it feels taut, then add a ridge cord from corner to corner if needed to encourage runoff. If you consistently see pooling, re-check measurements, especially the fit allowance you added for installation.
What’s the best way to stop wind from forcing water under the cover without making it hard to remove?
Use perimeter buckle straps every 18 to 24 inches, and add a storm flap at the hem on the windiest sides. For easy removal, use adjustable straps at the corners and one or two “quick-release” attachment points on the most accessed side (keeping straps around the rest of the perimeter non-negotiable).
Can I reuse grommets and holes if I make a mistake while fitting?
Usually no. Re-punching or enlarging holes creates new leak points and can weaken the fabric around the original grommet area. If you must adjust, cut a small waterproof fabric patch for the inside surface and seal it around the edges before setting new grommets.
How do I handle furniture shapes that are not rectangular, like benches or curved chairs?
For odd shapes, sketch and pattern with relief cuts or shaped panels so the cover can stay taut rather than bridging. Taut contact reduces pooling, and it reduces stress at corners where seams fail. If the piece has curves, consider extra panel segmentation so you can keep seams off high-stress bending lines.
Is a waterproof rating like 1500mm hydrostatic head enough on its own for patio furniture covers?
It’s a strong indicator for fabric performance, but seams, zippers, grommets, and any edge construction can undercut the rating. Treat the rating as fabric baseline quality, then still seal every penetration and secure the hem so wind-driven rain cannot get under the cover.
How can I prevent mildew if my cover is so waterproof it traps condensation?
Plan for periodic airing, remove the cover on dry, sunny days, and make sure you store or ventilate the covered furniture area when possible. If your cover is rigid PVC or vinyl, add small mesh ventilation grommets near the lower hem on opposite sides to allow airflow while keeping overall protection during normal rain.
Can I use a pressure washer to clean the cover and remove mold?
No. High-pressure spray can push water into seam lines and physically damage coatings. Use mild neutral soap with a soft cloth or sponge, rinse gently, and for mold use a diluted vinegar solution. Avoid acetone, bleach, turpentine, and strong cleaners because they permanently break down PVC or PU coatings.
How should I store the cover in winter to avoid cracking and leaks next season?
Let it dry fully, fold loosely rather than rolling tight, and store flat or hung in a breathable bag away from sharp objects. In freezing climates, PVC can become brittle, so avoid compressed storage under heavy items that create permanent creases and stress points at seams.