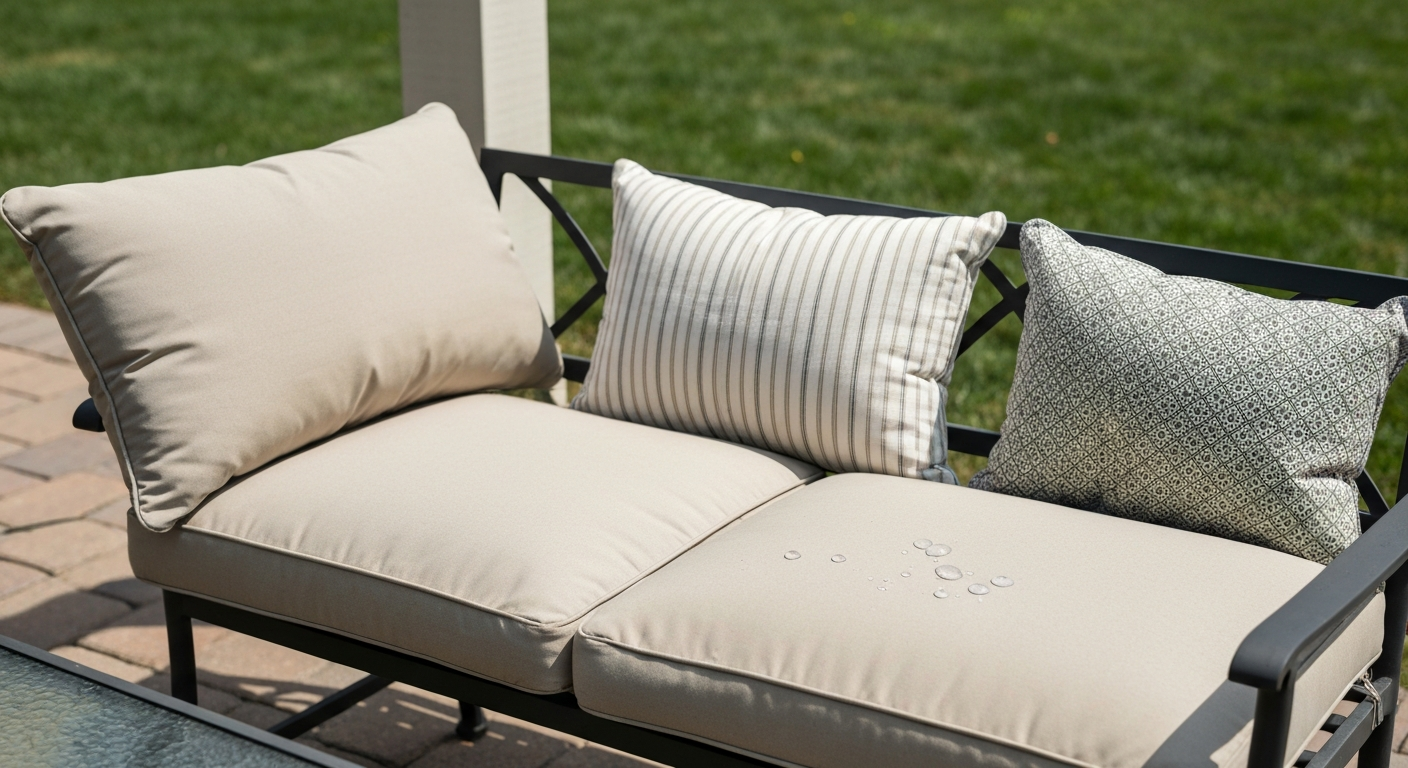
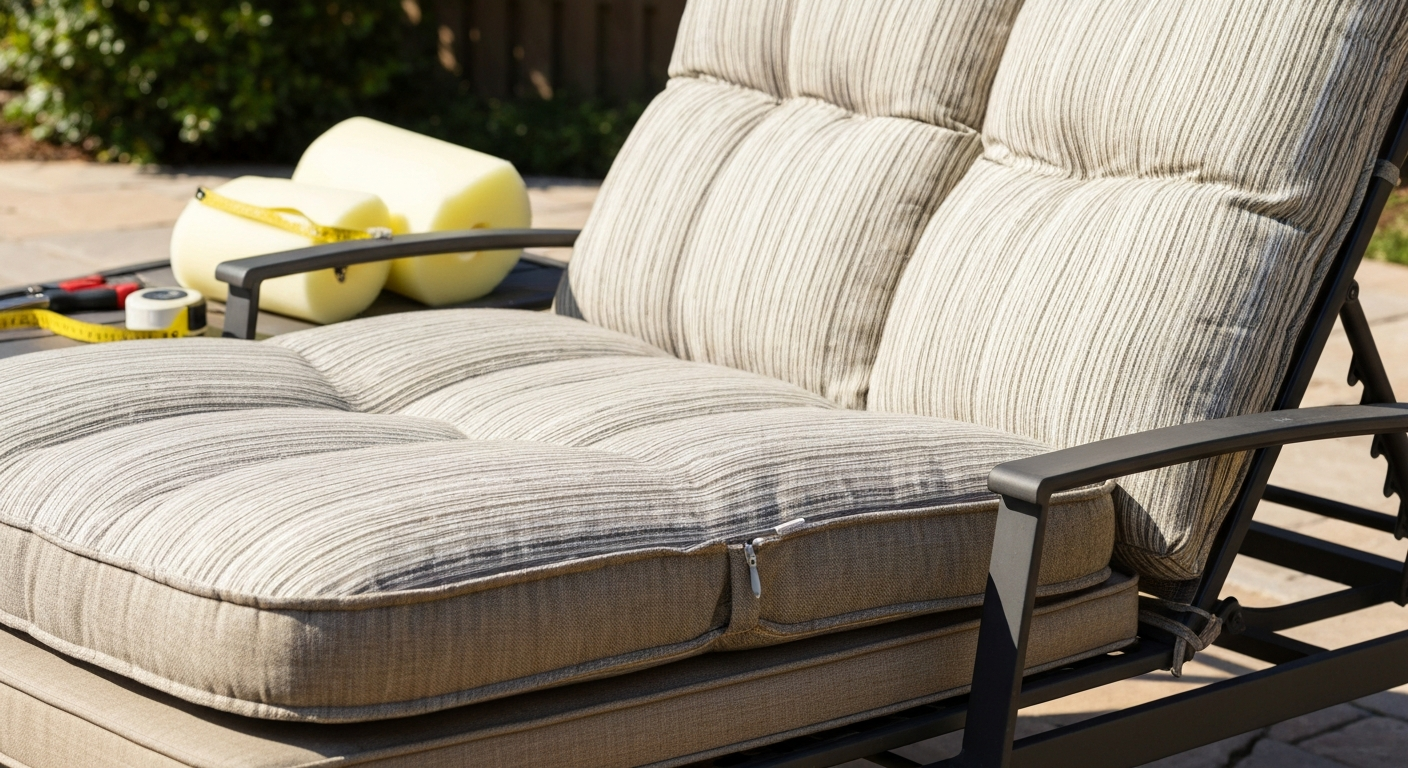
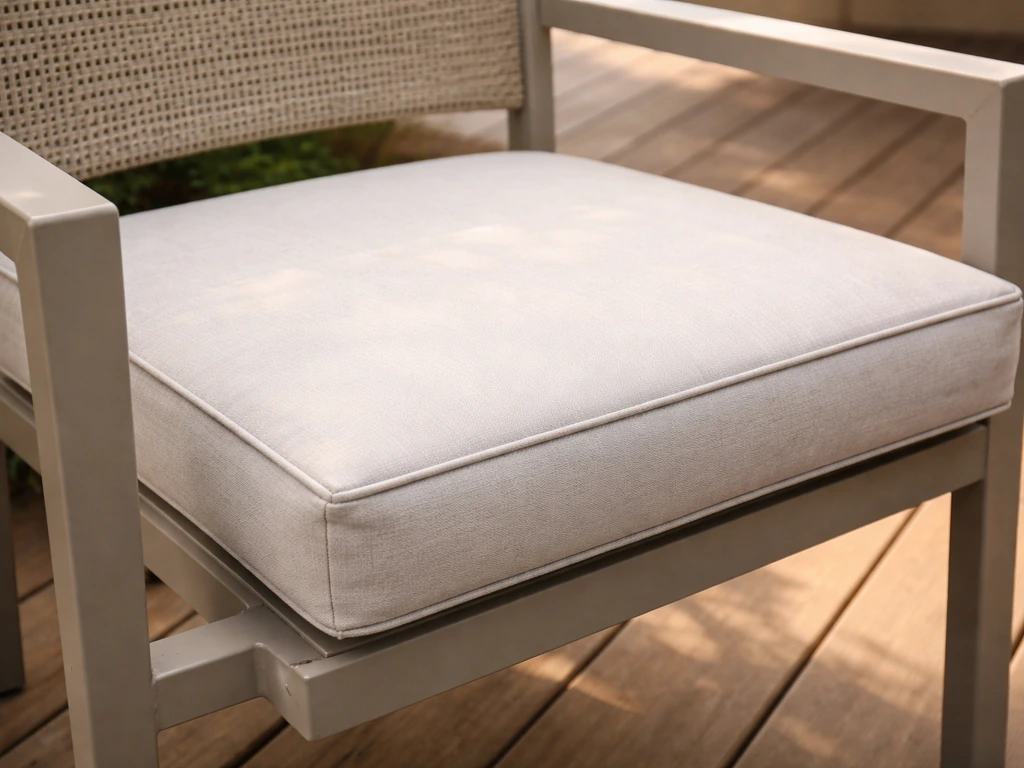
You can make a solid patio cushion for $15 to $35 per seat, compared to $40 to $200 for a comparable store-bought replacement. The savings are real, but only if you pick the right foam, fabric, and method for your situation. This guide walks through every approach: basic sewn cushions, no-sew builds, deep-seat construction, and removable slipcovers. Cost estimates appear throughout each section so you can budget as you go.
How to Make Patio Cushions Cheap: DIY Guide & Cost Plan

Maren Grady
27 Jul 2026
Who this guide is for and how to use it
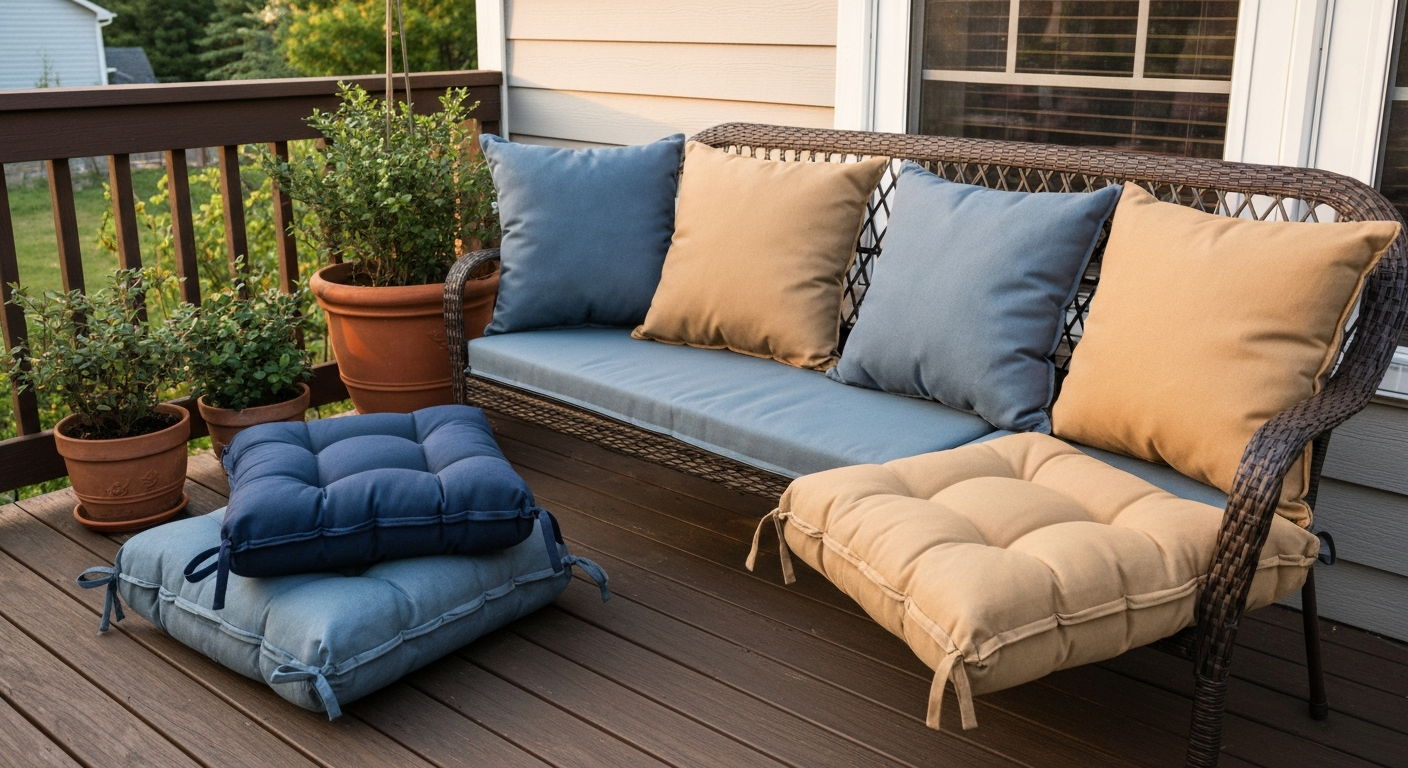
This is written for homeowners who want durable outdoor cushions without paying retail prices. You might have a set of patio chairs with worn-out cushions, a built-in bench that never came with cushions, or a frame you built yourself. Whether you sew regularly or have never touched a machine, there is a method here that fits your skill level and your budget. One-line project plan: measure your seats, buy foam and fabric to size, cut and assemble using the method that matches your tools, then seal and store correctly to make them last.
Each major section (sewn, no-sew, deep-seat, slipcovers) can be read on its own if you already know what you want to build. If you are starting from scratch, work through the DIY-vs-buy section and the materials section first, then jump to the build method that matches your situation.
DIY or just buy? A quick cost framework
Before you cut a single piece of fabric, it is worth running the numbers honestly. Store-bought cushions are not always the expensive option, especially during seasonal sales. I have seen 20-inch square seat cushions at Home Depot and Wayfair drop to $15 to $20 each during summer promotions, and basic bench cushions (42 to 48 inches by 18 inches) sell for $40 to $70 at Walmart and Amazon on a regular basis. If you need one or two standard-size cushions and you are not fussy about fabric color, buying may actually be faster and cheaper than building. For a quick answer to whether it’s cheaper to make your own patio cushions, see is it cheaper to make your own patio cushions.
Where DIY wins is when you need non-standard sizes, you want a specific fabric that matches your existing decor, you are replacing more than four or five cushions at once, or you already have some foam or fabric on hand. It also wins if you want premium solution-dyed acrylic fabric (Sunbrella or Outdura) but cannot stomach the $300 to $500 retail price tag for a full deep-seat set. A DIY deep-seat seat-and-back set built with good outdoor foam and mid-range outdoor canvas can come in under $60 to $80 total, versus $100 to $200 at retail for comparable fill and fabric.
| Scenario | DIY Cost Estimate | Retail Equivalent | Better Option |
|---|---|---|---|
| 1–2 standard 20" seat cushions | $20–$40 total | $15–$50 each (sale prices exist) | Buy if on sale |
| 4–6 seat cushions, custom size | $50–$100 total | $60–$300 total | DIY |
| Deep-seat seat + back set (24–26") | $55–$90 per set | $100–$200 per set | DIY |
| 42–48" bench cushion | $25–$55 | $40–$90 | DIY or buy on sale |
| Full 6-piece patio set replacement | $120–$220 total | $250–$600+ total | DIY |
| One cushion, standard size, any color | $15–$25 | $15–$50 (sale) | Toss-up — check sales first |
Quick decision checklist
- Check current sale prices at Home Depot, Wayfair, and Amazon before buying any materials — seasonal discounts of 10 to 40 percent are common in summer 2026.
- If your seat is a non-standard size (anything that does not match 18", 20", 24", or standard bench lengths), DIY will almost certainly be cheaper.
- If you need more than four cushions, DIY foam and fabric bought in bulk beats per-unit retail pricing.
- If you already own a sewing machine and have scrap fabric, your break-even point drops significantly.
- If you want Sunbrella or Outdura fabric, DIY is usually cheaper than finished cushions in those materials — retail Sunbrella cushions command a large premium.
- If you need it done this weekend and do not want to wait for shipping, check local big-box stores for in-stock options first.
Materials and tools: what to buy, where to save
Foam: the most important call you will make
The fill is where most budget DIYers make their biggest mistake. Cheap indoor upholstery foam used outside will absorb water like a sponge, grow mold within a season, and lose its shape in a year or two. For anything that lives outdoors, you want reticulated (open-cell, dry-fast) foam. This is a polyurethane foam with its cell walls removed so water drains straight through rather than soaking in. Sailrite, FoamOrder, CushionFoamz, and FoamFactory all stock it. Yes, it costs more than commodity indoor foam, but it is the right material and it lasts.
For density, shoot for at least 1.8 lb/ft³ for seat cushions. That is the minimum used in commercial hospitality seating (hotel and restaurant specs), and it holds up to regular use. For heavy-use seats or deep-seat builds where cushions see a lot of sun and body weight, go up to 2.5 to 3.0 lb/ft³ for better shape retention. Firmness is measured by ILD (Indentation Load Deflection): aim for ILD 30 to 45 for seat cushions (medium-firm feel) and ILD 15 to 30 for back cushions (softer). A layered core strategy, firmer foam on the bottom for support, softer foam or a Dacron batting wrap on top for comfort, gives you the best result at a moderate cost.
Cost reality check: a 24-by-24-by-4-inch block of high-density upholstery foam runs roughly $17 to $25 from vendors like AK Trading Co. on Walmart or Amazon. Specialty outdoor reticulated foam in the same size runs $25 to $45 depending on density and supplier. Specialty vendors like CushionFoamz, Outdoor patio cushions (reticulated/dry fast foam) list reticulated/outdoor foam and custom-cut cushion pricing, illustrating higher per-cubic-foot costs than commodity indoor polyurethane foam blank" rel="noopener noreferrer">CushionFoamz — Outdoor patio cushions (reticulated/dry fast foam). Most online foam vendors (FoamOrder, FoamFactory, FoamByMail) offer custom cut-to-size either included in the price or for a small cutting fee, which is worth it if your dimensions are non-standard. FoamOrder, Custom outdoor cushions and foam lists outdoor-reticulated foam, sample and custom-cut options, and example pricing on its product pages blank" rel="noopener noreferrer">FoamOrder — Custom outdoor cushions and foam.
Fabric: premium vs. budget outdoor options
Solution-dyed acrylic fabrics like Sunbrella and Outdura are the gold standard for outdoor cushions. They are UV-resistant, fade-resistant, and mold-resistant, with multi-year warranties (often 5 to 10 years depending on the line) backed by lab testing at 1,500-plus hours of UV exposure. Retail price at Sailrite and similar suppliers runs $30 to $80 per yard. If you are making cushions you want to last five or more seasons and you store them properly, this fabric pays for itself compared to replacing cheap cushions every year or two.
Budget alternative: outdoor-grade polyester canvas, coated polyester, or marine vinyl typically runs $8 to $25 per yard. These are meaningfully cheaper, and for covered patios or cushions that get brought inside regularly, they work well. The trade-off is faster UV degradation and less mold resistance. For a first project or cushions that will live under a pergola or umbrella, the budget fabric is a perfectly reasonable choice. Avoid regular indoor upholstery or decorator fabric outdoors, it will fade and rot quickly.
Batting, closures, adhesives, and everything else
- Dacron polyester batting (also sold as quilt batting or upholstery wrap): used to wrap foam for a softer, rounded look. Standard quilt batting from a fabric store runs $5 to $12 per yard. Buy outdoor-safe versions when possible.
- Zippers: use nylon coil zippers rated for outdoor use; avoid metal zippers that rust. A 20-inch zipper costs about $1 to $3. For budget builds, Velcro strips (hook-and-loop tape) are a reliable no-zip alternative at roughly $5 to $8 for a 2-yard pack.
- Outdoor thread: UV-resistant polyester thread is non-negotiable for anything sewn. Regular cotton thread degrades outdoors within one season. A spool of outdoor polyester thread runs about $3 to $5.
- Fabric adhesive / upholstery glue: for no-sew builds, use a flexible fabric adhesive rated for outdoor use (Beacon Fabri-Tac, Gorilla Fabric Glue). Avoid regular craft glue, which gets brittle in heat and cracks. A tube costs $4 to $8.
- Iron-on hem tape (no-sew hemming tape): a roll costs $3 to $6 and works well for clean edges without sewing on straight seams.
- Welt/piping cord: optional but gives a finished look. Pre-made outdoor piping runs $1 to $3 per yard; you can skip it to save time and money on a first build.
- Velcro tie straps: to anchor cushions to chair frames. A pack of 4 to 6 costs about $3 to $5.
- Spray waterproofing (like Scotchgard Outdoor or similar): adds an extra moisture barrier to budget fabrics. A can costs $8 to $12 and treats several cushions.
Budget sourcing tactics
- Check thrift stores and Facebook Marketplace for used patio cushions with good foam but damaged fabric — this is the single best way to get outdoor-grade foam for almost nothing.
- Watch for fabric store sales (Joann, Hobby Lobby) for 40 to 50 percent off outdoor fabric, which brings the per-yard price under $15 even for better-quality outdoor polyester.
- Buy foam in sheets rather than pre-cut blocks when you have multiple cushions to make — a full 24-by-72-inch sheet can yield multiple pieces and costs less per square inch than individual blocks.
- IKEA outdoor cushion covers can be a surprisingly cheap starting point — many are priced under $30 and are sized for standard dimensions; buy the cover and just source the foam insert separately.
- Repurpose old life jacket foam or dense camping foam for inner core layers (under a comfort topper) if you have it sitting around.
How to measure and make patterns the right way
Getting measurements right before you cut anything saves you from the most expensive mistake in cushion making: cutting fabric too small. I have done this. It is a painful way to waste a yard of $20-per-yard fabric.
Measuring your seat
- Measure the width of the seat front-to-back (depth) and side-to-side (width). Measure at the widest and narrowest points — seats are often slightly tapered, so write down both.
- Measure the desired finished thickness of your cushion. Most seat cushions are 2 to 4 inches thick; deep-seat cushions run 4 to 5 inches for the seat and 4 to 6 inches for the back.
- Note any obstructions: arm posts, leg cutouts, or slats that the cushion needs to fit around. Make a paper template of the exact seat shape if it is irregular.
- For bench cushions, measure the full length and note whether the bench has arms or back supports that limit overhang.
- Write everything down in a simple table: finished width, finished depth, finished thickness, foam dimensions, and fabric cut dimensions.
Seam allowances and cutting dimensions
Your fabric pieces need to be larger than your finished cushion size to account for seam allowances and the foam's bulk. Here are the standard rules: add 1 inch to each edge for seam allowance on a basic sewn cushion (so a 20-by-20-inch finished cushion needs a top and bottom panel cut at 22 by 22 inches). The boxing strip (the band of fabric that wraps the sides and determines thickness) should be cut to the cushion perimeter length plus 2 inches for joining, and to the cushion thickness plus 2 inches for seam allowance. For example, a 20-by-20-inch by 4-inch cushion needs a boxing strip approximately 82 by 6 inches (perimeter is 80 inches; thickness is 4 plus 2 equals 6).
For no-sew cushions or wrapped cushions, you do not need seam allowances in the traditional sense, but you do need wrapping allowance. Add two times the cushion thickness to each dimension, plus 3 to 4 extra inches for overlap and tucking. A 20-by-20-by-4-inch cushion needs fabric cut to at least 30 by 30 inches for a clean wrap-and-tuck.
Making a paper template
For any non-rectangular seat (rounded corners, tapered shapes, seats with cutouts for chair legs), make a paper template first. Lay kraft paper or newspaper directly on the seat, trace the outline, and cut it out. Test the template in the seat before cutting any fabric. For rectangular cushions, a straight ruler and tailor's chalk on the fabric back is enough, no template needed.
Step-by-step: make a basic sewn patio cushion
This method requires a sewing machine, but it produces the most durable and professional-looking result. Even if you have never sewn before, this is a manageable first project. A basic 20-by-20-inch seat cushion takes about 2 to 3 hours for a first-timer.
What you need for one 20x20-inch seat cushion
- 1 piece of outdoor foam, 20" x 20" x 3" (or your measured size)
- 3/4 yard of outdoor fabric (enough for top, bottom, and boxing strip)
- Outdoor-rated polyester thread
- 1 zipper (18" nylon coil, or substitute Velcro tape)
- Sewing machine with a size 16 or 18 needle (heavy fabric needle)
- Fabric scissors or rotary cutter and cutting mat
- Tailor's chalk or fabric marking pen
- Straight pins or clips
- Optional: 1/4 yard Dacron batting to wrap foam
Cutting
- Cut two panels for the top and bottom: 22" x 22" each (finished 20" x 20" plus 1" seam allowance on all sides).
- Cut the boxing strip: one long strip 6" wide and at least 82" long. You can piece multiple shorter strips together by sewing them end-to-end if your fabric is not wide enough.
- If adding a zipper, cut the boxing strip into two pieces: one 22" piece (zipper panel) and one 60" piece (main boxing). The zipper panel will be split and reassembled around the zipper.
- Optional: cut Dacron batting to 20" x 20" and wrap it around the foam, securing it with a few spots of fabric glue.
Sewing the zipper panel
- Fold the 22" boxing strip in half lengthwise and cut along the fold, giving you two strips 3" x 22".
- Fold the long edge of each strip under by 1/2", press, and pin the zipper between the two strips so the zipper pull is exposed on the outside.
- Stitch both sides of the zipper using a zipper foot. This becomes your zipper panel.
- Sew the short ends of the zipper panel to the ends of the main boxing strip to form one continuous loop. Open the zipper partway before you close up the cushion — this is a step it is easy to forget, and if you do not, you cannot turn the cover right-side-out.
Assembling the cover
- With the fabric right-sides together, pin the boxing strip to the top panel, matching corners carefully. Clip the seam allowance at corners to help the strip turn cleanly.
- Stitch around all four sides with a 1" seam allowance. Backstitch at the start and end.
- Attach the bottom panel to the other edge of the boxing strip the same way, leaving the zipper side open (or only partially sewn, if using Velcro instead of a zipper).
- Trim corners, press seams, and turn right-side-out through the zipper opening.
- Stuff the foam insert inside, close the zipper, and straighten the cover so seams sit at the edges.
Finishing
If you want tie-on straps to keep cushions from sliding off chair seats, cut two strips of fabric 3 inches by 20 inches, fold and sew them into flat ties, then stitch them to the back bottom edge of the cushion at the rear corners. Alternatively, buy a pack of pre-made outdoor tie straps for about $3 to $5. If you used a budget outdoor polyester rather than Sunbrella, spray the finished cushion with outdoor fabric protector spray (Scotchgard or similar) for extra moisture and stain resistance.
Making deep-seat patio cushions
Deep-seat cushions are bigger and thicker than standard seat cushions, typically 24 to 26 inches deep for the seat and 22 to 24 inches tall for the back, with the seat foam running 4 to 5 inches thick. A retail deep-seat set runs $100 to $200 at places like Wayfair and Home Depot. DIY brings that to $55 to $90 for a seat-and-back pair with decent foam and fabric. The construction method is the same as a basic sewn cushion, but the scale, foam choice, and core layering matter more.
Measuring deep seats correctly
Deep-seat frames often have a fixed back that the seat cushion needs to sit flush against. Measure the seat depth from the front edge to the back frame (not the overall frame depth), and measure the back panel's height from the seat surface to the top of the back. Width is measured at the widest interior point. Write down all three dimensions for both the seat and the back. Most deep-seat frames are between 24 and 28 inches deep for the seat and 24 to 28 inches tall for the back. Check whether the back cushion rests in a recessed frame or sits proud of it, as this affects your boxing strip width.
Choosing foam for deep-seat builds
For deep-seat cushions that take full body weight and back pressure, foam density matters more than in a light accent cushion. For the seat: use outdoor reticulated foam at 2.0 to 2.5 lb/ft³ density and ILD 35 to 45 for good firm support. For the back: a slightly softer foam at ILD 25 to 35 is more comfortable. A layered core (2 to 3 inches of firm base foam plus 1 to 2 inches of softer comfort foam on top, wrapped in a thin layer of Dacron batting) gives the best combination of support and comfort at a reasonable cost. Buying two different foam types in smaller pieces is more affordable than buying a single thick premium block.
Construction tips for deep-seat cushions
- Glue foam layers together with upholstery adhesive spray before wrapping in batting — this stops them from shifting inside the cover.
- Use a heavier boxing strip for the seat (5 to 6 inches wide for a 4 to 5-inch seat cushion) to maintain the cushion shape over time.
- Deep-seat covers benefit from a mesh or drain-friendly bottom panel instead of solid fabric, which allows any trapped moisture to escape even if the foam drains well.
- Add a zipper on the back or underside panel, not the side boxing — deep-seat cushions are heavy and awkward to stuff, and rear-access zippers make it much easier.
- Tufting a deep-seat back cushion (pulling a button through the foam and cover from front to back) adds a finished look and keeps the cover from billowing. Use a long upholstery needle and strong outdoor thread or waxed twine.
- For the back cushion, leave 1/4 to 1/2 inch of clearance between the foam and the frame on each side so the cover does not pull taut when the cushion is compressed.
If you want to go deeper on deep-seat construction, including foam density charts and frame-specific fitting tips, the deep-seat patio cushion guide on this site covers the full process in detail. See the guide on how to make deep seat patio cushions for a full walkthrough of foam selection, density charts, and frame-specific fitting tips.
No-sew patio cushions: four methods that actually work
No-sew cushions are real and they hold up well, as long as you use the right adhesives and closure methods. They take 30 to 60 minutes per cushion and require zero equipment beyond scissors and a hair dryer or iron. For step-by-step instructions on how to make patio cushions without sewing, see the dedicated no-sew patio cushion guide on this site. The trade-off is that they are slightly less durable at the seams than a sewn cushion and harder to wash inside a machine. For covered patios, seasonal use, or if you hate sewing, these work great.
Method 1: Wrap and tuck (no adhesive needed)
This is the fastest method and requires no glue or tools. Cut your fabric to approximately 2.5 times the cushion thickness plus the cushion dimension on each side (see the measurement section above). Center the foam on the wrong side of the fabric. Fold one side of the fabric up and over the foam, then fold the adjacent sides like you are gift-wrapping a box, pulling the fabric snug as you go. Tuck raw edges under and secure with Velcro strips or iron-on hem tape to keep folds from springing open. This works best for cushions that will sit in a chair or on a bench where the tucks stay hidden underneath.
Method 2: Iron-on hem tape with Velcro closure
Cut two fabric panels (top and bottom) at cushion size plus 2 inches on each side. Fold the edges of each panel under by 1 inch and press with an iron. Apply iron-on hem tape inside the folded edge and press firmly according to the tape instructions (usually 10 to 15 seconds per section with a damp cloth between the iron and fabric). Join the top and bottom panels around three sides using additional hem tape, leaving one short side open to insert the foam. Stuff the foam, then close the open edge with a strip of sew-on or iron-on Velcro. This gives a clean, almost-sewn appearance with no machine required.
Method 3: Fabric adhesive seam method
This works best for thinner cushions (2 to 3 inches). Use a flexible outdoor-rated fabric glue (Beacon Fabri-Tac or similar). Apply glue to the turned-under edge of one panel, press the other panel's edge against it, and clamp with binder clips until dry (usually 30 to 60 minutes for a working bond, 24 hours for full cure). The key is using enough glue and clamping firmly. This method fails when people rush it and pull the seam before the glue is fully set. Leave the last edge open, stuff the foam, then glue it shut.
Method 4: Velcro-only closure for slipover style
Cut a fabric piece large enough to slip over the entire foam block like an envelope. Hem all edges with iron-on tape or by folding and gluing. Sew-on or peel-and-stick Velcro on the underside flaps holds the cover closed. This style is the easiest to remove and wash. It is best suited for cushions that sit flat on a bench or the floor, since it does not hug the foam as tightly as a fitted cover. The full range of no-sew options, including glue types and more closure ideas, is covered in the dedicated no-sew patio cushion guide on this site.
Making removable slipcovers for existing cushions
If your foam is still in good shape but the fabric cover is faded, torn, or mildewed, a slipcover is the cheapest possible fix. You keep the foam, buy only fabric, and skip the whole assembly process. A slipcover for a 20-inch seat cushion uses less than a yard of fabric and takes under an hour to make. For step-by-step instructions on how to make patio cushion slipcovers, see the slipcover guide.
Fitting the slipcover
Measure your existing cushion directly: width, depth, and height including the boxing depth. For a fitted slipcover, you want the fabric to be cut snug, not loose. Add 1 inch seam allowance to sewn versions and 2 inches wrapping allowance to no-sew versions. If the cushion has a rounded or irregular shape, lay it flat and trace the top and bottom directly onto kraft paper to make exact templates. A sloppy fit is the most common slipcover failure, so take this step seriously.
Fastening options for slipcovers
- Zipper on one short end: cleanest finish, easiest to remove for washing. Use a 16 to 20-inch nylon zipper for most seat cushions.
- Velcro on the underside seam: fastest to make, slightly less polished. Use 1-inch-wide heavy-duty Velcro for a strong hold.
- Button-and-loop closure: adds a decorative detail; good for dining chair cushions where the back of the cushion is visible.
- Ties at the back corners: simple, low-cost, and easy to adjust for different cushion thicknesses.
- Envelope-back style (overlapping fabric panels, no closure hardware): zero hardware cost, very beginner-friendly, best for flat bench cushions.
Quick cover hacks for existing cushions and built frames
For built-in bench frames or box seats without removable cushions, a box-style slipcover is often the easiest solution. Think of it as sewing a fitted pillowcase with a boxing strip, sized to slip over the foam insert that sits on the frame. Use Velcro strips on the underside of the cover and the bottom of the foam to keep it from sliding. Another quick hack: IKEA outdoor cushion covers are often sized for standard 20-inch or 24-inch dimensions and are priced under $30. If your existing foam fits, just buy the cover and slip it on. This is the cheapest slipcover solution available if the dimensions work out.
For a full walkthrough of fitting, pattern-drafting, and fastening options for slipcovers, the patio cushion slipcover guide on this site goes deeper on every closure style and covers tricky shapes like L-shaped sectionals and built-in bench corners.
Common problems and how to fix them
| Problem | Likely Cause | Fix |
|---|---|---|
| Cushion cover puckers at corners | Seam allowance not clipped at corners before turning | Clip a small triangle of fabric from each corner before turning right-side-out |
| Foam soaks up water and stays wet | Using indoor foam instead of reticulated outdoor foam | Replace foam with open-cell reticulated (dry-fast) foam |
| Fabric fades or rots in one season | Using indoor or non-UV-rated fabric outdoors | Switch to outdoor-rated polyester or solution-dyed acrylic; spray budget fabrics with UV protector |
| Boxing strip puckers on curves or corners | Strip not notched or clipped before sewing | Clip into the strip's seam allowance every inch or two around corners |
| Cover will not fit over foam after sewing | Fabric cut too small or seam allowance miscalculated | Always cut foam 1/2" smaller than your finished cover dimensions — the foam should compress slightly into the cover |
| Cushion slides off chair constantly | No tie straps or anti-slip backing | Add fabric tie straps to rear corners, or glue a strip of non-slip rubber mat to the bottom |
| No-sew glue seam pulls apart | Glue not fully cured before use, or wrong adhesive used | Use flexible outdoor fabric adhesive, clamp seams for at least 24 hours before use |
| Mold or mildew on fabric | Cushions stored wet or not dried before storage | Dry completely before storage, treat with mildew remover spray, consider Scotchgard treatment |
Waterproofing, maintenance, and storage
Making cushions that last multiple seasons is about care as much as construction. The biggest longevity killers are UV exposure and trapped moisture. If you used a premium solution-dyed acrylic like Sunbrella or Outdura, the fabric handles UV on its own (5 to 10-year fade warranties are standard for those lines). For budget outdoor polyester, apply a spray waterproofing treatment at the start of each season. One can covers several cushions and adds meaningful protection.
For cleaning, most outdoor fabric covers can be spot-cleaned with mild soap and water. Removable covers with zippers or Velcro can be machine-washed on a gentle cycle (cold water, air dry only, dryers can shrink and warp outdoor fabric). Never store cushions while they are damp. If they get soaked in a rainstorm, stand them on edge in a sunny spot to drain and dry completely before bringing them in. Reticulated foam dries quickly, but even dry-fast foam can develop surface mold if packed in a bag while still slightly moist.
For winter or extended storage, stack cushions in a breathable storage bag or a deck box with ventilation, not sealed plastic bags that trap humidity. If you live somewhere with hard winters, bringing cushions indoors extends their life by years compared to leaving them outside under a cover.
Full project cost breakdown
| Project Type | Foam Cost | Fabric Cost | Other Materials | Total DIY Cost | Retail Comparison |
|---|---|---|---|---|---|
| Basic 20" seat cushion (sewn) | $17–$25 | $8–$15 | $5–$8 (thread, zipper) | $30–$48 | $15–$50 retail (sale prices exist) |
| Deep-seat cushion set (seat + back) | $35–$55 | $20–$30 | $8–$12 | $63–$97 | $100–$200 retail |
| 42" bench cushion (sewn) | $20–$35 | $12–$20 | $5–$8 | $37–$63 | $40–$90 retail |
| No-sew seat cushion | $17–$25 | $8–$15 | $8–$12 (adhesive, Velcro) | $33–$52 | $15–$50 retail |
| Slipcover only (reuse existing foam) | $0 | $8–$15 | $3–$6 (closure hardware) | $11–$21 | N/A — extends existing cushion life |
| 6 seat cushions (bulk materials) | $90–$130 | $40–$70 | $15–$20 | $145–$220 | $90–$300 retail (varies widely) |
These estimates use mid-range outdoor polyester fabric at $10 to $15 per yard and standard-density outdoor foam. Using premium Sunbrella fabric adds $15 to $30 per cushion to the fabric cost but gives you a significantly longer service life. Using thrifted foam or repurposed fabric can drop your cost by 30 to 50 percent versus these estimates.
FAQ
What’s the cheapest way to make durable patio cushions that still last?
Use reticulated (dry‑fast) foam or a dense commodity foam core wrapped in water‑resistant batting, paired with an inexpensive outdoor fabric or coated canvas for the cover. Buy foam cut‑to‑size (or cut a sheet yourself), choose mid‑range outdoor polyester/canvas ($8–$25/yd) rather than premium solution‑dyed acrylic if cost is critical, and make removable covers so fabric takes the wear. Thrift or repurpose old cushions, mattress toppers, or camping pads for fill to cut cost further. Aim for a simple sewn envelope cover with a zipper or Velcro for greatest longevity/value.
How much will it cost me to make a standard 20"×20" seat cushion (materials only)?
Typical material cost ranges: foam block (24×24×3–4") ≈ $15–$40 depending on foam type; fabric (1/2–1 yd) ≈ $8–$40 depending on grade; batting/wrap ≈ $3–$10; zipper/Velcro ≈ $1–$5. Total materials: roughly $27–$95. Using thrifted fill or low‑cost polyester fabric can push the low end under $20; choosing reticulated foam and Sunbrella raises cost toward the high end.
Is reticulated (dry‑fast) foam worth the extra money for outdoor cushions?
Yes, if cushions will sit outdoors frequently and get wet. Reticulated foam drains and dries quickly, resists mold and mildew, and dramatically reduces rot problems. If budget is tight and cushions are stored when not in use or used mostly under cover, a denser indoor polyurethane foam wrapped in a water‑resistant layer can be an acceptable lower‑cost compromise.
What foam density and firmness should I pick for seat vs back cushions?
For seat cushions: target foam density ≥ 1.8 lb/ft³ (≈29 kg/m³); ILD (firmness) around 30–45 for daily seating. For high‑use items, choose HR foam at 2.5–3.0+ lb/ft³. For back cushions: softer foam (ILD ≈15–30) or a softer top layer is typical. A common approach is a firmer core layer with a softer comfort layer on top.
How do I measure and pattern cushions (including deep‑seat cushions)?
Basic rule: pattern length = finished width + 2×seam allowance (usually 1/2" each seam) + any piping; pattern height = desired thickness + 2×seam allowance + 1/2" if you plan boxed corners. For square/rectangular cushions: front/back panels = cushion footprint (e.g., 24×24) ± seam allowances; side/bottom skirt (box) = perimeter/width equal to cushion thickness. For deep‑seat cushions (24–26" footprint, 4–6" thick), add extra seam allowance for thicker seams and consider a zipper along one side for easier foaming insertion and future cover removal.
What are low‑cost fabric alternatives and which are best for outdoors?
Lowest cost: coated vinyl and indoor/outdoor polyester blends ($8–$15/yd) — water resistant but less UV‑stable. Mid cost: durable outdoor polyester/canvas and solution‑dyed polyester blends ($15–$30/yd) — better fade resistance. Premium: solution‑dyed acrylics like Sunbrella/Outdura ($30–$80/yd) — best UV/fade/mildew performance and longest warranties. For budget projects, choose heavy‑weight outdoor polyester or coated canvas and plan to store covers when not in use to extend life.