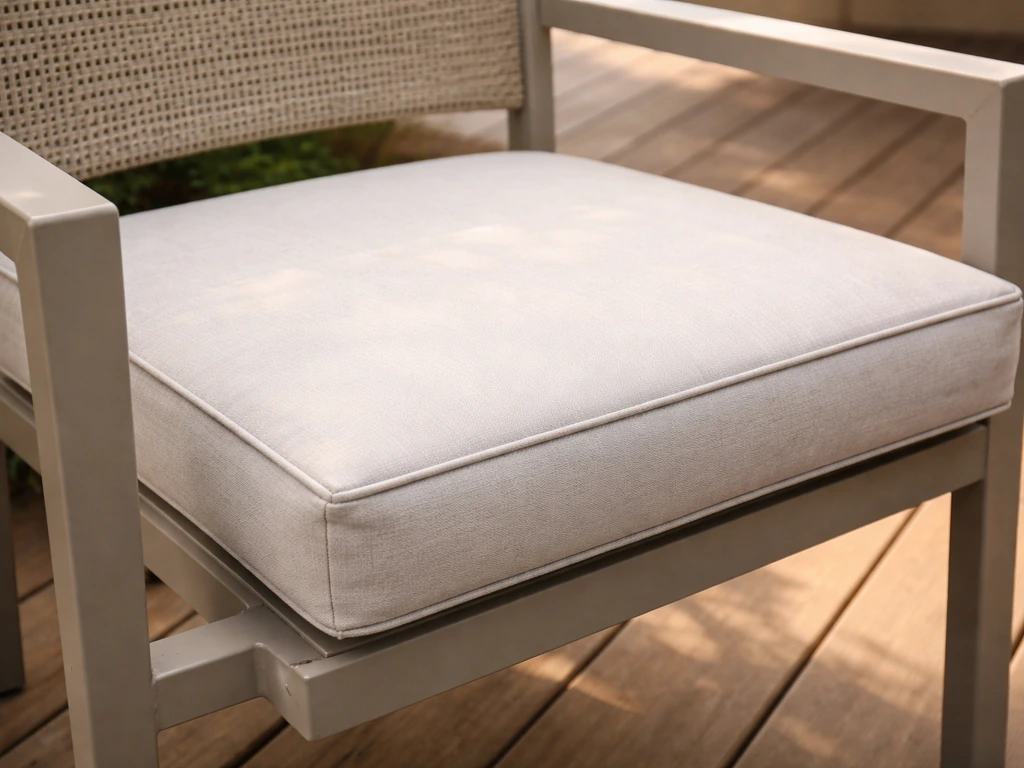
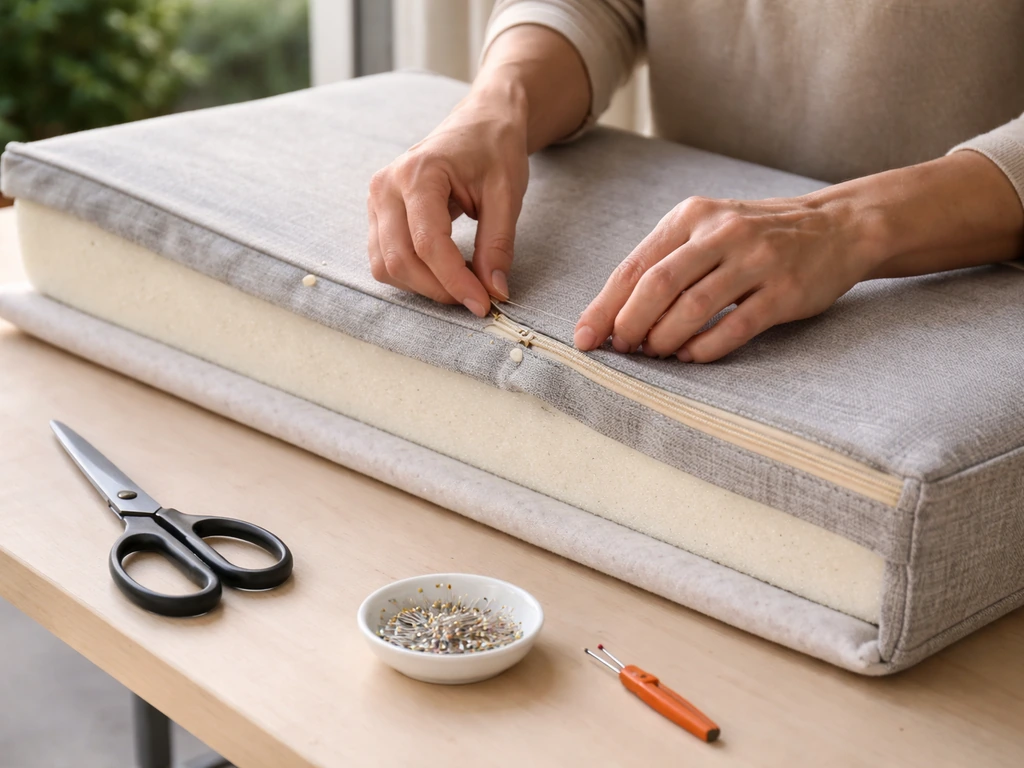
You can make deep-seat patio cushions at home for roughly $40–$80 per cushion depending on fabric and foam choices, compared to $100–$300+ for a single replacement cushion from a retailer. The process takes about 3–5 hours per cushion once you have your materials, and you end up with something cut to your exact seat dimensions, in fabric you actually like, with foam that's rated for outdoor use. This guide walks you through everything: picking the right foam thickness and density, measuring your deep seats correctly, cutting and sewing the cover, and finishing with closures that hold up outside.
How to Make Deep-Seat Patio Cushions: Complete DIY Guide

Maren Grady
17 Jul 2026
What Deep-Seat Patio Cushions Actually Are
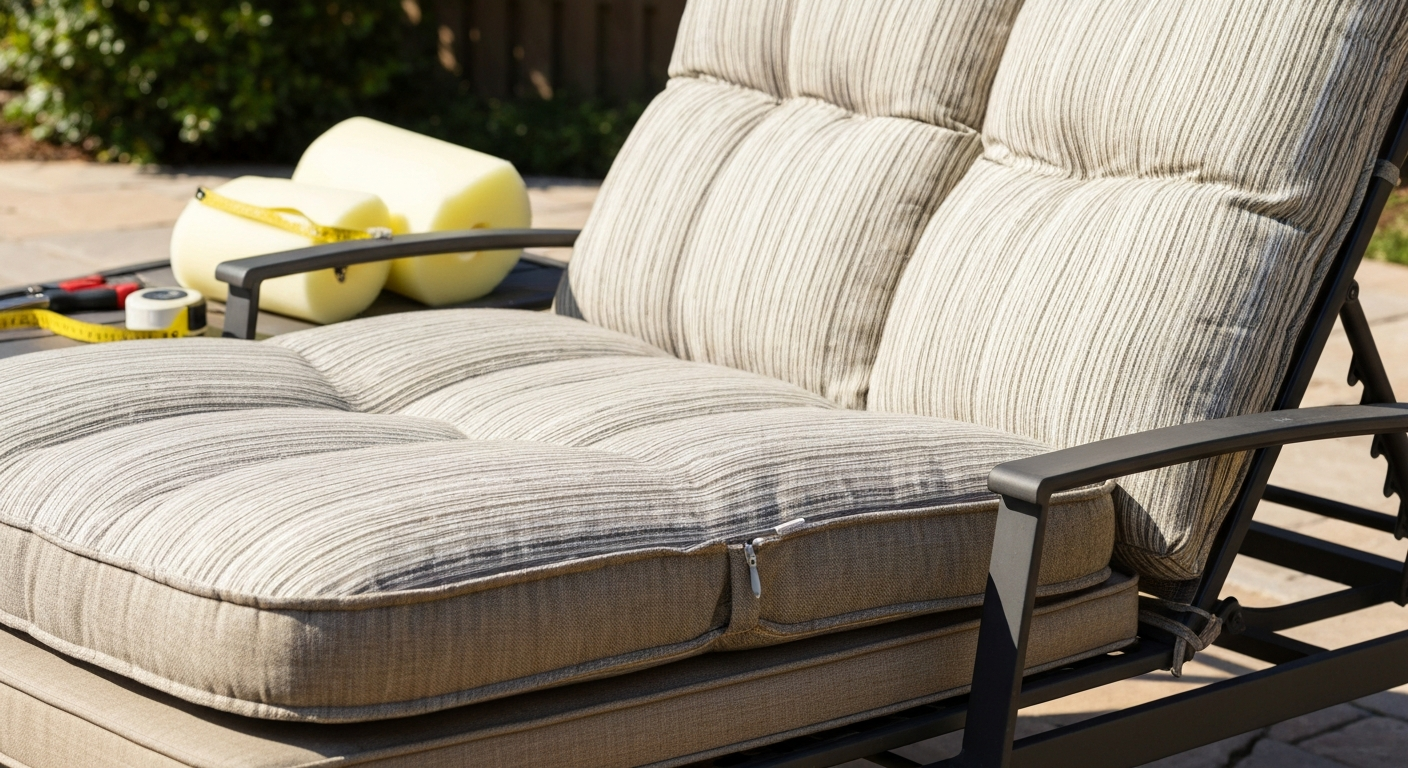
Deep-seat patio furniture has a seat depth of roughly 24–28 inches from front to back, compared to 20–22 inches on a standard sofa or dining chair. RoomSketch3D's 'Standard Sofa and Loveseat Sizes: Complete Reference' notes standard seat depths of about 20–22 inches and classifies deep/lounge seats as commonly around 24–28 inches. That extra depth is what makes lounging comfortable, but it also means standard off-the-shelf cushions almost never fit properly. They're either too short and slide around, or too shallow front-to-back so you feel like you're perching rather than sinking in. Making your own solves both problems because you measure your actual frame and build to those exact numbers.
For this project, plan on spending one weekend from start to finish for a pair of seat cushions. A single deep-seat cushion (seat only, no back) typically requires about 1.5–2 yards of 54-inch outdoor fabric, a foam core 4–6 inches thick, and optional Dacron batting. I'll cover back cushions briefly too, but the seat is where the complexity lives, so that's where we'll spend most of our time.
Materials and Tools You'll Need
Getting your materials list right before you start saves you two extra trips to the fabric store, which I can tell you from experience is exactly how a two-hour project turns into a two-day project. Here's everything you need, organized by category.
Fabrics
- Sunbrella or comparable solution-dyed acrylic outdoor fabric (most durable, UV- and mildew-resistant; roughly $20–$35/yard)
- Polyester canvas outdoor fabric (budget option; $8–$15/yard, less UV-resistant than acrylic)
- Outdoor vinyl or Phifertex mesh (good for very wet climates; stiff to sew)
- Pre-washed cotton canvas drop cloth (no-sew or low-sew budget alternative; $10–$20 for a whole cloth)
Foam and Batting
- Reticulated (dry-fast/quick-dry) open-cell polyurethane foam, 4–6 inches thick (primary core for outdoor use)
- High-resilience (HR) polyurethane foam as a support base layer if doing a layered build
- Dacron/bonded polyester batting wrap, 3/4 inch thick or 8–10.5 oz/sq yd weight (softens edges and adds crown)
- Spray adhesive rated for foam (such as 3M 77 or similar) to bond layers
Hardware and Closures
- Continuous/coil nylon outdoor zipper tape (rust-proof; sold by the yard) plus zipper pulls, or pre-made #5 coil zipper
- Outdoor Velcro (sew-on, 1-inch wide; sold by the yard)
- Fabric ties cut from matching fabric or nylon webbing (for tie-on cushions)
- Stainless or brass grommets (optional, for drainage holes in cushion base)
Tools
- Sewing machine with a heavy-duty needle (size 16 or 18, suitable for canvas/upholstery weight fabric)
- Electric carving knife or serrated bread knife (for cutting foam cleanly)
- Metal straightedge ruler and a permanent marker or chalk fabric marker
- Sharp rotary cutter and cutting mat, plus fabric shears
- Long metal ruler or T-square for measuring and marking foam
- Tape measure (flexible, at least 60 inches)
- Pins and wonder clips (clips work better on thick outdoor fabric than pins)
- Zipper foot for your sewing machine
- Iron and press cloth (optional but helpful for seam pressing)
Choosing the Right Foam for Deep Seats
Foam is where most DIY cushion projects quietly fail. People buy whatever the craft store has on the shelf, and six months later the cushion has compressed into a sad pancake. For outdoor deep-seat cushions, you need to pay attention to three numbers: density (PCF, or pounds per cubic foot), firmness (ILD, or indentation load deflection), and thickness.
Density tells you how durable the foam is. Higher density foam resists compression set over time, meaning it bounces back after you stand up instead of slowly flattening. ILD tells you how firm the foam feels when you sit on it. A 25 ILD foam feels softer and more plush; a 40–45 ILD feels firmer and more supportive. For outdoor seating, I'd aim for at least 1.8 lb/ft3 density so the foam doesn't break down within a season or two. For deep-seat lounge furniture where you really sink in, a softer ILD (25–35) is comfortable; for upright dining-adjacent seating, go firmer (35–45).
The big outdoor-specific rule is to use reticulated foam (also sold as 'dry-fast' or 'quick-dry' foam). Its open, porous cell structure lets water drain straight through and air circulate, so the cushion doesn't stay wet and grow mildew. Regular closed-cell upholstery foam traps moisture and will smell like a wet dog within one rainy season. Reticulated foam typically comes in densities around 1.9–2.1 lb/ft3 (roughly 31–34 kg/m3) with ILD values in the 25–45 range depending on grade.
| Foam Type | Density (PCF) | ILD Range | Best For | Approx. Cost (4" x 24"x 24") |
|---|---|---|---|---|
| Reticulated dry-fast foam | 1.9–2.1 | 25–45 | Outdoor cushions left in weather | $25–$45 |
| High-resilience (HR) polyurethane | 1.8–3.1 | 25–50 | Support base layer (indoor or under cover) | $20–$40 |
| Standard polyurethane (craft store) | 1.2–1.5 | 20–35 | Indoor only; not recommended outdoors | $12–$20 |
| Memory foam | 3.0–5.0 | 10–14 | Not suitable outdoors (traps moisture) | Not recommended |
For thickness, deep-seat cushions should be at least 4 inches thick, and 5–6 inches is the sweet spot for true lounge comfort. Anything less than 4 inches on a 24-plus-inch seat depth will make you feel every slat or weld of the frame beneath you. Major retailers and custom cushion suppliers consistently list their deep-seat replacement cores in the 4–6 inch range for this reason. See Custom Deep Seating Replacement Cushions - Cushion Source for replacement deep‑seat cores commonly offered in 4–6 in thickness.
Layered Foam Builds for Extra Depth and Comfort
If you want that premium, sink-in feel, a single-layer foam core is fine but a layered build is better. The classic outdoor approach is: a firm reticulated foam base (3–4 inches, higher ILD for support), topped with a softer comfort layer (1 inch, lower ILD), then wrapped in Dacron batting to soften the edge profile and give the cushion that rounded, plump look. Glue layers together with spray adhesive before wrapping. This also solves the common problem of foam feeling stiff at the edges because the batting transitions the hard foam corner into a gentle curve.
Batting, Wrapping, and Support Options
Dacron batting (bonded polyester fiber wrap) is the layer that transforms a block of foam into a cushion that looks like it came from a furniture store. It rounds the corners, adds a soft surface feel, and gives the cover something gentle to press against instead of hard foam edges poking through the fabric. Upholstery suppliers sell batting in weights measured in ounces per square yard: common options include 2.5 oz, 4.5 oz, 8 oz, 10.5 oz, and 14 oz. For a 4–6 inch deep cushion, 8–10.5 oz is the right range. Heavier batting (14 oz) is better for thicker back cushions where you want more visible crown.
To wrap the foam, cut the batting slightly larger than your foam block on all sides, spray the foam lightly with adhesive, lay it on the batting, and fold the batting up and over each face, trimming at corners so there's no bulk. Think of wrapping a present, but with foam. Glue the batting flaps down lightly so they hold while you stuff the cover.
If your patio chair has a slatted or open-weave base, the cushion may sag through the gaps over time. A quick fix is to glue or staple a thin sheet of outdoor-grade plywood (1/4 inch) to the bottom face of the foam before batting. This spreads weight across the slats and eliminates the hammocked feeling. Another option is to sew a fitted plywood pocket into the bottom panel of the cover using a sturdy fabric sleeve, which keeps the board in place without permanent attachment to the foam.
How to Measure Deep Seats and Size Your Patterns
This step is where I've seen the most mistakes, including my own early ones. Rushing the measuring costs you an entire set of cut fabric, so slow down here. Use a rigid metal tape measure, not a floppy fabric one, for seat depth and width. Measure every seat individually even if they look identical. Patio furniture frames are often slightly inconsistent, especially cast aluminum sets.
Step-by-Step Measuring Guide
- Measure seat WIDTH: measure the inside width of the seat frame from left rail to right rail at the front edge, then again at the back. If the back is narrower (a trapezoid shape), record both measurements.
- Measure seat DEPTH: measure from the front edge of the frame (not including any front lip or overhang) straight back to where the seat meets the back rest. Use a rigid ruler laid flat across the seat if needed. This is your usable seat depth.
- Measure cushion THICKNESS: decide how thick you want your finished cushion (4–6 inches for deep seats) and note this for your foam order.
- Measure CORNER DETAILS: if the seat has curved or angled front corners, trace the corner shape onto paper with a pencil to capture the radius. Many deep-seat chairs have rounded front corners you need to account for.
- Add seam allowance: add 1/2 inch on all sides to every pattern piece for seam allowances. For the top and bottom panels, also add 1 inch extra in the depth direction only to allow the cushion to fit snugly against the back rest.
- Draft your pattern pieces on paper first: top panel, bottom panel, and boxing strip (the side band that runs around the perimeter and determines cushion thickness).
- Label every piece: mark grain direction (run the fabric grain parallel to the seat depth for best drape), and mark which edge gets the zipper opening.
For a standard rectangular deep seat measuring 26 inches deep by 28 inches wide with a 5-inch thick cushion, your pattern pieces work out like this: top panel = 27 x 29 inches (seat dims plus 1/2 inch seam allowance on each side), bottom panel = same, and boxing strip = 5 + 1 inch seam allowance = 6 inches tall, cut to the total perimeter length of the cushion. The boxing strip is often split into a front/side piece and a back zipper panel for easier construction.
Pattern Tips for Irregular Seat Shapes
Trapezoidal and curved seats are more common in patio furniture than rectangular ones. For a trapezoid, just draft the top panel to match the actual shape: wider at front, narrower at back. The boxing strip on each side will be slightly angled, which means you cut each side panel piece individually rather than from one continuous strip. For curved front corners, cut the corner radius into both the top panel and the corresponding section of boxing strip, then clip the boxing strip seam allowance every 1/2 inch as you sew around the curve so it bends without puckering.
Cutting Foam and Fabric Safely and Accurately
Cutting foam cleanly is the step that surprises most beginners because a regular utility knife tears and compresses the foam rather than slicing it. The best tool is an electric carving knife (the kind used for Thanksgiving turkey), which vibrates rapidly and glides through foam without compression. A serrated bread knife works too if you use long, even strokes without pressing down. Mark your cut lines with a permanent marker and a metal straightedge, and cut on a hard surface with the foam resting flat.
For fabric, a rotary cutter on a cutting mat gives the cleanest edges on outdoor canvas and acrylic weaves. Fabric shears work fine too if they're sharp. The main rule: don't try to cut multiple layers of heavy outdoor fabric at once. Cut one layer at a time for accurate lines. Mark your pattern pieces with a chalk marker or tailor's chalk on the wrong side of the fabric, then cut just outside the line (the chalk line itself becomes the seam line, not the cut line).
Safety note: when cutting foam, keep fingers well clear of the blade path. Electric carving knives are faster than they feel, and foam is grippy enough to redirect a blade unexpectedly. Always cut away from your body and keep the foam flat so it doesn't flex and change the cut angle mid-slice.
Constructing the Cushion Core: Step-by-Step Sewing and Assembly
Before you touch the sewing machine, finish building your foam core. Glue your layers together (if using a layered build) with spray adhesive, let them cure for 10 minutes, then wrap in Dacron batting and glue the batting edges down. Set the foam core aside while you sew the cover. It's much easier to sew a cover that's slightly smaller than the foam and then stretch it on, rather than sewing a cover that's too large and hoping the foam fills it out.
Sewing the Box Cushion Cover
- Cut all pattern pieces as described above: top panel, bottom panel, front/side boxing strip (one continuous piece or separate side strips), and back zipper panel (same height as boxing strip, same width as the back edge of the cushion).
- Sew the boxing strip pieces together end to end (if cut in sections) to form the full perimeter band. Press seams open.
- Attach the back zipper panel to the boxing strip: sew one long edge of the zipper panel to one end of the boxing strip with a 1/2 inch seam. This creates a continuous band that runs all the way around.
- Install the zipper in the back panel seam before attaching to the top and bottom panels (see Closures section below).
- Pin or clip the boxing strip to the top panel, right sides together, starting at the center back and working toward the front corners. At each corner, clip the boxing strip seam allowance every 1/2 inch so it bends around the corner (or corner radius) without pulling.
- Sew the boxing strip to the top panel with a 1/2 inch seam allowance, using a heavy-duty needle. Backstitch at the start and end.
- Repeat for the bottom panel, leaving the zipper opening accessible.
- Open the zipper partway, then sew the remaining open side of the boxing strip to the bottom panel.
- Clip all corners, trim seam allowances at corners to reduce bulk, and turn the cover right-side out through the open zipper.
- Check the fit on your foam core before stuffing: the cover should be slightly snug, which ensures the finished cushion looks full and holds its shape.
One thing that tripped me up early: sewing the boxing strip to the top panel first (rather than trying to do top and bottom simultaneously) makes it much easier to control the fabric and keep seam allowances consistent. Also, if your sewing machine struggles with the multiple layers at corners, switch to a hand-stitching needle for just those few inches. Heavy-duty upholstery thread is worth using throughout because regular polyester thread can break down faster outdoors.
Reinforcing for Outdoor Durability
Outdoor cushion covers take a beating, so a few reinforcements pay off. Sew all seams twice (once at 1/2 inch, once at 1/4 inch inside that) for double-stitched strength. Use a French seam or flat-fell seam on the top and bottom panel connections if you can, as these enclose raw edges and prevent fraying from UV exposure. If your fabric is loosely woven, apply a seam sealant (like Dritz Fray Check) to the raw edges before turning the cover right-side out.
Closures and Fastenings: Zippers, Velcro, Ties, and No-Sew Options
The closure you choose matters more for outdoor cushions than for indoor ones because it affects both water drainage and ease of removing the cover for washing. Here's how each option works and when to use it.
Installing an Outdoor Zipper
Use a nylon coil zipper (size #5 or larger), not a metal zipper. Metal zippers corrode outdoors. For the back panel of a deep-seat cushion, cut your zipper tape 2 inches longer than the opening. Fold the back panel right sides together along the zipper seam line, press the fold, then unfold and baste the seam closed with a long stitch. Press the seam open. Center the zipper face-down over the seam on the wrong side, pin it in place, and then use a zipper foot to stitch 1/4 inch from the seam on both sides. Remove the basting stitches so the zipper opens freely. A hidden zipper is done similarly but the zipper pull sits inside the seam rather than on the outside face, which looks cleaner and prevents the pull from snagging furniture.
Velcro Closures
Velcro is faster to install than a zipper and works fine for cushions you plan to remove and store seasonally. Use outdoor-rated sew-on Velcro in 1-inch width. Sew the hook side to the inside of the bottom panel at the back edge, and the loop side to the inside of the top panel boxing strip, so when the cushion is closed the Velcro grips without any visible seam gap. The limitation of Velcro outdoors is that grit and debris clog the hook side over time, reducing grip. Plan on cleaning the Velcro every few months with a stiff brush.
Tie-On Cushions
Ties are the best option for chairs with rails or spindles you can wrap fabric around. Cut ties 18–24 inches long from matching fabric (fold 1-inch-wide strips in half and stitch closed) or from 1-inch nylon webbing. Attach two ties at the back corners of the cushion bottom, sewn through all layers with a reinforced box stitch. Position them to wrap around the back legs or back rail of the chair frame. For windy areas, add two more ties at the front underside corners. Ties don't waterproof or seal the cover but they prevent cushions from blowing across the yard.
No-Sew Closures
If you're making a no-sew cover (useful for budget builds or testing a new cushion size before committing to full sewing), fabric glue and iron-on hem tape are your main tools. Fold the fabric tightly around the foam like a wrapped gift, secure folded edges with fabric glue or hem tape, and use Velcro adhesive strips at the back to close the opening. It won't last as long as sewn construction but it's a solid short-term solution, especially for covered outdoor spaces. This approach pairs well with drop-cloth fabric, which is already hemmed on two sides.
Budget Alternatives and No-Sew Options
Making cushions cheaply comes down to where you compromise: foam, fabric, or labor. For step-by-step low-cost methods and material lists, see a guide on how to make patio cushions cheap. The best savings are usually in fabric. A canvas drop cloth (often under $20 for a large one) can cover two or three deep-seat cushions and holds up reasonably well in covered outdoor spaces. It's not UV-rated like Sunbrella, but if your furniture lives on a covered porch it's a solid budget choice. For foam, check local upholstery shops for offcuts, which are often sold for a few dollars per piece and can be layered to reach your target thickness.
Recycled foam from old indoor cushions can work as a temporary filler but almost never performs well long-term outdoors. If you're pulling foam from a retired sofa, at minimum wrap it in a layer of reticulated foam (glued around the outside) to allow drainage, and accept that you'll be replacing it within a season or two. It's a good way to test a cover pattern before investing in proper outdoor foam.
Is It Actually Cheaper to Make Your Own?
For most deep-seat cushion projects, yes, making your own is cheaper, but the margin depends on your fabric choice. For a deeper cost comparison and practical tips on whether is it cheaper to make your own patio cushions, see our detailed guide. Here's a realistic cost breakdown for one 26x28-inch, 5-inch-thick deep-seat cushion.
| Item | DIY Cost (Budget) | DIY Cost (Mid-Range) | Retail Equivalent |
|---|---|---|---|
| Reticulated foam core (5" x 26" x 28") | $30–$40 | $35–$50 | Included in retail price |
| Dacron batting | $5–$8 | $8–$12 | Included in retail price |
| Fabric (1.5 yd @ $10–$30/yd) | $15–$20 | $40–$55 | Included in retail price |
| Zipper or closure hardware | $3–$6 | $5–$8 | Included in retail price |
| Thread, adhesive, misc. | $3–$5 | $5–$8 | Included in retail price |
| TOTAL per cushion | $56–$79 | $93–$133 | $120–$300+ |
The biggest variable is fabric. Sunbrella-grade solution-dyed acrylic at $25–$35 per yard pushes your per-cushion cost up significantly, but you're getting a cover that can last 5–8 years outdoors versus 1–3 years for budget polyester. Over the long term, the premium fabric is usually the better value because you don't replace the foam again every couple of years. If you're making cushions for four or more chairs, the savings over retail become much more significant, and you have the added benefit of exact sizing.
Common Problems and How to Fix Them
Cushion Compresses and Doesn't Bounce Back
This is almost always a foam density problem. If you used craft-store foam rated below 1.5 lb/ft3, it will compress permanently within one season of regular use. The fix is to replace the foam core with higher-density reticulated outdoor foam (1.8–2.1 lb/ft3 minimum). If your cover is in good shape, you don't need to rebuild the whole cushion: just unzip, remove the old foam, and stuff in a new core.
Water Pooling Inside the Cushion
If you didn't use reticulated foam, water has nowhere to go and pools inside the cover. Short-term fix: add small drainage grommets to the bottom panel corners using a grommet kit (1/4 inch brass or stainless grommets work fine). Long-term fix: replace the foam core with dry-fast reticulated foam, which drains by design. Also check that your seams aren't completely waterproof: a tiny gap in the zipper seam is actually fine for outdoor cushions because it allows drainage, unlike indoor upholstery where you'd want a tight seal.
Mildew Smell or Visible Mold
Mildew on fabric is usually surface-level and treatable with a 1:4 bleach-to-water solution (safe for solution-dyed acrylic fabrics like Sunbrella; test on a hidden corner first for other fabrics). Mildew inside the foam means the foam has been saturated repeatedly and hasn't dried properly. At this point the foam needs to be replaced. Prevention is the real fix: always store cushions in a dry area or use breathable storage bags during rain, and allow cushions to dry completely before stacking or covering.
Cover Doesn't Fit Tightly
A loose cover looks sloppy and shifts around on the cushion. This usually happens when the seam allowances were cut too generously or the foam was measured loosely. Fix this by taking the cover in at the seam lines (rip the seam and re-sew 1/4 inch deeper). As a preventative measure, when making the initial pattern always cut the cover so the foam fits snugly, almost like you have to stretch the fabric slightly to close the zipper. The foam compresses a little, and the cover holds its shape much better.
Care and Storage Tips to Extend Cushion Life
Deep-seat cushions are an investment of both time and materials, so a little ongoing care pays dividends. Stand cushions on edge after rain so water drains and air circulates through the foam. Never stack wet cushions flat on top of each other. Brush off pollen and debris weekly during the outdoor season to prevent organic material from feeding mildew growth on fabric surfaces.
At the end of the outdoor season, remove covers and wash them according to your fabric type (most outdoor canvas and solution-dyed acrylic can be machine washed on cold, gentle cycle). For a focused, step-by-step tutorial on constructing and finishing covers, see the guide on how to make patio cushion slipcovers for detailed sewing patterns, zipper placement, and finishing tips. Let foam cores air dry completely in the sun before storing. Store foam and covers in a breathable cotton storage bag or a ventilated container, never in a sealed plastic bin, because trapped moisture is what causes off-season mildew. A cedar block placed near the stored cushions helps discourage mildew in humid climates.
Every two to three years, inspect your foam cores by sitting on the cushion and paying attention to whether you can feel the frame beneath you. If the foam has compressed noticeably, ordering replacement foam cores and reusing the existing covers is the most economical approach, especially if you put good fabric into the original build. This kind of maintenance mindset, fixing and refreshing rather than replacing, is exactly what makes a DIY approach to patio furniture worthwhile over the long run.
FAQ
What core technical measurements must the article include for deep‑seat patio cushions?
Provide clear definitions and measurement methods: seat depth (usable front‑to‑back), seat width (front and back if tapered), seat height (front/nose and back height), corner radii, side slopes, and frame reveal. Describe measurement technique: use a rigid tape, measure multiple seats, record top plan dimensions (front/back widths), side heights, and note differences (round to nearest 1/2 in). State common deep‑seat ranges: ~24–28 in depth and typical cushion thicknesses (4–6 in, with some 8 in options). Cite custom‑cushion guides and retailer measurement PDFs for conventions.
What pattern‑drafting and layout data should be provided for converting seat measurements into cushion patterns?
Give step‑by‑step pattern drafting rules: top panel = measured seat top (width × depth); side panels (nosing) = measured perimeter segments (split into panels for box or corner returns); standard seam allowances (typically 1/2 in for upholstery); how to handle trapezoids/rounded fronts (record front/back widths and corner radii, use templates or compass for curves). Include diagrams/photos of top, bottom and side panels and examples for rectangular, trapezoid, and rounded seats. Reference upholstery pattern tutorials from custom cushion makers and suppliers.
What foam technical specifications and selection criteria are required?
List foam types and specs: reticulated/open‑cell (quick‑dry) foam for outdoor use; high‑resilience (HR/CMHR) polyurethane for durable cores; density (lb/ft3 or kg/m3) and ILD/indentation (firmness) values. Explain ranges: common densities for outdoor foams (~1.8–3.1 lb/ft3), typical ILD for seat foam (~25–45), and thickness choices (4–6 in common; up to 8 in for very deep seats). Explain layered builds: firm support core (higher density/ILD) + softer comfort layer + 1/2"–1" comfort layer and Dacron wrap. Direct readers to manufacturer datasheets (e.g., Carpenter) and ASTM test methods (e.g., ASTM D3574) for authoritative specs and durability metrics.
What batting and support/wrap options should be specified?
Describe finishing layers: Dacron/polyester batting (fibre wrap) weights and effects—provide typical weights (e.g., 2½ oz to 14 oz/yd2) and recommended thicknesses (use heavier wrap for crowns on cushions ≥3 in thick). Explain sewn or glued wraps, foam encasements, and optional plywood or webbing support bases for seat stability. Cite upholstery supply product pages for batting weights and recommended uses.
What exact sewing and construction details must be included for step‑by‑step assembly?
Provide a full workflow: cutting fabric with grain, marking pattern pieces, recommended seam allowances (1/2 in), cutting foam with electric knife or serrated blade, glue options (spray adhesive for foam layers), stitching order (assemble box corners, attach side/nose panels to top, insert zipper), zipper placement and reinforced seam details, finishing seams (French seams, overcasting, double‑stitched topstitch for durability). Include common stitch types and needle/thread recommendations (heavy upholstery thread, size 90–110 needles), machine settings, and safety tips. Include annotated photos/diagrams at each step.
What hardware, materials, and recommended outdoor fabrics should be listed?
Give a materials/tools list: quick‑dry foam or HR core by dimension, Dacron wrap, outdoor-rated fabrics (solution‑dyed acrylics like Sunbrella, polyester/olefin performance fabrics), heavy‑duty zippers (nylon coil or molded outdoor zippers), outdoor thread (bonded polyester), UV‑resistant webbing/ties, outdoor spray adhesive, electric foam cutter or serrated knife, heavy‑duty walking foot sewing machine, grommets or tie anchors. Provide fabric spec guidance: minimum outdoor fabric weight, UV fade ratings, water resistance and cleaning codes. Recommend trusted brands and types (e.g., Sunbrella) and cite fabric/hardware suppliers.