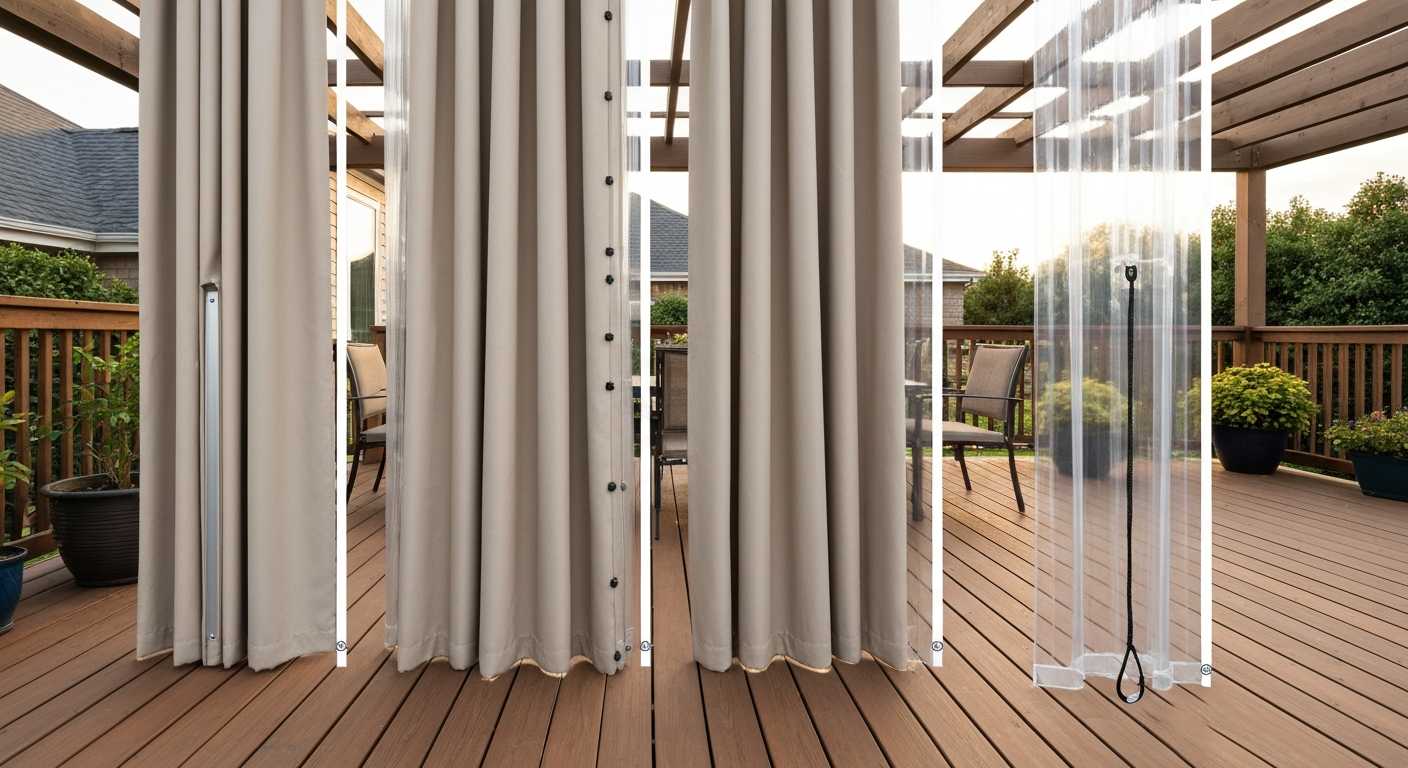
You can make clear vinyl patio curtains at home using flexible PVC vinyl sheet (sold by the yard at fabric and marine supply stores), a few grommets, some webbing, and either a heavy-duty sewing machine or a hot-air welder. A standard 8-by-10-foot panel takes about half a day to cut, hem, and hang, costs roughly $40–$80 in materials depending on vinyl thickness, and will genuinely block wind, rain, and insects while keeping your view open. The process is beginner-friendly as long as you work slowly on the cutting stage and choose the right gauge of vinyl for your climate.
How to Make Clear Vinyl Patio Curtains: Complete DIY Guide

Maren Grady
5 Aug 2026
What clear vinyl patio curtains actually are (and when they make sense)
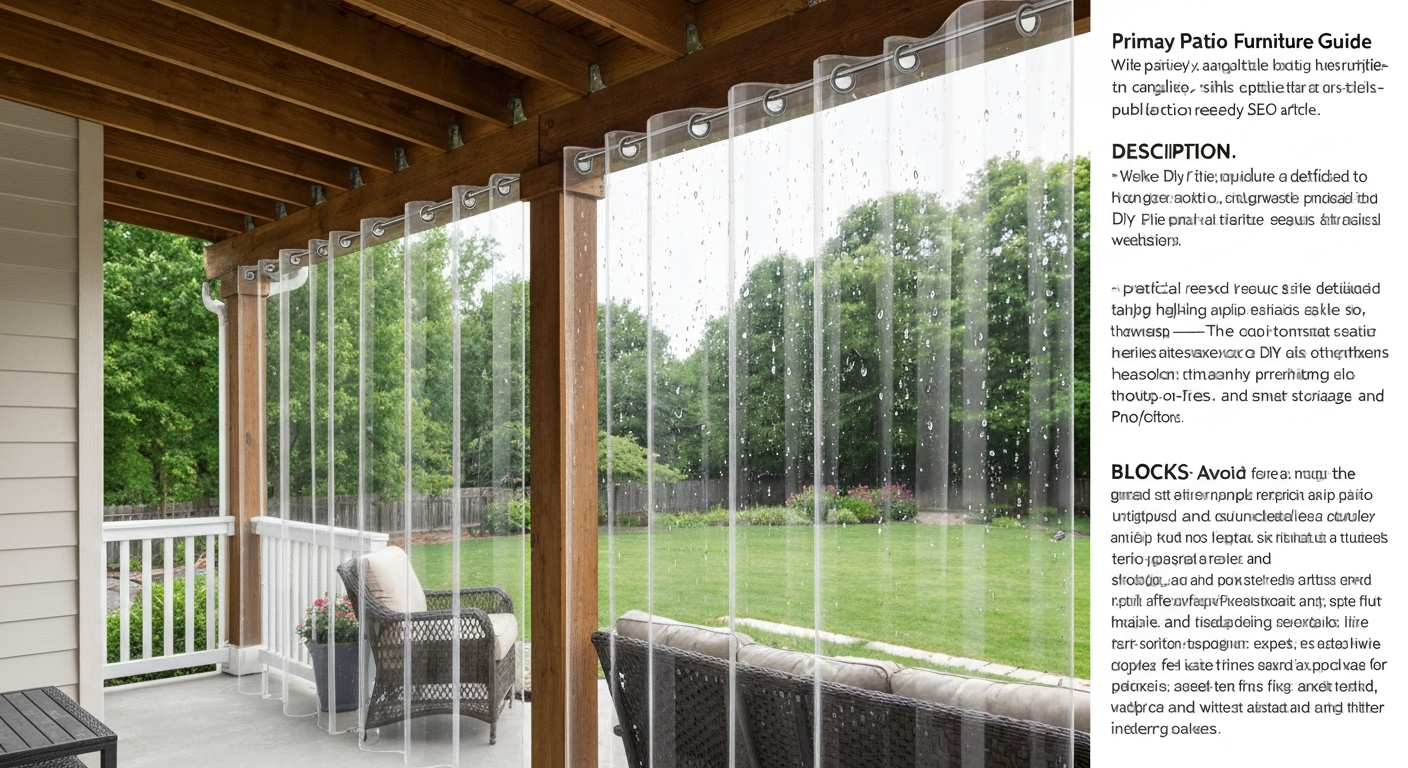
Clear vinyl patio curtains are flexible panels of transparent PVC (polyvinyl chloride) film hung from a porch, pergola, or patio frame to create a semi-enclosed outdoor living space. Unlike fabric curtains, they block wind and rain while letting light through and keeping your sightlines intact. They're a popular alternative to rigid polycarbonate panels or screen enclosures because they roll up, fold back, or slide to the side when the weather is good, and they cost a fraction of a permanent structure.
They work best when you want seasonal wind or rain protection on a covered porch, want to extend your outdoor season into early spring or late fall, need to keep bugs out without losing the open feel, or are protecting patio furniture from wind-driven rain without building a permanent enclosure. They're less ideal if you need year-round insulation (flexible PVC has minimal R-value) or if your area gets consistent sustained winds above 40–50 mph, where a more rigid solution is a better long-term investment.
Project scope, difficulty, and what to expect
I'd rate this project a 3 out of 5 on difficulty. It's not hard conceptually, but clear vinyl is unforgiving: it shows every crooked cut, every skipped stitch, and every bubble from a poorly set heat welder. Plan for one full day for two panels if you're sewing, or a long afternoon if you're using hem tape and grommets only. Sewing or heat-welding more than four panels moves this into a weekend project.
| Factor | Light Build (2 panels, tape/grommets) | Full Build (4+ panels, sewn or welded) |
|---|---|---|
| Estimated time | 3–5 hours | 1–2 days |
| Skill level | Beginner | Intermediate |
| Approximate material cost | $40–$80 | $120–$250+ |
| Tools needed | Utility knife, grommet kit, tape | Sewing machine or hot-air welder, rotary cutter, clamps |
| Durability | 2–4 seasons with care | 5–10+ seasons |
The expected result is a set of clear panels that hang flat, overlap or close against each other at the sides, stay anchored at the bottom in moderate wind, and can be rolled or folded out of the way when not needed. They won't look custom-fabricated on your first attempt, but they will be functional, weather-resistant, and genuinely useful.
Choosing the right clear vinyl for your build
The material you want is called flexible clear PVC vinyl, sometimes labeled as clear vinyl roll, porch enclosure vinyl, or marine-grade clear vinyl. You'll see it sold by the yard (typically 54" wide) at fabric stores, marine supply shops, and online. The key spec to understand before you buy anything is gauge (thickness), measured in mils (thousandths of an inch).
Vinyl thickness: which gauge to choose
Marine-grade clear vinyl is commonly available in 20-mil, 30-mil, 40-mil, and 60-mil thicknesses. For a patio curtain that you'll roll up and unroll regularly, 30-mil is the sweet spot: thick enough to resist tearing at grommets, thin enough to roll without cracking in cold weather. If your panels will mostly hang fixed and rarely get rolled (like a seasonal wind break you install in October and remove in April), 40-mil gives you noticeably better rigidity and resistance to flapping. Save 60-mil for heavy-duty enclosures in genuinely harsh environments.
| Gauge | Best For | Roll-up Friendly? | Approximate Cost/Yard |
|---|---|---|---|
| 20-mil | Budget builds, light wind, temporary use | Yes, very flexible | $4–$7 |
| 30-mil | Most patio curtains, roll-up panels, moderate climates | Yes | $7–$12 |
| 40-mil | Fixed seasonal panels, higher-wind areas | With care in warm weather | $12–$18 |
| 60-mil | Heavy enclosures, marine/boat canvas | Not recommended | $18–$28+ |
UV coatings, clarity, and weather resistance
Cheap clear vinyl (the kind sold for tablecloths) will yellow, cloud, and crack within one to two seasons because it lacks UV stabilizers and the plasticizers in the PVC migrate out over time. Spend the extra money on press-polished PVC (sometimes called "optical-grade" or "crystal clear" vinyl) or marine-grade coated vinyl like Strataglass. Marine-grade coated vinyl carries UV-protective coatings on both surfaces and publishes real test data: breaking strength of around 268–288 lbs, tear strength around 13.5 lbs, and a hydrostatic burst pressure of 435 PSI. That's meaningfully more durable than generic roll vinyl. If budget is a hard constraint, at minimum look for vinyl labeled UV-stabilized or UV-resistant and avoid anything sold primarily as a craft or table covering material.
Temperature range matters too. Most press-polished flexible PVC is rated for roughly 10°F to 160°F, which covers most residential patio applications across the continental US. If you're in a region with extreme summer heat combined with direct sun exposure on the vinyl surface, that upper limit matters: trapped heat between a vinyl curtain and a wall can exceed 160°F, so leave ventilation gaps at the top or bottom rather than sealing panels completely against a solid wall.
You may also come across PET (polyester/Mylar) film, which has far higher thermal stability (softening around 424–450°F) and doesn't suffer from plasticizer migration yellowing. Mylar® (PET) datasheets list maximum service/softening temperatures around 218–232°C (424–450°F) and film tensile strengths typically in the 180–280 MPa range, reflecting PET's higher thermal and mechanical stability compared with plasticized PVC Mylar® / PET polyester film datasheet (MatWeb summary) — DuPont Teijin Films (Mylar) data. The trade-off is that PET film is rigid and crinkles rather than draping, so it's not a good substitute for flexible patio curtains despite its superior optical clarity and durability on paper.
Everything you need: materials and tools
Materials list
- Clear vinyl roll: 30-mil UV-stabilized PVC (buy yardage equal to your total panel height x number of panels, plus 15% extra for hems, cuts, and shrinkage allowance)
- Reinforcing webbing or canvas header strip: 2" wide nylon or polyester webbing (UV-resistant), one length per panel top
- Grommets: #2 or #4 brass or stainless steel grommets (stainless is worth the extra cost outdoors), with grommet setting die
- Bottom weights: #1 options include a chain weight sewn into a bottom hem pocket, or small sand pockets at each lower corner
- Side closure hardware: plastic snaps, hook-and-loop (Velcro) strips, or side magnets for panel-to-panel connections
- Hem tape/bonding tape: double-sided heat-activated vinyl welding tape (sold by marine canvas suppliers) if going no-sew
- Thread (if sewing): UV-resistant bonded polyester marine thread, V-92 or Tex-90 weight (e.g., PremoBond or equivalent)
- Curtain rod, track system, or zip-tie rings depending on your hanging method
- Stainless or galvanized eye screws or hook hardware for attaching the rod/track to your patio frame
Tools list
- Measuring tape (at least 25 ft)
- Carpenter's square or large T-square for marking straight cut lines
- Permanent marker or grease pencil (chalk lines show poorly on clear vinyl)
- Sharp rotary cutter with fresh blade (the single best tool for cutting vinyl) OR a straight utility knife with new blades
- Cutting mat or plywood cutting surface (never cut on carpet, which pulls)
- Metal straight edge or aluminum ruler (at least as long as your panel width)
- Binder clips or spring clamps (never pin through visible areas of clear vinyl)
- Heavy-duty sewing machine with a walking foot or roller foot (non-stick Teflon or acrylic presser foot), OR a hot-air plastic welder for seams
- Grommet setting kit: die, anvil block, and mallet
- Hole punch or drill with correct size bit for grommet holes
- Heat gun (useful for smoothing minor wrinkles and activating hem tape)
- Safety glasses and cut-resistant gloves
Budget vs. heavy-duty build options
For a budget build, skip the marine-grade vinyl and use UV-stabilized 30-mil press-polished PVC from a fabric store. Use hem tape instead of a sewing machine, and use a basic brass grommet kit from a hardware store. This gets you functional curtains for $40–$60 for two panels. For a heavy-duty build intended to last a decade or more, use Strataglass or equivalent coated marine vinyl, stainless steel grommets, bonded polyester thread on an industrial or walking-foot machine, and add a chain-weight bottom hem. The durability difference is dramatic in high-wind or coastal environments.
How to measure your patio correctly
Measurement is where most DIYers go wrong, and a mistake here wastes expensive vinyl. Measure the opening you want to cover in three places: at the top, middle, and bottom (or left, center, and right for width). Use the largest dimension for your cut. Patios and pergolas are rarely perfectly square.
Panel sizing math
Start with your finished panel height (the distance from your top attachment point to where you want the curtain to end, typically 1–2 inches off the ground). Add the following to get your cut height: 12 inches for the top hem/header area (this is a fabricator-recommended minimum that covers the attachment hardware and provides enough material to form a reinforced header), plus 3–4 inches for the bottom hem, plus a 5–7% shrinkage allowance. FAQ (top fabric minimums and manufacturing notes), Porch Enclosure Systems (fabricator guidance) notes a fabricator-recommended minimum top fabric of 12" for an 8‑ft (96") clear panel to wrap and protect the vinyl and cover the track and seam allowances FAQ (top fabric minimums and manufacturing notes) — Porch Enclosure Systems (fabricator guidance). Yes, vinyl shrinks slightly as it relaxes after being unrolled. On an 8-foot (96-inch) finished panel, that's about 5–7 inches of shrinkage buffer, so cut your panel at roughly 116–118 inches total before hemming.
For width, decide how many panels you're hanging and whether they'll overlap. Overlapping panels by 3–4 inches at each side edge gives a much better wind seal than butted edges. If your opening is 120 inches wide and you're hanging two panels, each panel should be cut to roughly 65–66 inches wide (half of 120, plus 3-inch overlap on the shared center edge, plus 1-inch side hem on each outer edge).
Grommet spacing
For standard residential patio use, space grommets 12–18 inches apart along the top header. In high-wind areas or for larger/heavier panels, drop to 12 inches or less. Industry tarpaulin guidance recommends 12–20-inch spacing for heavy-duty and high-wind installations, with closer spacing distributing wind loads more evenly and reducing the chance of a grommet tearing through. Always place a grommet within 1–2 inches of each corner. Mark all grommet positions before you set a single one, and double-check spacing is consistent.
Cutting clear vinyl accurately
Here's where I messed up on my first attempt: I tried to freehand a straight line with scissors and produced a wavy, uneven edge that made the whole hem look amateurish. Clear vinyl shows every imperfection. The solution is simple but non-negotiable: always cut against a metal straight edge with a sharp blade, on a flat hard surface.
- Unroll the vinyl on a large flat surface (a garage floor or a large workbench covered with plywood). Let it relax for 20–30 minutes before marking to allow initial curl to settle.
- Mark your cut lines with a permanent marker or grease pencil directly on the vinyl. Use a T-square to confirm corners are 90 degrees before marking.
- Clamp a long metal straight edge (an aluminum level or a steel ruler works well) along your cut line. Use clamps at each end and in the middle for cuts longer than 36 inches.
- Use a sharp rotary cutter for the cleanest result: roll it along the straight edge in one continuous pass with firm, even pressure. A fresh utility knife blade is second-best. Never use scissors, which stretch and distort the vinyl as they cut.
- For thick 40-mil or 60-mil vinyl, you may need two passes with a utility knife: score deeply on the first pass, then cut through fully on the second.
- Change blades frequently. A dull blade drags and tears rather than cutting cleanly, and dragged cuts create micro-tears that eventually become larger tears at stress points.
Safety note: wear cut-resistant gloves when cutting, especially when the blade is new. Flexible vinyl can shift unexpectedly under a rotary cutter if a clamp isn't holding the straight edge firmly. Safety glasses are worth wearing if you're scoring thick vinyl, as small chips can break off.
Seam and hem techniques: sewing, heat-welding, or tape
You have three real options for finishing the edges of your vinyl panels, and each has genuine strengths and weaknesses. The right choice depends on your tools, budget, and how long you want the curtains to last.
Option 1: Sewing
Sewing produces a clean, traditional-looking hem and is the most accessible option if you already own a heavy-duty domestic sewing machine. The challenges are that clear vinyl shows every needle hole (needle holes are permanent and can become tear points), vinyl sticks to standard presser feet, and thin or cheap thread will degrade outdoors within a season.
- Use a non-stick presser foot: Teflon-coated, roller, or acrylic feet prevent the vinyl from dragging and skipping stitches
- Use a size 90/14 to 100/16 heavy-duty needle for 30-mil vinyl, or an 18–20 industrial needle for 40-mil and above
- Set stitch length to 3.5–4mm (longer than normal fabric work): shorter stitches perforate too densely and weaken the hem
- Thread with UV-resistant bonded polyester marine thread (V-92 / Tex-90 weight): this is non-negotiable for outdoor use; standard polyester thread degrades quickly in UV exposure
- Use binder clips instead of pins: pins leave visible holes and can start tears in vinyl
- Sew with a walking foot (also called an even-feed foot) if your machine supports it: this prevents the layers from shifting during sewing and produces even stitches on slippery vinyl
For a basic bottom hem, fold the vinyl up 2 inches, clip to hold, and run two parallel rows of stitching: one close to the fold edge and one 1.5 inches up from it. This double row of stitching adds shear strength and looks more finished than a single line. If you're adding a chain weight in the bottom hem, leave one end open, thread the chain through, then stitch that end closed.
Option 2: Heat-welding
Heat-welding creates a fused, waterproof seam with no needle holes: the two layers of PVC are literally melted together at the overlap zone. This is how commercial curtains and boat enclosures are fabricated, and the result is stronger than a sewn seam if done correctly. The barrier to entry is the equipment: a handheld hot-air plastic welder (like the Leister Triac, widely used by marine canvas fabricators) costs $300–$700. That investment makes sense if you're doing multiple large enclosures or plan to continue using it.
Hot-air welding for vinyl works by blowing hot air (temperature set to match the vinyl's softening point) into the seam overlap while you press the layers together with a roller. Industrial machines do this at around 13 feet per minute automatically. By hand, you move slowly and steadily: too fast and the bond is weak, too slow and you scorch the vinyl (which turns brown and brittle). The weld should leave a slightly glossy, clear, bonded zone with no discoloration. Always run a test weld on scrap pieces first and adjust your temperature and speed until the test seam is clear and peels apart with difficulty rather than separating cleanly.
Option 3: Heat-activated vinyl hem tape (no-sew)
Vinyl bonding tape (a double-sided heat-activated thermoplastic tape sold by marine canvas and awning suppliers) is the most beginner-accessible option. You fold the hem, insert the tape between the layers, and apply heat with a household iron or heat gun to bond the layers together. No special equipment needed, no needle holes, and done correctly it produces a weather-resistant hem that holds up well in light to moderate wind and rain.
The honest limitation: hem tape bonds aren't as strong as stitched or heat-welded seams at stress points like grommet zones. For the top header (where all the suspension load concentrates) and bottom corners (where wind load is highest), I'd always reinforce hem-taped joints with at least a few stitches or additional webbing even if the rest of the hem is tape-only. Hem tape is also sensitive to application temperature: too cool and it doesn't bond, too hot and it scorches or causes the vinyl to pucker.
| Method | Waterproof? | Strength | Equipment Cost | Best For | Avoid When |
|---|---|---|---|---|---|
| Sewing | No (needle holes) | Good with marine thread | $50–$200 (home machine) | Beginners with a sewing machine | No machine available, very thick vinyl |
| Heat-welding | Yes | Excellent (fused) | $300–$700 (welder) | Multiple panels, heavy-duty or marine use | Budget builds, occasional use only |
| Hem tape (no-sew) | Good | Moderate, reinforce stress points | $15–$30 (tape + iron) | Budget builds, temporary/seasonal use | High-wind permanent installations |
Reinforcing edges and stress points for wind-prone areas
This step is the difference between curtains that last one season and ones that last ten. Every point where hardware meets vinyl (grommet holes, side edges, bottom corners) is a potential tear initiation site. Wind loading concentrates stress at these points in ways that aren't obvious until a curtain fails, usually mid-storm.
Top header reinforcement
The top of every panel should have a reinforced header, not just a folded vinyl hem. The way to do this is to sandwich a strip of 2-inch wide UV-resistant nylon or polyester webbing into the top hem before stitching or welding it closed. The webbing acts as a load-bearing layer that absorbs the suspension force and prevents grommets from pulling through the vinyl. For panels taller than 6 feet, I'd use a double layer of webbing or a 3-inch canvas header strip. Fabricators recommend a minimum of 12 inches of top material at the header zone, which covers the track hardware and provides enough room for a proper reinforced hem with multiple rows of stitching.
Grommet zone patches
At every grommet location, especially corners, add a small patch of extra vinyl or webbing behind the grommet before setting it. Cut a 2x2-inch square of matching vinyl or nylon fabric, sandwich it between the header layers at the grommet location, and then punch and set the grommet through all layers. This simple step dramatically reduces grommet pull-through failures in high wind. Use stainless steel grommets rather than brass for outdoor applications: brass corrodes and weakens over time, especially in humid or coastal climates.
Side edge and bottom corner reinforcement
Side edges should have a doubled hem (fold the edge over twice to create a 1-inch finished hem with two layers of vinyl at the edge) and optionally a strip of webbing sewn into the fold at the bottom third of the panel, where wind creates the most flutter and stress. Bottom corners are the highest-stress point in windy conditions: reinforce them with a triangular patch of vinyl heat-welded or contact-cemented over the corner, then set a grommet through the patch if you're using corner tie-downs or weights.
Bottom weighting options
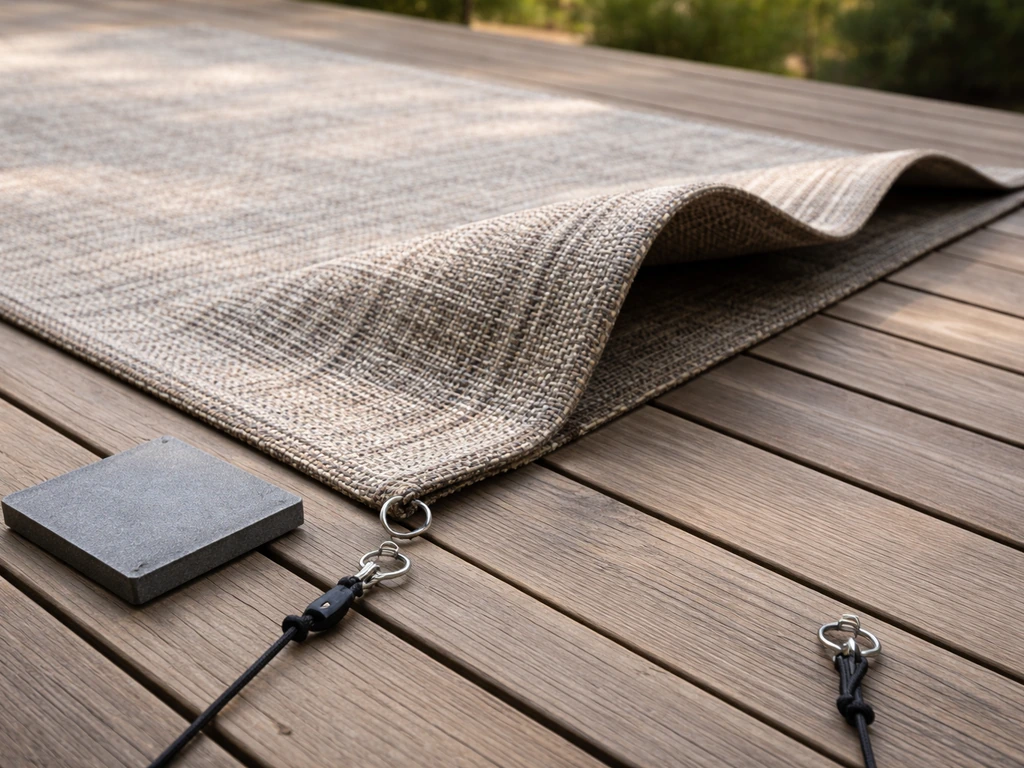
An unweighted curtain bottom flaps violently in any wind above a light breeze, and flapping is what causes hem tearing and grommet failures. For recommended weights, anchor methods, and installation tips, see our guide on how to weigh down patio curtains. The most durable solution is a sewn bottom pocket containing a length of #3 or #4 roller chain (sold by the foot at hardware stores): the chain weight keeps the panel hanging taut without pulling it out of shape. Budget alternative: sew two small pockets at the bottom corners and fill each with a handful of gravel sealed in a zip-lock bag. For additional practical ways to anchor and weight bottoms securely, see guidance on how to weigh down patio rug. You can also use bottom tie-downs (bungee cords or ties from the bottom grommet to a patio post or floor anchor) for panels that need to stay completely fixed. In areas where weighting curtains to resist wind is a regular concern, the approach you take at the bottom matters as much as the top attachment. For advice on preventing a patio rug from shifting under weighted curtains, see our guide on how to keep patio rug in place. Side-panel snaps, magnetic closures between adjacent panels, and tie-down points at the bottom corners all work together to form a complete system rather than leaving any one edge free to catch the wind. For more options on securing outdoor pieces and preventing wind damage, see our guide on how to weigh down patio furniture for recommended weights and attachment methods.
Installing your panels
Before hanging, install your rod, track, or hook hardware at the top of the opening. For a rod system, use a standard outdoor curtain rod with end brackets screwed into a beam or post. For a track system (which allows panels to slide), use a heavy-duty outdoor curtain track rated for the combined panel weight (a 40-mil 8x10-foot panel weighs roughly 8–12 lbs, so use track rated for at least 20 lbs per panel to have a margin). Zip-tie rings clipped through the grommets and over the rod is the simplest hanging method for a beginner build and works fine for panels hung from a straight horizontal rod.
Hang one panel at a time. With a helper, hold the panel in position and check that it hangs plumb (straight down) before you attach the bottom weights or side closures. Vinyl panels that are hung even slightly off-level will wrinkle diagonally across the face, which is difficult to fix without re-hemming. Once plumb, attach your bottom weights and then install any side snaps, Velcro strips, or magnetic closures between adjacent panels.
Cleaning and seasonal storage
Clear vinyl is easy to damage with the wrong cleaning products, and I've seen perfectly good marine-grade vinyl ruined within one season by a well-meaning owner who wiped it down with ammonia-based glass cleaner. The rules are simple: rinse with fresh water and mild dish soap applied with a soft microfiber cloth. Never use paper towels (they scratch), never use ammonia, acetone, or solvent-based cleaners, and avoid anything abrasive. For marine-grade coated vinyl like Strataglass, use the manufacturer-recommended cleaner/polish (IMAR Strataglass Protective Cleaner is the standard). This removes oxidation and leaves a protective coating. For generic UV-stabilized PVC, a vinyl-safe plastic cleaner and protectant works well.
For seasonal storage, roll the panels loosely around a cardboard or foam tube (don't fold them flat, which creates permanent crease lines), secure with soft ties, and store in a cool, dry location away from direct sunlight and heat. Never store vinyl in contact with petroleum products, silicone sprays, or rubber (which can leach plasticizers or staining compounds into the vinyl surface over time). Brought in for the winter and stored correctly, a good 30-mil UV-stabilized panel should give you 5–7+ seasons of use.
Troubleshooting common problems
| Problem | Likely Cause | Fix |
|---|---|---|
| Permanent wrinkles or creases | Panel was folded flat during storage or cut while cold | Warm in direct sun for 30 min or use a heat gun on low from 12" away; prevent by rolling for storage |
| Fogging or cloudiness | Ammonia-based cleaners, UV degradation, or surface oxidation | Use vinyl-specific cleaner/polish; replace severely degraded panels |
| Cracking at hems or corners | Vinyl too cold when rolled, UV degradation, or low-grade vinyl without UV stabilizers | Repair small cracks with clear vinyl repair tape; replace panels with UV-stabilized vinyl |
| Grommets tearing through | No webbing in header, grommets spaced too far apart, or wind load too high | Re-hem with webbing reinforcement; add more grommets; add bottom weights |
| Panels flapping in wind | No bottom weight, no side closures, or panels undersized for opening | Add chain-weight bottom hem; install side snaps or magnets between panels |
| Heat-weld seam separating | Weld temperature too low or too fast, or vinyl surface was dirty before welding | Clean surface with isopropyl alcohol before welding; re-weld on scrap to calibrate settings |
| Sewn hem fraying or unraveling | Wrong thread (non-UV-stabilized polyester or nylon degrades quickly outdoors) | Re-sew with bonded UV-resistant marine polyester thread (V-92/Tex-90 weight) |
How clear vinyl curtains compare to alternatives
If you're still deciding whether clear vinyl curtains are the right solution, here's how they honestly compare to the two most common alternatives: rigid polycarbonate or acrylic panels, and outdoor roll-up shades.
| Option | Clarity | Wind Resistance | DIY-Friendly? | Cost | Roll-Up/Removable? |
|---|---|---|---|---|---|
| Clear vinyl curtains | Good to excellent (UV-grade) | Good with weights/closures | Yes | $40–$250 DIY | Yes |
| Rigid polycarbonate/acrylic panels | Excellent | Excellent | Moderate (frame required) | $150–$600+ | No (permanent) |
| Outdoor roll-up shades (bamboo/fabric) | None | Moderate | Yes (install only) | $30–$150 | Yes |
Clear vinyl curtains win on flexibility, cost, and reversibility. Rigid panels win on durability and wind resistance in extreme conditions but commit you to a semi-permanent structure. Roll-up shades are faster and cheaper but provide no view and less wind protection. For most homeowners with a covered porch who want to extend the outdoor season without a construction project, clear vinyl curtains built with 30-mil UV-stabilized vinyl and proper edge reinforcement are the best balance of performance and effort.
FAQ
What types and thicknesses of clear vinyl should I use for patio curtains and how do I pick the right one?
Use marine/awning grade clear vinyl (plasticized PVC) for outdoor curtains. Common gauges: 20‑mil (light, inexpensive), 30‑mil (0.030", good balance for roll‑up use), 40‑mil and 60‑mil (heavier, stiffer, best when panels stay flat). Choose 30‑mil for frequent rolling/rolling-up shades and 40–60‑mil for semi‑permanent panels or high‑abrasion areas. Look for UV‑stabilized, coated products labeled marine or Strataglass/awning quality to resist yellowing and cracking in sun.
How do I measure and plan panel sizes, hem allowances and shrinkage?
Measure clear opening width and height at several points; use the largest measurements. Allowances: add 1–2" per vertical edge for hems if sewing, or 2–4" for hot‑welded hems/overlap. Top hem: minimum 6–12" depending on attachment method (wrap for track/rod header or create a rod pocket). Bottom hem: 2–6" to add weight pocket (chain or sand). Account for shrinkage/relaxation: cut panels ~3–7% oversize (commonly 1–3" on a 4–8 ft panel) and trim after final hemming if needed.
What tools and materials will I need (basic and optional professional)?
Basic: marine clear vinyl sheet, measuring tape, marker, sharp shears or rotary cutter, straightedge, heavy‑duty sewing machine or hot‑air welder/adhesive tape, UV‑resistant marine thread (if sewing), non‑stick presser foot or roller foot, clamps (not pins), grommet kit (hand grommet/eyelet tool) or snap kit, weights or chain for bottom pocket. Optional/professional: Leister/triac hot‑air welder, industrial walking‑foot sewing machine, T‑flange channel or top track, stainless steel grommets and O‑rings, marine grade snaps, zipper kit, heavy‑duty canvas glue, edge reinforcement webbing.
Should I sew, heat‑weld, or use tape for seams and hems? Pros and cons?
Sewing: good for DIY if you have a heavy‑duty machine; use walking feed, long stitch length (3–4 mm), non‑stick foot, heavy needles (90–100/14–16) and marine UV polyester thread. Pros: strong, flexible seams; cons: perforations can allow water ingress and long‑term corrosion of thread if poor quality. Heat‑welding (hot‑air): creates waterproof, clean seams ideal for heavy PVC; pros: weatherproof, strong; cons: needs equipment and skill, risk of burning. Hem tape/contact adhesive: easiest for beginners (pressure‑sensitive or hot‑melt tape with roller or iron for compatible tapes). Pros: no special machine; cons: less durable than a proper weld on heavy duty panels.
How do I install grommets, and what spacing should I use for different wind conditions?
Reinforce edge with webbing or doubled hem where grommets go. Typical spacing: light/temporary installations 20–40 in (50–100 cm) center‑to‑center. Permanent or high‑wind installations reduce spacing to 12–20 in (30–50 cm). Use stainless steel grommets (1/2"–1" inner hole depending on hardware). Reinforce corners with extra patches and use double grommets or straps at stress points. When attaching to a rod/track, align grommets high enough to clear hardware and allow free movement if you’ll roll panels.
What are reliable top‑attachment options (rod, track, hooks) and how do I choose?
Rod/curtain hooks: simple—use grommets + S‑hooks or curtain rings; best for low‑wind or rollable panels. Top track: professional, clean look, holds weight and resists wind; use slider hooks that engage a channel. Snap or zipper top with header made from fabric/webbing: more weatherproof and sealed, good for removable panels. Choose rod/hooks for low cost and frequent rolling; choose track or snap/zipper headers for permanent or high‑wind installations.