To protect aluminum patio furniture, clean it thoroughly, remove any oxidation or flaking finish, apply a compatible primer if you're repainting, then seal the surface with a protective wax or clear coat every few months. For cast aluminum specifically, carnauba or silicone-free car wax once or twice a year is your simplest maintenance layer, while a proper primer-plus-topcoat system handles anything with bare or damaged metal. Cover the furniture when it's not in use with a breathable, vented cover, and store it off the ground over winter. how to protect metal patio furniture. That's the full cycle. Everything below explains exactly how to do each step.
How to Protect Aluminum Patio Furniture: Step-by-Step
Maren Grady
29 Apr 2026
Why aluminum furniture still corrodes (even though it's supposed to be rust-proof)
Aluminum doesn't rust the way steel or wrought iron does, but it absolutely corrodes, and cast aluminum patio furniture is not immune. Here's what actually happens: aluminum naturally forms a thin protective oxide layer on its surface, which is what gives it that rust-resistant reputation. The problem is that layer breaks down when it comes into contact with chloride ions, which are present in coastal air, pool splash zones, road salt, and even some rainwater. Once chlorides attack that oxide film, you get pitting: small, deep craters that look like tiny pockmarks and are nearly impossible to reverse once they form. Oxygen and moisture accelerate the process by acting as depolarizers that keep the electrochemical reaction going.
Cast aluminum furniture often has a powder-coated or painted finish over the metal, which adds a layer of protection, but it also creates a new failure point. If that finish chips, cracks, or gets abraded, bare metal is exposed. Moisture and chlorides sneak under the edge of the coating and begin what's called crevice corrosion, where the damage spreads invisibly underneath the surface before you see any outward sign of it. You also get galvanic corrosion at bolted joints or anywhere dissimilar metals touch, like steel fasteners in an aluminum frame. This is why the legs and joints of outdoor furniture are usually the first places to show trouble. Understanding these mechanisms matters because it changes how you approach protection: it's not just about slapping on paint. It's about sealing every gap, managing moisture, and reapplying protection before the coating fails rather than after.
Inspect the furniture before you do anything else
Before you buy a single product, spend ten minutes really looking at your furniture in good natural light. What you find determines whether you're doing simple maintenance or a more involved repair job, and skipping this step is exactly how people end up wasting money on wax that sits on top of a failing surface.
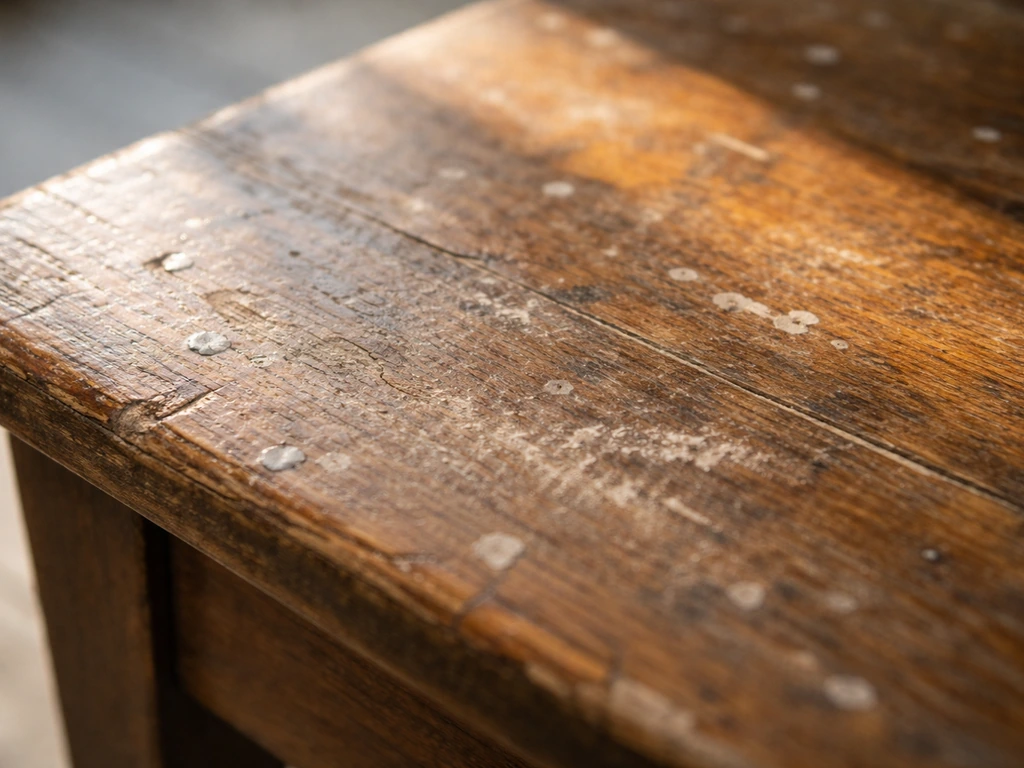
Run your hand over every surface. You're feeling for rough, gritty patches, which indicate oxidation, and bubbling or flaking areas, which mean the coating has already lost adhesion. Look at the joints, leg bottoms, and any spot where water pools after rain. Those are your highest-risk areas. A white, chalky or powdery residue on the metal surface is oxidation and needs to be removed before any protective product will stick. Brown or reddish discoloration near steel fasteners is galvanic corrosion at the joint. Small pits or craters in the metal itself are pitting corrosion, the hardest kind to deal with. If pitting is shallow and surface-level, you can work with it. If it's deep enough that you can catch a fingernail in it, that metal has sustained real structural damage.
- White, chalky or powdery residue: oxidation, needs removal before any coating
- Bubbling, flaking, or peeling finish: coating failure, needs scraping and re-priming
- Pitting (small craters in the metal): chloride-driven corrosion, clean thoroughly and seal
- Brown/reddish staining near screws or bolts: galvanic corrosion at dissimilar-metal joints
- Hairline cracks in the casting: structural issue, consult a welder before coating over it
If your furniture just has oxidation and an intact but dull finish, you're doing maintenance. If the coating is flaking or there's bare metal showing, you're doing a proper refinish. This article covers both, but it helps to know which one you're starting with.
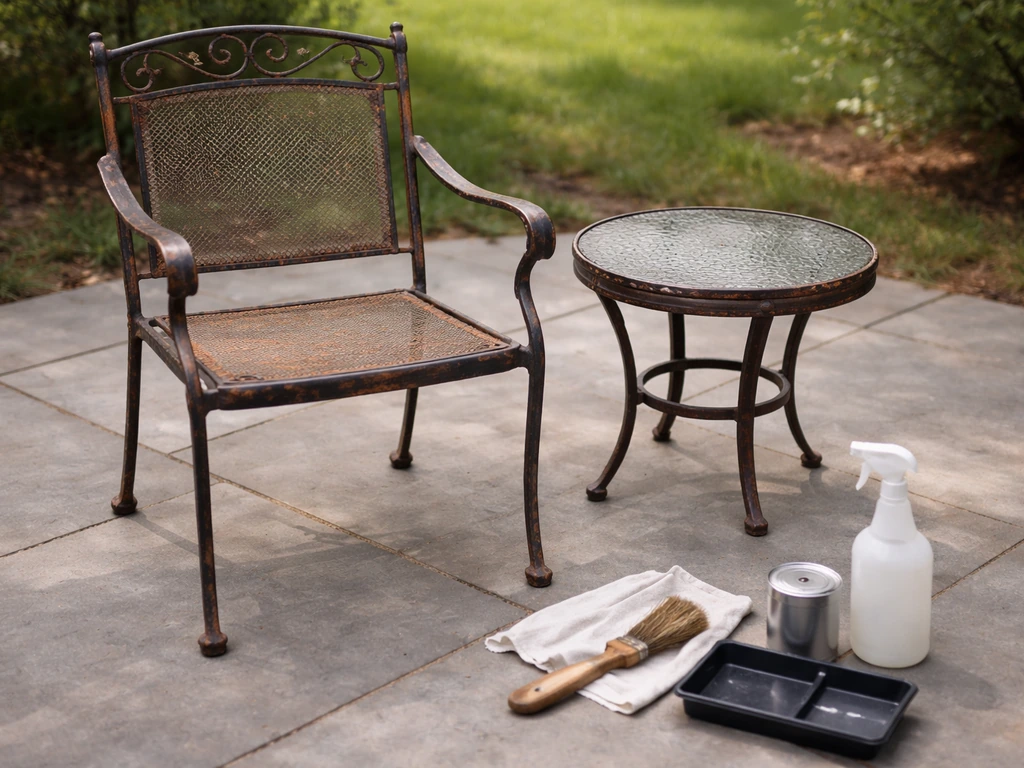
Cleaning and prep: the step most people rush and regret
I'll be honest: prep is boring and it takes longer than the actual protective coating step. It's also the single biggest factor in whether your protection lasts one season or five. Coating failures are almost always a prep failure. Here's how to do it right.
Basic cleaning for intact, lightly oxidized surfaces
- Mix a few drops of dish soap into a bucket of warm water.
- Scrub the entire surface with a soft-bristle brush or non-abrasive sponge, working into crevices and joints.
- Rinse thoroughly with a garden hose. Salt, grit, and soap residue left behind will compromise any coating you apply over it.
- Let the furniture dry completely before moving on. In humid weather, give it several hours or even overnight. Coating over damp metal is a recipe for peeling.
Removing oxidation and restoring bare metal
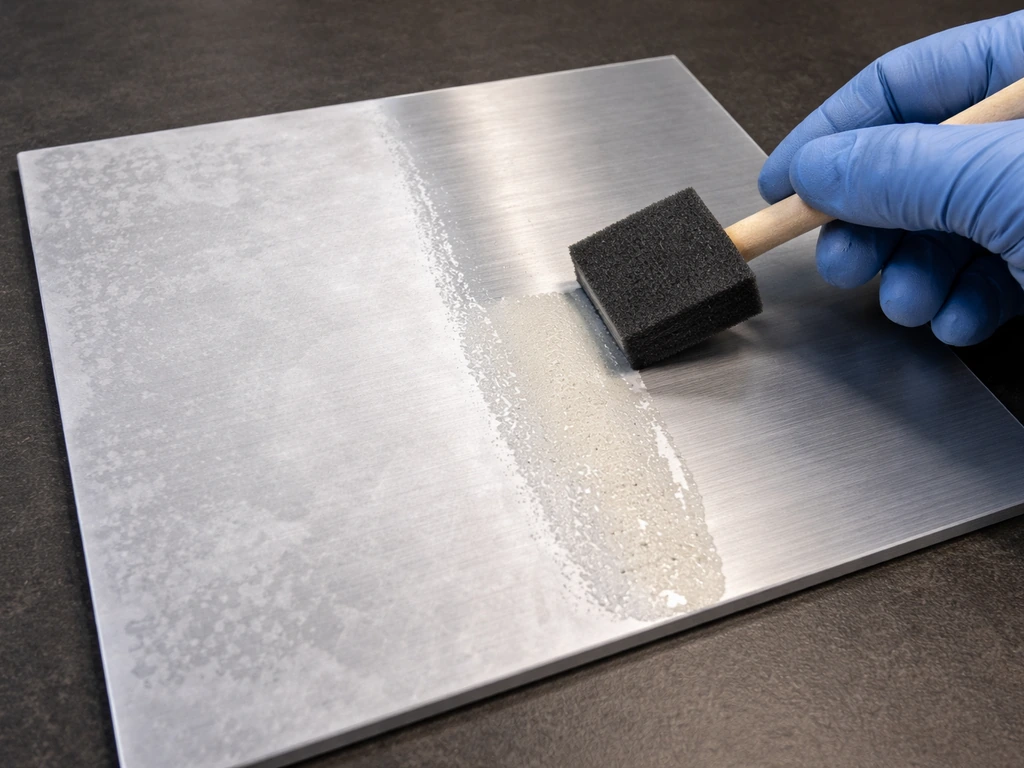
If you have significant white oxidation or chalky buildup, plain soap and water won't cut through it. You need an aluminum cleaner or brightener product. These are mild acid-based solutions that dissolve the oxidized layer chemically. Apply it with a brush or sponge per the product instructions, let it dwell for the recommended time (usually a few minutes), then rinse extremely thoroughly. Do not let the brightener dry on the surface. If it dries, it can etch the aluminum and make your problem worse. Also, do not use brighteners on painted or powder-coated sections unless the product specifically says it's safe, since the acid will attack those finishes.
For flaking or peeling paint, use a wire brush or 80-100 grit sandpaper to remove all loose material. You don't need to strip the entire piece down to bare metal unless the coating is failing everywhere, but every flaking edge needs to be feathered out so you're not coating over something that's already lifting. If you have rust-like staining near fasteners, clean that area down to bare metal with the wire brush. Some builders recommend treating exposed bare aluminum with a phosphoric acid solution (available at hardware stores) before priming, as it helps convert any remaining oxidation and prepares the surface for better primer adhesion.
Final prep before applying any protective product
Wipe the entire surface down with a clean, lint-free cloth to remove any remaining dust from sanding. If you're about to apply paint or primer, do a final solvent wipe with mineral spirits or denatured alcohol to strip any grease, sunscreen residue, or oils left by handling. Let it fully evaporate before you start coating. This step takes five minutes and prevents a surprising number of adhesion failures.
The best protective options for cast aluminum furniture
You have a few real choices here depending on the condition of your furniture and how much work you want to do. Here's a clear breakdown of what works, what it costs, and when each one makes sense.
| Protection Type | Best For | How Often | Approx. Cost | Difficulty |
|---|---|---|---|---|
| Carnauba or car wax | Intact powder-coated or painted finish | Once or twice per year | $8–$20 | Easy |
| Marine-grade wax (silicone-free) | Powder-coated finish in coastal/wet climates | Every few months | $15–$30 | Easy |
| Aluminum primer + spray paint topcoat | Bare metal, flaking paint, full refinish | Every 3–5 years or as needed | $20–$50 for a set | Moderate |
| Clear coat spray (over existing paint) | Adding UV/moisture protection over intact finish | Every 1–2 years | $10–$18 per can | Easy to moderate |
| Rust inhibitor/anti-corrosion primer | Joints, fasteners, areas with minor corrosion | At refinish or if corrosion appears | $12–$25 | Moderate |
Wax: the easiest thing you can do right now
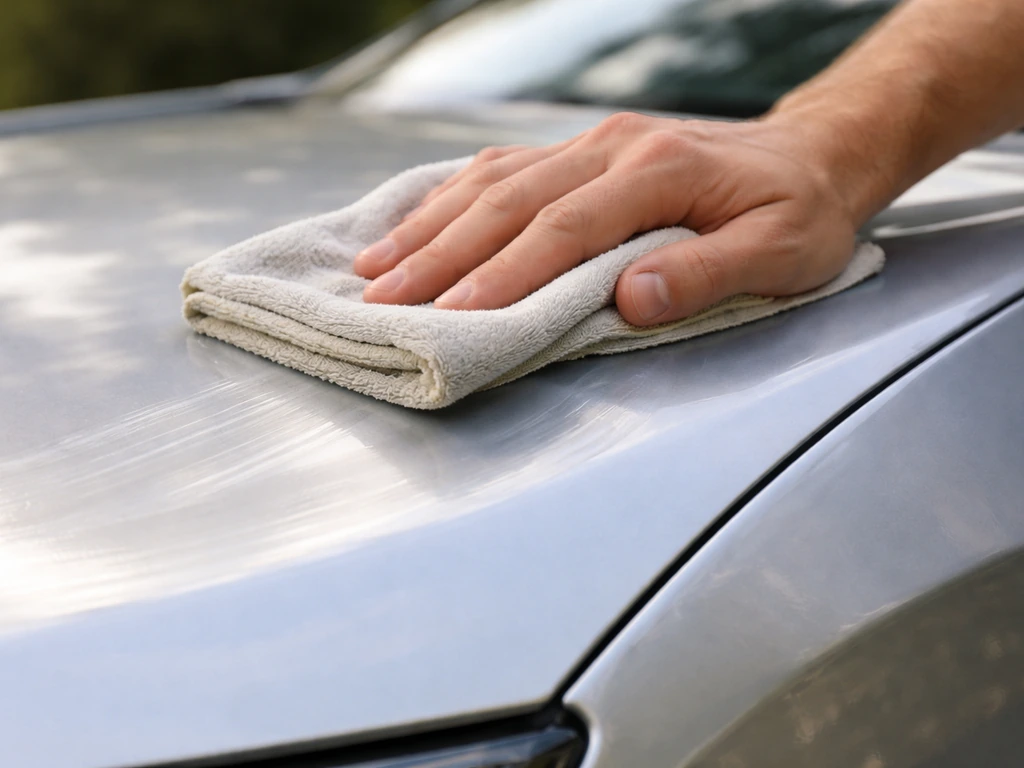
If your furniture's finish is still intact, a good wax is genuinely the best bang-for-your-buck protection you can apply. Carnauba wax, the same stuff used on car paint, creates a hydrophobic barrier that repels water, dirt, and contaminants. Terra recommends applying carnauba wax once a year for aluminum furniture finishes. POLYWOOD and other major outdoor furniture brands say every few months for their powder-coated pieces, especially in wet or coastal environments. Use a silicone-free, non-abrasive product. Silicone-containing waxes can interfere with adhesion if you ever need to paint over the surface later.
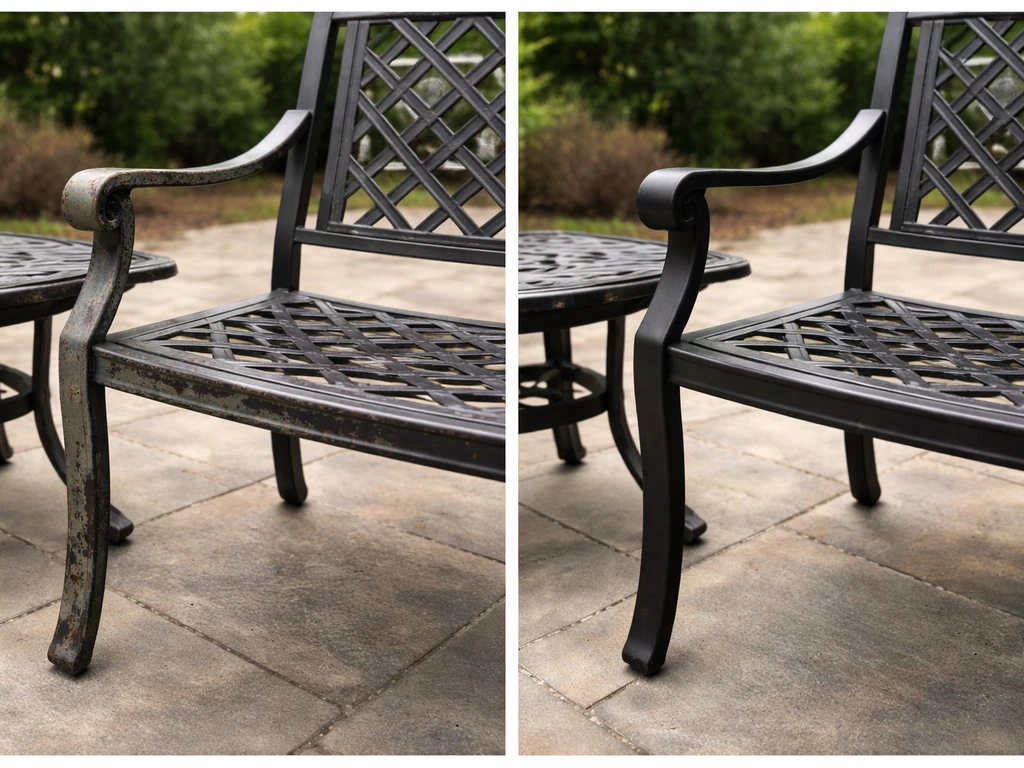
Primer and topcoat: when you're dealing with bare or damaged metal
If you have bare metal showing or you're doing a full refinish, you need a primer formulated specifically for aluminum before you apply any topcoat. Products like Rust-Oleum PRO-13 aluminum primer are designed exactly for this. The TDS recommends a dry film thickness of about 1.5 to 2.5 mils per coat, touch-dry time of around 30 minutes, and a recoat window of 2 to 4 hours. Apply 2 to 3 thin coats rather than one thick one. Once your primer coats are fully cured, follow with a compatible spray paint in your chosen color, then seal everything with a clear coat. Rust-Oleum 900 Clear Coat works on aluminum and adds a weather-resistant layer over your topcoat that significantly extends how long the finish holds up.
Anti-corrosion treatments for joints and problem spots
Pay special attention to the joints, bolt holes, and any spot where two metals meet. These areas are where galvanic and crevice corrosion start. After cleaning, apply a rust inhibitor or anti-corrosion primer to these spots before your topcoat. Some people use a phosphoric acid prep product on bare metal areas to convert residual oxidation into a more stable compound before priming. This is especially useful if you're refinishing furniture that already had visible pitting or corrosion starting at the joints.
Application tips: how to avoid streaks, chips, and missed spots
Here's where I've made every mistake in the book so you don't have to. Wax and coatings both have their own failure modes if you apply them carelessly.
Applying wax
- Work in the shade on a cool, dry day. Wax applied in direct sun can dry too fast and leave a hazy residue that's hard to buff out.
- Apply a thin, even coat using a soft cloth or applicator pad. Less is more. A heavy glob of wax doesn't protect better than a thin coat, it just wastes product.
- Work in sections, paying extra attention to flat horizontal surfaces where water sits and the undersides of armrests and seat edges.
- Let it haze to a light matte look (usually 5 to 10 minutes), then buff off with a clean microfiber cloth using circular motions.
- Check the crevices and decorative cutouts of cast aluminum closely. Wax can pool there and look white when it dries. Use a soft toothbrush to work those areas.
Applying spray primer and paint
- Shake the can for a full two minutes before spraying, then shake periodically during use.
- Hold the can 10 to 12 inches from the surface and use smooth, overlapping passes. Never stop the spray while the can is pointed at the furniture or you'll get a thick spot.
- Apply 2 to 3 thin coats of primer, letting each coat reach touch-dry (about 30 minutes) before the next. Don't wait more than 4 hours between coats without lightly scuff-sanding, or adhesion between layers suffers.
- Before the topcoat, lightly sand the primer with 220-grit sandpaper, then wipe clean. This step gives the topcoat something to grip.
- Apply your topcoat in the same thin-pass method. Watch for sags while the paint is still wet. If you see one forming, brush it out immediately with a soft brush before it sets.
- For clear coat, apply within the manufacturer's recommended window after your topcoat. For something like Rust-Oleum RockSolid, that window can be up to 7 days before you'd need to scuff-sand first.
Temperature and humidity matter more than most people realize. Coating products dry and cure based on a combination of temperature, humidity, and airflow. If it's cold, humid, or there's no air movement, drying times extend. Never apply coatings if rain is forecast within a few hours. The Rust Bullet guidance puts it simply: if you press a gloved finger on the coat and transfer any material, it's not ready for another coat. Wait until it passes that test.
Your seasonal maintenance routine
One of the biggest mistakes people make with aluminum patio furniture is treating protection as a one-time event. It's not. The finish degrades every season. UV breaks down wax. For sun exposure, add UV protection by waxing on schedule and keeping the finish sealed so it stays water-repellent how to protect patio furniture from sun. Rain cycles stress even the best powder coat. Here's the schedule I'd recommend for most homeowners.
| Time of Year | Task | Products Needed |
|---|---|---|
| Early spring (before use) | Full wash with soap and water, inspect for oxidation, pitting, or flaking | Dish soap, soft brush, garden hose |
| Spring (after inspection) | Apply carnauba or car wax if finish is intact; re-prime and repaint bare spots | Carnauba wax or aluminum primer, spray paint, clear coat |
| Mid-summer | Quick wash, spot-check joints and legs, reapply wax to any dull areas | Soap and water, wax |
| Late summer/early fall | Full wash, touch up any chips or scratches before wet season | Sandpaper, primer, paint as needed |
| Pre-winter / end of season | Full wash, dry completely, apply fresh wax, cover or store | Soap, wax, breathable cover |
If you're in a coastal area or near a pool, chloride exposure is dramatically higher and you should wax every few months rather than once or twice a year. The same applies if you get significant rainfall or road salt drift in winter. In those climates, every-few-months waxing is the difference between furniture that lasts 10 years and furniture that looks pitted and chalky after three.
For the powder-coated or painted finish, a proper full refinish (strip, prime, topcoat, clear coat) is typically needed every 3 to 5 years under normal use. You'll know it's time when the finish looks chalky even after washing and waxing, or when chips and flaking start appearing in multiple places rather than isolated spots.
Covers and storage: managing moisture so it doesn't undo all your work
A cover is only useful if it's the right kind. This is a point a lot of people get wrong. To protect patio furniture from rain, use a breathable, vented cover and avoid trapping condensation against the metal. To protect patio furniture cushions too, keep them under cover when it rains and choose water-resistant cushion covers protect patio furniture from rain. They buy a cheap plastic tarp, trap condensation underneath it, and end up with more corrosion than if they'd left the furniture uncovered. Moisture under a cover is usually condensation: warm, humid air gets in when temperatures drop at night, hits the cooler metal, and forms water droplets that then sit against the surface for hours. Do that every night all fall and winter, and you've created ideal conditions for pitting and crevice corrosion.
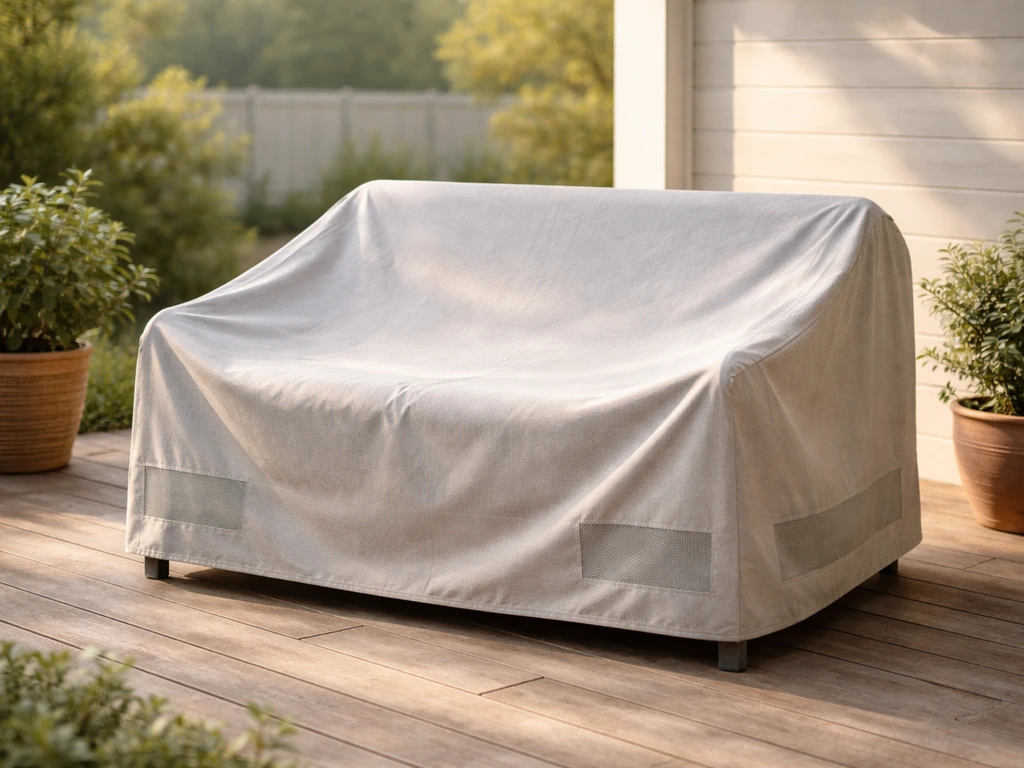
What you want is a breathable, vented cover specifically designed for patio furniture. Look for covers with built-in vents or mesh panels that allow air to circulate while still blocking rain and debris. Fabric covers made from solution-dyed polyester or similar materials are better than solid plastic for this reason. Make sure the cover fits properly, not so loose that wind lifts it off and funnels rain underneath, and not so tight that there's zero air movement.
Covering furniture that stays outside
- Always fully dry furniture before putting a cover on it. Covering wet metal traps moisture and accelerates corrosion.
- Use a cover with built-in venting or breathable panels to prevent condensation buildup.
- Secure the cover so wind can't lift it and channel water underneath.
- Elevate the furniture legs slightly off the ground on furniture glides or small blocks if pooling water is an issue where your furniture sits. Direct ground contact in wet conditions is a pitting risk.
- Remove and air out covers periodically during mild winter days to let any accumulated moisture escape.
Off-season indoor storage
If you can store cast aluminum furniture in a garage, shed, or basement over winter, that's the best protection available. Before storing, wash and dry the pieces completely, apply a fresh coat of wax, and stack or store them so air can circulate around the metal. Don't stack furniture on bare concrete floors without something in between, because concrete wicks moisture and will hold it against your furniture legs all winter. A few scraps of wood or rubber feet work fine. If you're stacking chairs, put a cloth or foam layer between pieces so the finish doesn't get scratched where they contact each other. Scratches through the finish are entry points for corrosion the following season.
Aluminum vs. other metal furniture: a quick comparison
If you're also protecting wrought iron or steel patio furniture, most of the prep steps are similar, but the corrosion chemistry is different. Wrought iron can develop heavy surface rust that aluminum never will, so iron pieces need rust-converter products and rust-inhibiting primers before any topcoat. Wrought iron needs a rust-focused routine like removing surface rust, applying a rust-inhibiting primer, and then sealing it so moisture cannot reach the metal how to protect wrought iron patio furniture. Aluminum's challenge is oxidation and pitting rather than surface rust, so the focus is on maintaining the protective oxide layer and sealing the finish against chlorides. The wax maintenance schedule and cover guidance in this article applies broadly to metal outdoor furniture, but the specific primers and treatments differ by material.
Your next steps, summarized
Here's everything in one place so you can take action today without rereading the whole article.
- Inspect the furniture in good light. Categorize what you're dealing with: intact finish needing maintenance, oxidation needing removal, or flaking/bare metal needing a full refinish.
- Clean with soap and water, scrubbing all joints and crevices. Rinse thoroughly and dry completely.
- If oxidation is present: apply an aluminum brightener product, let it dwell per instructions, rinse fully before it can dry on the surface.
- If paint is flaking: wire brush or sand away all loose material, feather the edges, wipe clean with solvent, and apply a dedicated aluminum primer like Rust-Oleum PRO-13 in 2 to 3 thin coats with 30-minute touch-dry intervals.
- Apply a spray paint topcoat over cured primer, followed by a clear coat for weather resistance.
- If the finish is intact: apply a thin coat of carnauba or silicone-free car wax, buff off when hazy. Repeat twice a year at minimum, every few months in coastal or pool-adjacent settings.
- Cover with a breathable, vented cover when not in use. Never cover wet furniture.
- Store indoors over winter if possible: wash, wax, and store off bare concrete with cloth between stacked pieces.
- Repeat the full inspection and wax in spring, and touch up any chips before the wet season each fall.
FAQ
Can I use WD-40 or spray lubricant to protect aluminum patio furniture from corrosion?
It usually works as a short-term water displacer, but it is not a corrosion prevention system for outdoor use. Lubricants can attract dirt and leave residues that reduce paint or primer adhesion later, so avoid them if you plan to refinish. If you want a temporary barrier, use a wax or a dedicated anti-corrosion spray made for aluminum, applied lightly and wiped off after it flashes.
How do I know if the white chalky layer is oxidation, paint residue, or something else?
Oxidation tends to feel like fine grit when you rub it and it often spreads across exposed metal, especially on legs and joint edges. Paint residue usually rubs off as a powder from a defined coating edge, and it may not appear as widespread surface haze. If you are unsure, do a small spot test with an aluminum brightener on bare metal, then inspect after rinsing and drying.
What should I do if pitting is deep enough to catch a fingernail?
Deep pitting can mean real metal loss and reduced strength, and it often will not fully “seal over” with wax. For best results, remove loose coating around the pits, feather the edges, and refinish with primer plus a compatible topcoat, or consider replacing components if pits are widespread on structural areas like chair legs or arm supports.
Is silicone spray or silicone wax okay to use if I might repaint later?
Generally no. Silicone products can leave residues that make future primer adhesion unreliable and can create fisheyes or coating crawling. Stick to silicone-free waxes and cleaners, and if you have already used silicone, test a hidden spot with primer before committing to a full repaint.
Can I clean aluminum with bleach or vinegar?
Do not rely on bleach. While vinegar can neutralize some deposits, it does not remove oxidation as reliably as an aluminum brightener, and it can also leave salts behind if you do not rinse extremely well. Use an aluminum cleaner or brightener meant for bare aluminum when you see chalky oxidation, and rinse thoroughly so no salts remain.
How often should I re-wax cast aluminum if I live near the ocean or have a pool nearby?
In coastal or pool splash areas, plan on more frequent maintenance, typically every few months, because chloride exposure accelerates oxide breakdown and pitting. Also re-wax sooner after any long wet spell, heavy fog, or winter road salt drift, since chloride load increases even if temperatures stay mild.
Do I need to cover my furniture year-round, or can I leave it uncovered in mild climates?
Mild climates still benefit from coverage, but the goal is to reduce wetting and condensation cycles, not to create a sealed moisture chamber. In dry, low-rain seasons you may leave furniture uncovered, as long as you wash, dry, and wax on schedule. If you use a cover, choose vented, breathable fabric and ensure a snug fit that does not flap and funnel rain underneath.
What is the biggest mistake people make when using covers?
Using a solid plastic tarp or an overly tight non-breathable cover that traps condensation against the metal. That creates repeated wet contact at night and during temperature swings, which speeds pitting and crevice corrosion. Always prioritize venting and air circulation, and keep furniture completely dry before covering when possible.
Should I remove the furniture from the ground during winter even if snow melts quickly?
Yes, off-ground storage is still important. Concrete and damp flooring wick moisture into the contact points, and those leg bottoms become corrosion hotspots over time. Use feet, pads, or scraps of wood so air can move and water cannot pool under the legs.
Can I touch up small chips instead of doing a full refinish?
Often yes, but only if the surrounding coating is stable. Remove all loose or flaking edges down to sound material, clean and prep the transition area, then apply primer and topcoat to feather the boundary. If chips are spreading, the better choice is a full strip and refinish, because under-film corrosion can continue unseen.
How long should I wait after cleaning or brightening before applying primer or wax?
Let the surface dry completely and ensure no residue remains. For refinishing, wait until the metal is fully dry and cool, then perform the solvent wipe as described and start coating promptly so dust and oils do not re-accumulate. If you brightened, extra rinsing and drying time helps prevent trapped salts from causing adhesion or corrosion issues later.
What about dissimilar metal contact, like steel bolts in aluminum joints?
Treat joints as a priority. Use compatible anti-corrosion primer or rust inhibitor on the joint areas, and consider isolating metal contacts with corrosion-resistant washers or proper coatings designed for aluminum. The aim is to reduce galvanic coupling and stop moisture from lingering in bolt holes and crevices.