You can build a solid, good-looking wooden patio bench in a weekend with basic tools, a few 2x4s and 2x6s, and about $60–$100 in materials depending on the wood you choose. The key decisions are picking the right lumber for outdoor exposure, cutting to a comfortable seat height of 18 inches, and using corrosion-resistant fasteners with a proper exterior finish so the bench holds up for years instead of rotting out after one rainy season.
How to Make a Patio Bench Out of Wood: Step by Step

Maren Grady
27 Jun 2026
Choosing your bench size and wood type
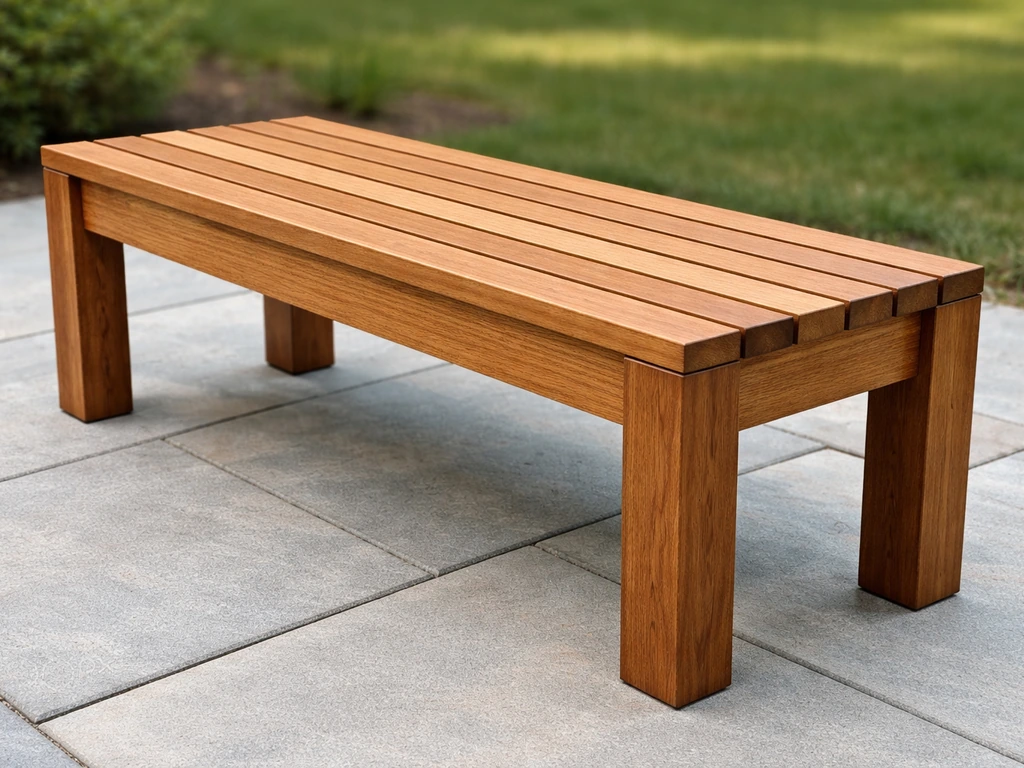
Before you touch a saw, nail down your dimensions. A comfortable outdoor bench seat sits 17–19 inches off the ground, with a seat depth of 15–18 inches. For length, plan on 24–30 inches per person, so a standard two-person bench comes in around 48–60 inches long and a three-seater runs 60–72 inches. If you're adding a backrest, tilt it back slightly at about 100–105 degrees from the seat rather than perfectly vertical, your spine will thank you after the first hour of sitting.
For wood, you have three realistic options for an outdoor patio bench: cedar, pressure-treated (PT) lumber, or ipe. Here's how they actually compare:
| Wood Type | Rot Resistance | Cost (rough) | Workability | Best For |
|---|---|---|---|---|
| Cedar | Good — natural oils resist decay | $$ (moderate) | Easy, lightweight, holds screws well | Most DIYers; looks great with a clear sealer |
| Pressure-Treated Pine | Good to excellent (depends on rating) | $ (cheapest) | Easy but wet/heavy when new; wait to finish | Budget builds; use UC3 for above-ground, UC4 if legs contact soil |
| Ipe | Exceptional — 40–75+ year lifespan outdoors | $$$ (expensive) | Hard; dulls blades fast; requires pre-drilling | Long-term investment; minimal maintenance needed |
My honest recommendation for most beginners: go with cedar. It's easy to cut, doesn't need special blades, smells great, and a solid coat of exterior stain-sealer will keep it looking good for 5–10 years with annual touch-ups. If budget is the priority, pressure-treated pine is perfectly fine, just make sure you're using the right treatment level. Legs that sit close to the ground or on soil need ground-contact-rated lumber (UC4, treated to at least 0.40 lb/ft³). Above-ground parts can use UC3. Don't mix this up or you'll be replacing rotted legs in three years.
Tools, materials, and cut list planning
You don't need a full woodshop for this. Here's what you actually need:
- Circular saw or miter saw (a miter saw makes cleaner, faster crosscuts but isn't required)
- Drill (for boring pilot holes and driving screws)
- Impact driver (optional but makes driving long screws much easier and faster than a drill)
- Kreg pocket-hole jig (optional but highly recommended for strong, clean frame joints)
- Tape measure, speed square, pencil
- Clamps (at least 2–4 bar clamps or F-clamps)
- Safety glasses and hearing protection
- Sandpaper: 80-grit and 120-grit
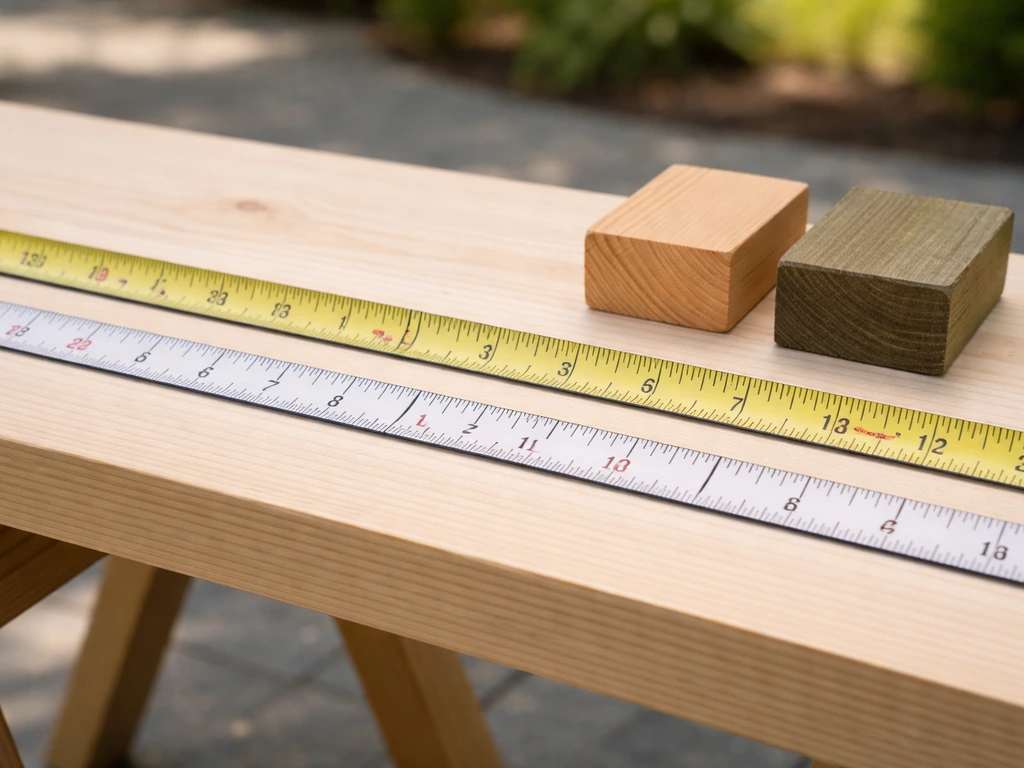
For a standard 60-inch two-to-three person backless bench, here's a practical cut list using 2x4 and 2x6 dimensional lumber (actual dimensions are 1.5 in x 3.5 in and 1.5 in x 5.5 in respectively):
| Part | Qty | Stock Size | Cut Length | Notes |
|---|---|---|---|---|
| Seat slats | 5 | 2x6 | 60 in | Top surface of bench |
| Long side rails | 2 | 2x4 | 60 in | Front and back of frame |
| Short end rails | 2 | 2x4 | 13 in | Connect front/back rails at ends |
| Legs | 4 | 4x4 or doubled 2x4 | 17.5 in | Height accounts for seat slat thickness |
| Center support | 1 | 2x4 | 13 in | Prevents slat sag in the middle |
| Optional backrest posts | 2 | 2x4 | 24 in | Angled if adding a backrest |
Pro tip before you buy: write your cut list, then sketch out how many cuts you can get from each board length. Standard lumber comes in 8-foot and 12-foot lengths. For a 60-inch bench, two 8-foot 2x6s give you seat slats with minimal waste. Always buy 10–15% extra to account for bad cuts or defects in the wood. At the lumber yard, sight down each board before you buy it, skip any that are badly bowed, twisted, or have large knots near the ends where you'll be cutting joints.
Building the frame and joinery step by step
This is where most beginner builds go wrong, either the frame isn't square, the joints are weak, or both. Build the frame first, check it obsessively for square, then attach slats. Don't skip steps.
- Cut all pieces to length first. Label each piece with masking tape and a pencil so you're not guessing mid-assembly. Sand any rough edges with 80-grit sandpaper before assembly — it's much easier now than after the bench is built.
- Build the two end assemblies first. Each end is a rectangular frame: two legs connected by a top rail and a bottom stretcher (add a low stretcher about 4 inches off the ground for rigidity). This is your moment to use a pocket-hole jig if you have one — drill two pocket holes into each end of the rail, then clamp and drive 2.5-inch coarse-thread outdoor pocket-hole screws into the legs. Use Kreg's stainless-steel outdoor screws here, not standard ones, since standard screws corrode fast in outdoor moisture.
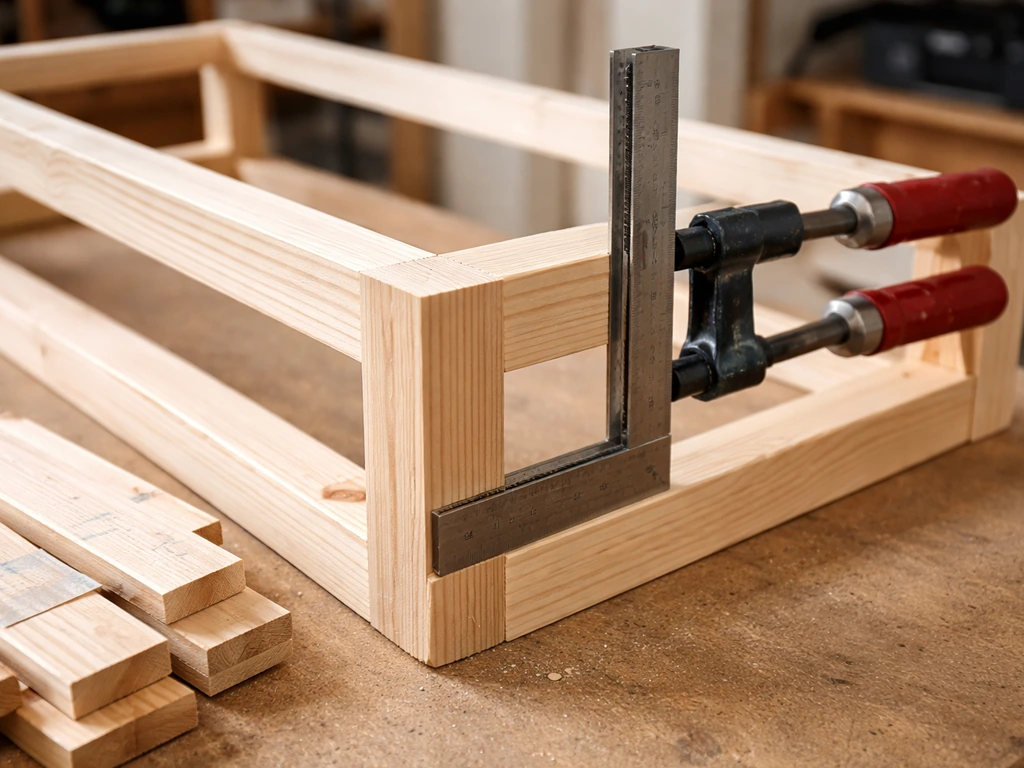
- Check each end frame for square before the glue or screws fully set. Measure corner-to-corner diagonally in both directions — if the measurements match, you're square. If not, push one corner gently until they match. A square frame at this stage means a wobble-free bench later.
- Connect the two end frames with your long side rails. Clamp everything on a flat surface (your garage floor or a workbench works). Again, use pocket-hole screws or 3-inch structural screws driven at an angle through pilot holes. Drive at least two fasteners per rail-to-leg connection.
- Add the center support rail between the two long rails at the midpoint. This prevents the seat slats from flexing or cracking in the middle when someone sits — skip it and the bench will feel springy and weak.
- Final check: set the frame on a flat floor and look for any rocking. Press down on each corner. If one rocks, a small shim under one leg or a slight trim of the offending leg with a hand plane or belt sander fixes it now. Trying to fix a rocking bench after slats are on is miserable.
A quick note on pocket-hole joinery: if you've never used a Kreg jig, don't be intimidated. You set the jig collar to match your material thickness, clamp it to the workpiece, drill the angled pocket, then drive the screw. For 1.5-inch stock (standard 2x lumber), use 2.5-inch coarse screws. The jig instructions include a blank" rel="noopener noreferrer">screw length chart by material thickness, follow it exactly. The joints are surprisingly strong and require no complex cutting.
Attaching seat slats and structural support
Once the frame is solid and square, attaching the seat slats is the most satisfying part. It goes fast. The main things to get right are consistent spacing, consistent overhang, and making sure nothing moves once it's fastened.
- Before attaching anything, lay all your slats across the frame dry (no fasteners yet) and check the fit. Move them around until the spacing looks even and the overhang on each end is equal — aim for about 1–1.5 inches of overhang on each short end.
- Space slats with a consistent gap of about 1/8 to 1/4 inch between them. This gap matters: it lets water drain off the seat instead of pooling between slats and rotting them from underneath. A spare piece of 1/8-inch hardboard or a couple of nickels stacked works perfectly as a spacing gauge.
- Pre-drill pilot holes before driving screws into the slats — this prevents splitting, especially near the ends where wood is most likely to crack. Use a drill bit slightly smaller than your screw shank.
- Drive two corrosion-resistant screws (stainless or hot-dipped galvanized, 2.5-inch length) through each slat into each frame member below it. That means each slat gets four fastener points across a basic frame. Drive screws just below the wood surface, not flush, so they don't become a collection point for standing water.
- Double-check that your center support is doing its job — every slat that spans the center of the bench should land over or just beside it. If a slat lands in the gap between supports, it will flex. Adjust your center support position if needed before final fastening.
If you're building a bench with a backrest, attach the backrest posts to the rear legs before the seat slats go on, it's much easier to clamp and fasten posts to legs when the frame is still accessible. Then add a backrest rail at the top of the posts. Two 2x4 or 2x6 horizontal rails running the length of the bench make a solid, comfortable backrest.
Outdoor weatherproofing: sealing, stain and paint, and fasteners
Here's where a lot of first-time patio builders cut corners and regret it. A bare wood bench left outdoors, even cedar or PT, will start checking (surface cracking), greying out, and eventually decaying at the joints where moisture collects. Proper finishing adds years to the bench's life and takes just a few hours.
Seal end grain first, always
End grain (the cut ends of boards) absorbs water many times faster than face or edge grain. Before you apply any finish to the whole bench, hit every cut end with two coats of your sealer or a dedicated end-grain sealer. Let the first coat fully soak in before adding the second. This single step reduces checking and splitting more than almost anything else you can do.
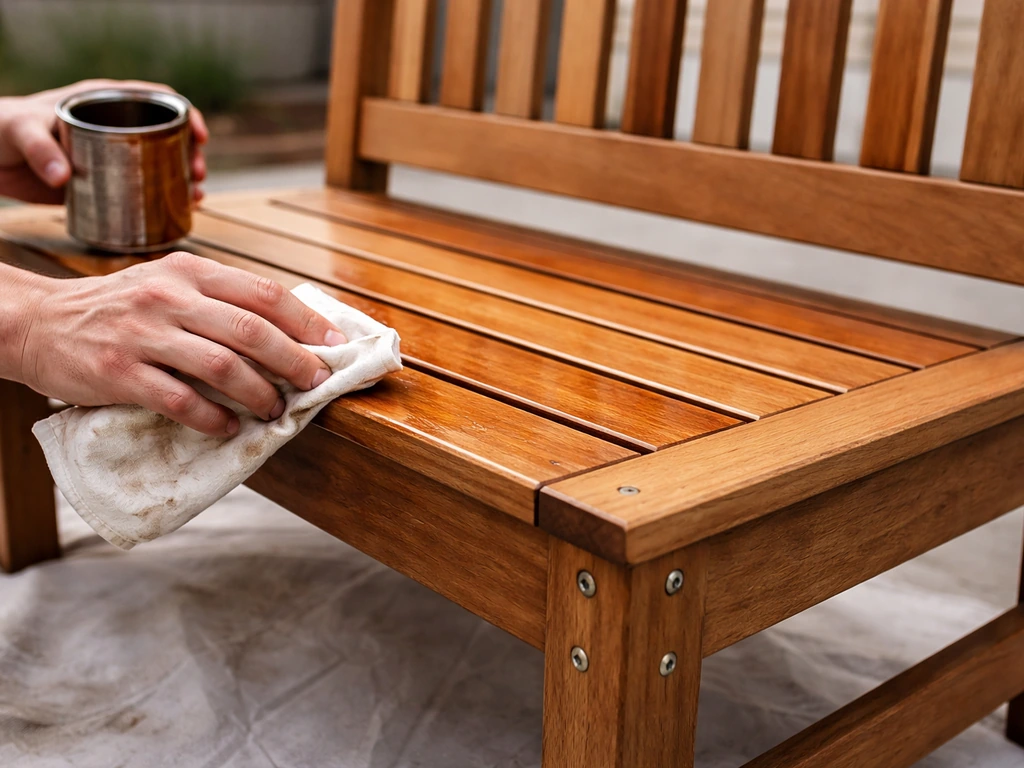
Choosing a finish
For a natural look, a transparent exterior stain combined with a sealer (products like Olympic WaterGuard or similar) works well on cedar and PT lumber. Apply two coats, giving 24–48 hours of drying time before putting the bench back in service. If you want color, a solid exterior paint with a primer coat gives good UV and moisture protection but will eventually peel and need recoating. Semi-transparent stains are a middle ground, some color, some wood grain visible, easier to maintain than paint. For ipe, most finishers use a penetrating hardwood oil specifically made for dense tropical hardwoods, since film-forming finishes tend to peel off ipe's surface.
Fastener selection matters a lot
If you're using pressure-treated lumber, standard zinc-plated screws will corrode within a season or two because the copper compounds in PT wood are corrosive to plain zinc. Use hot-dipped galvanized fasteners (look for G185 coating rating) or stainless steel. Stainless is more expensive but is the best choice if you're near the coast or in a high-humidity climate. For cedar, hot-dipped galvanized works well and costs less than stainless. Don't use standard drywall screws outdoors, ever. They rust fast, stain the wood, and eventually shear off.
Finishing details and troubleshooting common build issues
Even a well-planned build throws up a few problems. Here are the ones I've run into personally and how to fix them:
| Problem | Why It Happens | Fix |
|---|---|---|
| Frame rocks or wobbles | Legs aren't equal length or floor isn't level | Trim the long leg slightly with a hand plane or sand it down; use rubber furniture feet to compensate for minor floor variation |
| Slats aren't aligned | Spacing wasn't set consistently before fastening | Pull screws, re-space using a consistent gauge (coins, scrap shim), re-fasten; pre-drilling helps you reposition |
| Screws strip out or won't bite | Driving too fast without a pilot hole, or wood is wet PT lumber | Pre-drill always; let PT lumber dry for several weeks before driving screws hard; use longer screws for better bite |
| Joints creak or feel loose | Not enough fasteners per joint, or glue wasn't used | Add more pocket screws or structural screws at joints; exterior-rated wood glue (like Titebond III) at joints adds significant strength |
| Water pools on seat surface | Slats are cupped or gaps too tight | Increase gap spacing slightly; if slats are badly cupped, flip them bark-side down so the cup drains water off instead of collecting it |
| Finish peeling after first winter | Applied finish to wet PT lumber, or didn't clean the wood first | Sand back to bare wood, let wood fully dry, wipe with a wood brightener/cleaner, then re-apply finish in dry weather above 50°F |
One finishing detail that makes a big visual difference: give the whole bench a light sand with 120-grit paper after assembly, even if you sanded the individual pieces before building. Assembly always raises a few fibers and leaves slight scratches from clamps. A quick five-minute pass with 120-grit before finishing makes the final stain or sealer go on much more smoothly and evenly.
Where to put the bench and how to keep it going year after year
Where and how you set the bench down matters almost as much as how you built it. If you want to store patio cushions too, the same outdoor-weatherproofing principles apply, just build a properly drained storage box sized to fit them how to build a storage box for patio cushions. Placing a wooden bench directly on soil or grass is one of the fastest ways to rot the legs out, because the wood is in constant contact with moisture and soil organisms. Instead, set it on pavers, concrete, composite deck tiles, or even rubber furniture feet. Elevating the legs even half an inch dramatically improves airflow underneath and keeps the end grain from sitting in standing water.
When you apply your weatherproofing finish, don't seal the underside of the bench frame so heavily that you trap moisture inside the wood. If you want a bench that also hides clutter, consider turning this same build into a patio storage bench with a hinged lid and built-in compartments. The goal is to let moisture that does get in have a way out. A penetrating sealer on the underside is smarter than a thick film-forming coat that traps humidity inside the wood structure.
Seasonal maintenance routine
- Spring: Inspect all fasteners for rust or looseness; re-tighten or replace any that have backed out. Clean the wood surface with a deck cleaner or diluted oxalic acid solution to remove grey oxidation and mildew.
- Spring (after cleaning): Re-apply a coat of exterior stain or sealer if the water-bead test fails — splash a few drops of water on the wood; if they soak in instead of beading up, the finish needs refreshing.
- Summer: Keep the bench off direct soil contact if possible. If you live in a high-humidity area, a quick wipe-down after extended wet weather prevents surface mildew from taking hold.
- Fall: Check leg bases and all joints for early signs of rot (soft, spongy wood that dents easily with a fingernail). Catching rot early means a simple repair; catching it late means replacing components.
- Winter (cold climates): If you can bring the bench into a garage or shed, do it — even a covered porch protects it significantly. If it's staying out, prop it at a slight angle or cover it with a breathable furniture cover (not a tarp that traps moisture underneath). Never wrap wood in plastic for winter storage.
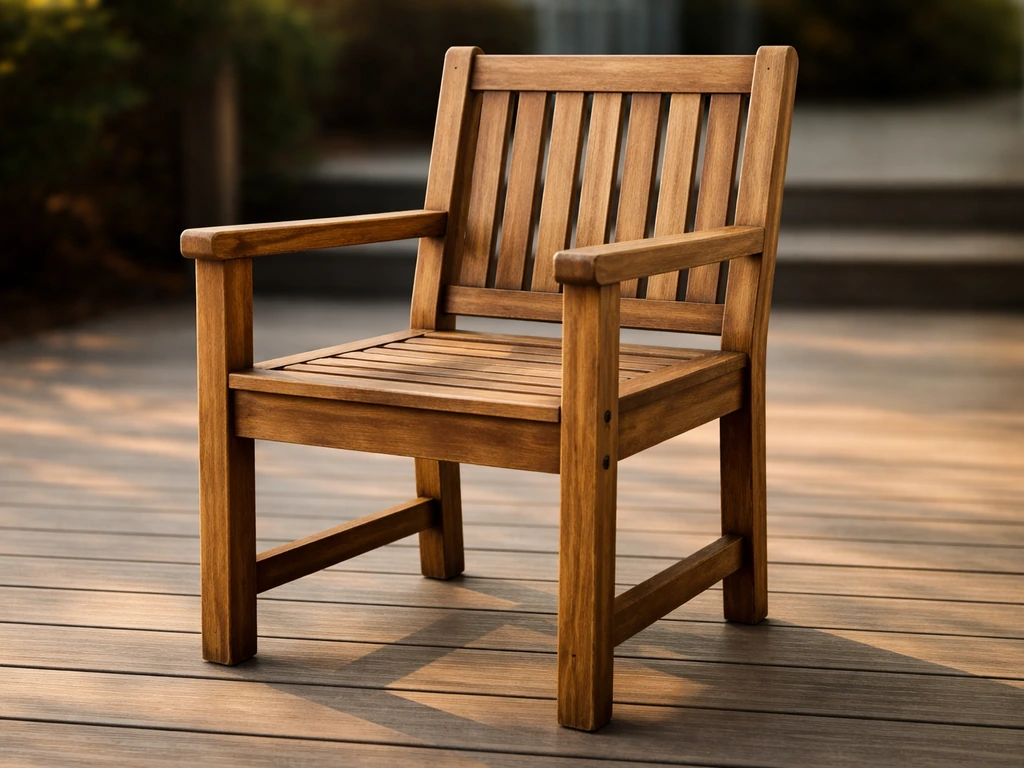
If you find yourself wanting to add storage or a lid to this build, the same framing principles apply directly to a storage bench design. And if your patio needs a full seating set, the leg and rail assembly techniques here translate almost directly to building a matching patio chair. The same approach also works for how to build a patio chair, from choosing lumber that handles weather to using corrosion-resistant fasteners. The bench can also be a natural companion project to a cushion storage box if you want to keep outdoor cushions protected nearby, the joinery and finishing steps are nearly identical.
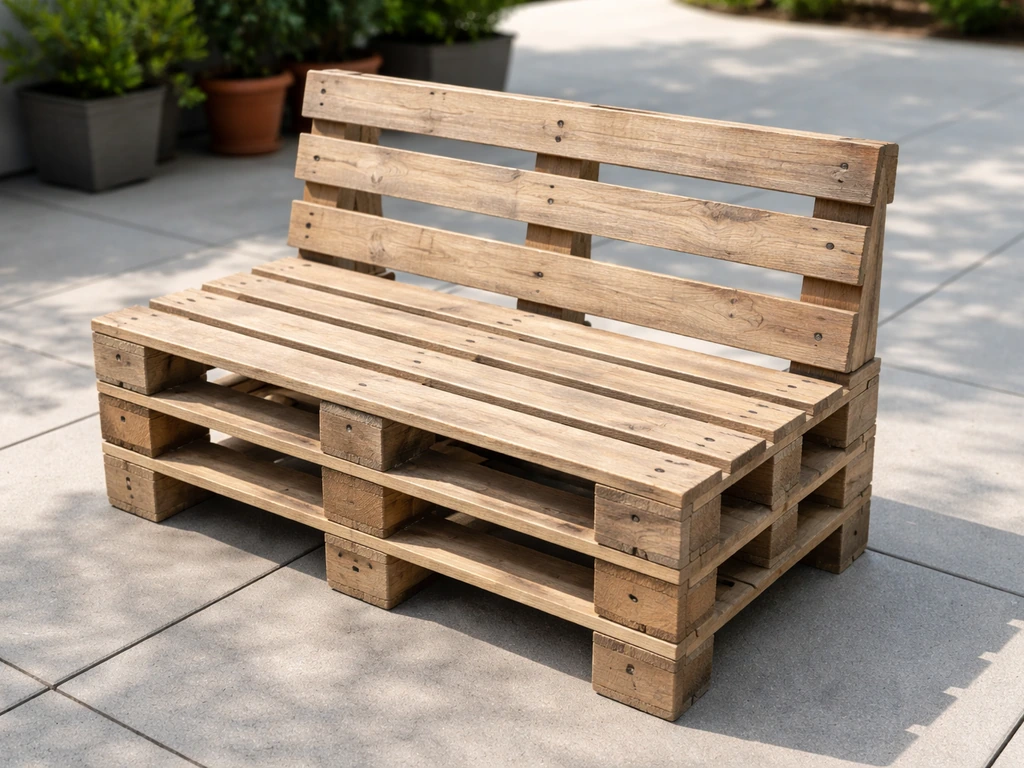
Building a patio bench from scratch is genuinely one of the more rewarding weekend projects you can do. If you want to stretch your budget even further, you can also learn how to make a patio bench out of pallets with similar tools and build steps. The materials are inexpensive, the skills you develop translate to almost every other outdoor furniture build, and a well-made bench you built yourself will outlast anything at the same price point from a big-box store. Take your time on the frame, don't rush the finish, and use the right fasteners, those three things are basically the whole secret.
FAQ
Can I build the bench for outdoor use and leave it uncovered year-round?
Yes, but you need a weatherproof plan for the whole year, not just for rain. Use only exterior-rated lumber and fasteners, pre-seal all cut ends, and let the topcoat fully cure before use. If your winters include freeze-thaw cycles, prioritize a penetrating exterior sealer over a thick film finish, and recheck seams and joints every season for small cracks where water can pool.
What finish is best if my patio bench gets lots of direct sun and rain?
For a bench that will see direct sun and frequent wetting, stick with an exterior stain-sealer that you can renew annually. Plan on cleaning and lightly sanding before each touch-up, since sunscreen-like UV damage makes early areas fade first. If you choose paint for color, expect eventual peeling at end grain and around fastener heads, and be ready to scrape and re-prime those spots before repainting.
How should I support the bench so it doesn’t rot where the legs meet the ground?
Do not place the bench directly on bare soil or grass. Set it on pavers or concrete, or use composite deck tiles, furniture feet, or a low standoff system so the legs never sit in puddles. Even a small air gap underneath reduces moisture trapped at the underside and dramatically slows rot at the leg-to-frame junctions.
My bench feels wobbly, what should I check first before adding or redoing anything?
If the bench feels wobbly after assembly, start by confirming the frame is square and the joints are tight before you do any refinishing. Clamp the frame and retighten or re-secure any loose fasteners, then let the bench sit overnight to see if movement persists. Wobble is usually a joinery or alignment issue, not a finishing problem.
What are common fastener mistakes that lead to loose slats or splitting?
If you can, pre-drill for fasteners near the ends and avoid over-tightening screws, especially in cedar and other soft woods. Fastener heads that pull through can create gaps that hold water. For slats, keep consistent spacing, then verify at least a couple slats are perpendicular to the frame so the bench doesn’t develop twist.
Should I fully seal the underside of the bench frame the same way as the top?
Don’t seal the underside so completely that moisture can get trapped inside the structure. A good approach is to use the same penetrating sealer strategy under the bench for end grain and exposed surfaces, but avoid thick film buildup on the interior underside. Also keep the bottom coat lighter than the topcoat so any moisture that enters can dry out.
How do I know when it’s time to re-finish the bench?
It depends on the wood and how you finish it. In general, if water is beading on the surface and seams look clean, you can often wait until performance drops. If you notice increased greying, faster water absorption, or visible checking at end grain, plan to recoat sooner. Many finishes do better with a light maintenance coat yearly rather than waiting for full failure.
Are pocket-hole joints outdoor-safe, and do I need extra sealing around them?
For outdoor use, avoid pocket-hole joints where water can sit in the joint line. If you use pocket holes, orient them so the pocket openings are not perfect “catch points” for standing water, and ensure the joint line is sealed at the end grain. Also consider adding an exterior finishing step to any pockets or drilled areas before assembly if your design allows it.
Can I build a backless bench now and add a backrest later without ruining the finish?
If you want to add a backrest later, add the backrest posts and rail before you fully finish, or at least before you apply your final topcoat. Attaching after finishing often chips coating at screw points, creating unprotected spots that can start corrosion and checking. If you must retrofit, spot-prime and seal every drilled location and end grain before the final coat.
How do I adjust the bench dimensions if I’m placing it on pavers or a deck?
Measure the seat height at your intended installation surface, not just off the ground. If you place the bench on pavers or tiles, account for the added height so the seat ends up in the 17 to 19 inch range from the finished ground. Small height shifts change comfort quickly, especially for a bench meant for multiple people.