The fastest fix for sliding patio furniture is to put rubber non-slip pads under each leg. A $10 pack of adhesive rubber furniture cups from any hardware store will stop most chairs and tables from skating across a smooth concrete or tile patio within about five minutes. That said, if your furniture keeps moving even with pads, or if you're dealing with wet weather, worn-out feet, or a deck surface, there are smarter solutions worth knowing about. If you want to keep patio furniture from moving on a slippery or uneven surface, focus on the contact points first and then upgrade the grip as needed. Here's how to work through the whole problem from quick patch to permanent fix.
How to Keep Patio Furniture From Sliding: Quick Fixes

Maren Grady
9 Jul 2026
Why your patio furniture slides (and what to check first)
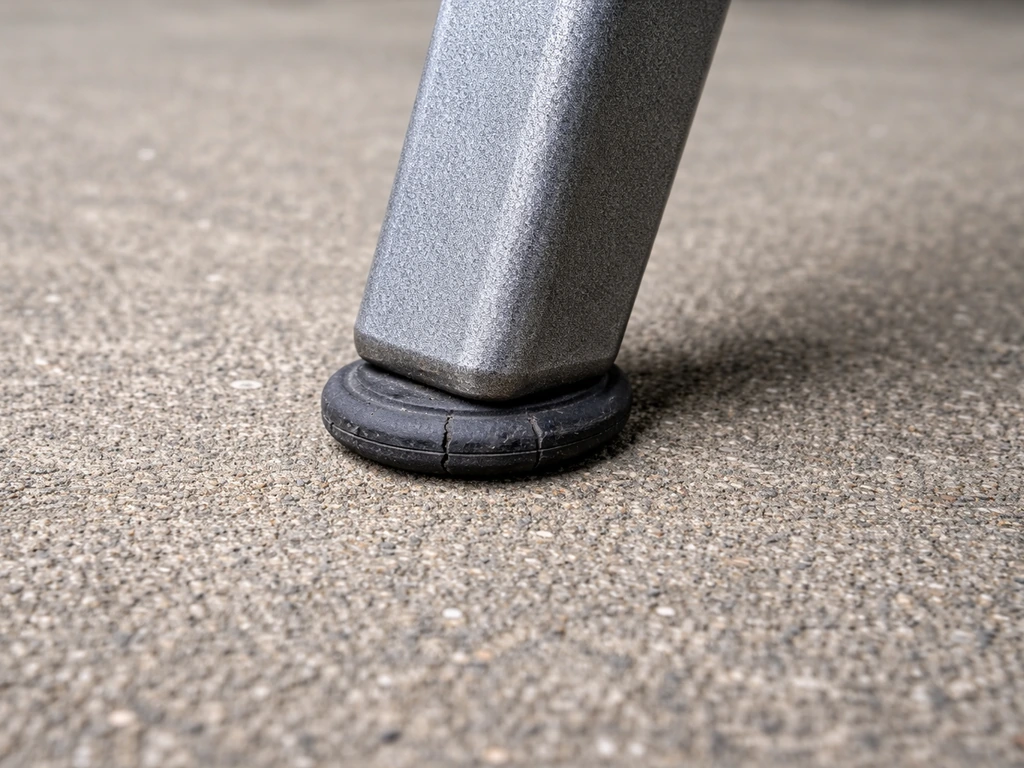
Before you buy anything, spend two minutes looking at the actual contact point between your furniture legs and the patio. Most sliding problems come down to one of four things: smooth or worn leg bottoms, a slick patio surface, moisture between the two, or furniture that's simply too light to stay put in the wind. Knowing which one you're dealing with saves you from wasting money on the wrong fix.
Check the feet first. Metal legs (cast iron, aluminum, steel) often have a small plastic or rubber cap that either fell off or wore down to a smooth nub. Plastic furniture legs are usually smooth from the factory. Wicker and resin chairs frequently have pre-molded flat plastic bases that offer almost zero grip on hard surfaces. Flip a chair over and look. If the bottom of the leg is smooth, hard, or has a gap where a cap used to be, that's your culprit.
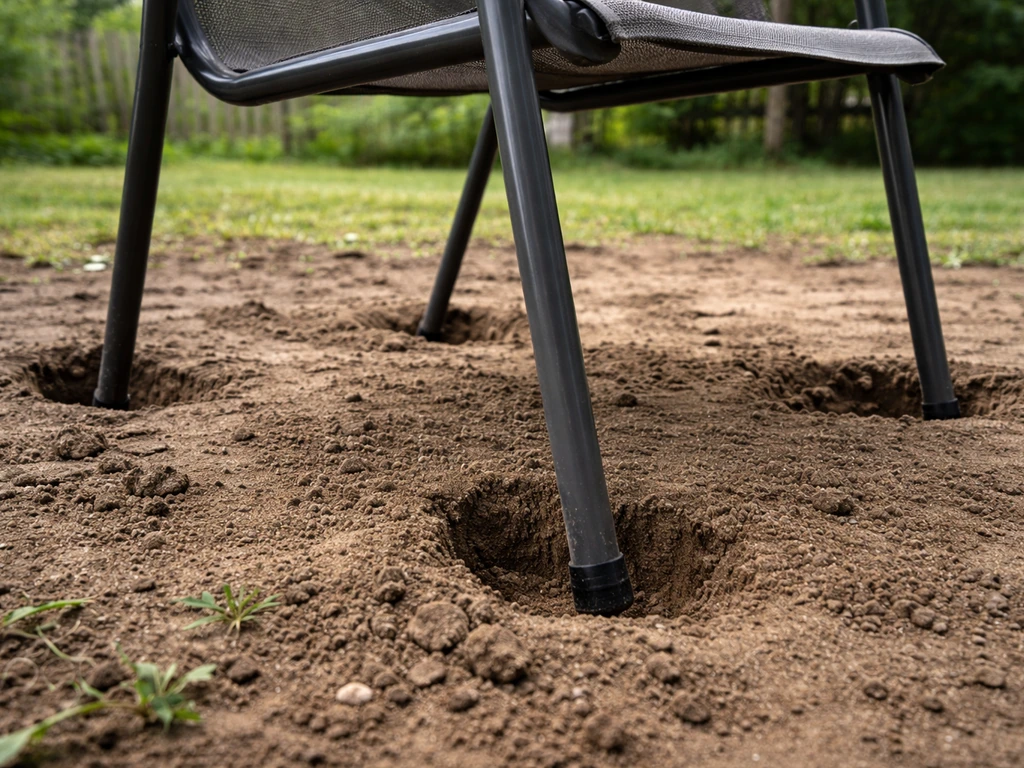
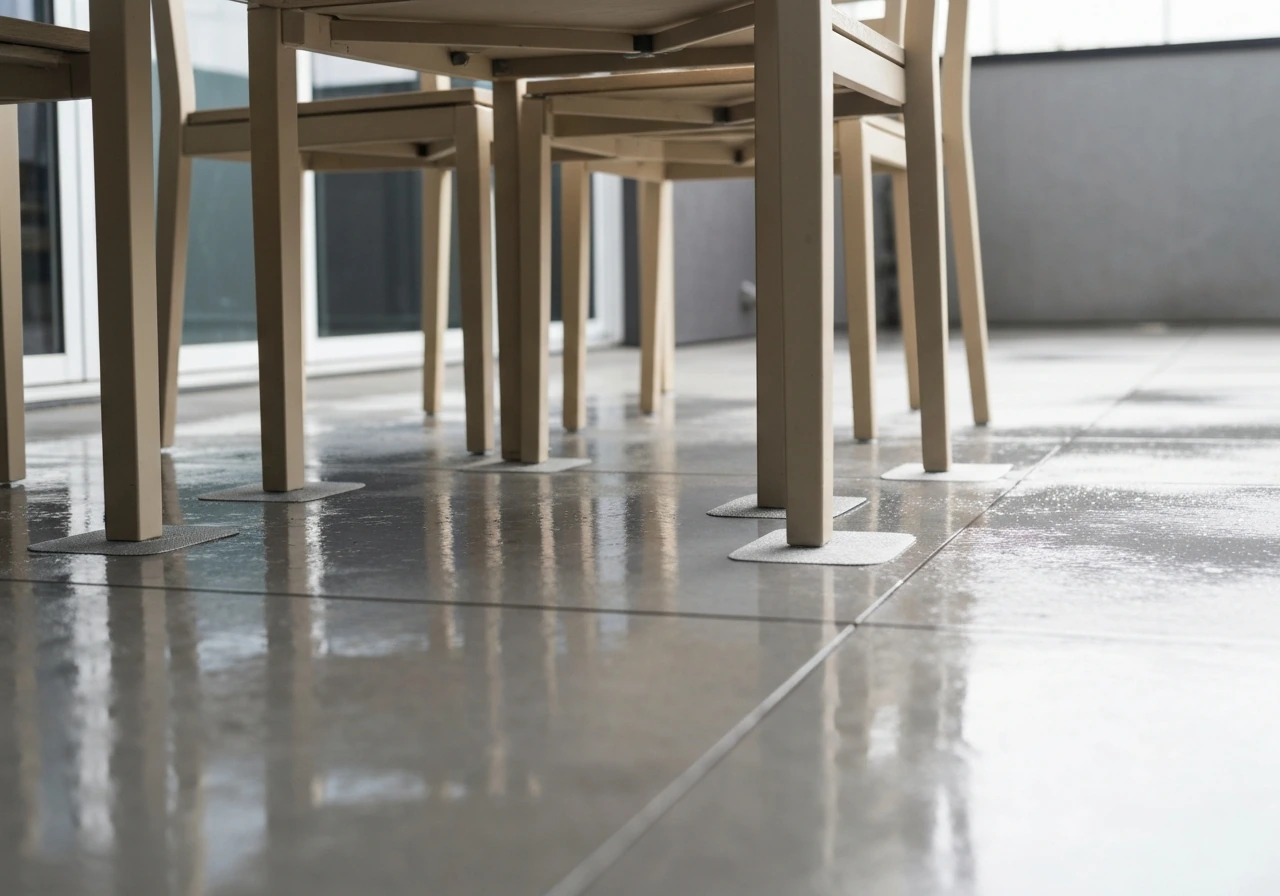
Next, check your surface. Wet concrete, sealed tile, painted decks, and composite decking all get significantly more slippery when damp. This isn't just a feeling. Water fills in the tiny surface texture (called asperities) that normally creates friction between rubber and stone, which is why chairs that grip fine on a dry day can slide freely after morning dew or rain. If your furniture only misbehaves when wet, you're dealing with a moisture-driven problem, and the solution is different from the dry-surface case. If your patio furniture is sinking into the ground, you may need to add leveling and anchoring so the legs have a stable base a moisture-driven problem.
Finally, look for a residue problem. Cleaning products, deck sealers, algae, and pollen can all leave a slick film on your patio surface. A quick wetting test helps here: wet a small area of your patio, wait five minutes, and try to slide a chair across it. If it moves much easier than when dry, the surface itself needs attention alongside any furniture fix. A good rinse with a dedicated deck and patio cleaner followed by a thorough dry will restore surface texture that no amount of pads can compensate for.
Quick fixes: non-slip pads, liners, and grip accessories
These are your do-today, costs-almost-nothing options. They work well on most dry surfaces and are the right starting point for the majority of sliding problems.
Adhesive rubber pads and cups
Self-adhesive rubber pads stick directly to the bottom of each furniture leg. They come in circles, squares, and cups (with a slight lip that wraps around the leg end), and they typically cost $5 to $15 for a pack of 16 to 20 pieces. Clean the leg bottom with rubbing alcohol first, press the pad firmly for 30 seconds, and let it cure for an hour before using the furniture. That's the whole job. The cup style grips better than flat pads because the edges keep the pad from peeling away at the corners. One warning: cheap foam pads trap moisture underneath and can peel off within a season. Stick with solid rubber, not foam.
Non-slip rug pads and grip liners under the whole set
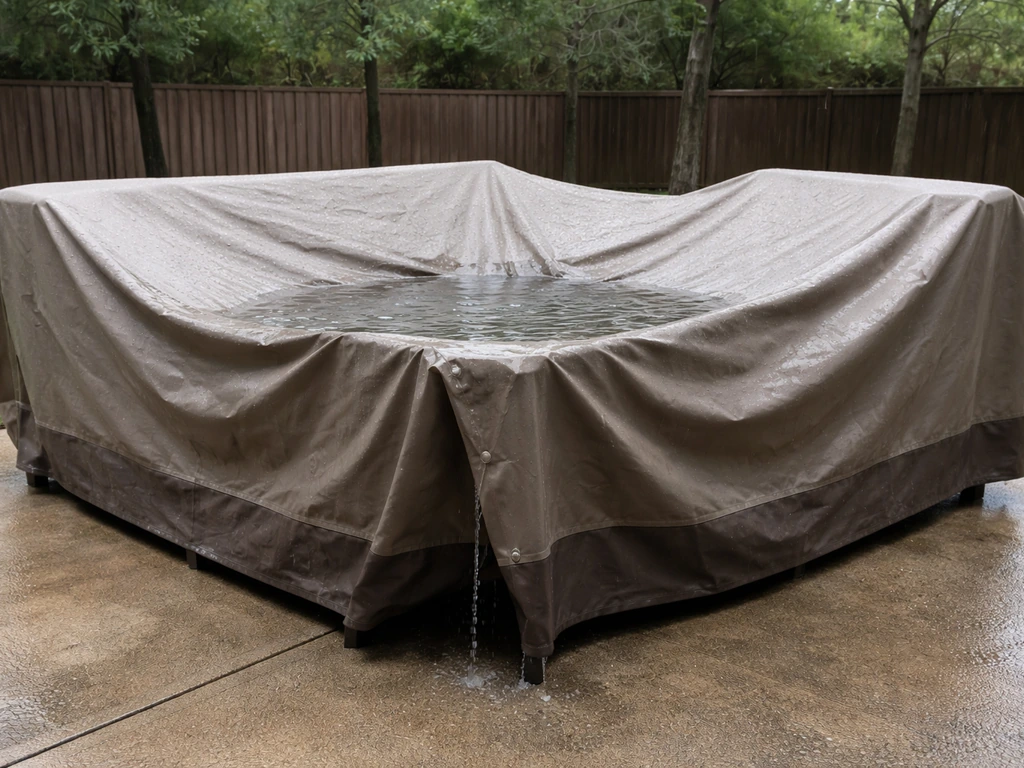
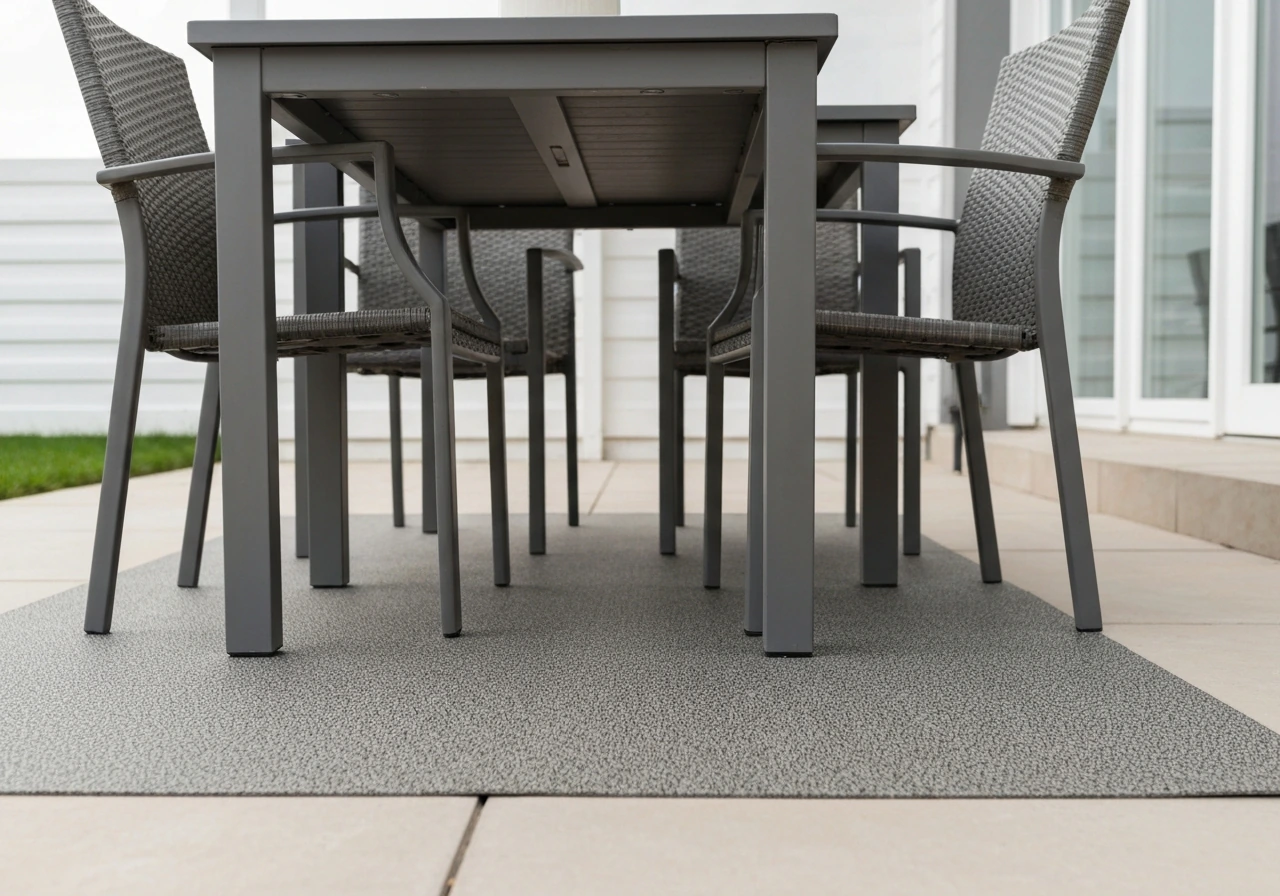
If you have a dining set or a seating group that tends to creep around as a unit, an outdoor-rated non-slip mat or rug pad under the whole thing works better than individual leg pads. Cut a piece of rubberized shelf liner or non-slip rug pad to fit under your furniture grouping. This approach is especially good on wood decks because individual leg pads can dent or scratch the boards, while a mat distributes the load. It also visually anchors your outdoor space. Look for open-mesh designs that let water drain through rather than pool underneath, which would make the moisture problem worse. If water is pooling on or under your cover, use a cover with drainage vents and keep the cover slightly lifted so runoff does not collect on the furniture legs water pooling under patio covers.
Grip socks and silicone leg covers
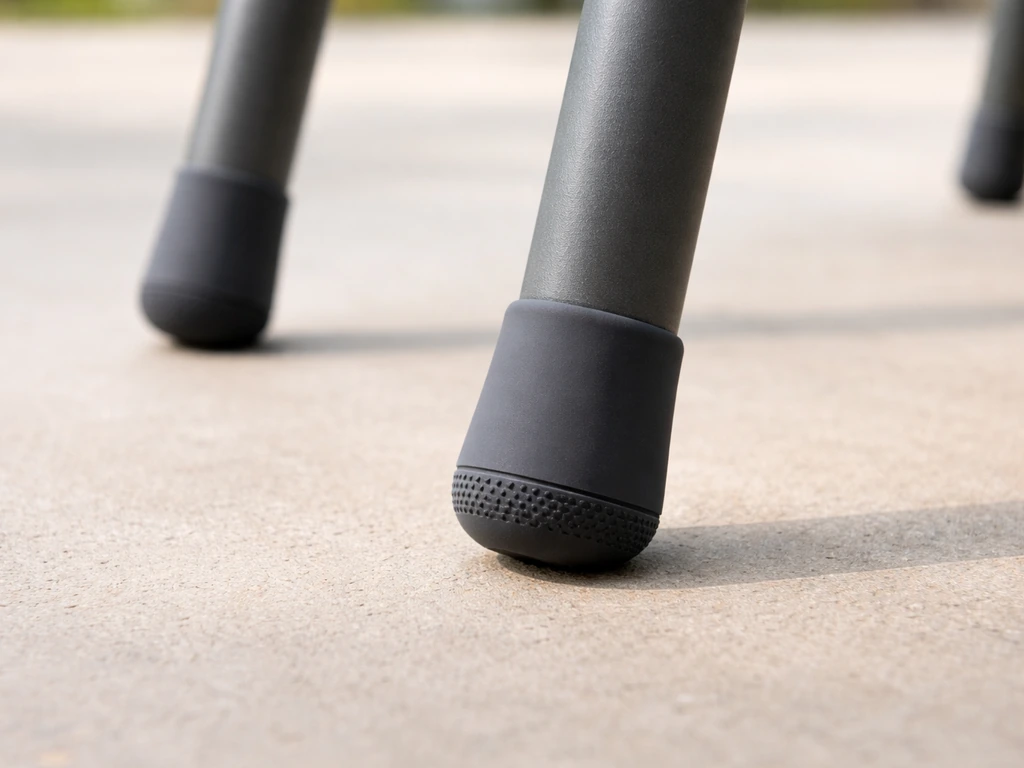
For tubular metal chair legs (common on folding patio chairs and bistro sets), stretchy silicone or rubber leg covers slip over the end of the tube and provide a thick, grippy contact surface. They're sold in multipacks for around $8 to $12 and require no tools or adhesive. They also protect your deck or tile from scratches, which is a nice bonus. The downside is that they can slide off slim or oddly shaped legs, so check the diameter match before buying.
Replace or upgrade furniture feet and glides
If your furniture has worn-out, missing, or factory-smooth feet, replacing them properly is a more permanent fix than sticking a pad over the problem. This is a bigger step but still very DIY-friendly and usually costs under $20 for a full set.
Identifying what type of glide you have
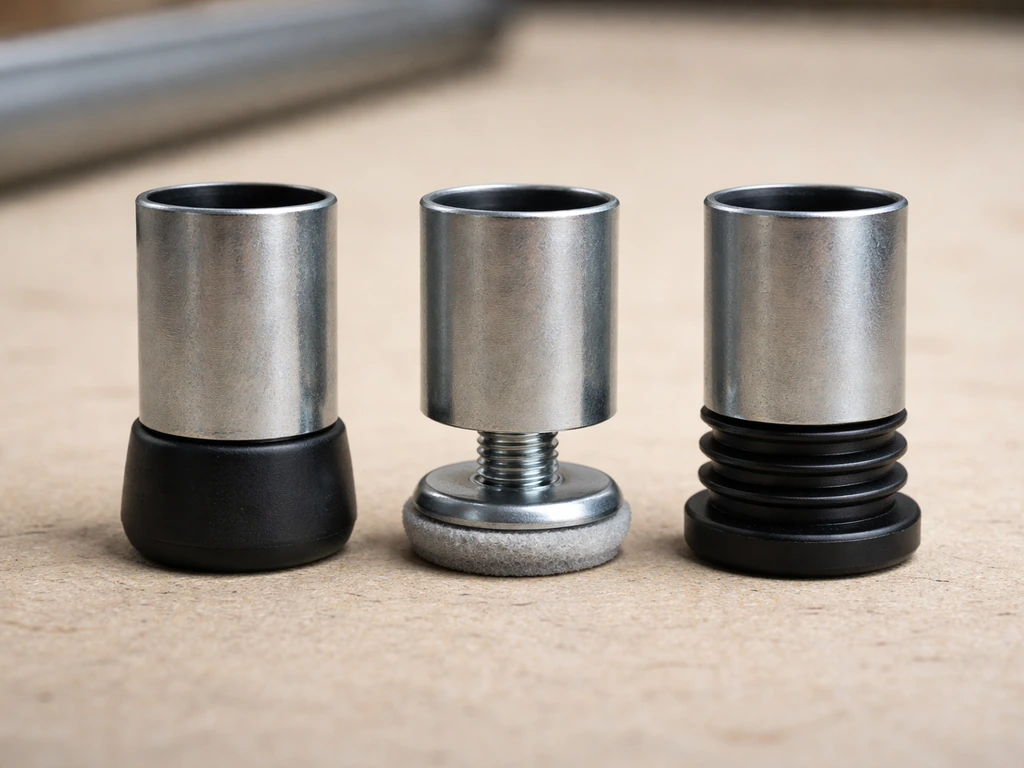
Flip the chair over and look at the leg end. You'll likely find one of three things: a push-in plastic or rubber cap that presses into the hollow tube end, a screw-in glide with a threaded shaft that screws into an insert inside the leg, or a flat bottom with no attachment hardware at all. The push-in type is easiest to replace: measure the inside diameter of the tube (common sizes are 7/8 inch and 1 inch for aluminum patio furniture) and order matching rubber or rubber-tipped caps. The screw-in type requires matching the thread. Most North American patio furniture uses a 1/4-20 threaded shaft, which is a very common size you'll find at hardware stores and patio parts suppliers. Metric legs (M6, M8) show up on imported furniture. If you're not sure, take the old glide to the hardware store and match it by hand.
Here's where a lot of people get stuck: some chairs have a pre-installed bottom insert inside the leg that the glide screws into, and you can't always see it without removing the old glide first. If your replacement glide wobbles or won't tighten, the insert may be stripped or missing. A threadable insert can be hammered into the leg tube to give a fresh anchor point for the new glide. This is a $2 fix but it requires knowing the right size, so when in doubt, bring the whole chair leg section to the store.
Adjustable leveling glides for uneven surfaces
If your furniture rocks because your patio is slightly uneven, a standard flat pad won't fully fix the sliding problem because one corner will always be lighter than the others, and that's the corner that moves first. Adjustable screw-in leveling feet solve both problems at once. They screw into the same 1/4-20 insert (or a new insert you add), and you can twist each foot up or down to level the chair perfectly. Superior Glide and Patio Furniture Supplies both offer versions with wide rubberized bases that grip the surface well once leveled. Match the base diameter to the leg width for the most stable contact, and don't overtighten during installation or you'll strip the threads in the leg. Superior Glide’s guide emphasizes matching thread size and base style to the existing furniture so you don’t strip threads.
Retrofitting rubber feet to furniture with no existing hardware
For wood furniture legs, plastic chairs with flat bases, or any piece with no existing glide hardware, you can drill a small pilot hole into the center of each leg bottom and screw in a rubber-tipped bun foot or furniture leveler. Drill the pilot hole slightly smaller than the screw shaft so it grips firmly. This is the same method used to install bun feet on indoor furniture and it works well outdoors with weather-resistant (stainless or coated) hardware. For plastic furniture, pre-drilling is critical because forcing a screw without a pilot hole can crack the leg.
Securing methods: straps, anchors, and anti-move hardware
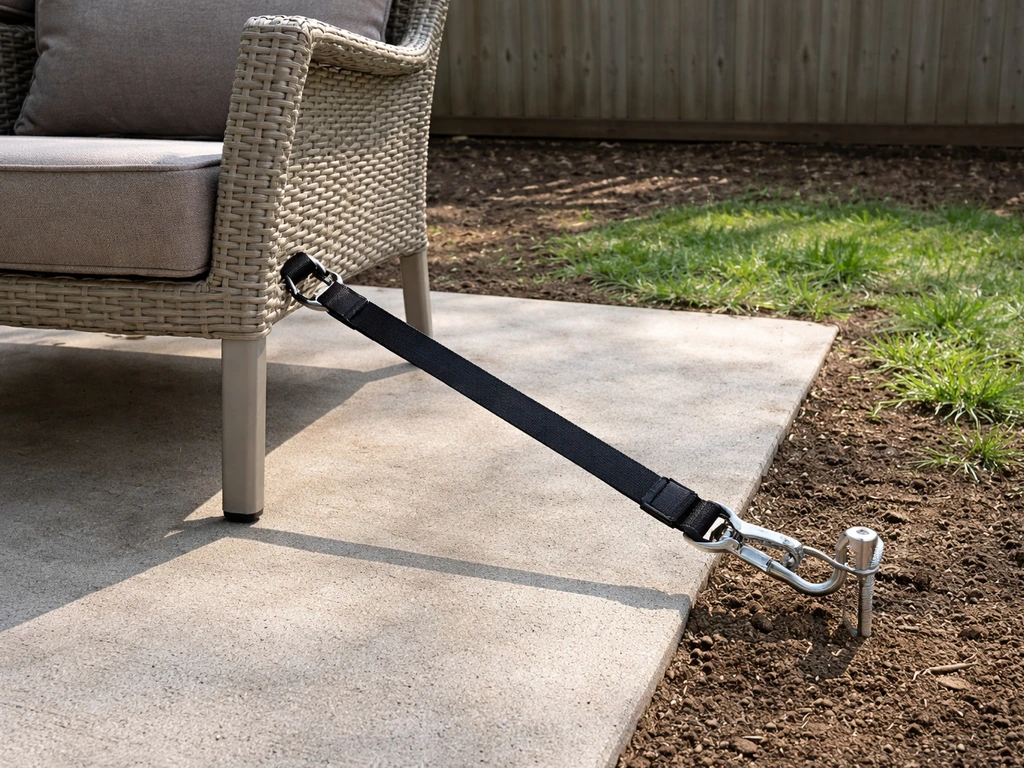
Sometimes better feet aren't enough. If your furniture is lightweight, lives in a windy spot, or sits on a surface where nothing seems to grip, you need to physically secure the pieces. This section is also relevant if you're worried about furniture tipping (a safety concern worth taking seriously, especially around kids).
Furniture tie-down straps
Furniture anti-tip straps are nylon or metal straps that attach between the furniture and a fixed anchor point, like a wall, post, or ground stake. The anchor end is the key part. For furniture on a wood deck, you can screw a small L-bracket or eyebolt into the deck frame and loop a strap through it. For patios, a ground anchor stake driven into a nearby planting bed or lawn can work. Pay attention to the angle: most anchor systems are rated at a specific load at a 45-degree angle from the ground, so a straight horizontal pull on a vertical strap is much less effective than a diagonal one. One thing to keep in mind: basic adhesive anchor kits designed for indoor furniture are not rated for the outdoor forces that wind can generate. Use metal hardware that screws or bolts into a structural surface, not just something that sticks to the patio wall.
Ground anchors for lawn-adjacent patios
If your patio borders a lawn or garden bed, a deep-set ground anchor screwed or driven into the soil can serve as a tie point for furniture in exposed or windy spots. These are typically helical steel anchors that screw into the ground with a T-bar handle and provide a substantial hold. They're most useful for securing umbrella bases, lightweight aluminum sets, and poolside loungers that get caught by wind. This approach is more involved than a pad but gives you real holding power. Just make sure to loop the strap correctly around the anchor's hardware so the geometry works as designed.
Weighted bases and furniture placement
Sometimes the simplest anti-slide fix is adding weight. Umbrella bases, planter boxes placed at corners of a seating group, or even filling hollow metal furniture frames with sand (seal the holes after) all add inertia that resists wind movement. This isn't glamorous, but it works without any drilling or adhesives, and it's completely reversible. Strategic placement also helps: positioning furniture against a wall, railing, or permanent planter reduces the number of sides that can slide freely.
How to choose the right solution for different patio surfaces
The surface under your furniture changes what works best. Here's a practical breakdown so you're not guessing.
| Surface Type | Best Solution | What to Avoid |
|---|---|---|
| Smooth concrete or tile | Thick rubber cup pads or adhesive rubber glides | Felt pads (trap moisture, turn slick) |
| Textured or pavers | Adjustable leveling glides (handles uneven joints) | Thin pads that rock across grout lines |
| Wood deck (natural) | Non-slip rug liner under full set, or rubber cup pads | Metal glides that scratch the wood finish |
| Composite decking | Soft rubber pads or silicone leg covers | Hard plastic feet that can mark the surface |
| Brick or flagstone | Adjustable glides plus a non-slip mat under the group | Pads that can't flex with irregular surface gaps |
| Grass-adjacent or mixed surface | Ground anchor stakes plus strap, combined with rubber feet | Adhesive-only solutions (fail when damp) |
The two situations that trip people up the most are composite decking and pavers. Composite decking is soft enough to be scratched by hard plastic furniture feet, so rubber or silicone is non-negotiable there. Pavers and flagstone are irregular enough that flat pads never all make full contact at once, which leaves the furniture wobbly. That's where adjustable leveling glides earn their price: you dial each foot to the surface height and every leg touches firmly at the same time.
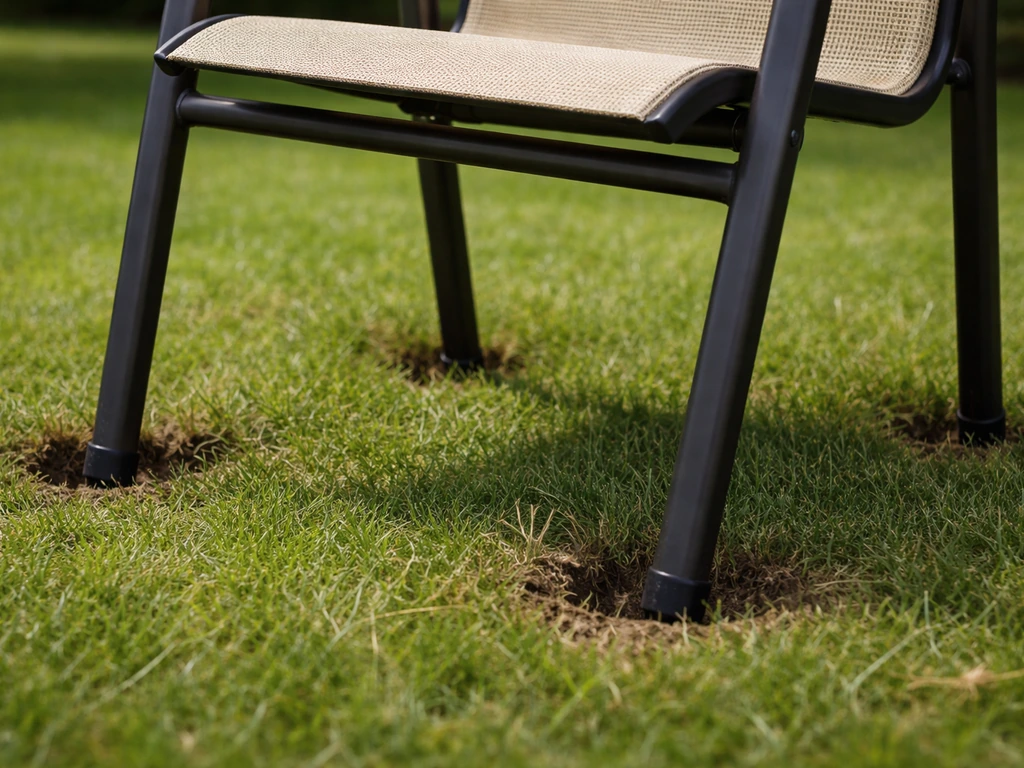
If you're also dealing with furniture sinking into soft ground or grass nearby, that's a related but separate issue. If patio chairs are sinking into grass, use leveling pavers or compacted gravel under the legs to spread the load and keep the chairs from wobbling furniture sinking into soft ground or grass. Sinking and sliding often happen together on mixed surfaces, and they need different fixes handled in sequence: stabilize against sinking first, then address the sliding.
Troubleshooting: if it still slides (wet weather, uneven ground, worn parts)
If you've added pads and the furniture is still moving, work through this checklist before buying more products.
- Check if the pads are actually making contact. Flip the chair over. If any pad is peeling at an edge or sitting on an uneven leg bottom, it's only partly gripping. Sand down any rust or rough spots on metal feet before re-applying, and use the cup style for a more secure hold.
- Test whether the problem only happens when wet. Set the chair on a dry section of your patio and try to slide it. If it grips fine dry but slides when damp, your surface needs cleaning and possibly resealing more than the furniture needs new feet. Clean off any algae, pollen residue, or old sealer film, rinse thoroughly, and let the patio dry for at least two hours in the sun before testing again.
- Check for uneven ground causing a rocking-then-sliding pattern. A chair that rocks on uneven pavers will always migrate because the rocking motion breaks the friction hold. Two adjustable leveling glides on the shorter legs will stop the rocking and the sliding at once.
- Inspect for worn or degraded rubber. Outdoor rubber degrades in UV light. Pads that are more than two or three seasons old may look intact but feel hard and slick. Squeeze them: if the rubber doesn't compress noticeably, it's past its gripping life. Replace them.
- Look at the foot cap drainage. The Home Depot's patio maintenance guidance specifically recommends removing foot caps periodically to let trapped water drain out. Standing water inside a cap creates a slick hydraulic cushion between the cap and the surface. Pull the caps off, drain them, and let them dry before replacing.
- Consider whether the furniture is just too light for the spot. Very lightweight aluminum or plastic chairs in exposed areas may need a strap anchor no matter how good the pads are. Wind force on a chair cushion can easily exceed what friction alone can resist.
Maintenance and seasonal prevention steps
The most frustrating version of this problem is fixing it in spring, then having it return by midsummer because the pads wore out or the surface got slick again. A simple seasonal routine keeps it from coming back.
At the start of outdoor season (spring setup)
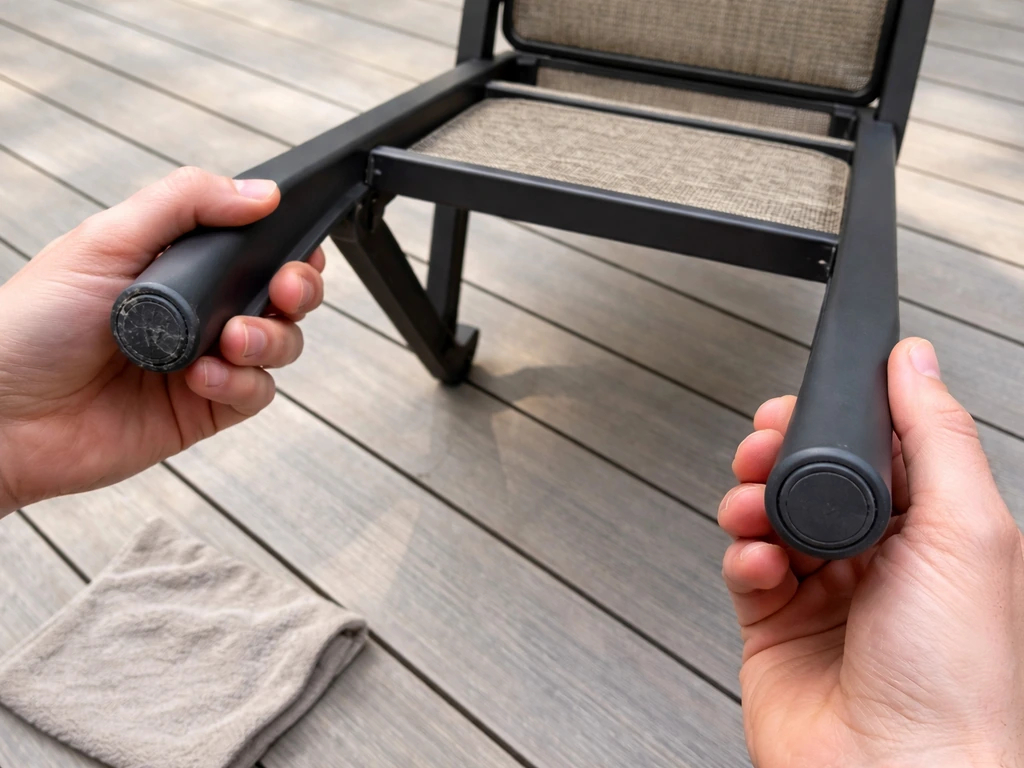
- Flip every chair and inspect all feet. Replace any pad that's hard, cracked, or peeling. Budget $10 to $15 to refresh the whole set.
- Clean your patio surface with a deck and patio cleaner, rinse completely to remove all residue, and let it dry fully before setting furniture back out. Slick films from winter buildup are a major cause of early-season sliding.
- Re-level any adjustable glides that shifted during winter storage. A wobbly chair means partial contact and poor grip.
- Check that any strap anchors or hardware are still tight and rust-free. Tighten loose screws and replace any corroded hardware.
During the season (ongoing)
- After heavy rain, check that water isn't pooling inside leg caps. Remove, drain, and dry them if needed. This is also a good moment to confirm the pads underneath are still firmly adhered.
- If you notice furniture moving more on wet days, that's your cue to clean the patio surface again. Algae and mildew build up over summer and dramatically reduce traction.
- Avoid using silicone-based cleaners on your patio surface. They leave a film that reduces grip for both your feet and your furniture's feet.
Before storing for winter
- Remove rubber pads and caps before storage. Storing furniture with damp pads trapped against the legs can cause corrosion on metal legs and mold under plastic ones.
- Let furniture dry completely in the sun (at least two hours) before covering or storing it. Covering wet furniture traps moisture against the feet, which accelerates the degradation that causes sliding problems next season.
- Store pads in a dry place rather than leaving them attached if you live in a climate with hard freezes. Freeze-thaw cycles crack rubber faster than anything else.
Getting patio furniture to stop sliding is genuinely one of those problems that looks harder than it is. Most of the time, a $10 pack of rubber pads and five minutes fixes it. When it doesn't, working through the diagnostics above will get you to the real cause faster than just buying more products and hoping. Start with the feet, check the surface, address moisture, and escalate to anchoring only if you actually need it.
FAQ
Do I need to clean the patio before putting on non-slip pads, or is cleaning the chair feet enough?
Clean the chair leg bottoms first (rubbing alcohol is ideal). But if the patio is slick from film, algae, or residue, the furniture may still creep even with good pads, because the pads are only half the friction equation. Use the wetting test (wet a small spot, wait 5 minutes, try to slide) to decide whether you also need a patio cleaner and thorough dry.
Will rubber non-slip pads work on painted concrete or sealed tile?
Often they help, but sealed surfaces can be extremely slick when damp, and flat pads may not create enough contact. If sliding happens mainly after rain or morning dew, prioritize moisture-driven fixes (surface cleaning or improving drainage) and consider a rubberized shelf-liner or cup-style pads that better wrap the leg end.
How long do non-slip pads take to cure before I can use the furniture?
After pressing pads on, let them cure for about an hour before use. If you use the furniture immediately, especially outdoors where moisture and dust are present, the pad can partially lift and you may see re-sliding sooner than expected.
Can I use foam pads instead of solid rubber if I already have them?
You can try, but foam is more likely to trap moisture under the pad and peel within a season. For outdoor conditions and recurring wet weather, solid rubber generally lasts longer and maintains friction better.
My furniture moves as a whole set, not just one leg. What’s the best option?
Use a single non-slip mat or outdoor rug pad under the entire seating group, rather than treating each leg separately. Choose an open-mesh or water-draining design so water does not pool underneath, which can create the same slip problem the pads are meant to solve.
What if my chair has multiple leg types, like some capped and some bare metal?
Treat each leg based on its contact condition. Replace missing or factory-smooth caps on the bare legs first, then add pads or covers only where needed. If you only pad the worst-looking legs, the remaining legs can still provide low grip and let the chair creep.
How do I know whether I have a moisture problem or a residue problem?
Moisture-driven issues usually show up when the surface is damp, regardless of recent cleaning, and the wetting test will reveal a big change in sliding ability. Residue problems often correlate with nearby pollen, deck sealer overspray, cleaning products, or algae growth, and a dedicated patio/deck cleaner plus dry time typically restores texture.
What’s the safest way to fix rocking that comes from uneven ground?
Don’t rely on flat pads alone. Install adjustable screw-in leveling feet so each leg contacts firmly at the same height. Be careful not to overtighten during installation, since overtightening can strip threads in the leg insert.
My tubular chair leg covers keep sliding off. What should I check before buying replacements?
Measure the tube diameter and match the cover size to the leg shape. Slim or oddly shaped legs can reduce the grip area, making it easy for covers to work loose. If the fit is correct and they still slip, you may need a different style (like a more grippy rubberized glide) rather than only changing material.
What if my replacement screw-in glide wobbles or won’t tighten?
That usually indicates a missing or stripped insert inside the leg. If it wobbles, don’t force it. Bring the leg section to a store to match the correct thread and consider installing a threadable insert so you have a solid anchor point for the new glide.
Can I anchor patio furniture to stop sliding and tipping, and what should I avoid?
Yes, use anti-tip straps only with rated outdoor hardware. Avoid indoor adhesive anchor kits, since they are not designed for wind and outdoor loads. Use metal hardware that screws or bolts into a structural surface, such as a deck frame, post, or properly rated ground anchor.
How can I secure lightweight furniture against wind without drilling?
Add weight where it makes sense: use a heavier umbrella base, place planters at corners of the seating group, or fill hollow frames with sand (then seal the holes). Also position furniture against a wall, railing, or permanent planter to reduce how many legs are exposed to sliding forces.
If my chairs sink into grass, should I still add anti-slip pads first?
Stabilize sinking first. If legs sink or wobble due to soft ground, any friction fix is secondary and may not hold. Use leveling pavers or compacted gravel under legs to spread the load, then address sliding once the legs sit firmly.
Why does the problem return after I fix it in the spring?
Two common causes are pad wear and patio surface changes over time, like new residue, algae, or increased dampness. A simple seasonal check helps: inspect pads for peeling, verify leg caps are still intact, and rerun the wetting test after rain to confirm the surface still has enough texture.