You can build solid, good-looking patio furniture out of wood with basic tools, a weekend, and a budget that won't wreck you. The best wood choices for outdoor use are western red cedar heartwood, teak, redwood heartwood, or pressure-treated lumber, depending on your budget. You'll use a circular saw, drill, and pocket-hole jig for most builds. The joinery that holds up best outdoors combines pocket-hole screws (stainless or coated) with exterior wood glue. And the finishing system that actually protects your work is a penetrating exterior oil or a solid stain, not interior varnish. If you nail those four decisions, everything else is just following steps.
How to Build Patio Furniture Out of Wood Step by Step

Maren Grady
9 Jul 2026
Choosing the right wood for outdoor furniture
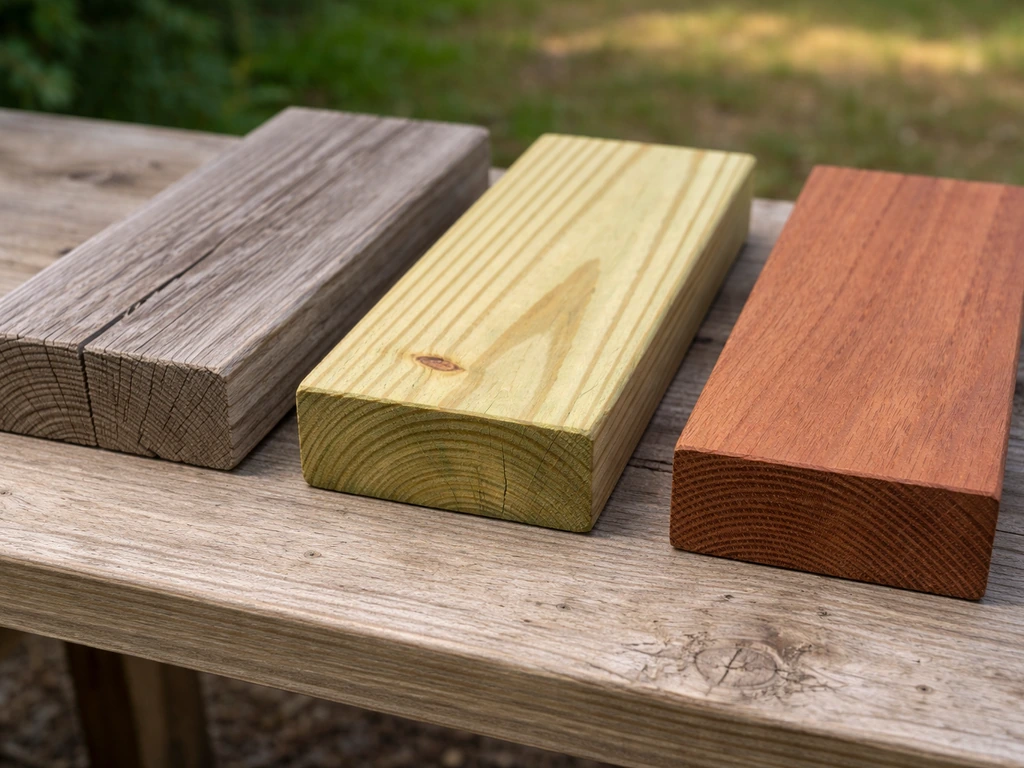
This is the decision that determines whether your furniture lasts two seasons or twenty years, so don't rush it. The core principle is simple: outdoor furniture needs wood with natural rot resistance, and that resistance lives almost entirely in the heartwood, not the sapwood. The USDA Forest Products Laboratory is clear on this point: only the heartwood has an appreciable degree of durability outdoors. So when you're buying, look for boards that are mostly dark-colored heartwood with minimal pale sapwood on the edges.
Here's how the main options stack up for a DIYer:
| Wood | Rot Resistance | Workability | Relative Cost | Best For |
|---|---|---|---|---|
| Western red cedar (heartwood) | High (natural oils/thujaplicin) | Easy to cut and fasten | Moderate | Benches, chairs, tables — great all-rounder for beginners |
| Teak | Excellent (natural oils, water resistant) | Moderate (can blunt blades) | High | Premium builds meant to last 20+ years |
| Ipe (lapacho) | Very high (dense, insect resistant) | Difficult (very hard, high cutting resistance) | High | Decking and table tops for experienced builders |
| Redwood (heartwood) | High | Easy | Moderate–High | Similar to cedar; great if you're in the western US |
| Pressure-treated lumber (ACQ/copper azole) | Good (preservative-treated) | Easy | Low | Structural frames, bases, benches on a tight budget |
If you're building your first piece, cedar is the sweet spot. It's easy to work with hand tools, widely available at any home center, takes finish well, and the heartwood's natural aromatic oils genuinely resist rot without any extra treatment. Pressure-treated lumber is the budget pick and works fine for frames and bases, but it's heavier, harder to get a clean finish on, and you still need a protective exterior finish over it. Ipe looks stunning but will eat through saw blades and costs serious money. Save it for when you've built a few pieces first.
Design and measurements for common pieces
You don't need to design from scratch. Most patio furniture follows a small set of standard dimensions, and staying close to them means your furniture will actually be comfortable to sit in or eat at. Here are the benchmarks to work from:
| Piece | Seat Height | Seat Depth | Seat Width (per person) | Table Height | Notes |
|---|---|---|---|---|---|
| Garden bench | 17–18 inches | 15–16 inches | 20–22 inches per person | N/A | A 4-foot bench seats two; 6-foot seats three comfortably |
| Adirondack chair | 12–14 inches (reclined) | 20–22 inches | 24–26 inches | N/A | Low seat angle; back reclines 15–20 degrees |
| Dining chair | 17–18 inches | 16–17 inches | 18–20 inches | N/A | Pair with a 29–30 inch dining table |
| Dining table | N/A | N/A | N/A | 29–30 inches | Allow 24 inches of table width per person |
| Coffee/side table | N/A | N/A | N/A | 16–18 inches | Pairs with Adirondack or lounge seating |
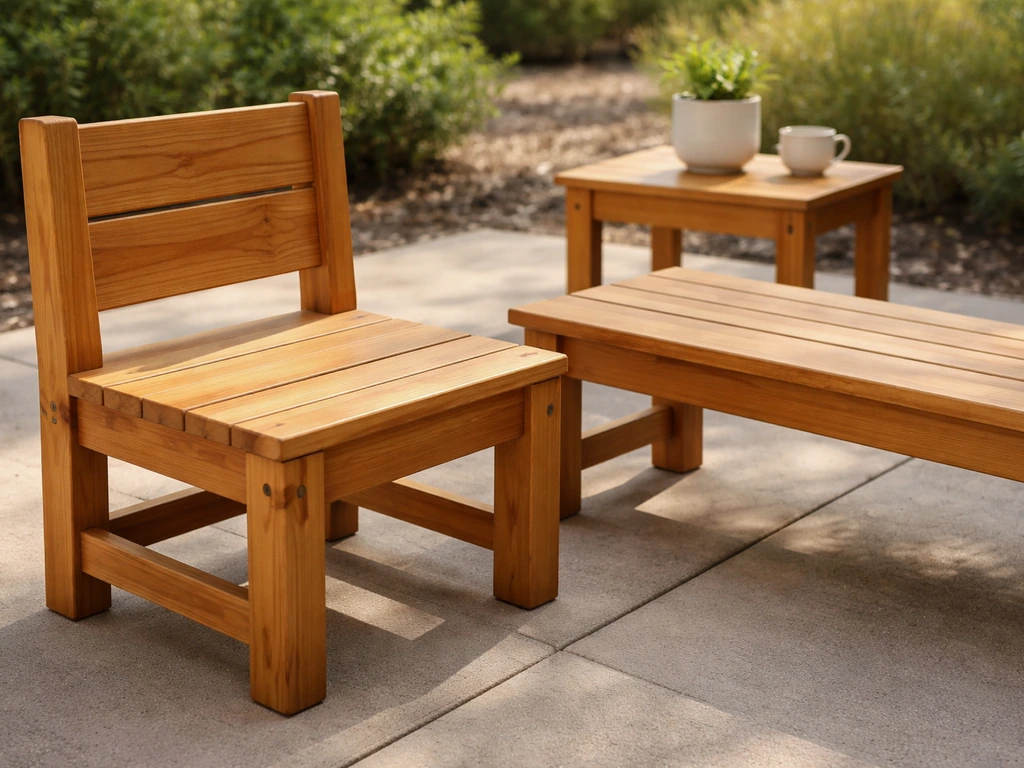
For a beginner build, a simple garden bench is where I'd start. A basic three-leg or four-leg bench with a flat seat made from 2x6 boards is forgiving to build, requires only straight cuts, and teaches you every joint and fastening technique you'll use later in more complex pieces. Once you're comfortable with a bench, an Adirondack chair is the natural next step since the angled cuts add a bit of challenge without going overboard.
When you're designing, always build in drainage. That means avoiding flat surfaces that pool water, especially where boards meet. Leave a 1/4-inch gap between seat slats so water runs through instead of sitting on the wood. For table tops, a very slight crown or gap between boards does the same job. This one detail alone prevents a huge amount of rot.
If you want to push further into 2x4-specific builds, there's a whole world of simple, strong designs that use standard dimensional lumber almost without waste. If you specifically want to make patio furniture out of 2x4, focus on strong joinery, correct fasteners, and enough drainage so the boards shed water instead of holding it 2x4-specific builds. Those builds are worth a deep dive of their own.
Tools, materials, and supplies for a solid build
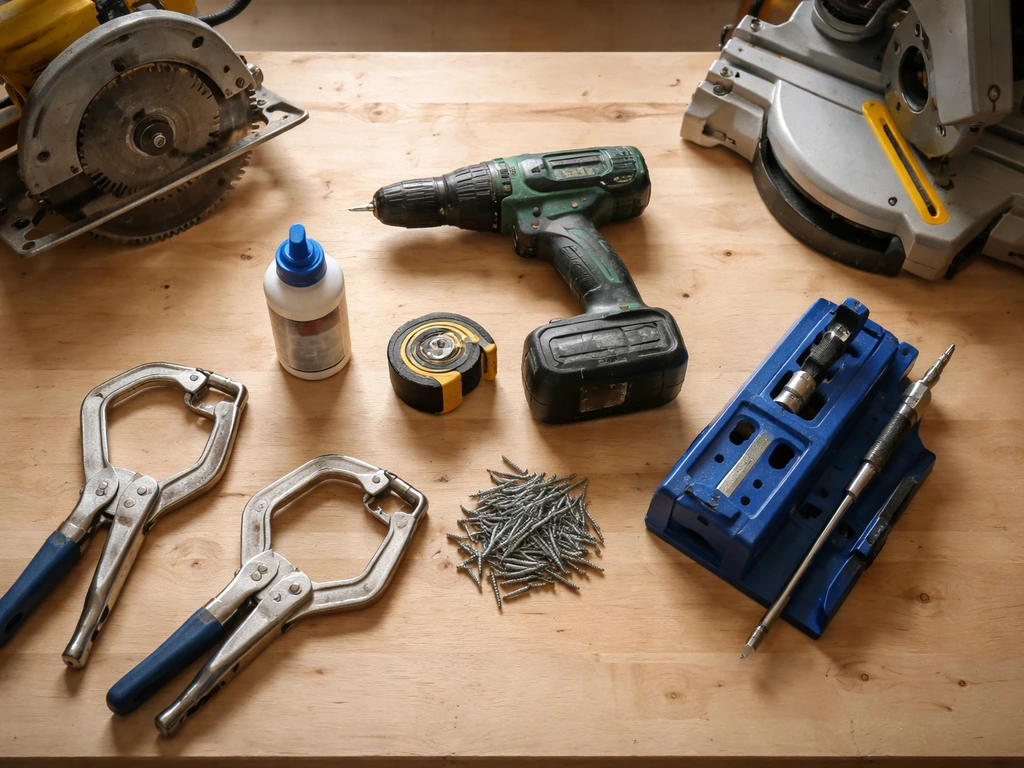
You don't need a shop full of gear. Here's a realistic list broken into what you actually need versus what makes the job easier:
Must-have tools
- Circular saw (for straight crosscuts and rip cuts; a miter saw is nicer but not required)
- Cordless drill/driver (10.8V minimum; 18–20V is better for driving screws into cedar or pressure-treated)
- Pocket-hole jig (Kreg R3 or Kreg 720 are the beginner workhorses; under $40–$80)
- Tape measure and speed square (for marking square cuts; don't skip the square)
- Clamps (at least four 6-inch bar or F-clamps; you'll use them constantly during assembly)
- Safety glasses and hearing protection
Helpful but not essential
- Miter saw (makes repeatable crosscuts much faster and cleaner)
- Random orbital sander with 80- and 120-grit discs (speeds up finishing prep dramatically)
- Brad nailer (useful for holding pieces while glue dries, before driving screws)
- Router with a roundover bit (softens edges and prevents splinters; 1/8-inch roundover is the standard choice for outdoor furniture)
Fasteners and hardware
This is where a lot of first-time builders make an expensive mistake. Do not use standard zinc or bright interior screws outdoors. They'll rust out within one to two seasons, staining your wood and weakening the joints. For outdoor furniture, use stainless steel screws (the gold standard, more expensive but they won't corrode at all) or hot-dipped galvanized screws (a budget-friendly compromise, good for most climates). Coated screws marketed as 'exterior' or 'ACQ-rated' work well with pressure-treated lumber specifically. For pocket-hole joints, Kreg's blue-coated exterior pocket screws are a reliable choice. Use 1-1/4-inch screws for 3/4-inch material and 1-1/2-inch screws for joining thicker stock like 2x4s at pocket holes.
Adhesives and sealants
Use an exterior-rated waterproof wood glue, like Titebond III or a similar Type II/III waterproof PVA. Standard interior wood glue (Titebond Original) will fail in outdoor conditions. Apply glue to pocket-hole joints before driving screws; the combination of mechanical fastener and adhesive makes joints far more stable through the freeze-thaw and wet-dry cycles that outdoor furniture endures all year.
Step-by-step construction: from cut list to assembly
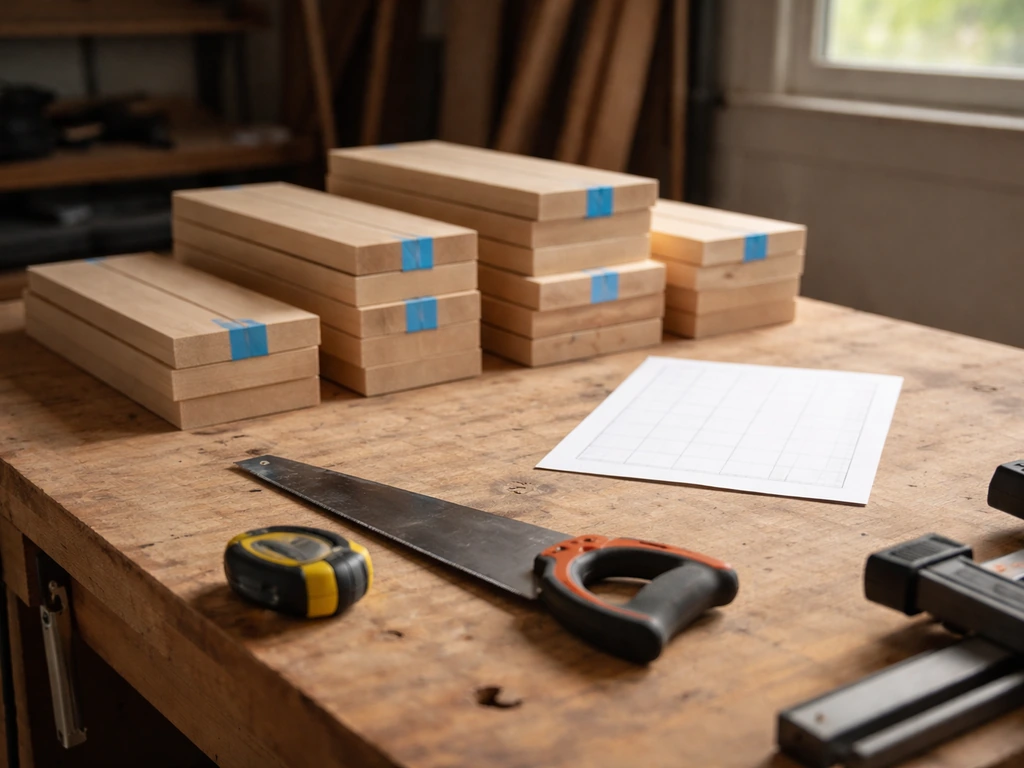
Before you cut a single board, write out your cut list. A cut list is just a simple table showing each part, how many you need, and the final dimensions. This step feels tedious but it prevents the most common beginner mistake: buying too little wood, or cutting a board to the wrong length because you didn't think through the sequence. Measure twice, cut once is a cliché because it's still true.
The assembly order that actually works
- Mill and cut all pieces to final dimensions first. Get everything cut, labeled, and laid out before assembly starts.
- Sand all surfaces before assembly (80-grit to remove mill marks, then 120-grit for a smooth surface). It's nearly impossible to sand inside corners and tight joints after assembly.
- Round over any exposed edges with a router or 120-grit sandpaper. This prevents splintering and makes the finish adhere better at corners.
- Drill all pocket holes before assembly. Set your jig to the correct material thickness and drill into the face that will be hidden.
- Dry-fit the whole piece without glue or screws. Lay it out on a flat surface, check all your joints, and confirm it's square (measure diagonally corner to corner; equal diagonal measurements mean it's square).
- Assemble in sub-assemblies first. For a bench, build the two end frames first, then connect them with the seat slats and stretchers. Don't try to assemble everything at once.
- Apply exterior wood glue to mating surfaces, clamp the joint, then drive pocket screws immediately. Wipe off squeeze-out with a damp rag before it dries.
- Check for square again after every major sub-assembly. A small twist or rack at the frame stage becomes a big problem at the seat stage.
- Let glue cure for at least one hour (Titebond III requires a full 24 hours to reach full strength) before removing clamps or applying load.
Joinery that holds up outdoors
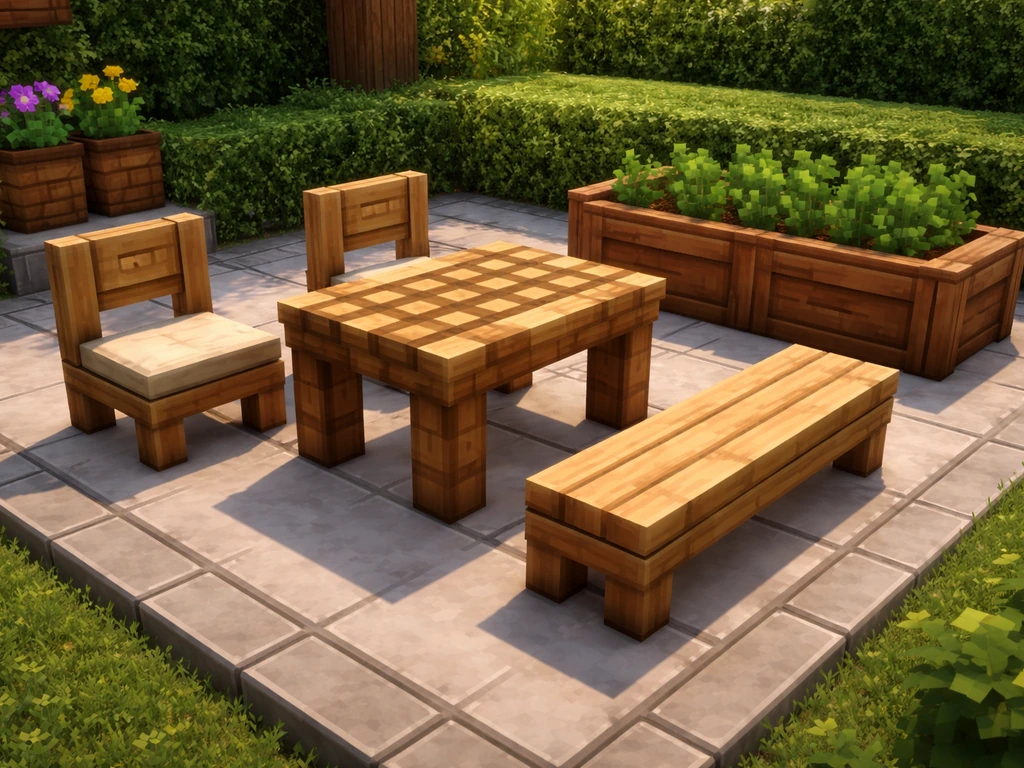
Pocket-hole joinery is the right call for most DIY patio furniture builds. If you're looking to build patio furniture in Minecraft, you can use similar design ideas and measurements to plan pieces that fit together cleanly. It's fast, requires minimal tools, and produces strong joints when you use the right screws and add glue.
For thicker structural joints (like legs meeting a frame on a table or heavy bench), consider adding a 3/8-inch dowel or a structural screw like a GRK RSS screw alongside the pocket hole for extra shear strength. Mortise-and-tenon joinery is the traditional and strongest option for outdoor furniture, but it requires more tools and skill. If you're experienced with chisels and a router, a loose wedged mortise-and-tenon is nearly bombproof for chair legs.
For most beginners, pocket holes plus glue plus good screws is more than adequate.
One thing to avoid: butt joints held only by nails. They pull apart as the wood moves seasonally, and there's no long-term strength there. Even a single pocket screw per joint with glue is dramatically better than a nail-only connection.
Weatherproofing, sealing, and hardware choices
This is where a lot of beautiful handmade furniture dies early. The wood is fine; the finish or hardware choice is what fails. Here's how to think through it.
Pick the right finish for outdoor wood
There are three main categories of exterior finish for wood furniture, and they behave very differently:
| Finish Type | How it works | Pros | Cons | Recoat interval |
|---|---|---|---|---|
| Penetrating oil (teak oil, Danish oil, linseed) | Soaks into wood fiber | Easy to apply, easy to recoat, looks natural | Needs more frequent recoating; doesn't build a surface film | Every 1–2 seasons |
| Exterior solid stain | Penetrates and adds pigment/UV protection | Good UV protection, hides wood imperfections | Harder to strip if you want a color change later | Every 2–4 seasons |
| Semi-transparent exterior stain | Penetrates with partial pigment | Shows wood grain, good UV protection | Less protection than solid stain | Every 2–3 seasons |
| Film-forming finish (spar urethane, exterior varnish) | Builds a surface coating | Hard, glossy surface; good moisture barrier | Peels and cracks over time; must strip before recoating | Every 1–2 seasons (can be demanding to maintain) |
For most DIY wood patio furniture, a quality penetrating exterior oil or semi-transparent stain is the practical winner. These finishes are forgiving to apply (brush or rag on, wipe off), easy to spot-repair, and you never have to strip them before recoating. Spar urethane looks great when new but becomes a maintenance headache once it starts peeling, because you have to strip the whole piece before you can refinish it properly.
Surface prep before finishing
Your finish is only as good as the surface underneath it. Sand the assembled piece with 120-grit, then finish with 150-grit. Wipe down with a tack cloth or a damp rag to remove all dust. For cedar and redwood, let the wood dry completely (24–48 hours after any wetting) before applying finish. If you're working with teak, wipe the surface with acetone or mineral spirits first to remove the natural surface oils that prevent finishes from bonding.
Moisture-proofing details that most people skip
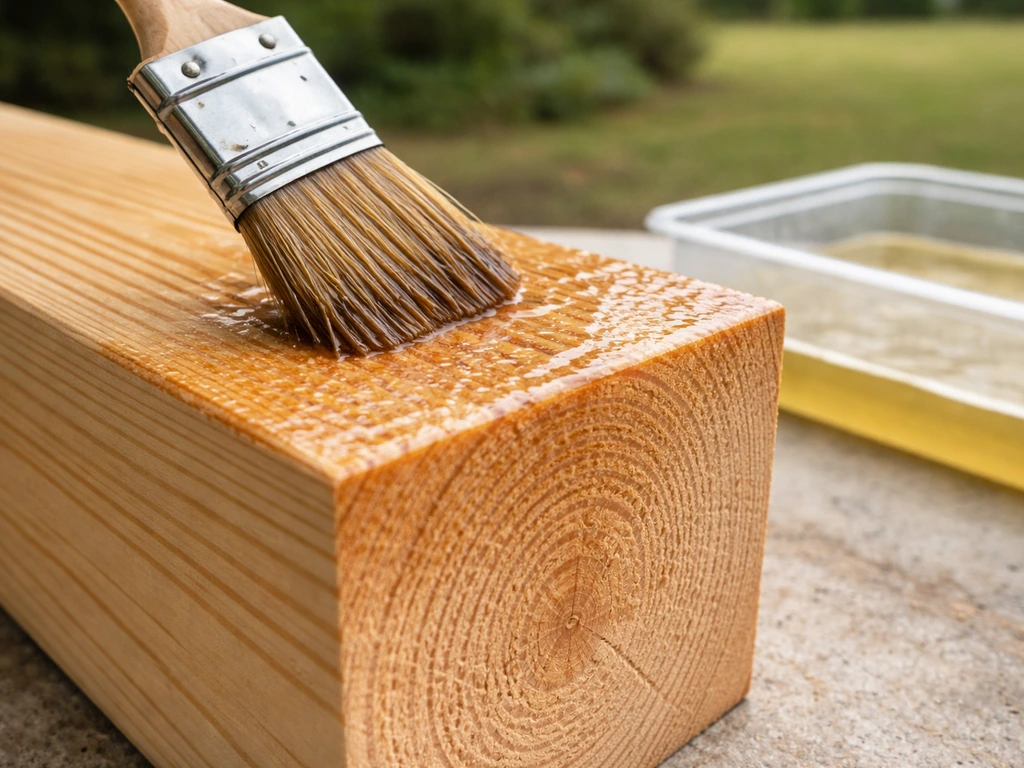
- Seal end grain first. End grain absorbs moisture 10 to 15 times faster than face grain. Apply an extra coat of your finish to all end grain before the main finishing sequence.
- Seal the underside of your furniture, especially table tops and seat slats. Unfinished undersides absorb moisture from below and cause cupping and warping.
- Leave drainage gaps. A 1/4-inch gap between seat slats lets water run off instead of pooling. Use a scrap piece of 1/4-inch plywood as a spacer during assembly.
- Use stainless or hot-dipped galvanized hardware throughout, including hinges, bolts, and any decorative hardware. Zinc hardware corrodes and stains the wood around it.
- Elevate feet off the ground. Add rubber or stainless steel furniture feet (about $1–$2 each) to the bottom of legs. Direct contact with wet concrete or decking is a major rot accelerator at the leg bottoms.
Finishing, curing, and keeping your furniture going year after year
Building the furniture is the fun part. Maintaining it is what separates a piece that lasts five years from one that lasts twenty-five. Here's the honest truth about what ongoing care actually looks like. If you want to tackle the full project, follow this guide for how to diy patio furniture from choosing materials to finishing and care.
Curing time matters more than most people realize
After you apply your first coat of finish, wait the full dry time listed on the can before applying a second coat (usually 8–24 hours depending on product). After the final coat, most penetrating oils need 48–72 hours to cure before the furniture is ready for rain or regular use. Spar urethane and film-forming finishes may need up to a week of cure time before they reach full hardness. Put the furniture somewhere sheltered while it cures. I've rushed this step before and regretted it: a rain shower on a 24-hour-old oil finish pulls the finish into the grain unevenly and leaves blotchy spots you'll have to sand out and redo.
Seasonal maintenance routine
- Spring inspection: Check all joints for any movement, especially pocket-hole joints that may have opened slightly from freeze-thaw cycles. Re-drive any screws that have backed out slightly. Check for any small cracks or checks in the wood and seal them with exterior wood filler or a dab of exterior caulk before water gets in.
- Spring cleaning: Wash down with a mild soap and water solution (a few drops of dish soap in a bucket of water). Scrub gently with a soft brush. Rinse and let dry completely for 48 hours before considering any refinishing.
- Annual or biennial recoat: When water stops beading on the surface and starts soaking in, it's time to recoat. For penetrating oils, lightly sand with 220-grit to open the grain, wipe clean, and apply a fresh coat. For stains, the process is the same. Don't wait until the finish is completely gone and the wood is gray or weathered; it's much more work to restore than to maintain.
- Autumn prep: Clean the furniture again before winter. If you're in a climate with hard freezes or heavy snow, this is the right time to apply a fresh coat of penetrating oil. The oil helps the wood resist the moisture cycling of freeze-thaw far better than bare or lightly finished wood.
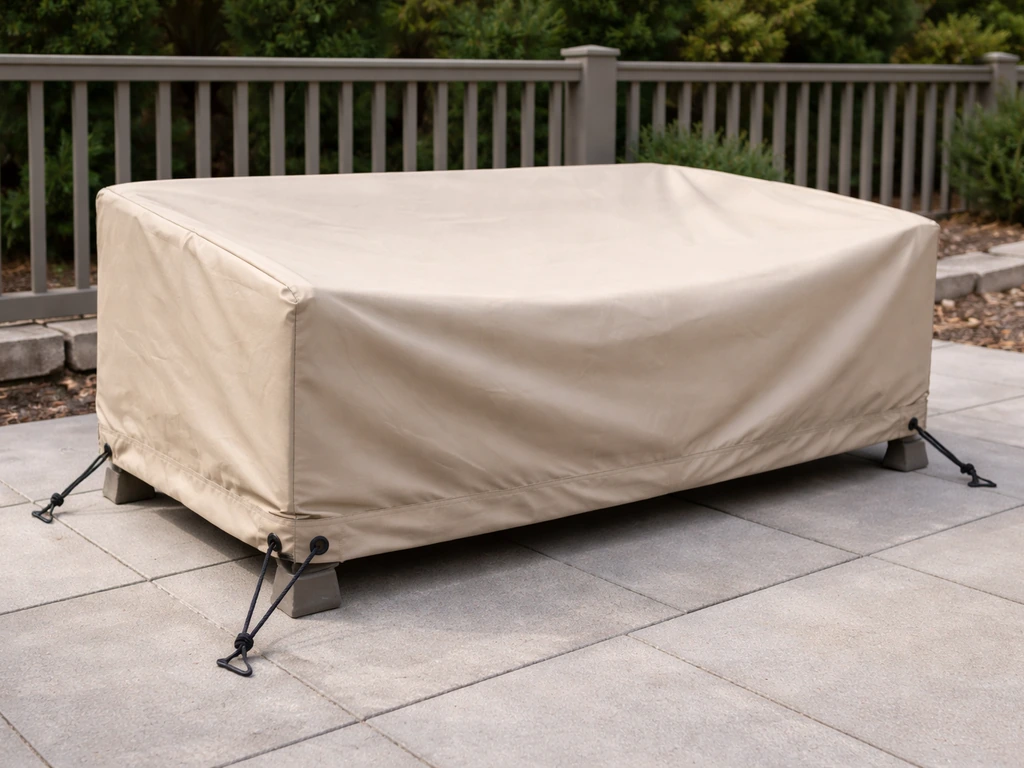
- Storage or cover: Moving the furniture to a garage or shed over winter is the single best thing you can do for its longevity. If you have to leave it outside, use high-quality UV-resistant furniture covers and prop the furniture slightly off the ground so air circulates underneath.
Common problems and how to fix them
- Gray, weathered wood: Cedar and teak both go silver-gray when the surface finish breaks down. This is surface weathering, not rot. Sand back to fresh wood with 80-grit, then refinish. If the wood is soft and fibrous, that's early rot: cut out the affected area, replace the board if it's structural.
- Loose joints after a season: This is almost always a sign the joint was assembled without glue, or with interior-rated glue. Re-glue with exterior waterproof glue (Titebond III), clamp overnight, then drive a fresh screw to reinforce.
- Rust stains around screws: You used the wrong fasteners. Remove the screws, treat the stained wood with oxalic acid deck cleaner to bleach out the staining, let dry, then re-fasten with stainless screws.
- Finish peeling on a film-forming finish: You need to strip back to bare wood (paint stripper or sanding) before refinishing. This is the argument for switching to a penetrating finish next time.
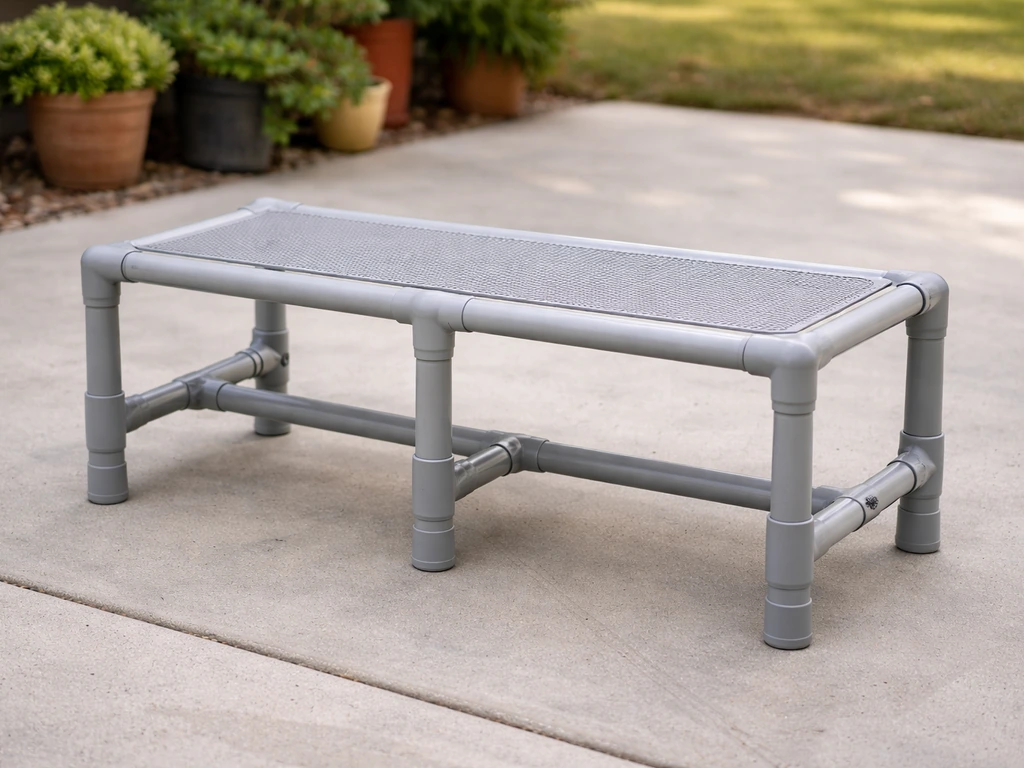
One last thing worth saying: if you enjoy this kind of project, wood furniture builds well alongside other DIY patio furniture approaches. Builders who want an even simpler, lighter material sometimes branch into PVC pipe furniture, which has its own set of tradeoffs around strength and aesthetics. And if you're specifically working with construction lumber, there's a ton of room to specialize in 2x4-only builds that minimize waste and cost. Both are worth exploring once you've got a wood build or two under your belt.
FAQ
Can I build patio furniture out of wood if it will stay outdoors year-round?
Yes, but only if you choose the right fasteners and glue and you can keep joints protected from standing water. For best results, use weather-resistant screws, exterior-grade waterproof glue, leave drainage gaps, and finish all faces including undersides and pocket-hole areas. If the piece will be in constant wetting, plan on more frequent re-oiling or staining.
How do I decide the size of drainage gaps for seat slats and table tops?
The 1/4-inch gap guidance is a good starting point, but adjust based on board width and expected swelling. If your slats are narrow, use smaller gaps so the surface still feels solid, and always pre-fit dry to account for seasonal movement. After the first season, check whether gaps have closed and re-finish where water is sitting.
What should I inspect in wood before I buy it or cut it for an outdoor project?
Start by checking the board for heartwood percentage, then verify stability before cutting. If boards are cupped or twisted, pocket-hole joints will not pull everything square, and you will lock in misalignment before glue cures. Let rough lumber acclimate outside for a few days (or indoors near your work area) so you’re not building with wood that is still moving.
What’s the fix if I already built a piece and I used the wrong screws outdoors?
If you notice rust streaks or weak joints, remove any nails that have loosened and re-build that joint with pocket screws plus exterior glue. Don’t assume tightening hardware will fix structural failure from nails-only connections. For ongoing prevention, keep a consistent finish schedule and avoid leaving screws partially exposed where water can wick around the threads.
When should I add dowels or a structural screw alongside pocket holes?
For most beginner builds, use pocket holes with glue and screws, and reserve dowels or structural screws for higher-load areas like leg-frame connections. If the design uses multiple pocket joints in one critical assembly, stagger locations so fasteners do not land near end grain. Also avoid over-clamping pocket joints, glue squeeze-out is normal but you do not want to starve the joint.
How often do I need to re-oil or re-stain patio wood furniture?
Penetrating oils are typically easiest to maintain, but they still require touch-ups. Plan on spot cleaning and re-oiling before you see deep gray fading or water beading disappears. If you want a finish with fewer annual touch-ups, consider a semi-transparent stain rather than a film finish, since film finishes tend to fail through peeling in harsh freeze-thaw cycles.
How can I avoid finish blotching or failure after the first coat?
Use the curing time on the label as your authority, but also consider weather. High humidity or a damp site extends cure time and increases blotching risk if rain hits early. Put the piece under cover with airflow, and keep it off grass or bare ground so moisture is not wicking into fresh finish from below.
What are common finishing mistakes specific to cedar, redwood, and teak?
For cedar and redwood, let any freshly cut or wetted surfaces dry long enough before finishing, and avoid finishing in direct sun when the wood is hot. For teak, you can improve adhesion by removing natural oils before staining, then ensure the surface is fully dry before application. If a surface feels slick after prep, re-clean before finishing.
How do I test my design to make sure it sheds water properly?
Avoid common “it looks fine now” problems by checking for water pooling at seams, especially where pocket holes were drilled and sealed. After assembly, run a hose test on horizontal surfaces and inspect after 30 to 60 minutes for areas that stay wet. Mark those spots and add drainage by changing layout, sanding slight crowns, or increasing gaps.
Will adding cushions, covers, or hardware affect how long the wood furniture lasts?
Yes, but plan for additional sealing and hardware protection. If you add cushions or upholstered covers that trap moisture underneath, you can speed up finish breakdown and promote mildew, especially near joints. Use breathable outdoor fabrics, keep cushions dry between sessions, and remove covers during rain when possible.