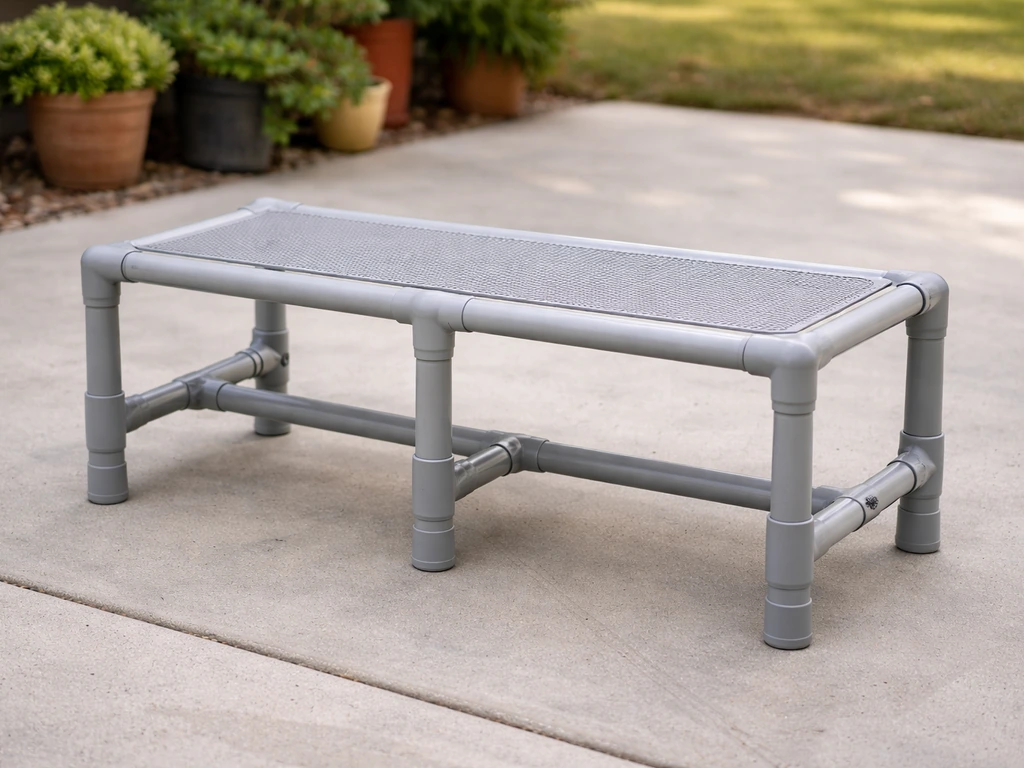
Minecraft doesn't have a dedicated patio furniture block, but you can build a convincing outdoor seating area using a handful of vanilla blocks: stairs for chairs, fence posts topped with pressure plates or carpet for tables, slabs for benches, and trapdoors for decorative details. A basic patio set (two chairs, one table, one bench, one planter) takes about 20 to 30 blocks and fits in a 7x7 outdoor space. Here's exactly how to pull it off. If you want a real-world version of the same idea, you can learn how to build patio furniture out of wood using straightforward measurements, basic joinery, and outdoor-safe finishes.
How to Make Patio Furniture in Minecraft Step by Step

Maren Grady
7 Jul 2026
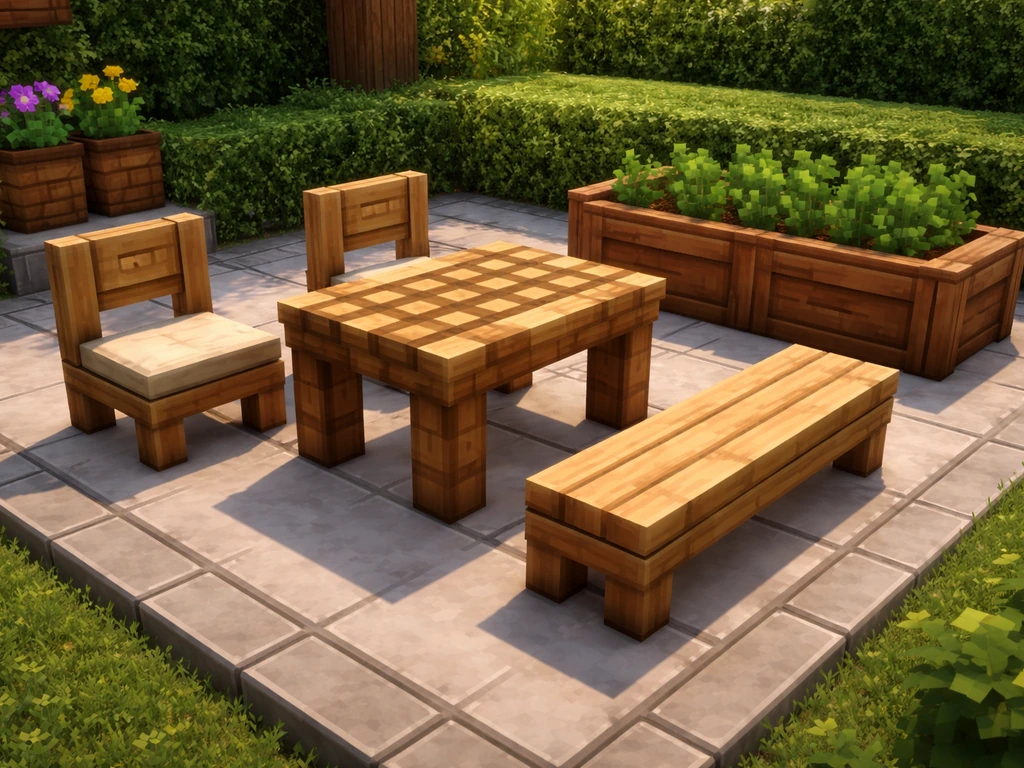
What patio furniture actually looks like in Minecraft
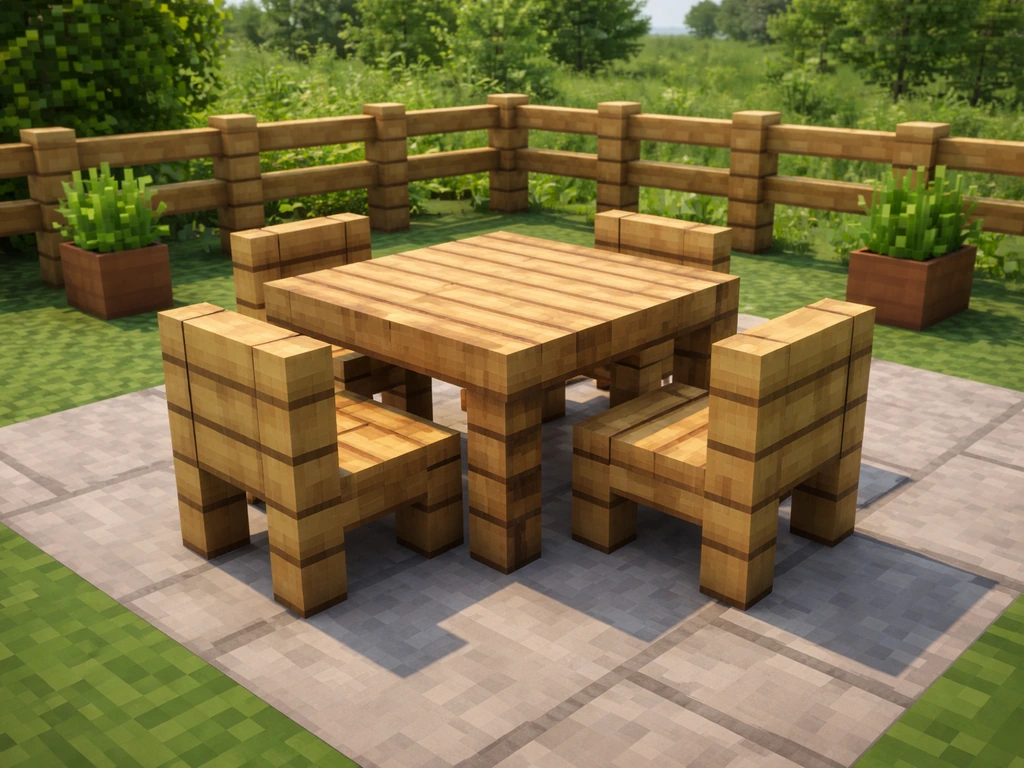
When people talk about patio furniture in Minecraft, they mean decorative arrangements that mimic the look of real outdoor seating without any special mods. If you want a real-world build, you can use 2x4 lumber to make sturdy patio furniture too 2x4 patio furniture. The community has settled on a few tried-and-true conventions. Chairs are almost always stair blocks placed with the open side facing outward (so the step forms a seat), with signs or trap doors attached to the back or sides to suggest armrests. Tables are fence posts with a wooden pressure plate, a piece of carpet, or a trapdoor on top. Benches are slabs or two-block-wide stair arrangements. Planters are usually flower pots or composters surrounded by low fence or wall blocks. Coffee tables are half-slab surfaces sitting one block lower than seating height, and loungers are extended stair-and-slab combos laid out flat. None of these require mods or special game versions, just some creative block stacking.
Gather your blocks before you start building
Choosing the right block palette upfront saves a lot of frustrating tear-downs later. The wood type you pick sets the whole mood. Spruce or dark oak stairs and fences read as warm, rustic patio wood (think cedar or teak furniture). Acacia gives you a more contemporary orange-red look. Birch reads as light and Scandinavian. Stone or deepslate brick combos work well if you want a wrought-iron or concrete aesthetic. Here's a quick reference for what to gather for one complete basic patio set.
| Block | What it becomes | Quantity for a basic set |
|---|---|---|
| Wood Stairs (any type) | Chairs and armrests | 6–8 |
| Wood Fence (matching type) | Table legs, planter frame | 4–6 |
| Wood Pressure Plate or Carpet | Table top surface | 1–2 |
| Slabs (wood or stone) | Bench seats, coffee table top | 4–6 |
| Trapdoors (wood) | Chair backs, armrest detail | 4–6 |
| Flower Pot or Composter | Planter centerpiece | 1–2 |
| Lantern or Sea Lantern | Patio lighting | 2–4 |
| Leaf blocks or flowers | Landscaping accents | 4–8 |
If you're in Survival mode, prioritize wood since it's the easiest to gather in bulk. Stick to one wood type for the whole set so everything matches visually. Mixing oak fence posts with dark oak stairs, for example, is one of the most common reasons a build looks off. Pick a palette and commit.
Step-by-step: building a basic patio set
This guide builds a simple outdoor dining set: one table with two chairs and a bench on the side. You can apply the same step-by-step approach for your own patio furniture projects by choosing a wood or block palette and building in repeatable modules how to diy patio furniture. The whole footprint fits in a 5x5 area, which you can expand later. Work on a flat surface, ideally already paved with stone slabs or path blocks so you have a visual reference grid.
Build the table first
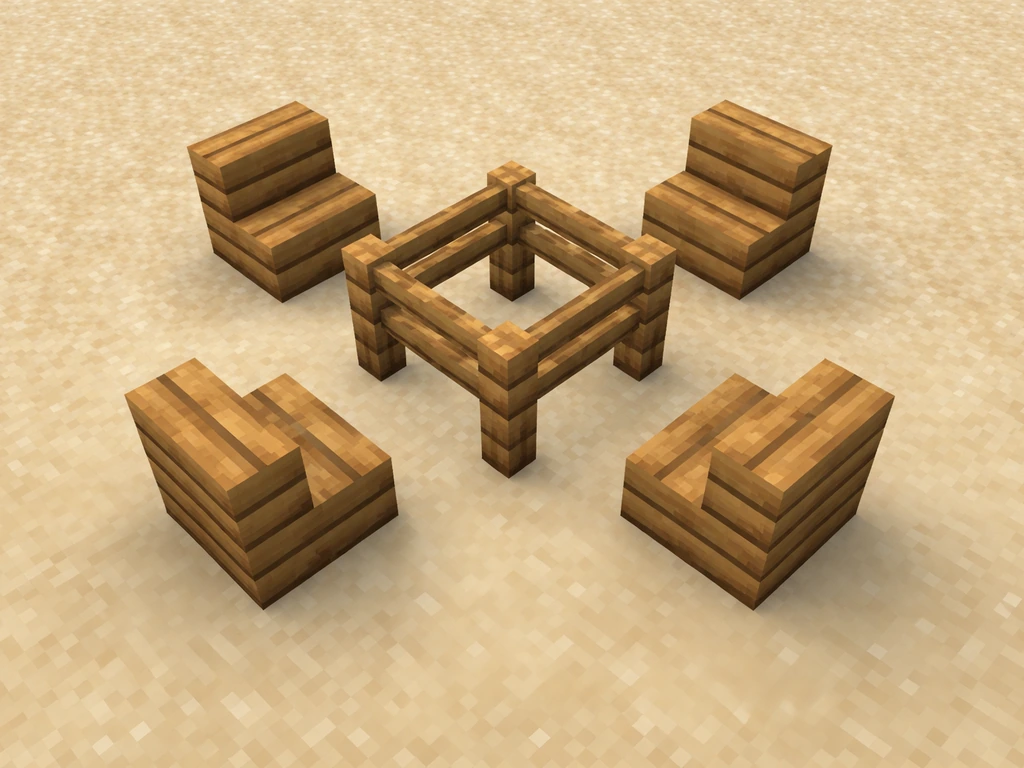
- Place two fence posts next to each other (north-south) in the center of your space. These are the table legs.
- Place two more fence posts directly adjacent (east-west) so you have a 2x1 or 2x2 fence cluster depending on your table size.
- On top of each fence post, place a wooden pressure plate or a piece of carpet. The pressure plate sits flush with the fence top and reads convincingly as a table surface. Carpet works just as well and lets you pick a color to suggest a tablecloth.
- For a larger dining table, use a 2x2 fence grid and cover all four tops with carpet. This gives you a solid 2x2 table top at waist height.
Place the chairs around the table
- Place a stair block one block away from the table, facing inward toward it. So if the table is north, the chair stair block faces north with its open step side toward the table.
- Place a second stair block on the opposite side of the table, facing the other direction.
- For armrests, place a trapdoor on the left and right sides of each stair block and flip them upward using a right-click. They'll angle up like chair arms. This step is optional but adds a lot of realism.
- For a chair back, place a sign directly behind the stair block on the back face, or place a trapdoor on the back block and flip it upright.
Add a bench along one side
- Place two or three slabs in a row, one block away from the table edge on one side. Slabs sitting on the ground (bottom slabs) read as bench seats.
- For bench legs, place fences or single-block posts at each end underneath the slab row. You won't see them much, but they prevent the bench from looking like it's floating.
- For a bench back, place a row of fence posts or half slabs stacked one block behind the bench, which gives the silhouette of a backrest.
Add a simple planter
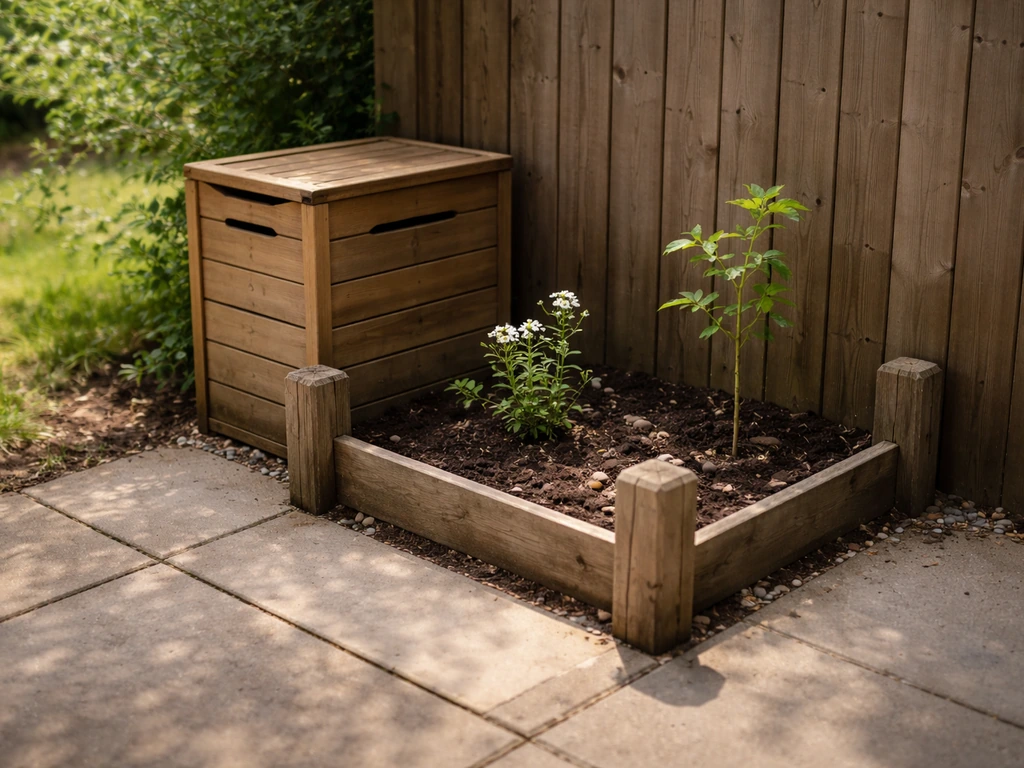
- Place a composter or a flower pot at the corner of your patio layout.
- If using a composter, surround it with 2–3 low fence posts and plant a flower or sapling inside for a container garden look.
- Alternatively, build a 2x2 raised bed using stone wall or wooden fence blocks, fill the interior with dirt, and plant flowers on top.
Keeping everything aligned so it doesn't look crooked
Alignment is where most patio builds fall apart. The single most useful habit is to always place your table first and measure outward symmetrically. If your table is 2 blocks wide, your chairs should sit exactly 1 block away from each outer face of the fence, not 2. Use the patio floor pattern as a grid reference: if your floor is made of alternating stone slab colors, place each furniture piece so its edge lines up with a seam in the floor. Turn on hitbox outlines in debug view (F3+B in Java Edition) if you're having trouble seeing exact placement. And always check your build from above using a bird's-eye view before finalizing, because spacing errors that are invisible from ground level are obvious from the top.
Customize the look with colors and block swaps
Once your basic set is up, the fun part starts. Swapping one block type for another completely changes the vibe without rebuilding the whole layout.
- Cushion colors: Replace plain carpet on chair stairs with colored wool or colored carpet to simulate seat cushions. Red and orange read as warm and tropical. Gray or white reads as modern and clean.
- Wood tones: Dark oak gives a rich walnut look. Stripped spruce logs used as table bases feel like natural-edge furniture. Bamboo blocks (added in Java 1.20) create a light, modern aesthetic.
- Stone and metal look: Swap wooden fences for iron bars or stone walls to mimic wrought-iron patio furniture. Stone slab table tops over stone wall posts look great for a bistro style.
- Tablecloth effect: Use two layers of carpet in different colors on a 2x2 table. Outer ring in one color, center block in another, to fake a patterned cloth.
- Cushion trim: Place thin slabs on top of stair chairs for an extra layer of visual detail that breaks up the flat look.
- Frame details: Trapdoors in a contrasting wood type on the sides of chairs and benches suggest upholstery framing or decorative trim.
Make your patio feel real with lighting and landscaping
An isolated furniture set in the middle of flat grass looks like a furniture set in the middle of flat grass. The things that make a Minecraft patio feel like an actual outdoor space are lighting, ground texture, and plants.
Lighting options
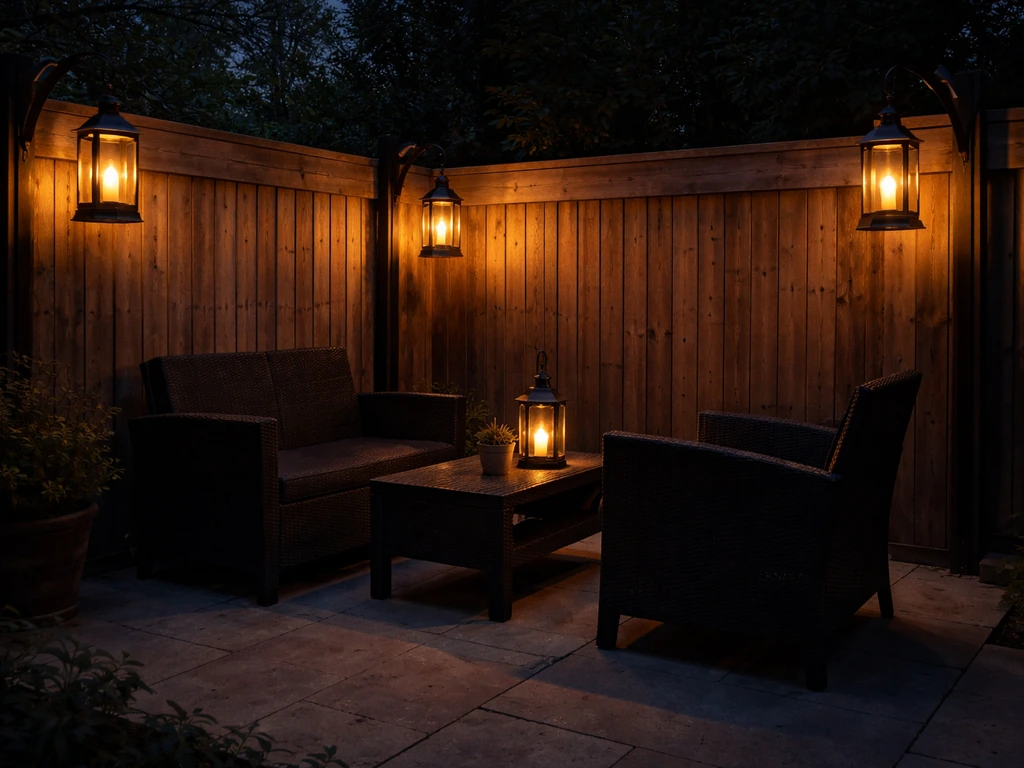
For outdoor patio lighting, lanterns hung from fence posts are the most realistic-looking option. Place a fence post one block taller than your chairs at each corner of the patio, then hang a lantern from the top face. Regular lanterns emit light level 15, which keeps the area fully lit at night and prevents mob spawning. blank" rel="noopener noreferrer">Sea lanterns also emit light level 15 and can be embedded in the ground or under glass for a low-profile floor lighting effect. Soul campfires (which emit a lower light level of 10) work as ambient accent pieces but aren't enough on their own to keep the area fully mob-safe. Avoid putting redstone-powered lighting directly on or under glowstone blocks: glowstone is a transparent block and doesn't carry redstone signals downward the way solid blocks do, which causes unexpected lighting circuit failures.
Landscaping that frames the space
- Lay a defined patio floor using stone slabs, smooth stone, or polished andesite around the furniture. Extending the floor 1–2 blocks beyond the furniture perimeter makes the whole space feel intentional.
- Add a border of gravel path or coarse dirt between the patio floor and the surrounding grass for a clean transition edge.
- Place 2–3 tall flower pot arrangements or leaf-topped fence columns at the corners of the patio to frame the space vertically.
- Add a low stone wall or fence perimeter around the whole patio (just one block high) to suggest a garden border without closing off the view.
- Use azalea bushes or flowering shrubs adjacent to the patio for a garden party atmosphere.
Troubleshooting common build problems
Even straightforward patio builds run into the same problems over and over. Here's what goes wrong and how to fix it.
| Problem | Why it happens | Fix |
|---|---|---|
| Chairs face the wrong direction | Stair blocks face the direction you're looking when placed, not the direction you intend | Stand on the opposite side of where you want the chair to face, then place the stair block |
| Pressure plate keeps activating or making sounds | Mobs or the player step on it constantly | Switch to carpet for the table top instead, which looks identical but has no activation behavior |
| Build looks asymmetrical from above | Furniture placed without a grid reference | Use the floor tile pattern as a guide; always start from the center (table) and measure out equally on each side |
| Fence posts not connecting to each other properly | Fence connectivity depends on adjacent block types; some blocks break the fence-to-fence connection | Use the same wood type for all fence posts, or use stone walls which connect more predictably |
| Build looks too flat and toy-like | Everything is at the same height with no variation | Layer heights: use full blocks, top slabs, bottom slabs, and fences at different levels to create depth |
| Furniture looks mismatched | Different wood types mixed unintentionally | Stick to one wood type per set; use color-matched carpet and trapdoors to add variety without mixing woods |
Survival vs Creative mode: how your approach changes
In Creative mode, you can prototype freely and experiment with block combinations without worrying about resources. The smart workflow is to build your full patio set in Creative first, screenshot or note down every block count, and then replicate it in Survival. Even being off by one block in a repeating pattern breaks the symmetry, so treat your Creative prototype as an exact blueprint. This is especially useful when scaling up from a single furniture set to a full patio.
In Survival mode, resource planning is everything. Before you start, gather your full block list in one inventory session. Nothing derails a build faster than running out of matching fence posts halfway through and having to substitute a different wood type. If you're building on a multiplayer server, check land claim permissions before you place anything: some claim plugins prevent block placement in areas you don't own, and a furniture piece placed even one block outside your claim can be removed or blocked without warning.
Scaling up to a full patio
The beauty of the fence-post-plus-top-block table system is that it's completely modular. One table unit is blank" rel="noopener noreferrer">two fence posts and two pressure plates. A full dining set with seating for four is just two table units side by side with four chairs arranged around the perimeter. A full outdoor lounge area adds a long bench (four slabs in a row), a coffee table (two slabs flat on the ground between chairs), and a side table (one fence post, one pressure plate). Build in modules: get one table-and-two-chairs unit exactly right, then duplicate the pattern. This approach works the same way as building with prefab sections, keeping measurements consistent across the whole patio. If your build needs to be larger, extend the patio floor by 2-block increments and add furniture modules symmetrically outward from the center. This keeps the layout balanced without requiring you to re-plan the entire space.
If you enjoy the building process here, the same block-logic principles apply to real-world DIY patio projects too. The modular thinking, the material consistency, and the "measure from center outward" approach all map directly to building actual outdoor furniture from wood or PVC. If you want a real-world build inspired by these proportions, you can follow a guide on how to make patio furniture out of PVC pipe. The hands-on creative problem-solving is genuinely the same skill set.
FAQ
Can you make patio furniture that actually functions (sit, use items) in Minecraft?
Yes, partly. Chairs made from stair blocks are mostly decorative, but trapdoors, signs, and carpets can suggest backs and cushions. For functional seating, you can use note blocks under slabs or make “stools” with minecarts for ride-like interaction, but for a patio look, the stair-based convention is the most consistent, visuals-first approach.
What’s the best way to stop wooden patio pieces from becoming a visual mismatch over time?
Avoid mixing wood families within a single furniture set. Even if the blocks “go together” at a distance, different wood tones read as separate collections. If you want variety, keep one wood type for structural pieces (stairs, fences) and switch only non-wood accents (carpet, signs, trapdoors) so the silhouette stays coherent.
How do I prevent my table top from looking too low or too tall compared to the chairs?
Use the table-first alignment rule, then check chair-to-table spacing from above. If your chairs are stairs, the seat height is tied to the stair’s orientation. A practical method is to place the fence post table, add the top block, then test one chair at the intended distance before building the second chair and bench, so you can correct height early.
What block should I use if I want a “metal” patio furniture look instead of wood?
Stone or deepslate brick combinations work well for a wrought-iron or concrete vibe, but the key is to match the texture across pieces. Use the same block family for fence posts and table tops, then use matching stairs or slabs for chairs and benches. Keep accent details (carpets or trapdoors) neutral, so the “metal” read stays dominant.
Do I need to worry about mobs spawning in my patio area even if I light it?
Lighting helps, but full mob-safety depends on coverage. Lanterns and sea lanterns emitting light level 15 are strong choices, while soul campfires are only ambient (light level 10) and may not fully prevent spawns. Also ensure there are no dark pockets behind blocks or under overhangs, since lighting can look correct from the front but fail in corners.
How can I add outdoor lighting without breaking redstone wiring or causing weird light behavior?
Don’t place redstone-powered lighting directly on or under glowstone, since the transparent nature of glowstone can lead to unexpected signal and lighting issues. If you are using redstone at all, keep the glow source on solid supporting blocks or use lanterns/sea lanterns that don’t rely on redstone to function.
What’s the easiest way to scale from one patio set to a bigger lounge without ruining symmetry?
Build one complete module (one table unit, plus its paired seating) exactly, then duplicate outward in 2-block increments. Place modules symmetrically around the center, and only change the furniture type between modules once the geometry is locked. This avoids the common problem where the second row “drifts” by one block.
How do I deal with uneven terrain so the furniture still looks level?
Start by flattening or leveling the patio floor to a single reference height, then place furniture on that plane. If you must keep slopes, use slabs or stepped blocks under bases to visually compensate, but keep the top surfaces consistent. The worst look is when only the floor changes slope, while chair and table tops stay visually inconsistent.
What should I do in multiplayer or protected builds if a part of my patio won’t place?
Check land claim permissions before building, especially around edges. It’s common for one block outside a claim to prevent placement or to get removed later, which ruins table alignment. If you plan to place a full patio at once, mark the intended footprint first and verify the exact border blocks are within claim limits.
Is Creative mode really necessary, and what’s the best workflow for transferring to Survival?
Creative is optional, but it’s the fastest way to avoid repeating placement errors. Prototype the exact set in Creative, then record block counts and wood types for each module. When switching to Survival, verify you have the full matching palette in one inventory session, so you never “substitute halfway through,” which is a frequent cause of visible mismatches.