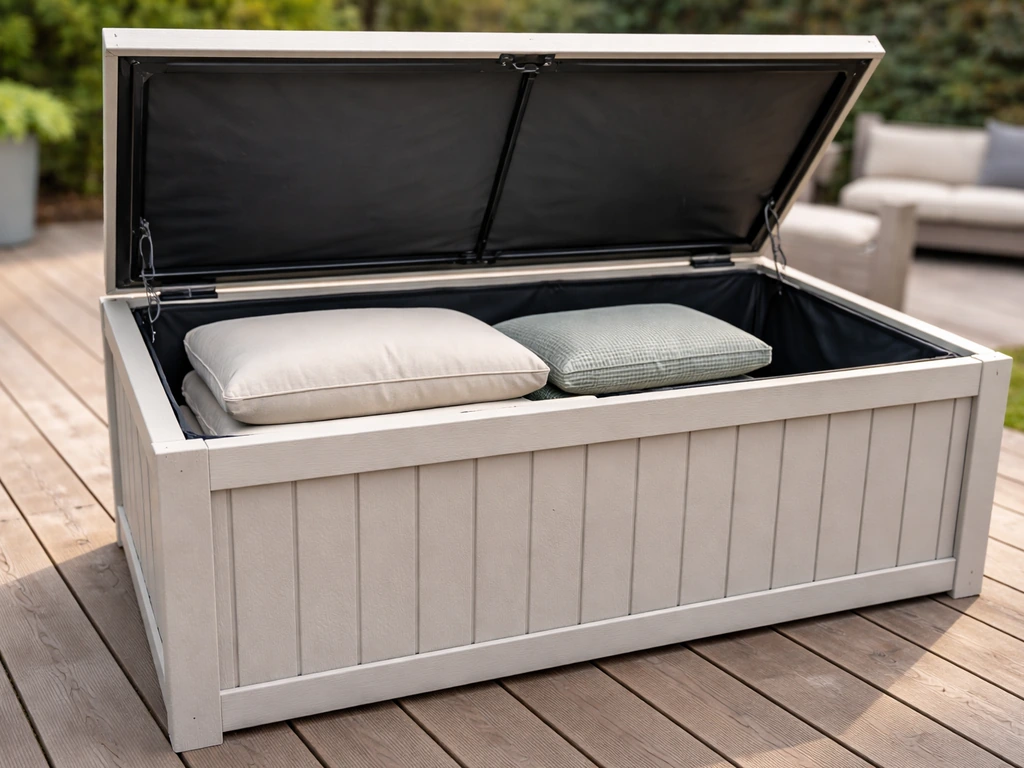
You can build a solid, weatherproof storage box for patio cushions in a weekend using 3/4-inch exterior plywood, a piano hinge, a couple of lid supports, and a basic sealant system. The finished box should be sized to the actual stacked height of your cushions (not just one), raised off the deck on feet to allow airflow underneath, and finished with a UV-resistant spar urethane so the wood doesn't rot or gray out in a season. This guide walks you through every decision and every step, from picking the right design to troubleshooting a warped lid the following spring.
How to Build a Storage Box for Patio Cushions

Maren Grady
11 Jul 2026
Choosing the right design for patio cushion storage
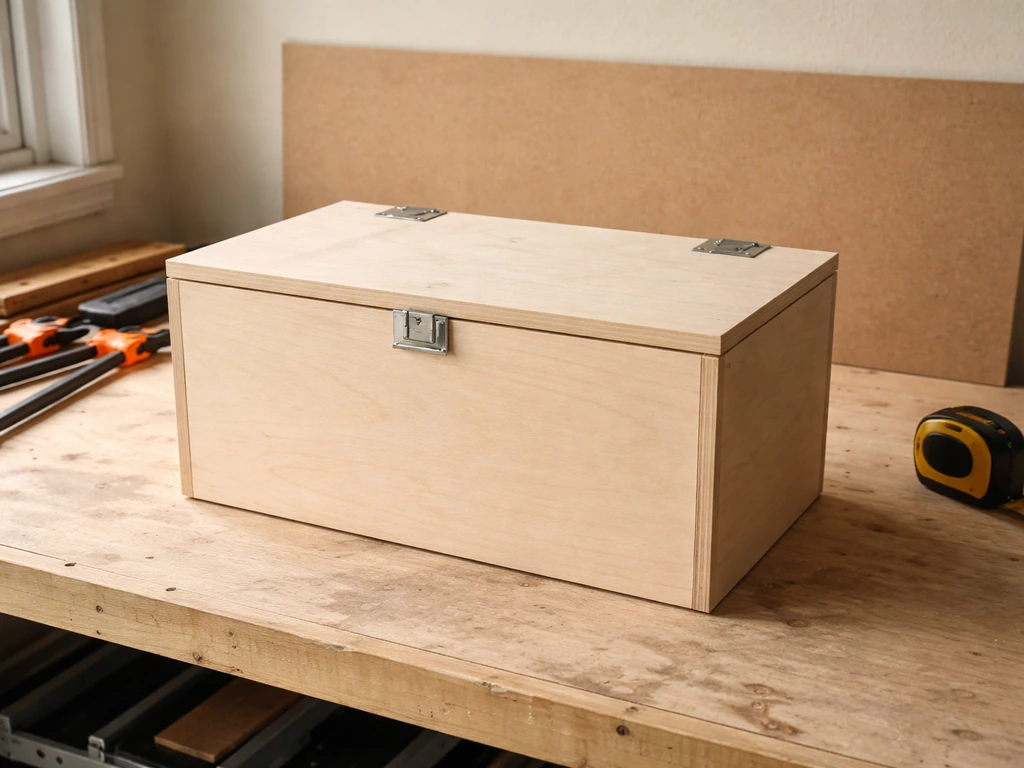
Before you cut a single board, you need to figure out what you're actually storing. The most common mistake is sizing the box to one cushion lying flat, then realizing at the end of season that you're stacking four chair cushions plus a loveseat back and nothing fits. Measure your cushions as a stack: length, width, and total stacked height. Then add at least 2 to 3 inches to each dimension for your internal clearance. Keter's own sizing guidance makes this point clearly: match your box's internal dimensions to the full stack you'll be storing, not a single item. For a typical 6-piece patio set, that usually puts you in the 40-to-50-gallon range for a DIY wood build, which is roughly a box 52 inches long, 26 inches wide, and 18 inches deep (inside measurements).
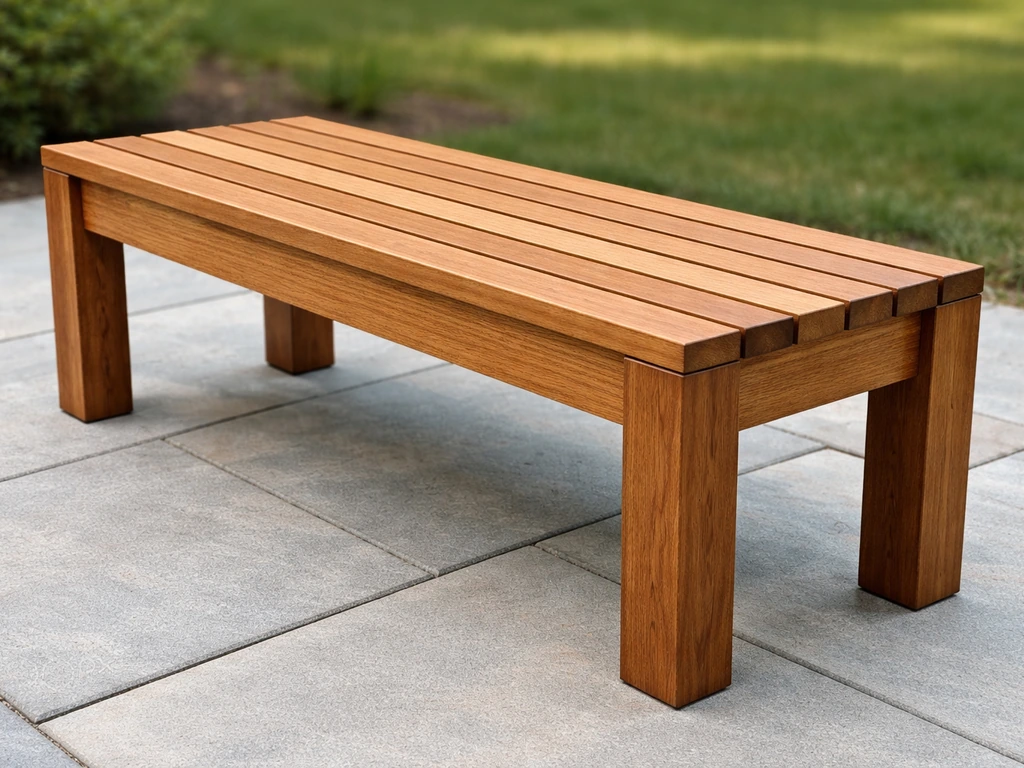
You also need to decide on the lid style and access. A top-hinged flat lid is the easiest to build and the most common. Once the lid style is chosen, you can incorporate seating so the storage bench doubles as an outdoor place to sit. It gives you full access, supports a gas strut or lid stay, and doubles as extra seating if you build it beefy enough. A sloped or shed-style lid sheds rain better but adds complexity and doesn't work as a bench seat. For most people, a flat lid with a slight overhang on the front (about 1.5 inches) handles rain fine as long as you use a proper sealant and a drip edge or small bead of exterior caulk at the seam.
Finally, decide whether to raise the box on feet or build a solid base. Raised feet are almost always the right call. Commercial cushion storage boxes (like those from Harmonia Living and Keter) use a raised-foot design specifically to promote air circulation under the box and reduce mildew risk. In a DIY build, four pressure-treated 2x4 blocks or decorative bun feet bolted to the bottom corners accomplish the same thing. Even 1.5 to 2 inches of clearance makes a real difference in preventing moisture from wicking into the base.
Sizing up: a quick reference
| Patio Set Size | Typical Cushion Count | Recommended Internal Box Length | Recommended Internal Width | Recommended Internal Depth |
|---|---|---|---|---|
| 2-chair bistro set | 2-4 cushions | 36 inches | 24 inches | 14 inches |
| 4-piece conversation set | 6-8 cushions | 48 inches | 26 inches | 16 inches |
| 6-piece dining or deep-seat set | 10-14 cushions | 54-60 inches | 28 inches | 18-20 inches |
| Large sectional | 14+ cushions | Consider two boxes | 28 inches each | 20 inches |
Materials and tools list for a DIY patio cushion storage box
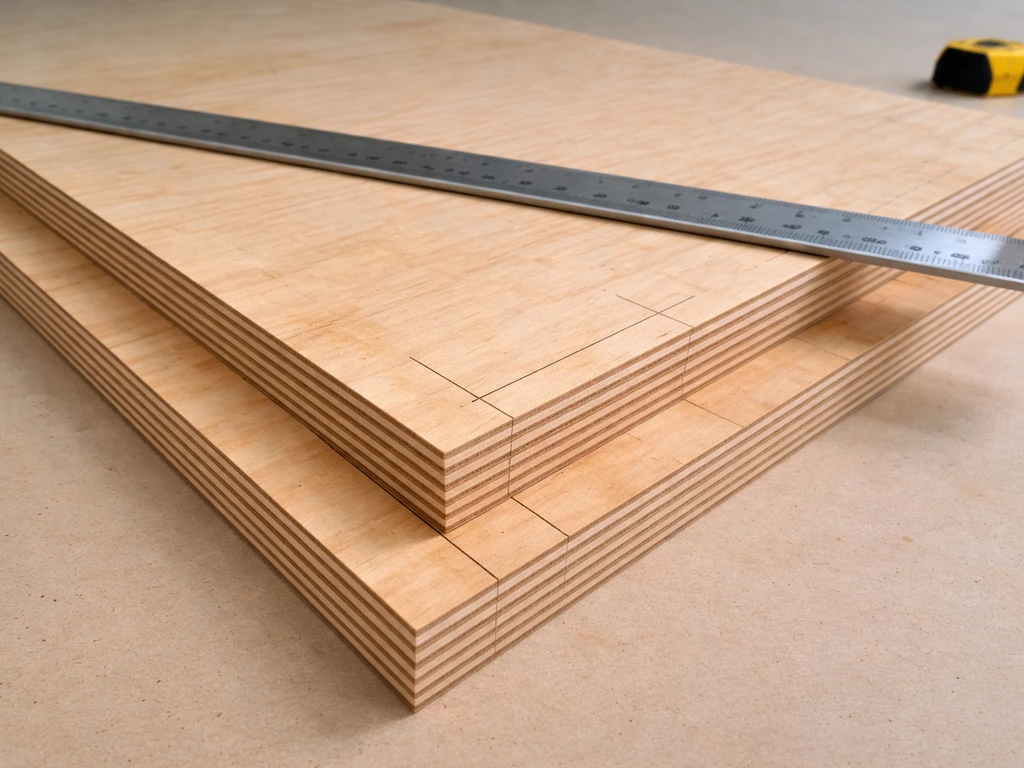
This build uses exterior-grade plywood as the primary material. It's affordable, dimensionally stable, and much easier to work with than framing lumber if you're a beginner. A 3/4-inch thickness for the sides and lid gives you enough rigidity without adding unnecessary weight. The base panel can be 1/2-inch exterior plywood since it's supported underneath by the foot blocks. Avoid interior-grade plywood (it will delaminate in one season outdoors) and avoid OSB for the exterior faces (it absorbs water at the edges rapidly). Look for panels stamped CDX or better; AC-grade exterior plywood gives you a smooth, paintable face side.
Materials
- Two sheets of 3/4-inch AC or CDX exterior plywood (4x8 feet each) for sides, front, back, and lid
- One sheet of 1/2-inch exterior plywood (4x8 feet) for the base panel
- Four pressure-treated 2x4 blocks, each cut to 3.5 inches, for feet (or four bun feet rated for outdoor use)
- One piano hinge, 48 to 54 inches long, stainless steel or zinc-plated (sized to match your lid width)
- Two lid support stays or two gas struts rated for the weight of your lid (more on this below)
- 2-inch and 1.5-inch exterior-rated deck screws (stainless or coated to resist rust)
- Titebond III Ultimate or equivalent waterproof exterior wood glue
- Minwax Helmsman Spar Urethane or equivalent exterior spar urethane (clear or tinted)
- Exterior wood primer or wood conditioner for end-grain sealing
- Paintable exterior silicone caulk for seams and lid gap
- 120-grit and 220-grit sandpaper
- Optional: 1/4-inch galvanized hardware cloth for ventilation openings
- Optional: foam weatherstripping tape (closed-cell) for the lid perimeter
Tools
- Circular saw with a fine-tooth blade (or a table saw if you have one)
- Drill/driver with bits
- Tape measure and pencil
- Speed square or combination square
- Clamps (at least four, 6-inch bar clamps or spring clamps)
- Countersink bit (prevents screw heads from splitting plywood faces)
- Paint brush and foam roller for finishing
- Safety glasses and hearing protection
Step-by-step build plan: cut list, frame, lid, and base
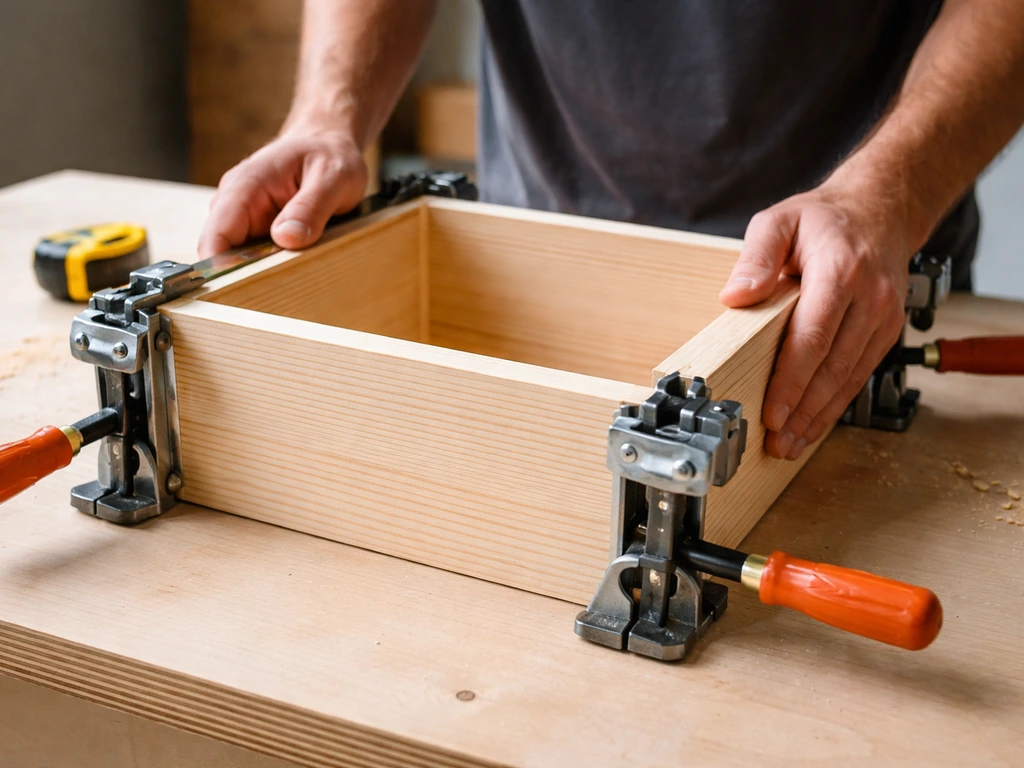
The example below is sized for a mid-range 6-piece patio set. Internal dimensions are 52 inches long x 26 inches wide x 18 inches deep. Adjust every number proportionally if your cushion stack differs. Before you buy lumber, sketch your cut list on paper and verify all the pieces nest onto your plywood sheets without waste.
Cut list (example 52 x 26 x 18 inch box)
| Part | Material | Dimensions (L x W) | Quantity |
|---|---|---|---|
| Front panel | 3/4-in exterior plywood | 53.5 in x 18 in | 1 |
| Back panel | 3/4-in exterior plywood | 53.5 in x 18 in | 1 |
| Side panels | 3/4-in exterior plywood | 26 in x 18 in | 2 |
| Lid panel | 3/4-in exterior plywood | 55 in x 27.5 in | 1 |
| Base panel | 1/2-in exterior plywood | 52 in x 26 in | 1 |
| Lid edge trim (front/back) | 3/4-in x 1.5-in ripped strip | 55 in | 2 |
| Lid edge trim (sides) | 3/4-in x 1.5-in ripped strip | 27.5 in | 2 |
| Foot blocks | Pressure-treated 2x4 | 3.5 in | 4 |
Step 1: Cut your panels
Mark your cut lines with a straight edge and cut with a circular saw. The biggest beginner mistake here is letting the plywood sag and bind the blade mid-cut, which causes tear-out and kickback. Support both sides of the cut with sawhorses or scrap boards so the panel doesn't flex. Cut the front and back panels first (they set the overall box length), then cut the side panels to fit between them. The front and back will each be 1.5 inches wider than the internal length to account for the side panel thickness on each end (two panels x 3/4 inch each = 1.5 inches total).
Step 2: Seal end grain before assembly
This step gets skipped by beginners and causes most of the premature failures I've seen. Plywood end grain is essentially a bundle of open tubes that soaks up water rapidly. Before you assemble anything, brush one to two coats of exterior wood primer or thinned spar urethane onto every cut edge. Let it soak in and dry. This sealing step dramatically improves the longevity of the finished box, especially at the base and lid edges where water tends to pool or run.
Step 3: Assemble the box frame
- Lay the back panel face-down on a flat surface. Apply a bead of Titebond III to the edge where a side panel will meet it.
- Clamp the side panel in place so its edge butts flush against the back panel's interior face. Drill countersunk pilot holes every 8 inches, then drive 2-inch deck screws.
- Repeat for the opposite side panel.
- Attach the front panel the same way, checking for square by measuring diagonals (both diagonal measurements should be equal).
- Flip the box upright. Drop the base panel in so it rests inside the frame, flush with the bottom edges. Glue and screw it from underneath through the side, front, and back panels. This makes the base captive and significantly stiffens the whole structure.
Step 4: Attach the foot blocks
Flip the box upside down. Position one pressure-treated 2x4 block at each corner, set about 1 inch in from each edge so they're not visible from the sides. Drill two pilot holes through the base panel into each block and drive 1.5-inch screws. Add a dab of exterior glue for extra security. Titebond III Ultimate is marketed as “waterproof” and intended for interior and exterior woodworking, including water-resistant joints. These raise the box about 1.5 to 2 inches off the deck surface, which is enough clearance to matter for airflow and moisture management.
Step 5: Build and attach the lid
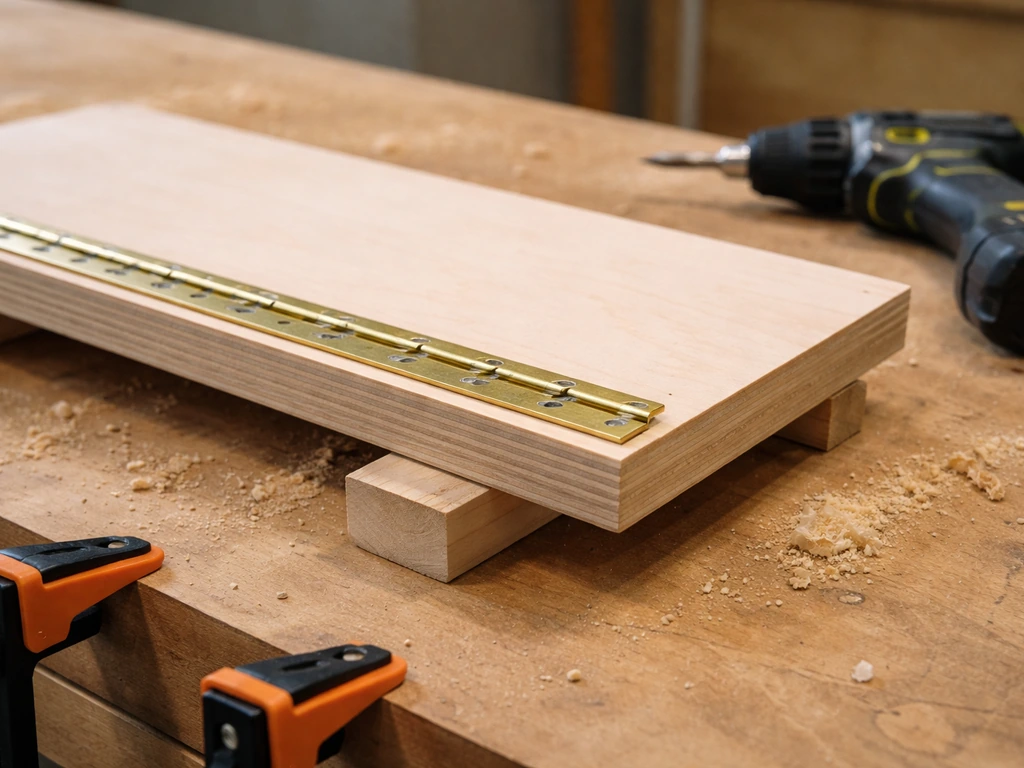
The lid is a flat panel with edge trim glued and screwed around the perimeter. The trim pieces serve three purposes: they stiffen the lid so it doesn't sag over time, they cover the raw plywood edges, and they create a small lip that helps shed rainwater away from the box opening. Cut your trim strips from leftover plywood or from a 1x2 pine board (use exterior-rated pine or cedar). Attach the trim to the underside perimeter of the lid panel with glue and 1.5-inch screws. The lid's finished dimensions should overhang the box by about 3/4 inch on the front and sides, with the piano hinge side flush to the back.
Attach the piano hinge to the back top edge of the box first, then fold the lid down and screw the hinge into the lid's back edge. Having a second person hold the lid level while you drive screws makes this much easier. Check the lid swing a few times before moving on. It should open fully to about 90 degrees or slightly past, and lie flat when closed with no gaps larger than 1/4 inch around the perimeter.
Weatherproofing and ventilation to protect cushions
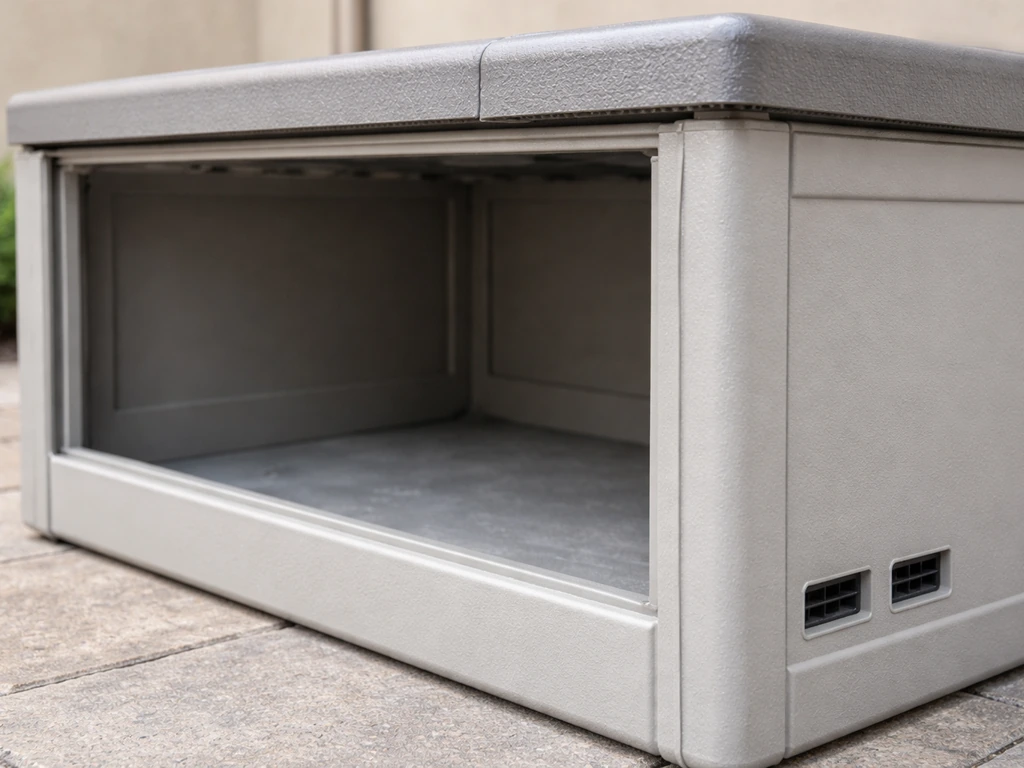
Weatherproofing a storage box is really two separate problems: keeping water out, and letting moisture vapor escape. Most DIY boxes fail at the second part. Even if no rain gets in, cushions stored in a sealed wood box will release moisture vapor (especially if put away slightly damp), and that vapor has nowhere to go. The EPA's mold guidance is clear on this: without adequate ventilation, moisture builds up and mold follows. A musty smell after winter storage is your first warning that you've sealed the box too tight.
Adding ventilation
Cut two vent openings, each about 2 inches wide by 4 inches tall, into the lower portion of both side panels before finishing. Position them about 3 inches up from the base so they're above the deck surface but low enough to allow air to move through the stored cushions. Cover each opening with a piece of 1/4-inch galvanized hardware cloth stapled on the inside of the panel. The hardware cloth keeps insects and debris out while allowing airflow. Some builders worry these openings will let rain in, but at 3 inches off the base on the sides, the risk is very low. If you're in a hurricane-prone area, position the vents on the sheltered sides of the box.
Sealing against rain
Apply two to three coats of Minwax Helmsman Spar Urethane to all exterior surfaces. Helmsman is specifically formulated for wood exposed to sunlight, water, and temperature changes, and it includes UV blockers that slow the graying and fading that kills most outdoor wood finishes within a year or two. Sand lightly with 220-grit between coats. Follow Minwax's recoat timing guidance: typically 2 to 4 hours between coats in normal conditions, with a full cure of several days before heavy use. Don't rush the cure and put your box outside the next morning. A partially cured finish in direct sun can wrinkle or peel.
After the finish is fully cured, run a bead of paintable exterior silicone caulk along every interior seam (where panels meet inside the box). Smooth it with a wet finger. This closes any small gaps that could let wind-driven rain in from below the lid. Don't caulk the exterior seams, which need to breathe slightly, but do caulk the lid's back edge where the piano hinge plate meets the box to reduce water infiltration at that joint.
Weatherstripping the lid
Apply a strip of closed-cell foam weatherstripping tape to the top inner edge of the front and two side panels. When the lid closes, it compresses against this strip and blocks most of the rain that would otherwise blow in under the lid overhang. Closed-cell foam resists water absorption (unlike open-cell foam, which stays wet and encourages mildew). This is a cheap addition (under $10 for a roll) that makes a noticeable difference.
Finishing touches: hardware, lid support, and organization
Choosing a lid support
This decision matters more than most people think. A heavy plywood lid with no support will slam shut on fingers, especially kids' fingers. You have two main options: lid stay straps or gas struts. If you want a wood patio bench that stays usable year-round, you can also use lid-support hardware to keep the moving parts stable lid stay straps. Lid stay straps (also called lid supports or lid chains) are simple hinged metal arms or cables that limit how far the lid can open, typically to about 95 degrees. They're cheap (around $8 to $12 per pair), easy to install, and completely reliable. They don't slam and they don't fail. Gas struts are the premium option used on commercial boxes like the Biohort LeisureTime. They hold the lid open hands-free, which is convenient when you're pulling out armloads of cushions. The downside: a woodworking community discussion I've seen raises a valid safety point about gas struts on boxes where the lid might spring open if you let go too quickly. For a cushion storage box that adults use, gas struts rated to the lid weight work well. For a box where children are nearby, lid stay straps are the safer and simpler choice.
If you go with gas struts, choose ones rated for outdoor use with stainless steel or zinc hardware, similar to what's specified on commercial outdoor cushion boxes with stainless fixings. Mount them inside the box on the side panels about 4 to 6 inches down from the top edge. Follow the manufacturer's placement instructions exactly: the mounting angle and position determine whether the lid stays open or wants to drift back.
Handles and locks
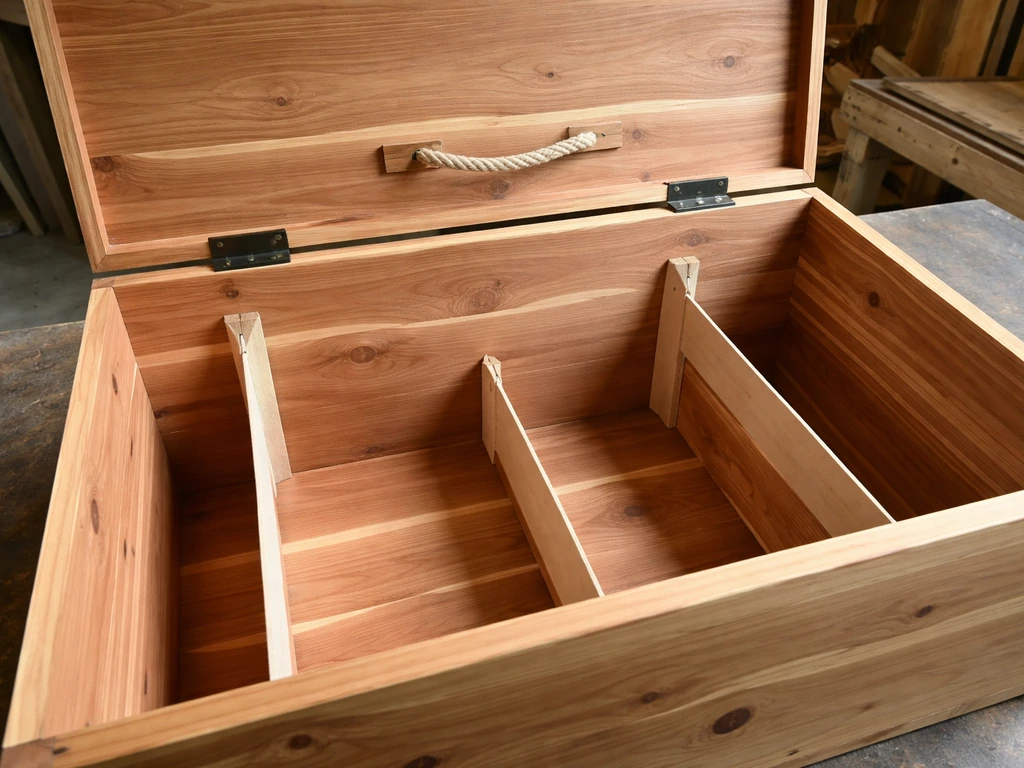
Attach a simple rope pull or a T-handle to the front face of the lid for easy opening. A stainless steel or powder-coated T-handle costs about $6 to $12 and adds a clean, finished look. If you want to secure the box against weather or prying, a standard outdoor hasp and padlock works well. Drill pilot holes before attaching any hardware to avoid splitting the plywood.
Interior organization
A few simple additions keep the interior from becoming a chaotic pile. Line the base of the box with a sheet of cedar shims or a cedar plank. Cedar is a natural moth and mildew deterrent, and the scent is pleasant. Add a small silica gel desiccant pack (the kind sold for gun safes or closet storage) to the interior for the first season to absorb any residual moisture. If you're storing cushions of different sizes, a DIY divider made from a scrap of 1/2-inch plywood screwed between the front and back panels keeps sets separated. This is especially useful if you store a loveseat cushion and several chair cushions together, and want to grab the right one without unpacking everything.
Maintenance, seasonal setup, and troubleshooting common build issues
Seasonal setup
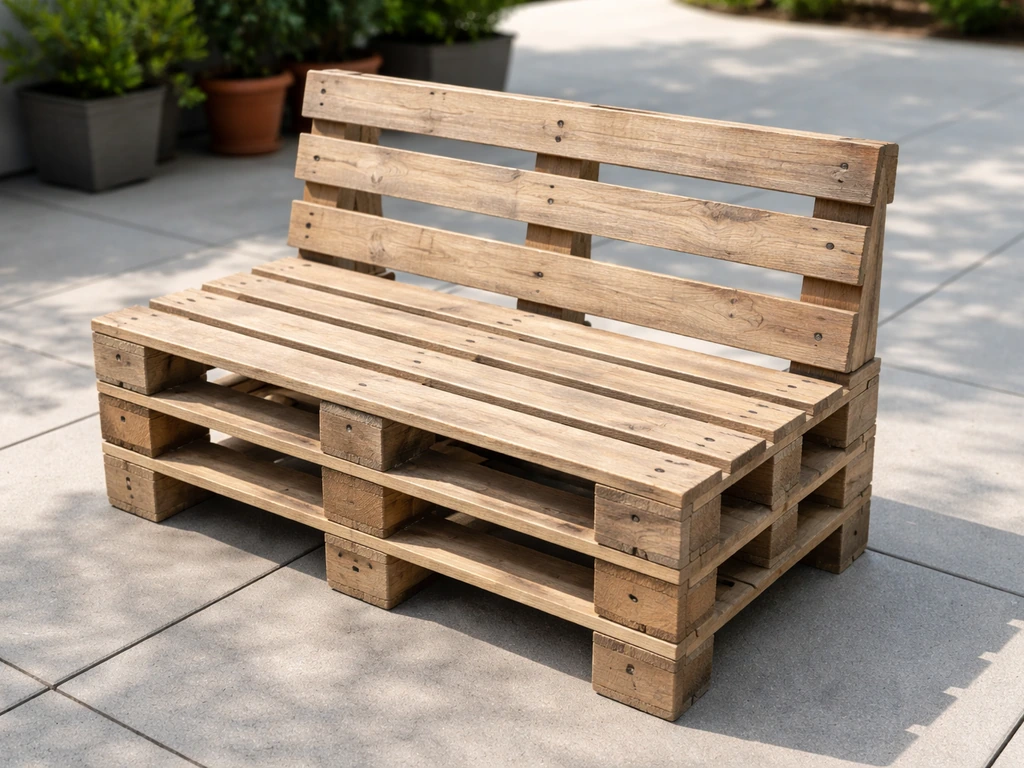
At the start of each season, inspect the finish before loading the box. Look for any areas where the spar urethane has gone chalky, cracked, or peeled. Sand those spots lightly with 120-grit, wipe clean, and apply one fresh coat of Helmsman. This touch-up coat takes about an hour and extends the box's life by years. Check the caulk lines for shrinkage or gaps and run a fresh bead where needed. Tighten any screws that have worked loose over the freeze-thaw cycle. If you want an even more rustic look, you can also learn how to make a patio bench out of pallets.
At the end of season, before loading cushions for winter, let them air out fully in the sun for a day if possible. Even if they feel dry, stored cushions often have residual humidity from late-season use. Putting slightly damp cushions into a closed box is how you get mildew by spring. The ventilation openings you built help, but they can't compensate for loading wet cushions.
Troubleshooting common problems
| Problem | Likely Cause | Fix |
|---|---|---|
| Lid warps or won't close flat | Plywood absorbed moisture before or after finishing; lid not rigid enough | Add a cross-brace cleat on the underside of the lid; re-seal and refinish; store box under a roof overhang |
| Water pooling inside after rain | Lid overhang too small; caulk failed; hinge gap letting water in | Re-caulk lid hinge seam; add a drip edge strip to front lid edge; check weatherstripping compression |
| Musty odor at season end | Condensation trapped inside; ventilation openings blocked or too small | Clear vent openings; add second vent pair; replace weatherstripping if it seals too tight; add a silica desiccant pack |
| Base panel soft or spongy | End grain on base absorbed standing water; foot blocks let moisture wick | Remove base, dry thoroughly, re-seal with two coats of spar urethane on all faces and edges before reinstalling |
| Gas strut won't hold lid open | Strut rated too light for lid weight, or mounting position is wrong | Weigh lid and replace struts with correct rating; recheck mounting angle per manufacturer spec |
| Screws pulling out at corners | Plywood edge-screw holding power is limited; pilot holes too large | Add a 2x2 pine corner cleat inside each corner; re-drill and re-drive with slightly longer screws into the cleat |
When to build two boxes instead of one
If your cushion count goes above 12 to 14 pieces, seriously consider building two medium boxes rather than one giant one. A single 60-inch plywood box gets very heavy and awkward to move, and a full-size lid can become unwieldy. Two smaller boxes also give you more flexibility to position them on the patio. This approach echoes the advice in online cushion storage discussions, where experienced owners often land on splitting large sets between two units rather than wrestling with one oversized box.
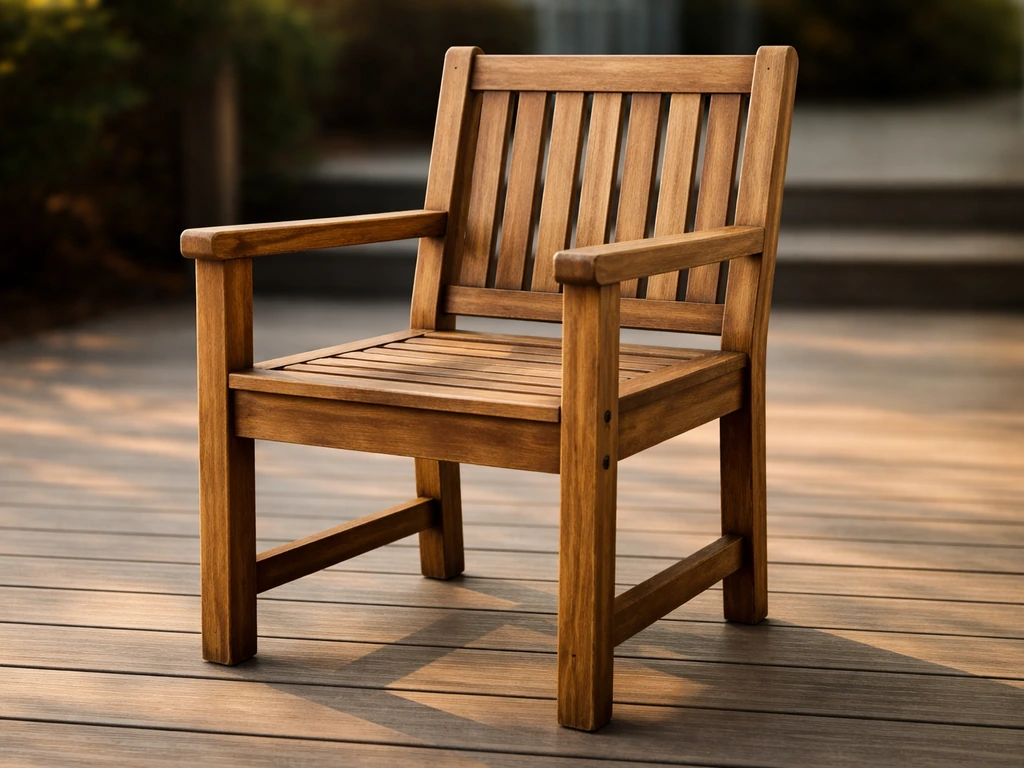
If you enjoy this kind of outdoor build, the skills you use here translate directly to related projects. A patio storage bench is essentially the same box with a seat cushion added and a slightly more finished exterior. Once you can build a weatherproof storage box for patio cushions, you can use similar cut-list planning and exterior-grade materials to learn how to build a patio chair patio storage bench. Pallet builds take a rougher but creative approach to the same structural problems. The core principles, size to your actual contents, protect end grain, add ventilation, and choose hardware rated for outdoor exposure, apply to all of them.
FAQ
How much extra space should I leave in the box beyond the stacked cushion measurements?
Use interior clearance that reflects how your cushions actually stack (including any backs, rolled sections, or straps), and then add only 2 to 3 inches, not 6 to 8. Too much empty space wastes volume and makes it harder for vents to manage moisture, since air moves less uniformly when the interior is packed unevenly.
Can I use a different exterior finish instead of spar urethane and still prevent rot?
Yes, for outdoor use you can switch the sealing layer on cut edges to a paintable exterior wood primer followed by spar urethane on the full surfaces. The key is that every cut edge is sealed first, end grain gets the most attention, and you still leave the vent openings uncovered.
What should I do if I get a musty smell or signs of mildew inside the storage box?
If you see a musty smell after winter, assume the problem is ventilation and moisture loading, not the finish. First, pull cushions out and dry them completely, then inspect whether the hardware cloth vents are blocked by debris and whether caulk was applied inside seams where you expected air paths to exist.
Where should I place vents if my patio gets heavy rain or wind-driven storms?
Choose the side panels for the vent locations, ideally on the sheltered sides of your patio. If your cushions are often stored wet, raise vent openings slightly higher than 3 inches and keep the interior not fully sealed, since airflow is what dries residual vapor.
My lid is binding or not closing smoothly. How can I troubleshoot it?
If the lid binds, check two common causes: miscut front and back widths (so the lid is rubbing) and insufficient sealing trim thickness variation. Dry-fit the lid, then plane or sand the trim edge, and ensure the hinge is aligned so the lid swings without twisting.
Should I caulk all seams on the box, inside and out?
Do not caulk the exterior seams if you can avoid it. Exterior seams need to stay slightly breathable to let trapped moisture escape, while interior seam caulk should be limited to where you want to block draft-driven rain paths.
Will vent openings let in rain, and how do I prevent insects and debris from getting through?
Install the 1/4-inch hardware cloth from the inside and keep vent openings oriented so the deck side is lower than the opening’s bottom edge, if possible. At the 3-inch height described, a thin rain splash is unlikely to reach the interior, but debris screening matters more than perfect watertightness.
Lid stay straps or gas struts, which is safer and more reliable for a typical home?
If you use a gas strut, confirm the rating matches the lid weight plus trim, and mount at the exact angles recommended, since small placement changes can make the lid slam or drift shut. For households with children nearby, lid stay straps are usually the safer default because they limit motion without spring tension.
What hardware placement works best for a pull handle and optional padlock?
For quick opening, a T-handle mounted near center of the front face works better than an off-center rope that can pull sideways. If you plan to add a hasp later, leave enough plywood thickness at the chosen location and drill pilot holes to prevent splitting near the lid hinge area.
How should I use cedar lining and silica gel so they actually help instead of getting buried or ruined?
Cedar lining is helpful, but it does not replace the need to dry cushions. If you add silica packs, place them where they will not be crushed by stacked cushions, and replace them after the first season or when they change indicator color.
How can I design the interior so I can store different cushion sets over time?
If your set expands or changes, build a divider option and keep interior dimensions slightly adjustable by planning removable internal partitions. For most projects, it’s easier to add a removable 1/2-inch plywood divider than to rebuild the entire shell when you switch from chair-only to mixed seating.
When should I stop building one large box and switch to two smaller ones?
If your box is too heavy to move, split your build earlier rather than later. Two medium boxes also reduce lid size, which makes hinge alignment and vent airflow easier to get right, compared with managing one large lid that can become bulky and awkward to handle.